
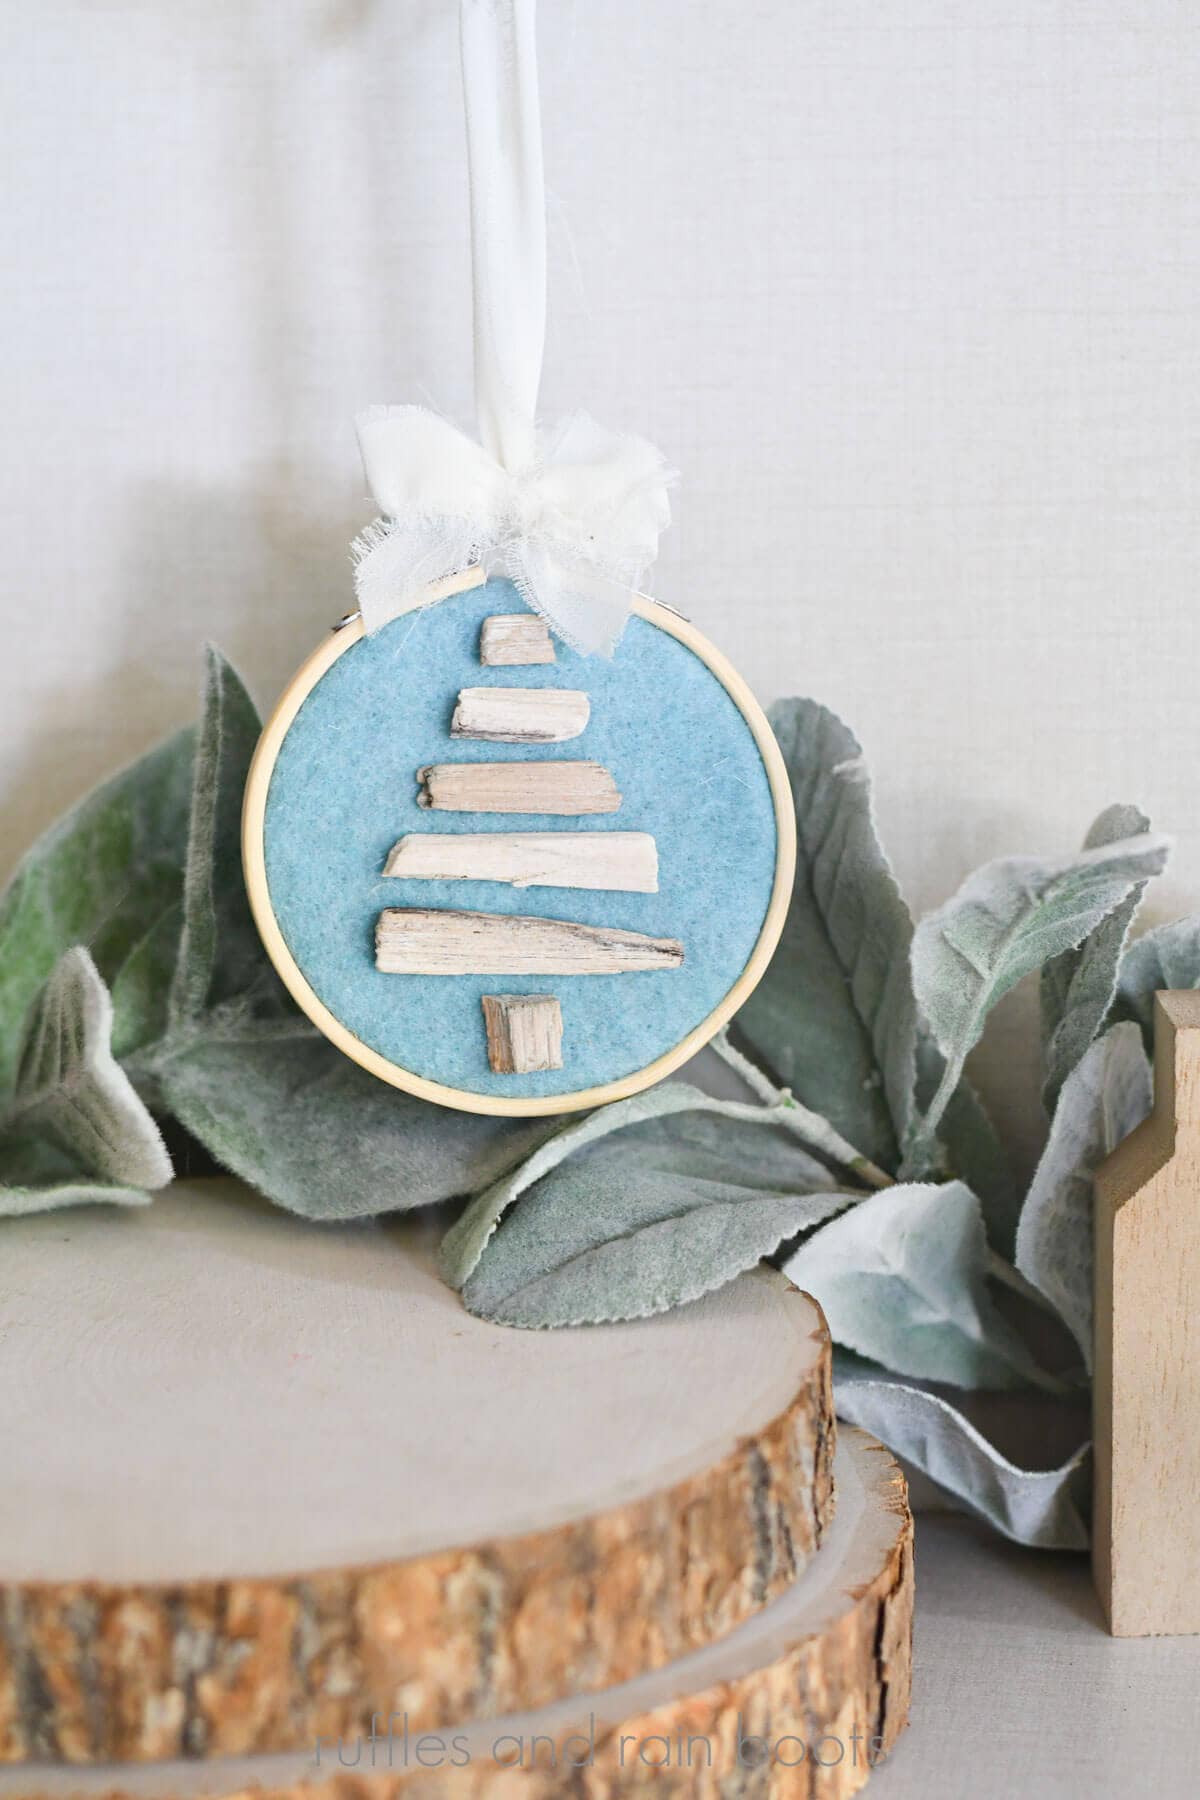
Driftwood Christmas Tree Ornament
I am landlocked now and dreaming of the beach, so this easy DIY driftwood Christmas tree ornament is helping me cope. If you love a beach theme, are celebrating a holiday getaway, or want to create a cozy, coastal Christmas vibe, make this easy Christmas ornament idea this year.

RELATED READING: Make a Rope Buoy Wreath with Dollar Tree Supplies
What You'll Find On This Page
Driftwood Christmas Tree Craft
Here at Ruffles and Rain Boots, I love getting your emails and messages. Today, I got one from Pamela who asked for some beach-inspired holiday ornaments, as they were spending the holidays at their new lake house.
First, congratulations on the lake house, Pamela! And second, you inspired to make a few fun and easy crafts and I hope you love this easy Christmas ornament idea.
As an Amazon Associate, I could earn from qualifying purchases. There could be affiliate links within this article.
Materials Needed for This Coastal Christmas Ornament Idea
If you need driftwood and aren’t near a beach you can legally remove it from, here are a few finds. I prefer the variety packs because you wouldn’t be locked into one size.
- various size driftwood pieces (this is a cool set because of the variety)
- flat driftwood pieces (again, a variety of sizes)
- larger pieces of driftwood for crafts
Below are the supplies I used but check your stash to see what you have on hand. While I am aware that the vase filler I used is, in fact, NOT driftwood, we’re going to go with it because it’s what I had on hand.
- small pieces driftwood in various sizes
- felt
- 3″ embroidery hoop
- 15″ of chiffon ribbon or other ribbon, twine, or cord for hanging
- hot glue gun and glue sticks
- scissors
- optional, needle and embroidery thread
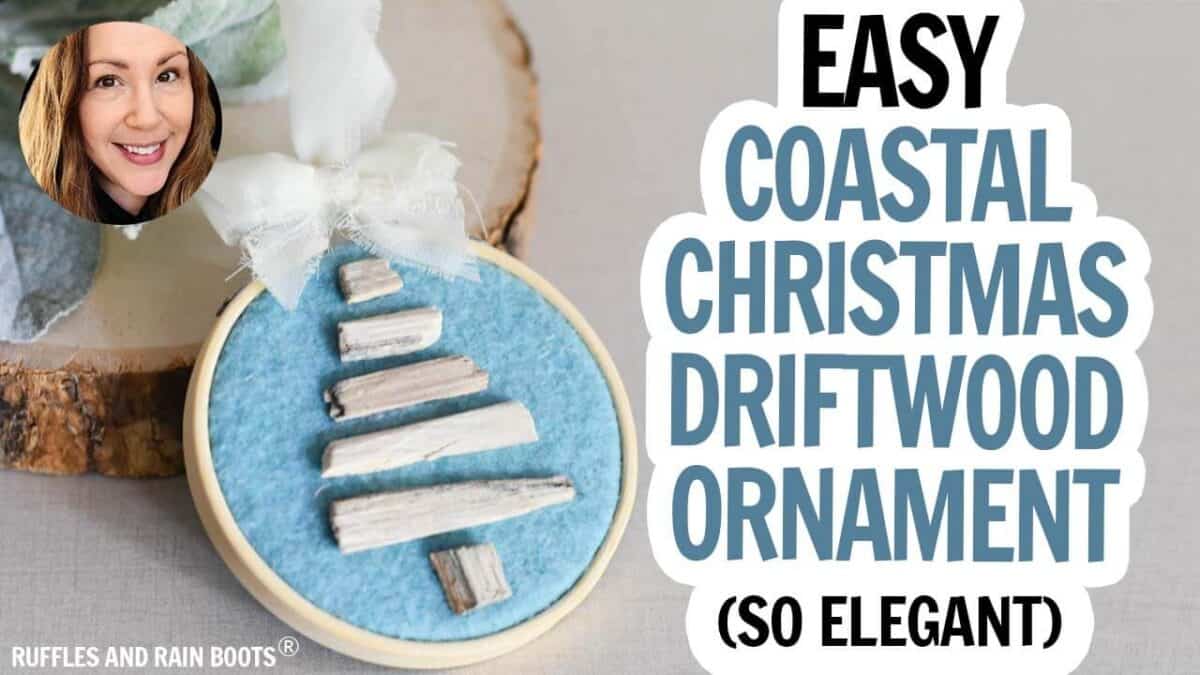
Coastal Christmas Ornament Video Tutorial
If you’re a visual learner like I am, here is the driftwood Christmas tree ornament video tutorial. It will walk you through finishing the back and a few more tips.
How to Make a Mini Driftwood Christmas Tree Ornament
First, assemble the small pieces of driftwood into the shape of a Christmas tree. I chose to add a trunk, however, you can add one more horizontal branch if you’d like.
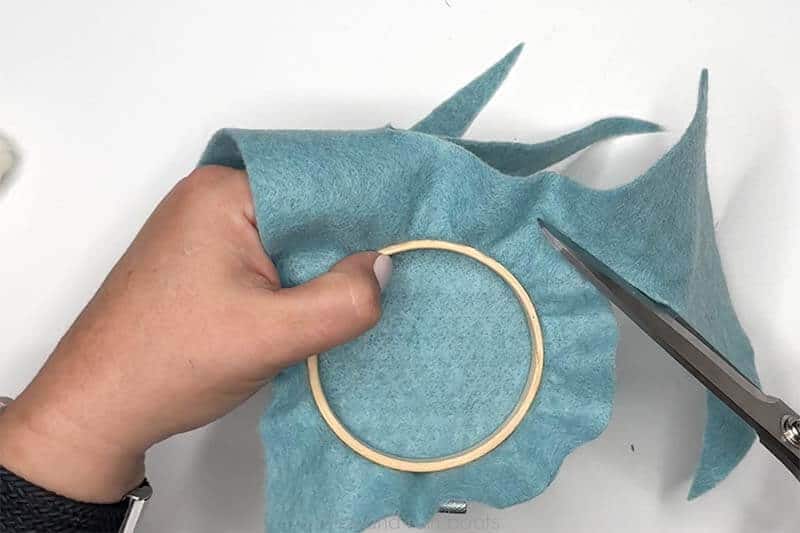
Next, place the felt into the embroidery hoop and secure tightly. Make sure that it is pulled taught so that we do not have to adjust and the pieces can be glued securely.
Flip the secured felt and hoop over and cut the backing. There are two options: 1) cut the felt right to the embroidery hoop wood or 2) finish the backing.
If you choose to do as I have done and finish the backing, cut the felt with a 3/4 to 1 inch halo. Thread embroidery floss onto a darning needle and, starting from the outside, use a running stitch all of the way around. Pull tight, knot to secure, and cut off the ends.
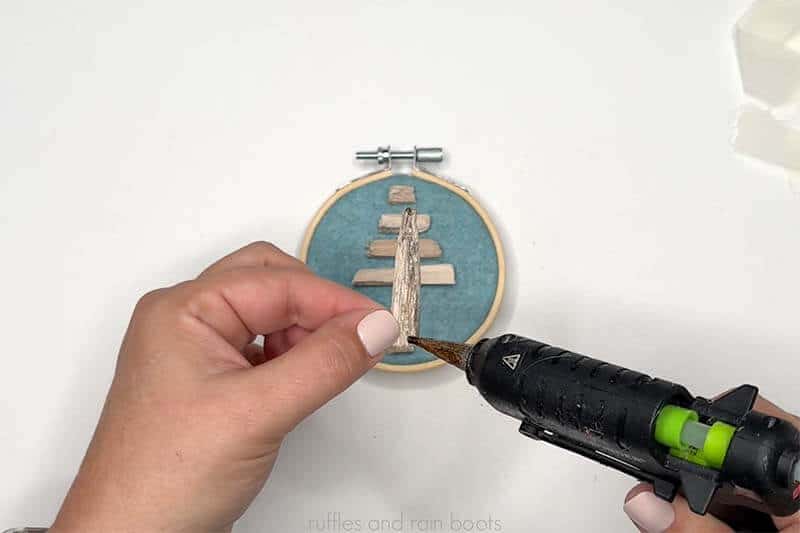
Flip the ornament over and begin, using hot glue, to create the holiday tree on the felt. Make sure the pieces are centered and equal distances apart.
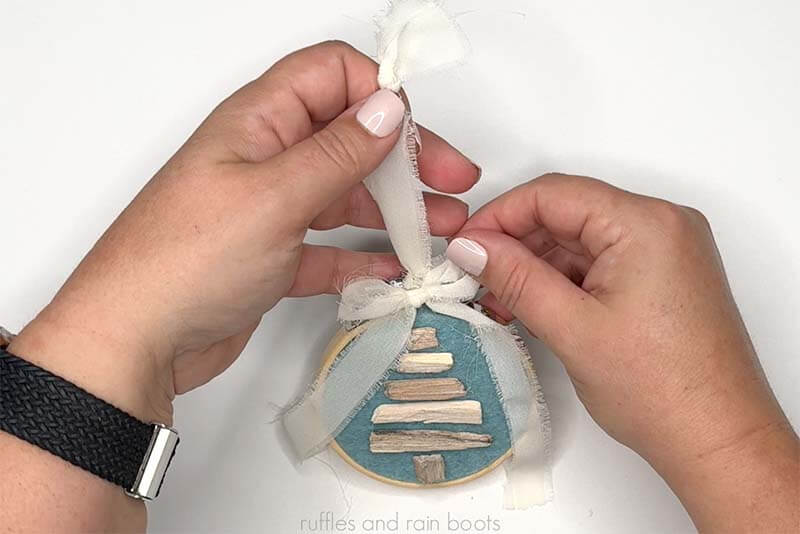
Cut the chiffon ribbon, fold it, and cut it in half. Tie one half into a bow, trimming the edges. Fold over the other ribbon, loop under the embroidery hoop, and pull through before tying a knot at the ends for the hanger.
More Christmas Crafts You Might Like
- Free Beachy Christmas SVG Designs – If you are spending the holidays in a warm and sunny locale (or you live there year-long), check out these free SVG files.
- Make a Beach Comber Gnome – The flip flops are the star of the show with this easy project.
- Seashell Planter DIY – Easy? Yes. Fun? Yes. It’s a great way to recycle a jar, too.
Please Save or Share This Fun Driftwood Craft Idea
Your shares are how this site grows and I am sincerely grateful. Please share this to social media or save it to a DIY Christmas crafts pin board.

Driftwood Christmas Ornament Embroidery Hoop
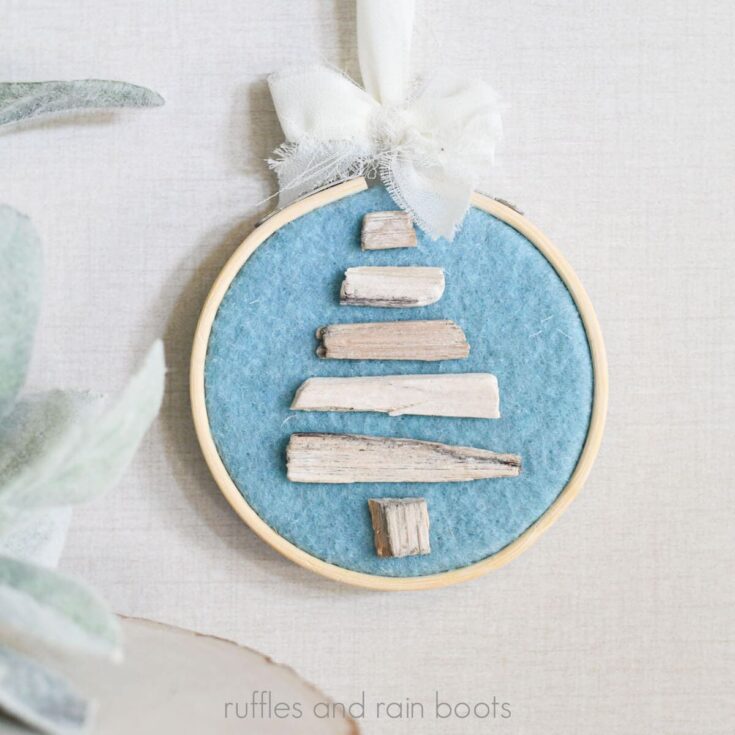
This fun driftwood Christmas tree ornament is perfect for an elegant coastal Christmas or to remember a family holiday or getaway. It only takes about 15 minutes and a few supplies.
Materials
- small pieces driftwood in various sizes
- felt
- 3" embroidery hoop
- 15" of chiffon ribbon or other ribbon, twine, or cord for hanging
Tools
- hot glue gun and glue sticks
- scissors
- optional, needle and embroidery thread
Instructions
- First, assemble the small pieces of driftwood into the shape of a Christmas tree. I chose to add a trunk, however, you can add one more horizontal branch if you'd like.
- Next, place the felt into the embroidery hoop and secure tightly. Make sure that it is pulled taught so that we do not have to adjust and the pieces can be glued securely.
- Flip the secured felt and hoop over and cut the backing. There are two options: 1) cut the felt right to the embroidery hoop wood or 2) finish the backing.
- If you choose to do as I have done and finish the backing, cut the felt with a 3/4 to 1 inch halo. Thread embroidery floss onto a darning needle and, starting from the outside, use a running stitch all of the way around. Pull tight, knot to secure, and cut off the ends.
- Flip the ornament over and begin, using hot glue, to create the holiday tree on the felt. Make sure the pieces are centered and equal distances apart.
- Cut the chiffon ribbon, fold it, and cut it in half. Tie one half into a bow, trimming the edges. Fold over the other ribbon, loop under the embroidery hoop, and pull through before tying a knot at the ends for the hanger.
Meet the Creator
Hi there, I’m Sarah Nenni-Daher. I’m a crafty gal and always have at least 14 projects going at once. I am a crafter, designer, DIYer, and pattern maker. I share my creations here and in the Ruffles and Rain Boots® Shop.
Here at Ruffles and Rain Boots®, you’ll find DIY gnomes, crafts, gifts, cupcakes, laser crafts, and so much more. I love sharing video tutorials over on YouTube and chatting with other crafters in my Facebook groups. We’d love to have you!