
Driftwood Christmas Shelf Sitter
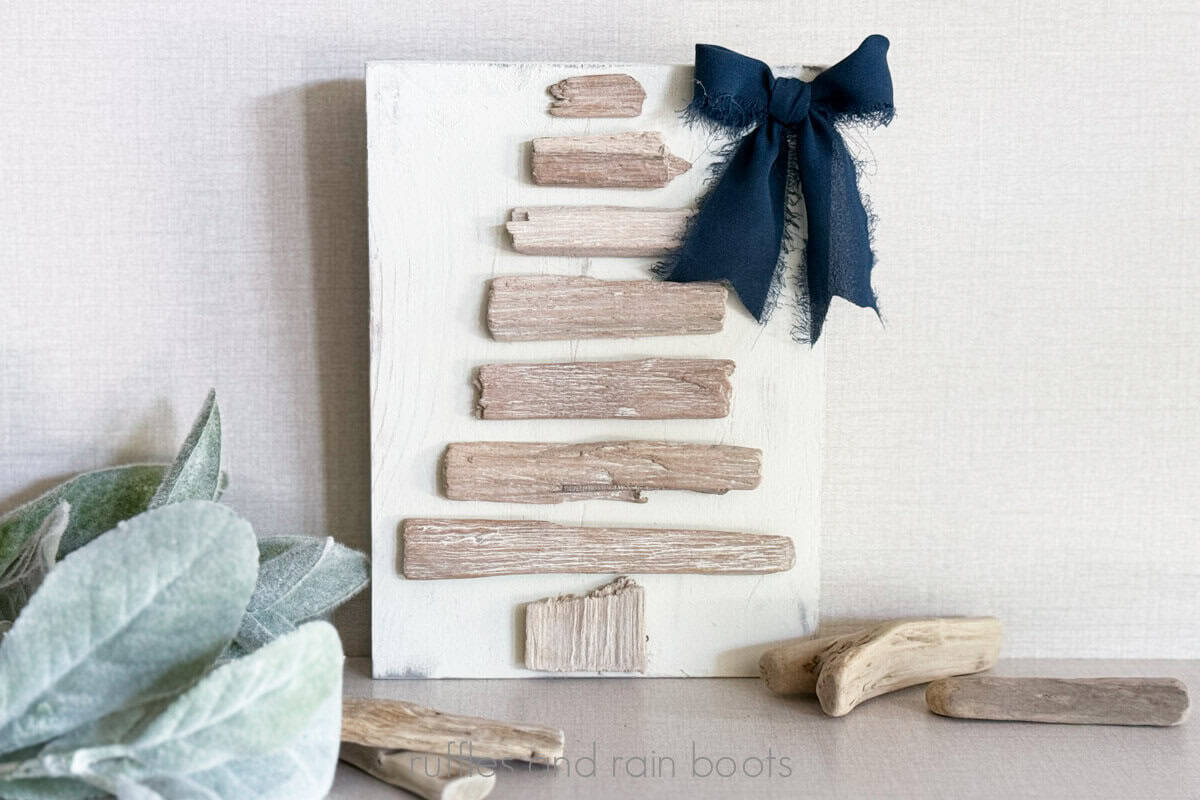
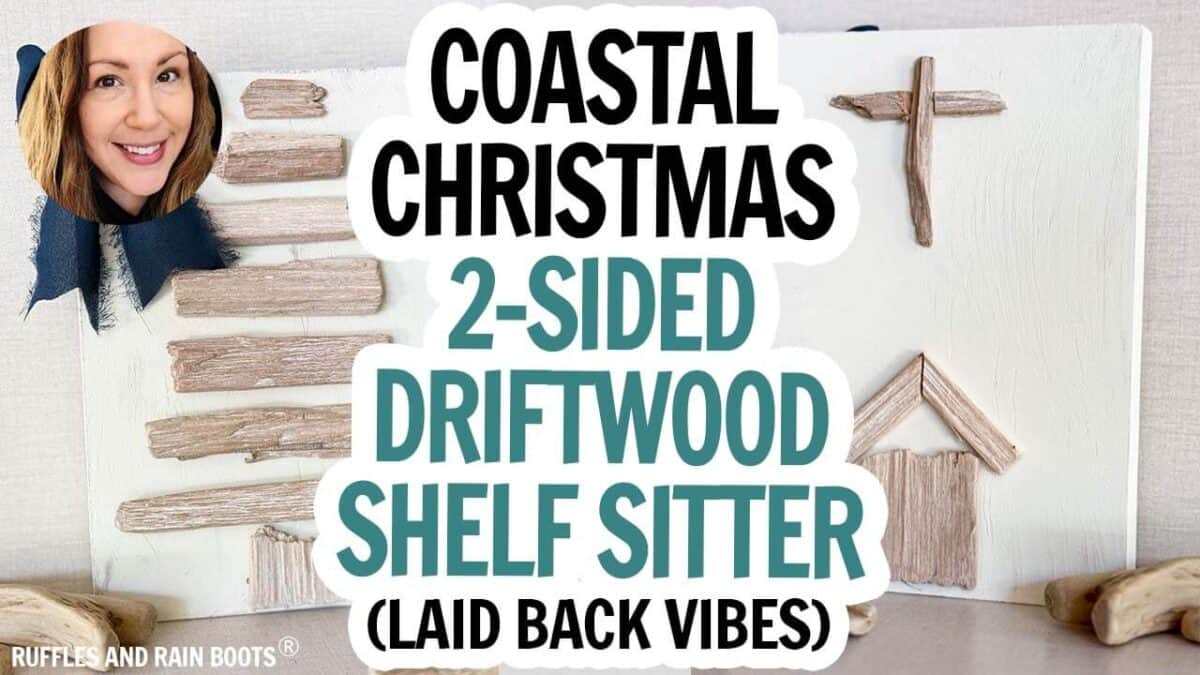
This double sided driftwood Christmas shelf sitter is a fun way to craft for a beachy holiday theme. It’s quick to come together and can be customized to fit yoruyourdecor.
RELATED READING: Easy and SO Popular: DIY Nautical Buoy Wreath
What You'll Find On This Page
Driftwood Holiday Craft Idea
Here at Ruffles and Rain Boots, I had a request from a reader, Pamela, who asked for some beach-inspired holiday ornaments. They are spending this Christmas at their new lake house with their large, extended family!
She inspired me to make a few fun and easy crafts and I hope you all love this easy Christmas driftwood idea.
As an Amazon Associate, I could earn from qualifying purchases. There could be affiliate links within this article.

Materials Needed for This Coastal Christmas Craft
If you need driftwood and aren’t near a beach you can legally remove it from, here are a few finds. I prefer the variety packs because you wouldn’t be locked into one size.
- larger pieces of driftwood for crafts
- various size driftwood pieces (this is a cool set because of the variety)
- flat driftwood pieces (again, a variety of sizes)
Below are the supplies I used but check your stash to see what you have on hand. While I am using vase filler that looks like driftwood instead of actual driftwood, we’re going to go with it because it’s what I had on hand.
- small pieces driftwood in various sizes
- a small block of wood (mine was 7.5 x 5.5 inches from the Dollar Tree)
- navy chiffon ribbon or other ribbon, twine, or cord for hanging
- hot glue gun and glue sticks
- scissors and/or miter shears
- off white chalk paint and paint brush or roller (optional, gray or blue paint and dobber)
- sanding sponge or paper, optional
Coastal Christmas Shelf Sitter Video Tutorial
If you’re a visual learner like I am, here is the driftwood Christmas tree shelf sitter video tutorial. It will walk you through finishing the back and a few more tips.
How to Make This Christmas Driftwood Shelf Sitter
First, paint the wood slab front, back, and sides. I used this miniature roller set because I’m lazy and it makes me have to do less work. Once dry, sand lightly with a sanding block.
I added a bit of gray chalk paint (on a dobber) to the edges of the wood block. You could also use a wax.

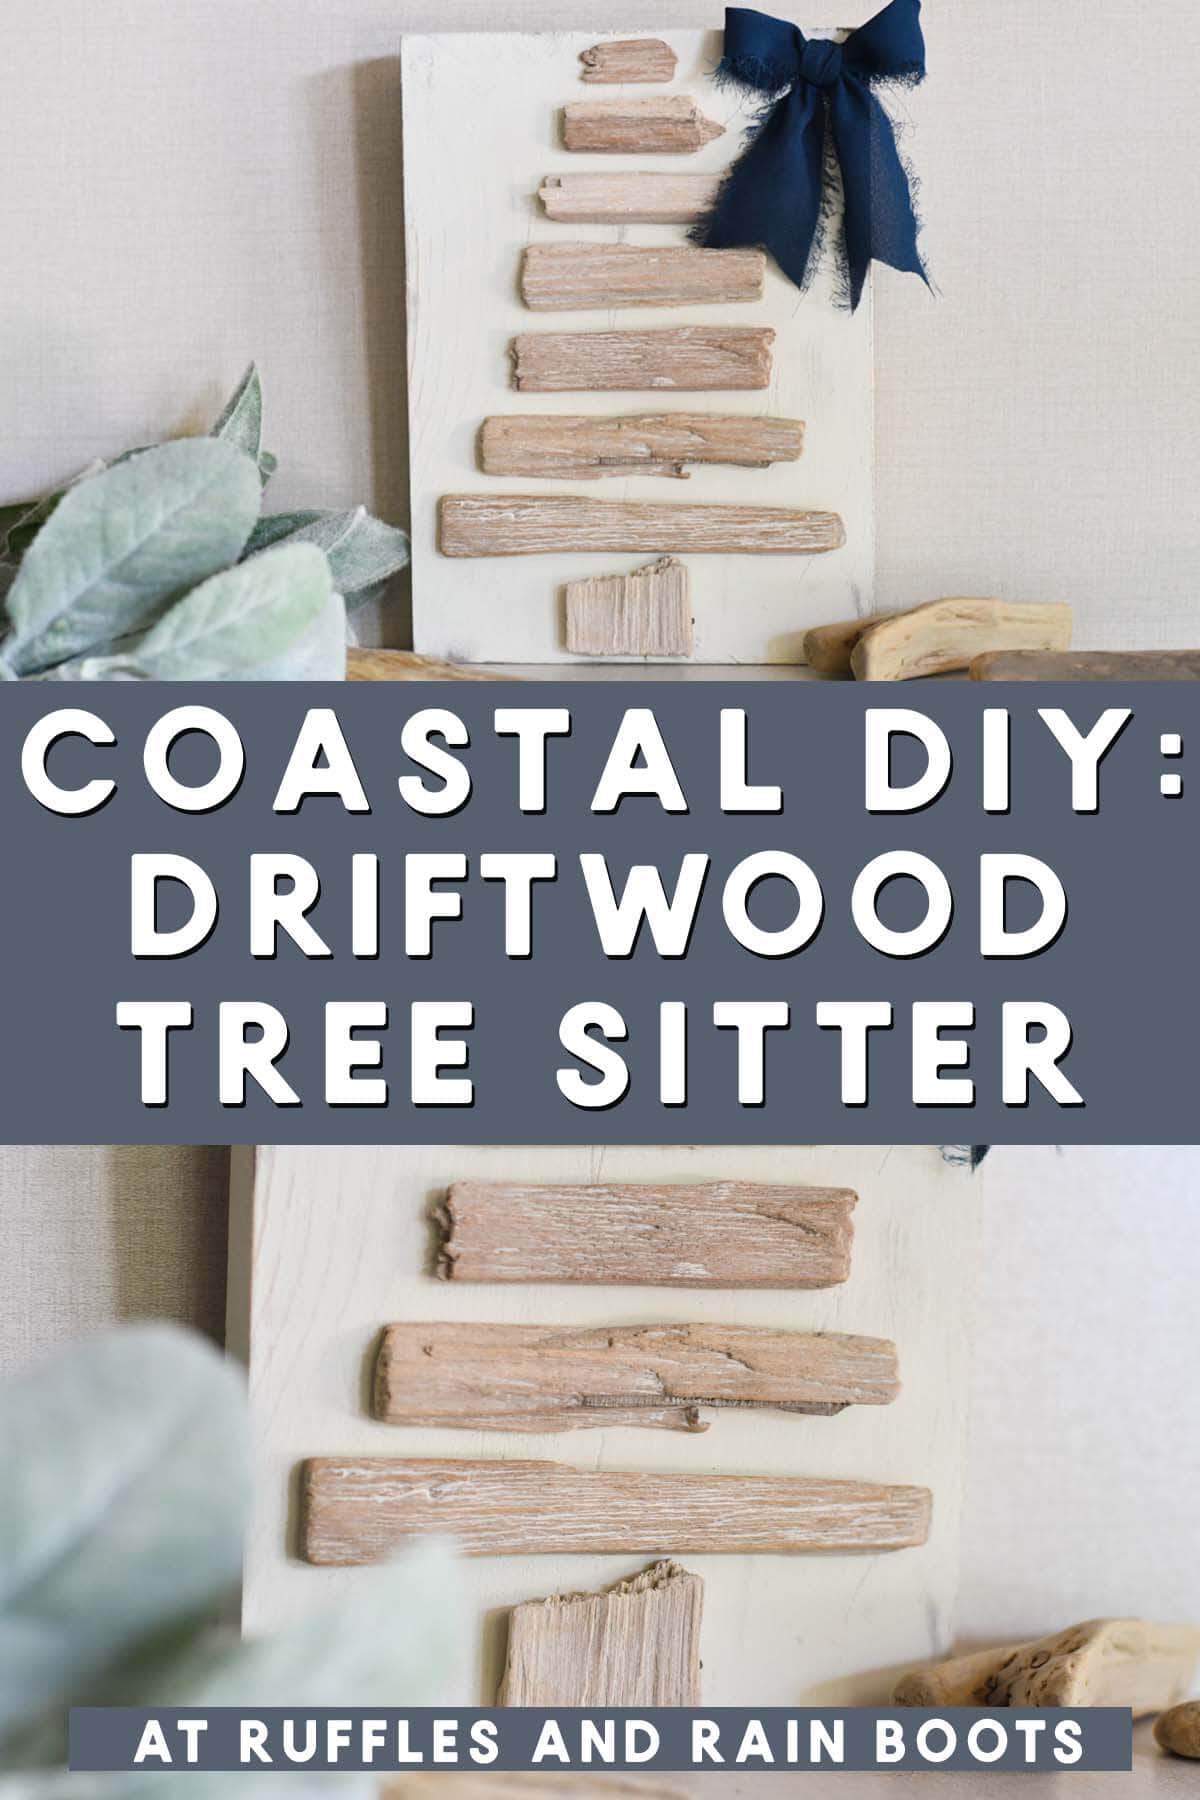
Sort through the pieces of driftwood and form a Christmas tree like shape. Add a tree trunk or leave it off, but make sure each piece gets smaller than the previous. Be sure to place this onto your wood block to ensure everything fits.
Hot glue the trunk in the center of the wood near the bottom. Next, center each piece and hot glue it in place, starting from the bottom and moving up.

Cut a piece of chiffon ribbon, if desired. Tie it into a bow and place on the top right of the wood block.
For the back, I sorted through a few pieces so I could make a cross (or a star) and a small manger. I used miter shears to cut a 45 degree angle on small pieces to form the roof and a thick, wide piece for the manger.
Glue on the manger, the roof, and the cross into the center of the board.

More Christmas and Holiday Crafts You Might Like
- DIY Driftwood Christmas Tree Ornament – This is an elegant way to use up those smaller driftwood pieces.
- Free Nautical Printables – If you like the sea and free, have I got a printable set for you! :)
- Free Beach Christmas SVG Designs – Having a warm Christmas or seeking a beach this holiday? These are pretty fun to use for cards, keepsakes, and more.
Please Save or Share This Fun Driftwood Craft Idea
Your shares are how this site grows and I am sincerely grateful. Please share this to social media or save it to a DIY Christmas crafts pin board.
Driftwood Christmas Shelf Sitter

You only need about 15 minutes to make this painted driftwood Christmas tree shelf sitter.
Materials
- small pieces driftwood in various sizes
- a small block of wood (mine was 7.5 x 5.5 inches from the Dollar Tree)
- navy chiffon ribbon or other ribbon, twine, or cord for hanging
- off white chalk paint and paint brush or roller (optional, gray or blue paint and dobber)
Tools
- hot glue gun and glue sticks
- scissors and/or miter shears
- sanding sponge or paper, optional
Instructions
- First, paint the wood slab front, back, and sides. I used this miniature roller set because I'm lazy and it makes me have to do less work. Once dry, sand lightly with a sanding block.
- I added a bit of gray chalk paint (on a dobber) to the edges of the wood block. You could also use a wax.
- Sort through the pieces of driftwood and form a Christmas tree like shape. Add a tree trunk or leave it off, but make sure each piece gets smaller than the previous. Be sure to place this onto your wood block to ensure everything fits.
- Hot glue the trunk in the center of the wood near the bottom. Next, center each piece and hot glue it in place, starting from the bottom and moving up.
- Cut a piece of chiffon ribbon, if desired. Tie it into a bow and place on the top right of the wood block.
- For the back, I sorted through a few pieces so I could make a cross (or a star) and a small manger. I used miter shears to cut a 45 degree angle on small pieces to form the roof and a thick, wide piece for the manger.
- Glue on the manger, the roof, and the cross into the center of the board.
Meet the Creator
Hi there, I’m Sarah Nenni-Daher. I’m a crafty gal and always have at least 14 projects going at once. I am a crafter, designer, DIYer, and pattern maker. I share my creations here and in the Ruffles and Rain Boots® Shop.
Here at Ruffles and Rain Boots®, you’ll find DIY gnomes, crafts, gifts, cupcakes, laser crafts, and so much more. I love sharing video tutorials over on YouTube and chatting with other crafters in my Facebook groups. We’d love to have you!