
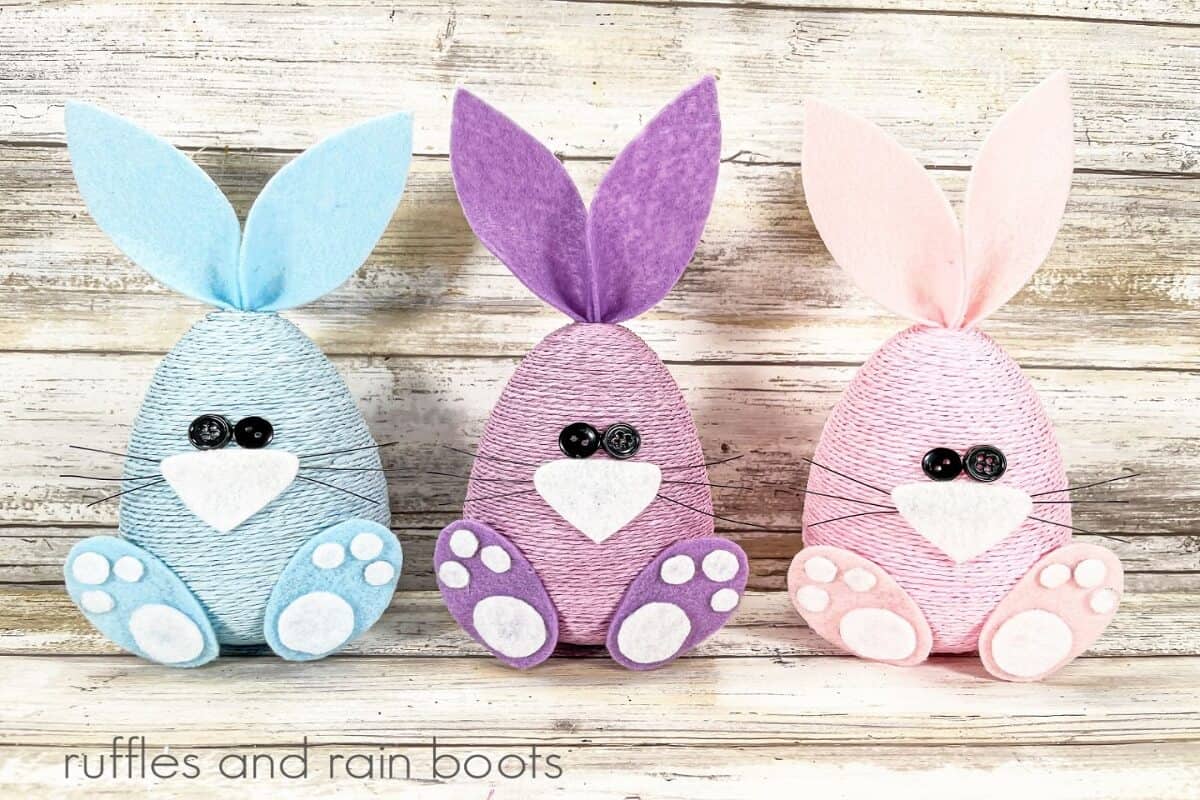
Dollar Tree Twine Bunny Eggs
These sweet Dollar Tree twine bunny eggs come together in less than 30 minutes and cost about $2. It will go perfectly with your Spring or Easter decor.
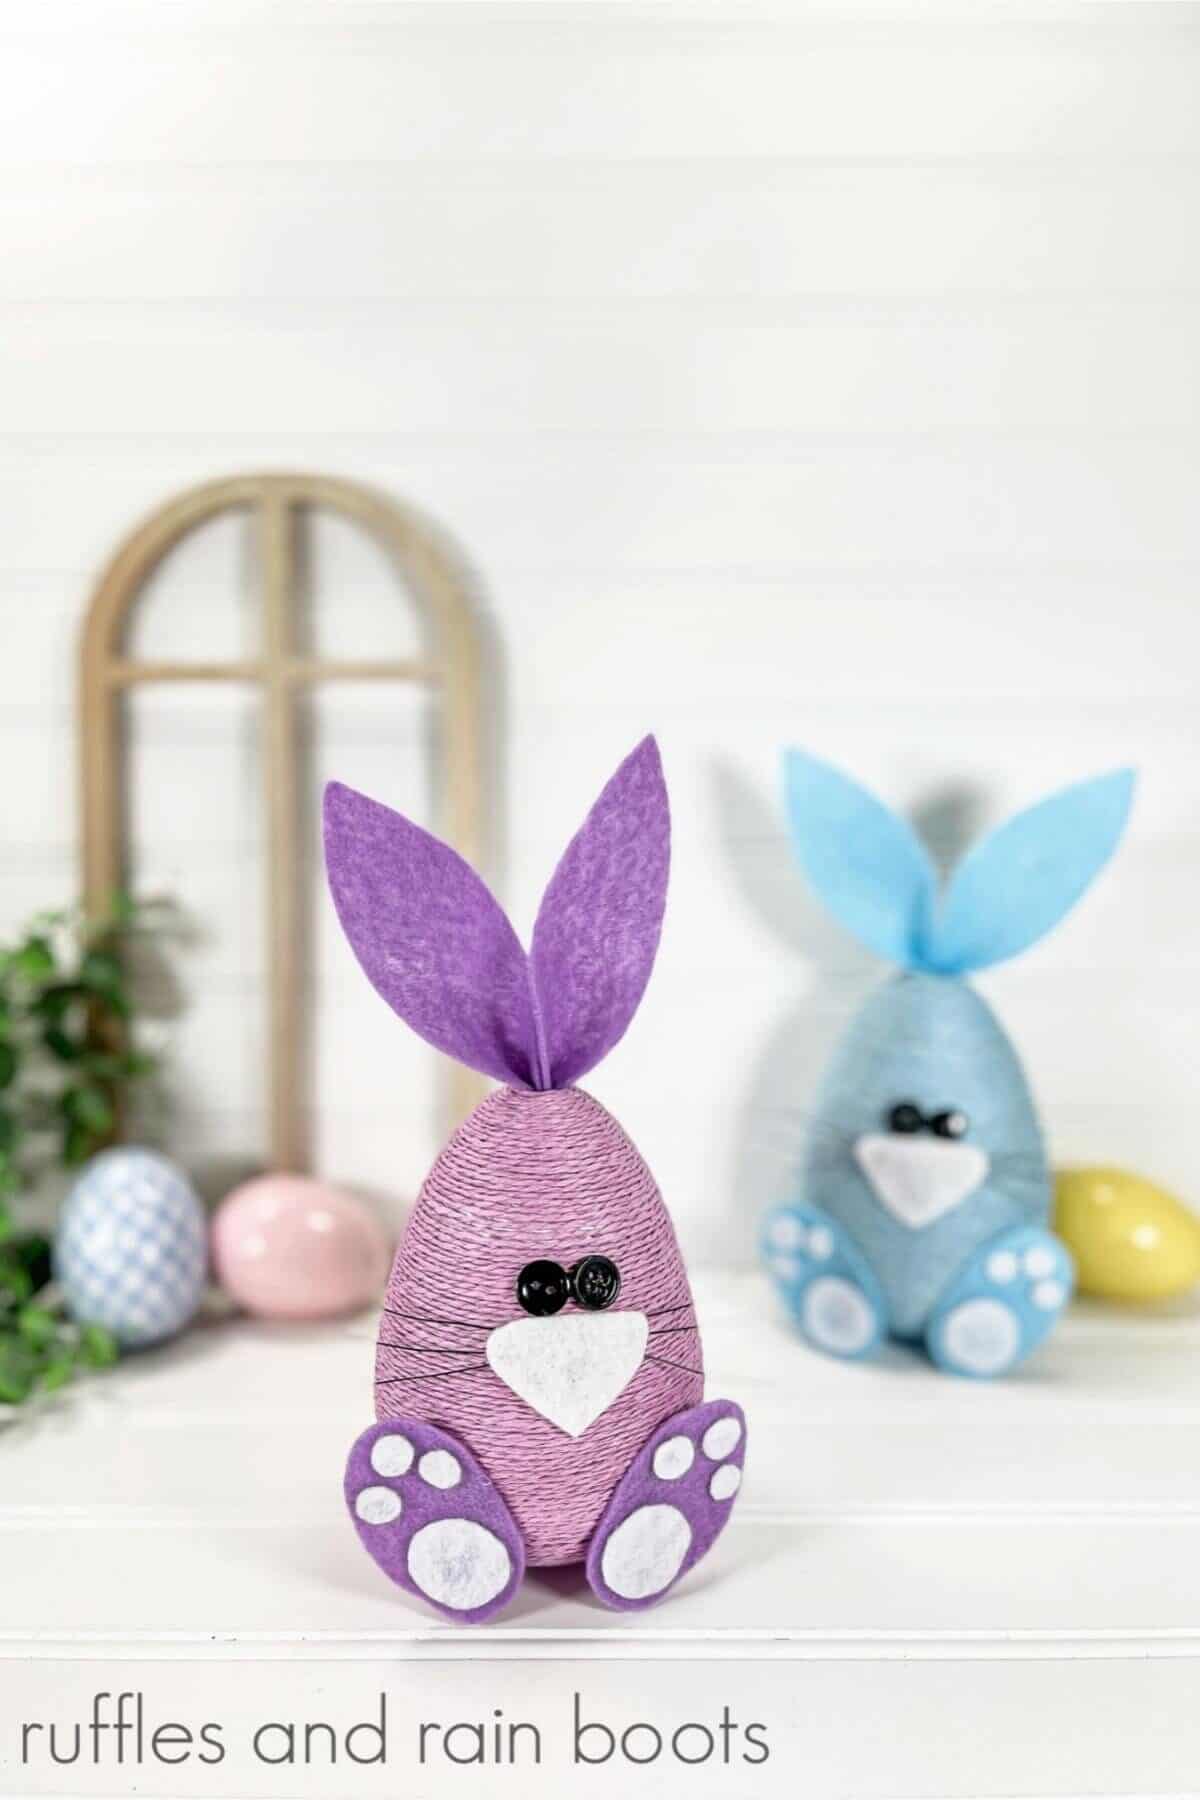
If you are hosting an Easter brunch, use these twine egg Easter bunnies as a placeholder for your guests. These cuties also make a great Easter basket filler, to use in your Easter egg hunt or tucked into a bunch of Spring flowers.
RELATED READING: Dollar Tree Twine Egg Chick and Bunny (They Stand Up)!
What You'll Find On This Page
Dollar Tree Twine Bunny Craft
Here at Ruffles and Rain Boots, we always keep an eye open at the Dollar Tree for a fun craft supply. When I saw the twine eggs and felt at the store, I immediately saw this little twine bunny with feet.
Who doesn’t love a simple holiday craft even the little ones can either make on their own or with a little help from a grown-up? This Dollar Tree Easter craft is simple and fun to make at the same time.
No Time to Make This Now? Save or Share for Later
Do you need to hop over to the Dollar Tree to grab the supplies to make this twine egg Easter bunny craft? Save this egg craft for kids to your favorite fun Easter crafts pin board or share it on Facebook. Using the sharing buttons will make it easy when you are ready to begin.
As an Amazon Associate, I could earn from qualifying purchases. There may be affiliate links within this article.
Tips for Making Twine Easter Egg Bunnies
- When cutting felt, use small, sharp scissors. Embroidery scissors are great.
- Cut inside the black marker traced line so the finished project is neat and clean.
- If you do not have felt, you can also use card stock or sheets of colored foam. Use what you have on hand!
- When flattening the twine egg, roll it carefully or the egg may crack.
- When gluing felt, use a hot glue gun or a strong tacky craft glue.
- Add a pom pom to the back for a cute bunny tail.
Supplies for This Dollar Tree Easter Bunny Craft
Below are the supplies I used but remember to check your stash. If you have card stock or craft foam on hand, those can be used in place of the felt.
I used a glue gun for this craft. If little hands are helping, you can use a craft glue but will have to let it dry between some steps.
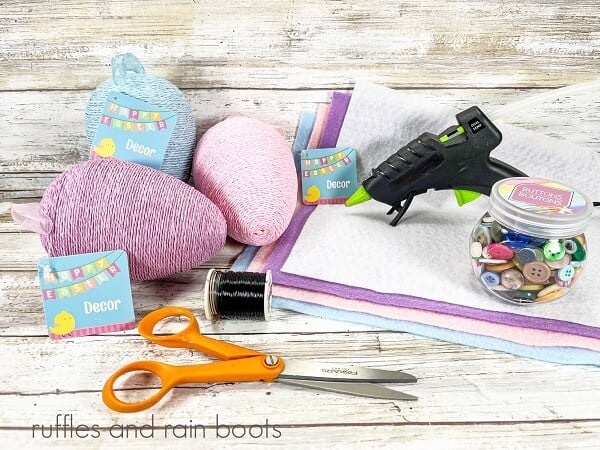
- Twine Wrapped Eggs
- White, Light Pink, Light Blue, and Violet Craft Felt
- Black Permanent Marker
- Scissors
- Black Buttons
- Glue Gun and Glue Sticks
- Black Wire
- Wire Cutters
- Bunny Template
How to Make A Dollar Tree Twine Egg Bunny Craft
Each step of this cute Easter bunny craft is detailed below so it’s easy to follow. Keep this page open while you are creating your Dollar Tree Easter Bunny. If you would rather have a printable how-to, just scroll down and select the print button.
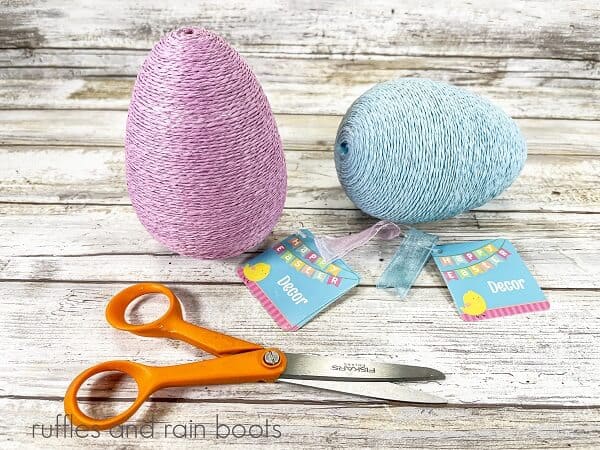
Cut off the tags and press the base of the egg on a flat surface to flatten it. If yours don’t sit flat, cut a piece of cork to stabilize the bottom.
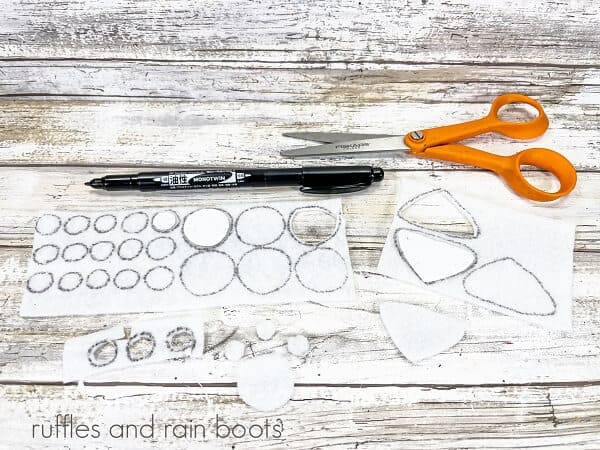
Using a permanent marker, trace onto white craft felt for each circle and triangle from the template.
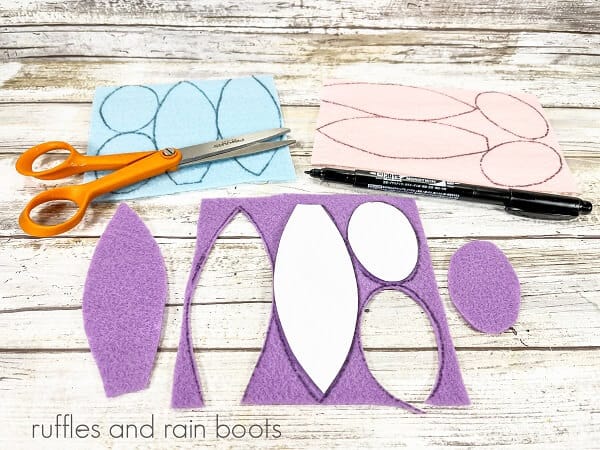
Trace and cut two ears and two oval feet from the colored felt.
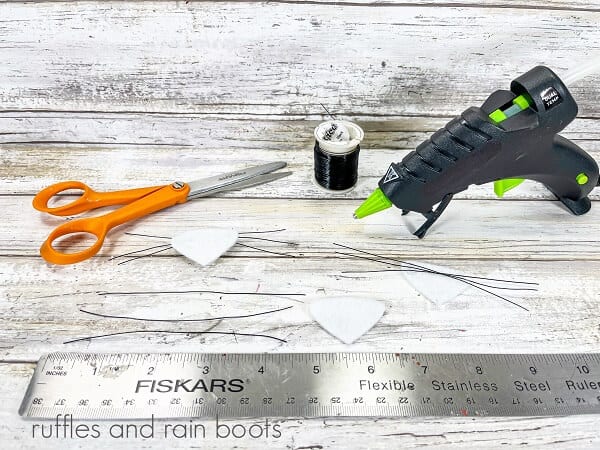
Measure and cut three 4-inch long pieces of black wire.
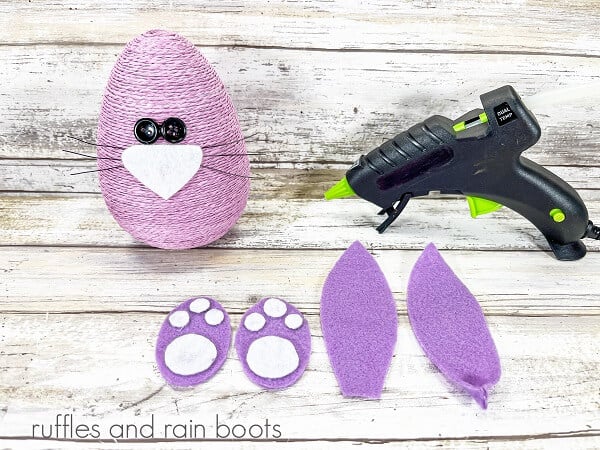
Using a glue gun attach two black buttons for the eyes and a white felt nose.
Glue the bottom points of the ears together. I also glued a bit up the sides to keep them standing.
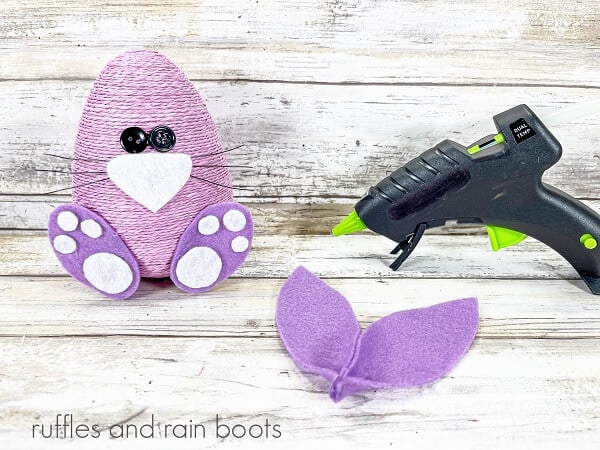
Attach the feet to the twine egg in front of the bunny at the bottom.
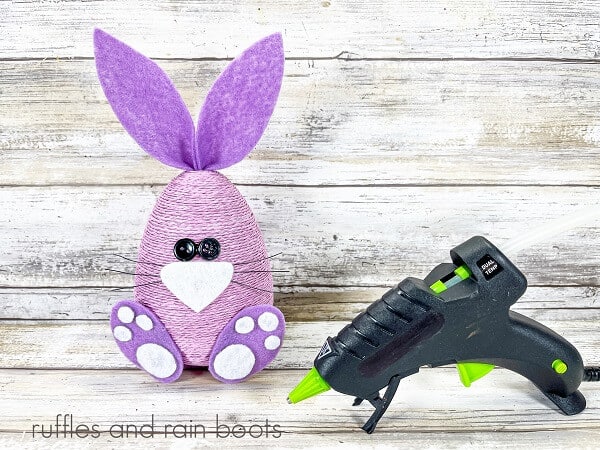
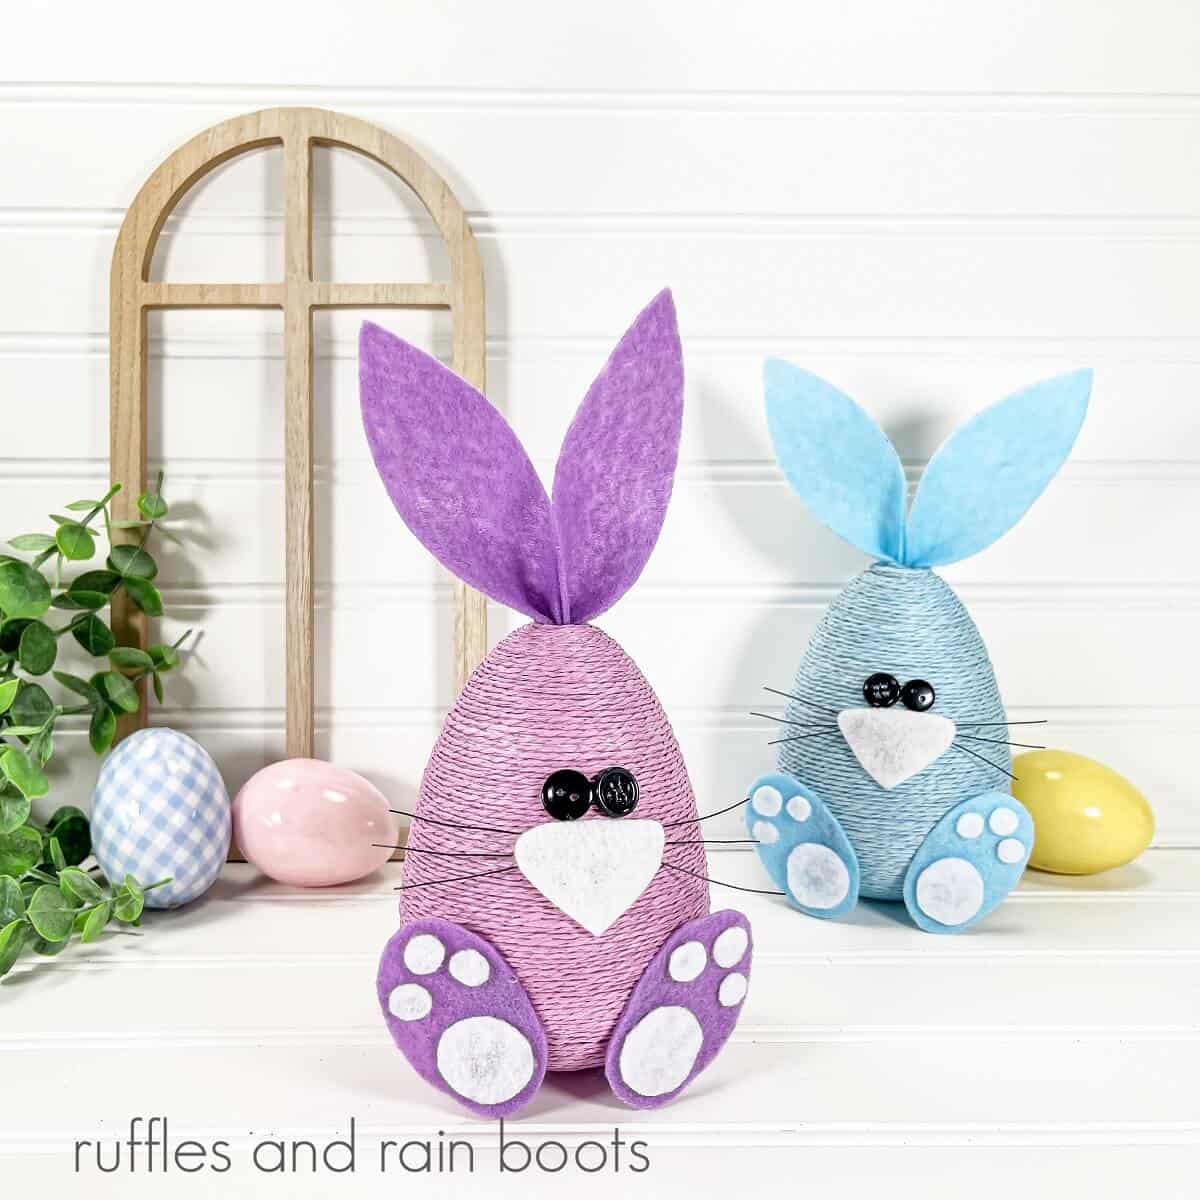
Finally, attach the felt ears to the top of the twine egg. Display your adorable little Easter bunnies!
More Cute Easter Crafts You May Like
- Easy Easter Paper Origami Bookmarks: The changing weather, beautiful flowers, and green grass is where I found inspiration for these adorable easy Easter origami bookmarks.
- Yarn Wrapped Buffalo Check Easter Eggs: These easy Buffalo check Easter eggs are quick to make and there are so many ways to customize them. Use them as tiered tray additions, and dough bowl fillers, or tuck them into wreaths or bookcase displays.
- Gnome Easter Basket Dollar Tree Craft: Making this gnome Easter basket is such a quick and fun craft, it’s perfect for an Easter-day craft. Plus it’s a Dollar Tree craft, so it’s inexpensive, too!
Please Save or Share This Easter Decor Idea
Your shares are how this site grows and I sincerely appreciate it. Please save this twine egg Easter bunny craft to your favorite easy Easter craft ideas pin board or share it on Facebook.

Dollar Tree Twine Egg Easter Bunny Craft

With simple supplies from the Dollar Tree like buttons, felt and wire, you can create the sweetest Dollar Tree Twine Egg Easter Bunny Craft! Put them together in under 30 minutes for less than $2. You can give them to family, friends, or neighbors. Use them as table placeholders for your Easter brunch or for your kid's Easter basket. These twine bunnies are so simple to make, kids can make them with a little help from an adult.
Materials
- Twine Wrapped Eggs from Dollar Tree
- White, Light Pink, Light Blue, and Violet Craft Felt
- 5/8” Round Black Buttons
- 22 Gauge Black Wire (or Embroidery Thread)
- Egg Bunny Template
Tools
- Black Permanent Marker
- Scissors
- Hot Glue Gun and Glue Sticks (or Craft Glue)
- Wire Cutters (or Strong Scissors)
Instructions
- Cut off the tags and flatten the base of the egg on a flat surface.
- Download and print the template for the bunny pieces and cut out each piece. Using a permanent marker, trace six small circles, two larger circles, and one triangle nose onto white craft felt for EACH bunny. Cut out the felt pieces with scissors.
- Trace and cut two ears and two oval feet from the light pink, light blue, and violet craft felt, and then cut them out with scissors.
- Measure, and using wire cutters, cut three 4” long pieces of black wire. Turn the white felt nose over and, using the glue gun, attach the three wires in a crisscross pattern.
- Using a glue gun, attach two black buttons for the eyes. Attach the white felt nose just under the eyes.
- Using the glue gun, assemble the bunny’s feet and attach them to the bunny.
- Using the glue gun, place a small dot of glue at the base of each ear. Fold them in half and using closed scissors, carefully poke a hole in the top of the egg. Insert the ears and secure them with a dot of glue.
Notes
If you don't have the wire on hand, use a black embroidery thread. To make long, stiff whiskers, coat each in glue (or ModPodge) and let dry before attaching to the twine bunny face.
Meet the Creator
Hi there, I’m Sarah Nenni-Daher. I’m a crafty gal and always have at least 14 projects going at once. I am a crafter, designer, DIYer, and pattern maker. I share my creations here and in the Ruffles and Rain Boots® Shop.
Here at Ruffles and Rain Boots®, you’ll find DIY gnomes, crafts, gifts, cupcakes, laser crafts, and so much more. I love sharing video tutorials over on YouTube and chatting with other crafters in my Facebook groups. We’d love to have you!