DIY Chef Gnome with the Cutest Toque!
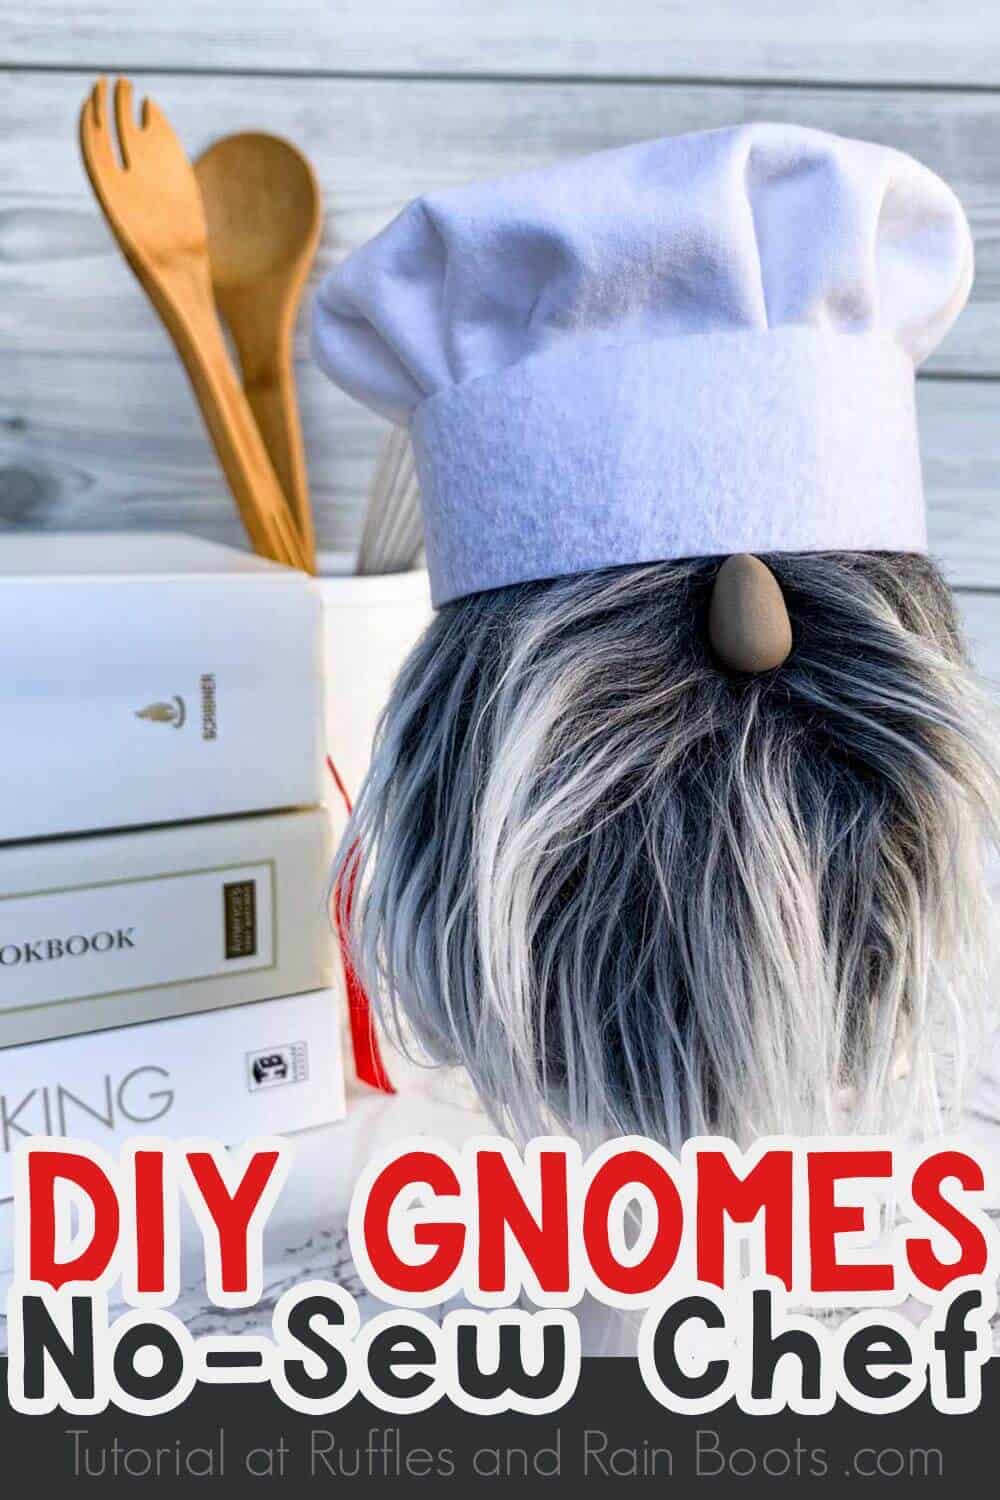
This chef gnome is done in less than 30-minutes and let’s just face it – he’s perfect for any kitchen or as a gift for bakers. You can easily make the entire DIY gnome without a sewing machine just using basic craft supplies and a sock!
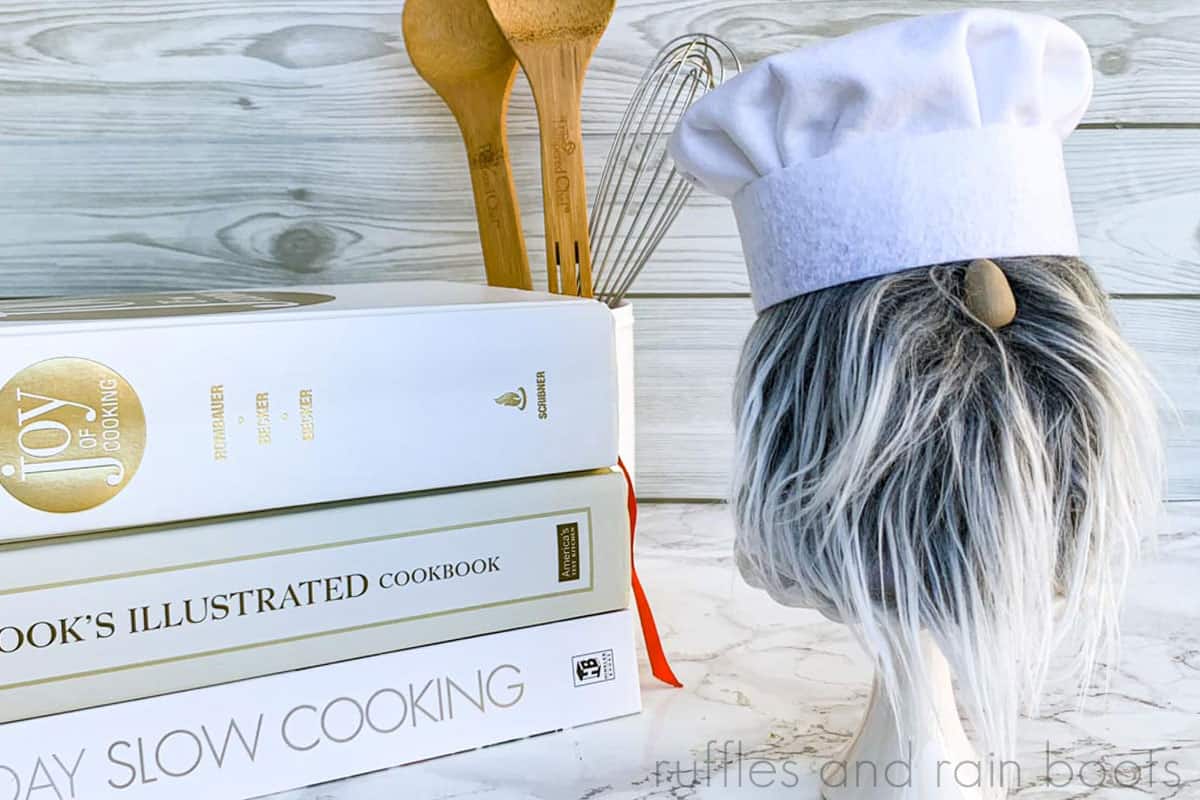
You Can Make This Adorable Chef Sock Gnome
Here at Ruffles and Rain Boots, I tend to craft inside – I live in Seattle, after all, and it’s a bit gray and wet most of the year. But today, I took a few basic craft supplies out onto the back patio and made this adorable chef sock gnome. Yes, he’s that easy to make!
I was designing my next tiered tray display and thought to myself, “I really need a chef gnome.” If you’re telling yourself that, too, you’re in the right place. In fact, if you’re asking yourself that question, you have to check out my entire sock gnome collection here. I make a lot of gnomes…
Before we get started on this fun chef sock gnome tutorial, be sure to read through the most frequently asked questions people have when making sock gnomes here. It’s a short list and it helps you to decide how you want your gnome to look.
Get Secret Gnomes, Tips, & Freebies Delivered!
What is the best pattern to use when you don’t want to sew? Do you know the secrets to a properly-proportioned gnome? Do you know where to get the best-priced fur?
Get all of this (and exclusive content just for you) delivered right to your inbox with the gnome-making series, free of charge. Sign up to get the once-weekly newsletter (and a jaw-dropping special offer)!

No Time to Make This Now? Pin it for Later
Saving this for the holiday season for that baker you love? Just pin it or share it to Facebook so you can find it later.

As an Amazon Associate, I could earn from qualifying purchases.
Tips for Making a Chef Sock Gnome
I make a lot of gnomes (ahem… understatement) and I will say, without a doubt, the humble sock gnome is the easiest and fast gnome tutorial I have. It’s a quick way to decorate for Christmas or any holiday and well, they’re just cute. Here are a few tips I have for making these.
- Is this your first time making a sock gnome? You might want to read through my sock gnome tutorial for beginners – it has more detail.
- If you want to turn an easy sock gnome into an elegant bit of decor, choose the right faux fur. Sheets of craft fur are not as nice as my favorite – check it out here. This fur is WORTH the price because it is thick, full, colored well, and hangs the best out of anything I’ve tried (and I’ve tried a lot).
- Get the men’s ankle socks at the dollar store. They are perfect for short and squatty or tall and lean gnomes.
- If you want, add scent to the gnomes. Friends, if I had an oil which smelled like freshly-baked cookies, I would have doused the filler for this chef gnome in it!
- Use twine or a rubber band if your gnome is too tall to tie a knot. I find them easier to make that way.
- If you do not have iron-on interfacing on hand to use with white cotton fabric, you can use a thick white felt. Just know it will change the look.

How Do I Make a Sock Gnome for the Kitchen?
I’m so glad you asked! Below is our written tutorial. If, however, you’re a visual learner and want the full video for a YouTube playlist, here is our easy chef sock gnome video tutorial.
Chef Gnome (An Easy Sock Gnome Tutorial)

This adorable chef gnome has a perfect cheft's toque hat and is a perfect addition to a tiered tray or a kitchen display.
Materials
- Mongolian fur (we got ours here on Amazon)
- fabric for hat (I got mine here and LOVE the quality)
- ankle sock (short adult sock)
- polyfill or fabric scraps to stuff the gnome body
- 1/2 cup dried beans or poly beads
- clay or wooden bead for the nose (we love these)
- white cotton fabric and white iron-on interfacing (ironed and secured together)
- white felt (stiff, craft quality)
- needle and white thread
Tools
- scissors
- glue gun and glue sticks
- razor or other straight-edged blade
Instructions
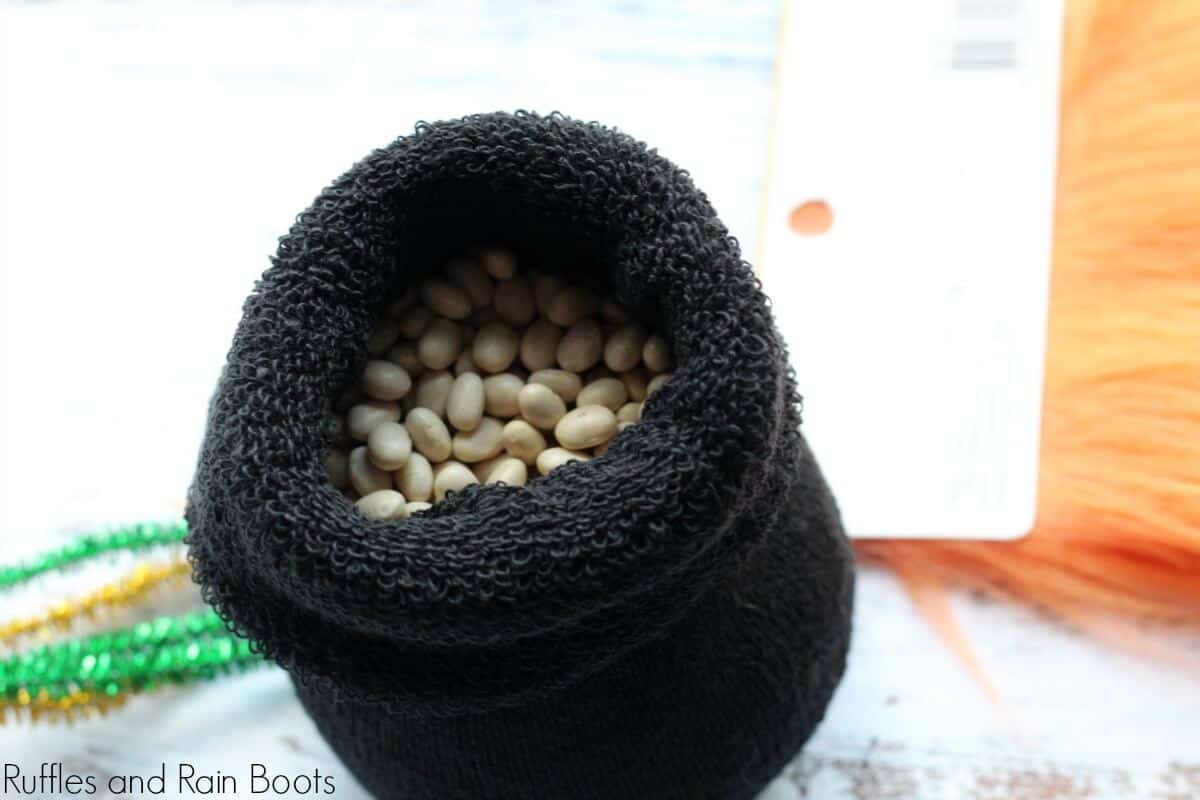
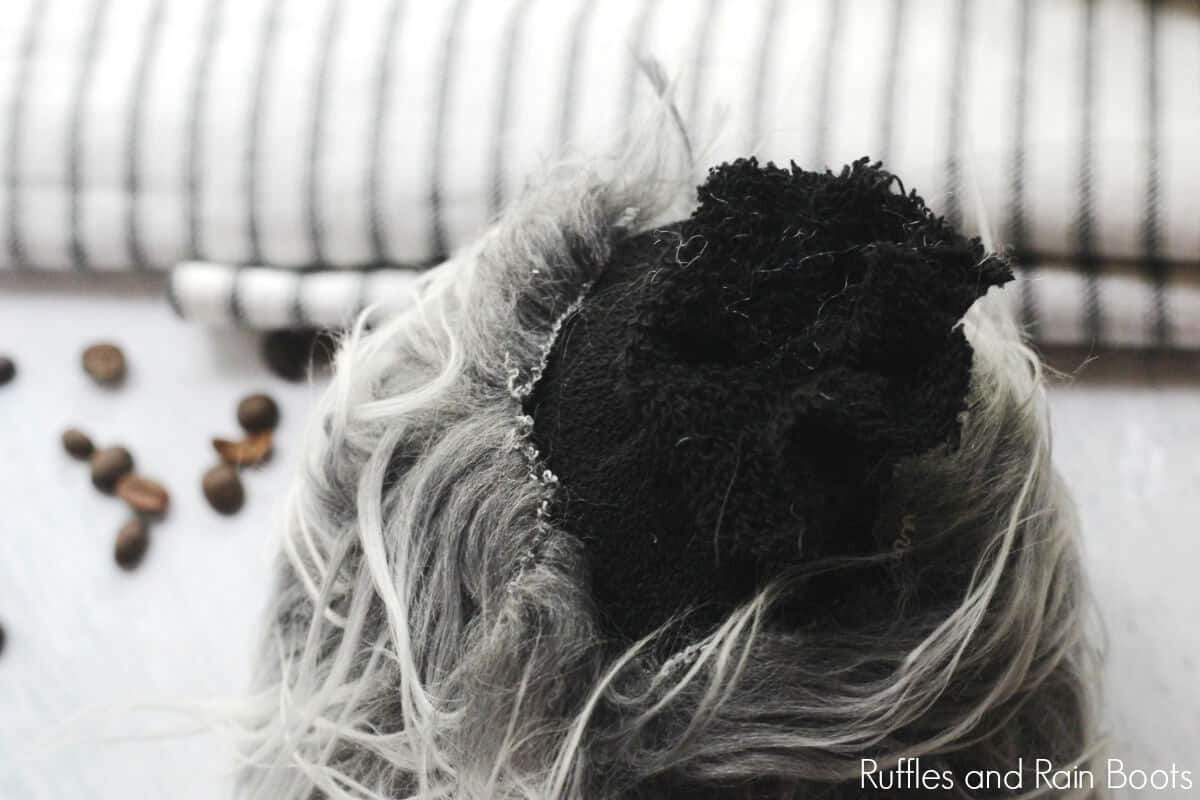
- Pour the beans into the sock. Stuff the sock with polyfill about three-quarters of the way. Tie the sock in a knot and ecure with hot glue.
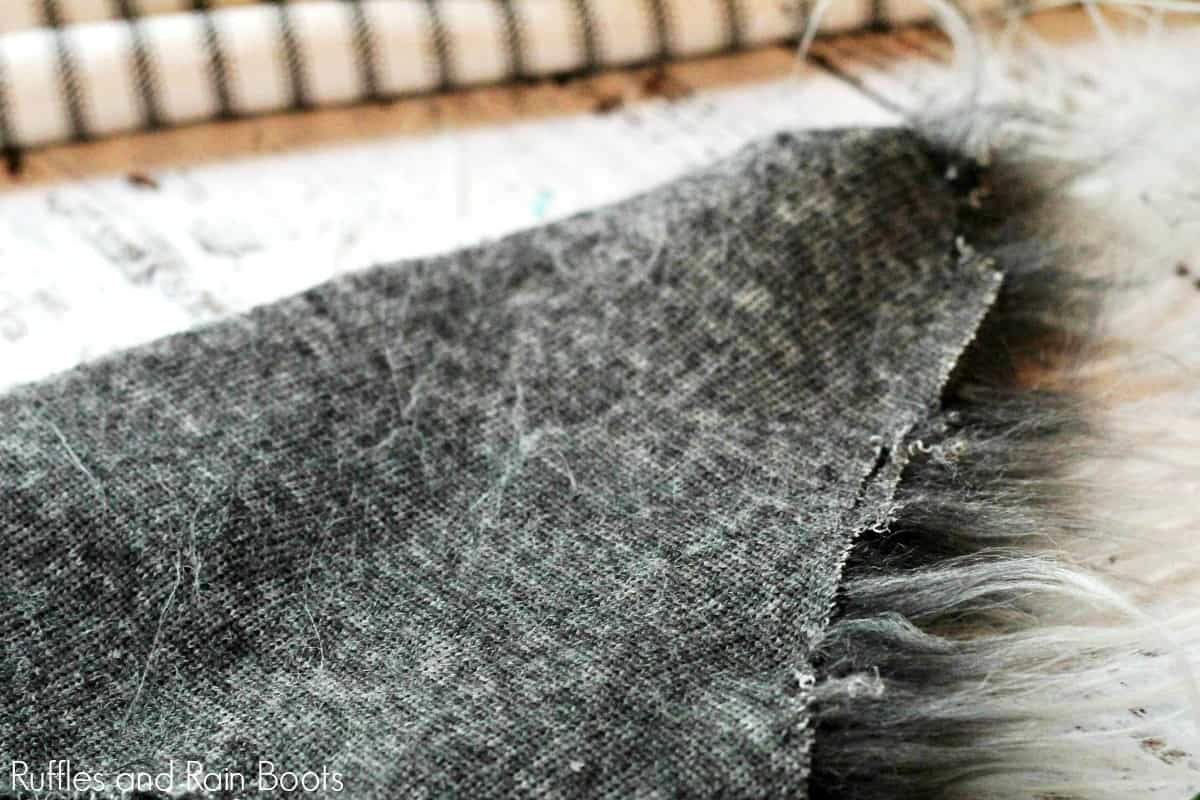
- Using a straight edge (not scissors), cut approximately a 9-inch wide triangle (9 inches at the top edge). Be careful to only cut the backing, not the faux fur if you want a nice, natural beard. The length depends on how you'd like your gnome to look.
- Wrap the fur around the gnome body just under the tied knot and secure with hot glue.
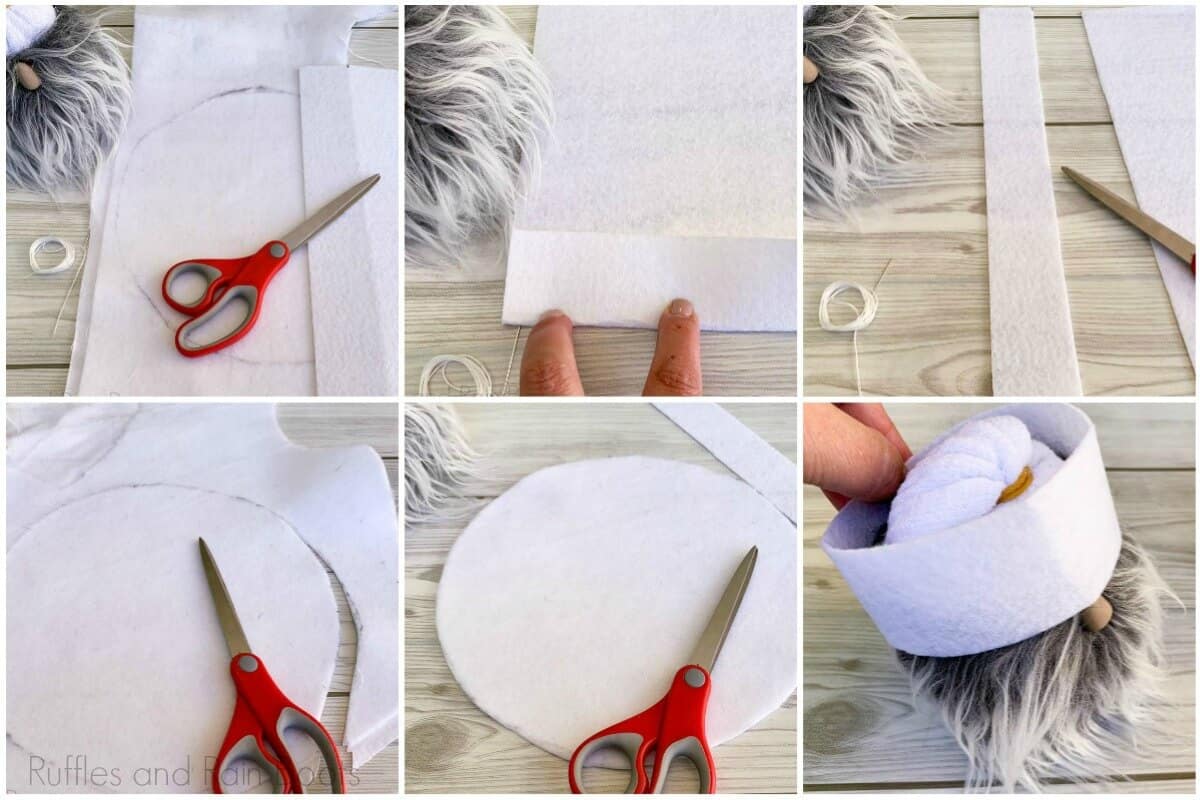
- Measure 1.5 inches from the edge and cut on the long edge of the felt. This is the band of the hat. Set aside.
- Cut approximately an 8.5-inch diameter circle from the fabric (with the iron-on interfacing attached).
- Secure chef hat band into a circle by hot gluing the ends together after measuring it on your sock gnome body. Do not attach it to the gnome yet.
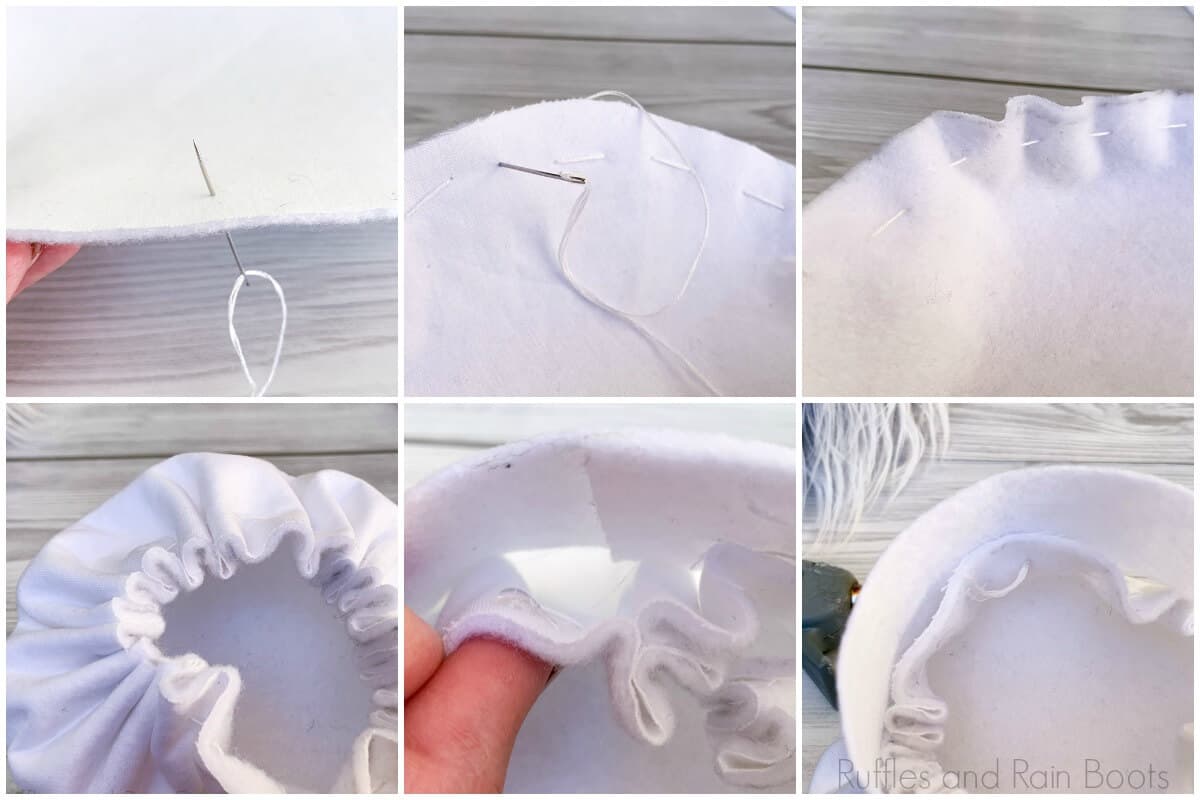
- Use the needle and thread to add a running stitch to the outside edge of the circle. Pull both ends and scrunch the circle up so that it fits inside the band.
- Hot glue the fabric to the inside of the band. Fluff it up and secure it to the gnome body.
Notes
For so many more adorable gnome tutorials, visit Ruffles and Rain Boots .com
More DIY Gnome Tutorials You MIght like
It’s no secret I love designing and making my own gnomes and gnome decor. If you need inspiration, here are a few more Swedish gnome tutorials you might like:
- All Christmas Gnome Tutorials and All DIY Gnome Tutorials (not Christmas-related) – I make a lot of gnomes…
- Christmas Gnome Ornaments – These popular Christmas gnomes are ready in 15-minutes and are gorgeous!
- Gnome Mason Jars for Treats and Gifts – Need a fun and festive way to recycle jars? Start with these.
Please Share This on Facebook or Pinterest
Your shares are how this site grows and I am sincerely grateful. Please share this to Facebook or save it to a craft board on Pinterest.


So cute,making mine as a Tam for a Christmas Gnome!
Your gnomes are so cute!
Thank you so much, Jaci. I love creating them and sharing them. I will have another chef gnome coming up for the holidays, so check back soon for that.