
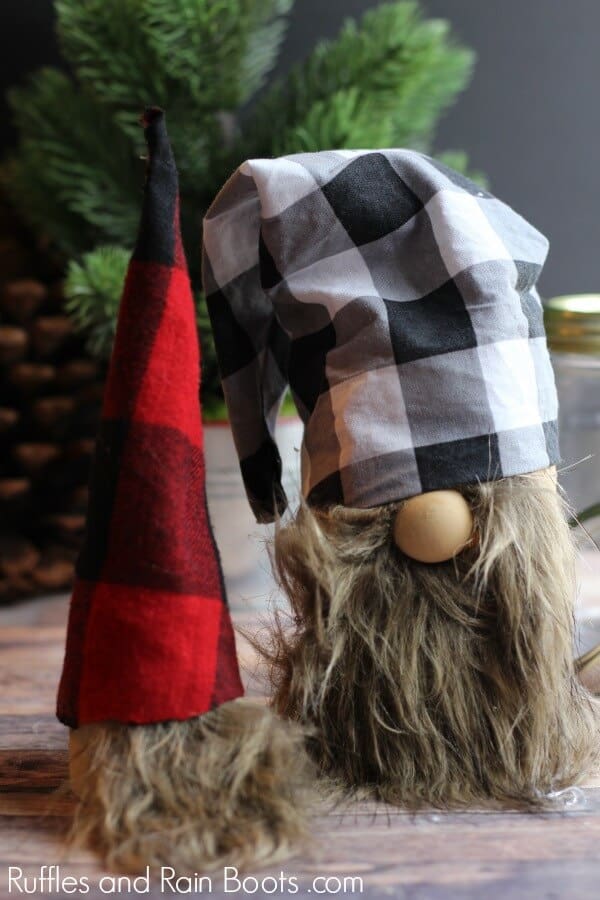
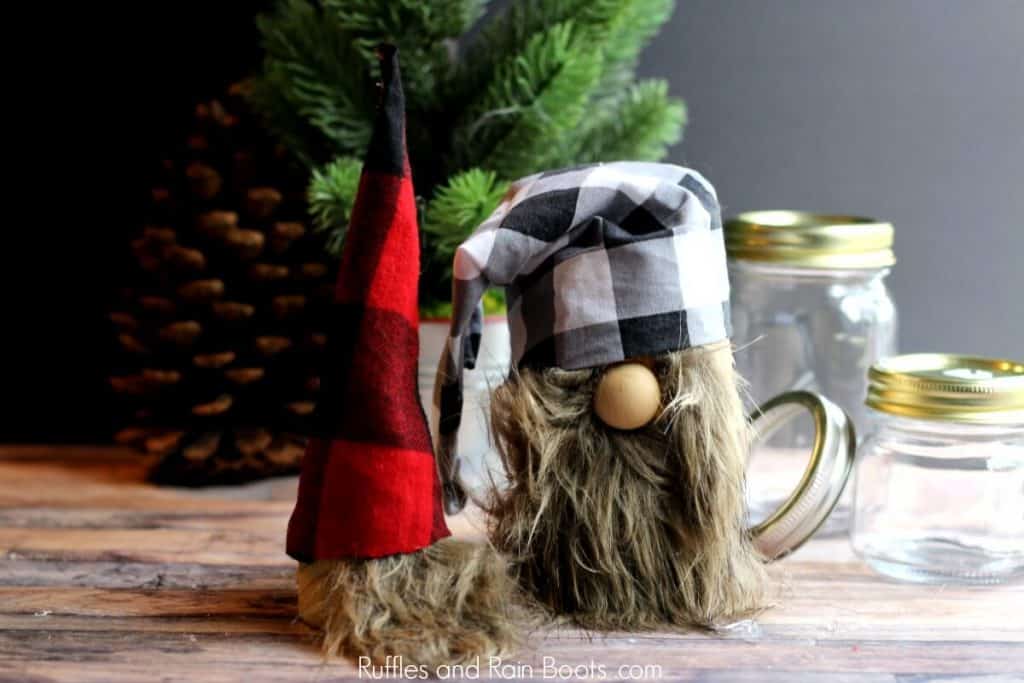
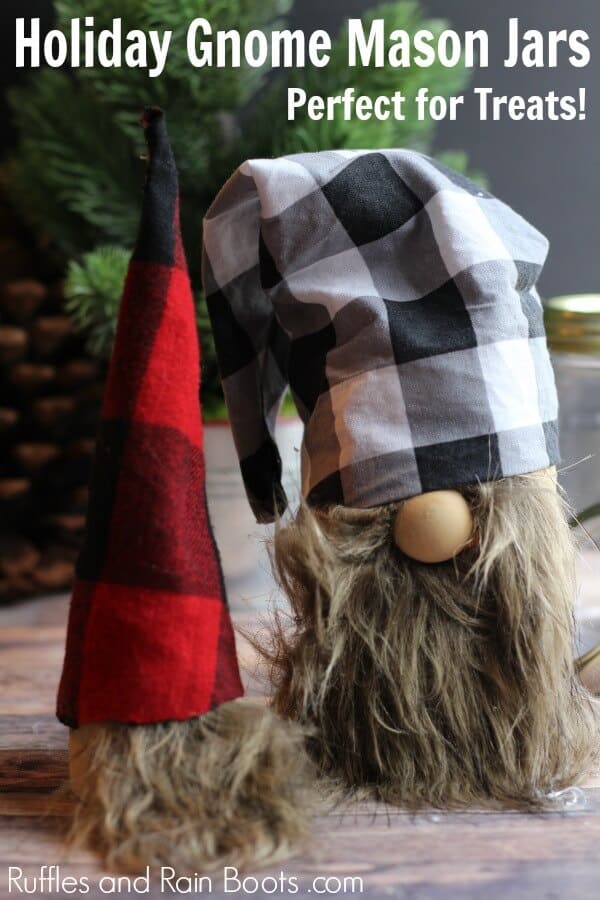
Christmas Gnome Mason Jars – Bring on the Holiday Smiles
These Christmas gnome mason jars are a quick and easy craft to bring the holiday season home. Grab some scraps and let’s get started!

What You'll Find On This Page
Christmas Gnome Mason Jars
Here at Ruffles and Rain Boots, we LOVE making DIY Scandinavian gnomes. Tomte, nisse, Christmas elves – we don’t care what they are called, we just big, squishy heart love them.
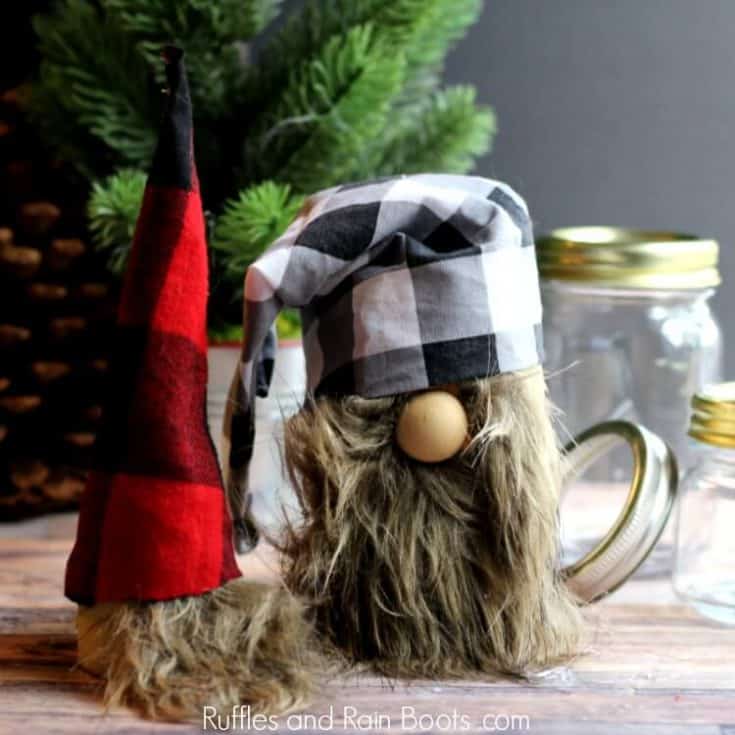
You can find all of our gnome crafts here, but let’s talk about these Christmas gnome mason jars. Use any jar you have: mason jars, baby food jars, spaghetti sauce jars – neither the type of jar or the size matters. In fact, this makes a great display when the jars are differently sized.
Let’s get started with this fun Scandinavian gnome tutorial!
RELATED READING: Swedish Gnomes Mr. and Mrs. 30-Minute Craft
DIY Christmas Gnome Tutorials
If you’re looking for the best DIY Christmas gnome tutorials, you have come to the right place. Check out all of my favorite tomte tutorials for the holidays!
Supplies to Make These Cute Christmas Gnome Jars
This is a quick craft and once you learn how to cut the beards from faux fur, you’re going to want to make a TON! There are affiliate links in this article which means, at no additional cost to you, we could receive compensation for our recommendations. You can read our full disclosure policy.
Psst: we have a full Christmas gnomes supply list on Amazon. We make gnomes so much, these are our favorite supplies.
- Jars (with lids) in various sizes
- Faux fur (craft fur) and a razor blade or straight-edge to cut
- Flannel or other fabric
- Flesh-colored paint (tan, beige, brown, etc.)
- Foam brush
- Unfinished wood circle or bead
- Hot glue gun or craft glue (will take longer to make)
How to Make Christmas Gnome Jars
It’s best to make sure there isn’t anything on the inside or outside of the jars, so give them a wipe. If you’re feeling frisky, wipe the outside with rubbing alcohol. If you have a playlist on YouTube to which you’d like to add this project, here is our Gnome Mason Jar video tutorial.
First, paint the jar (below the threads). Set aside to dry. Repeat, if needed.
Measure the length of your beard using half the jar height as your guide by however wide you would like. Decide whether you like a straight-across beard or the point.
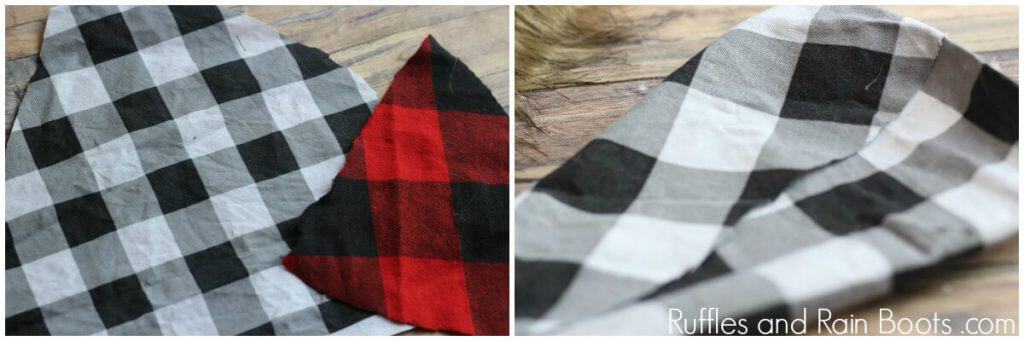
Measure your hat by using the following: twice as long as your jar is high and as wide as your jar’s circumference plus 2 inches. So for a jar which is 10″ around and 10″ tall, you would cut a triangle that is 20 inches tall by 12 inches wide (at the widest part, the bottom).
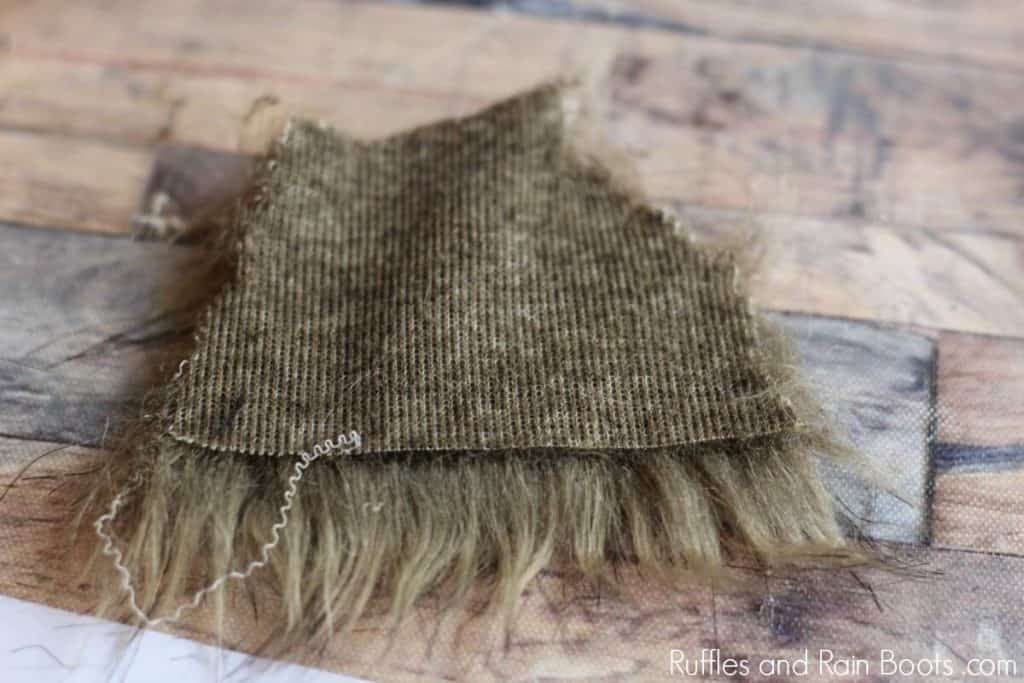
Cut a gnome beard from the faux fur. If you’ve never done this, here’s how you get a natural-looking beard. Flip the fur over and draw your beard shape on the fabric. We used a trapezoid shape for the large jar.
Use a razor blade to cut only the fabric (you can use scissors, just be sure not to cut the fur). If you’d like a mustache, cut it out the same way using measurements of half your beard’s length by about half or three-quarters of an inch.
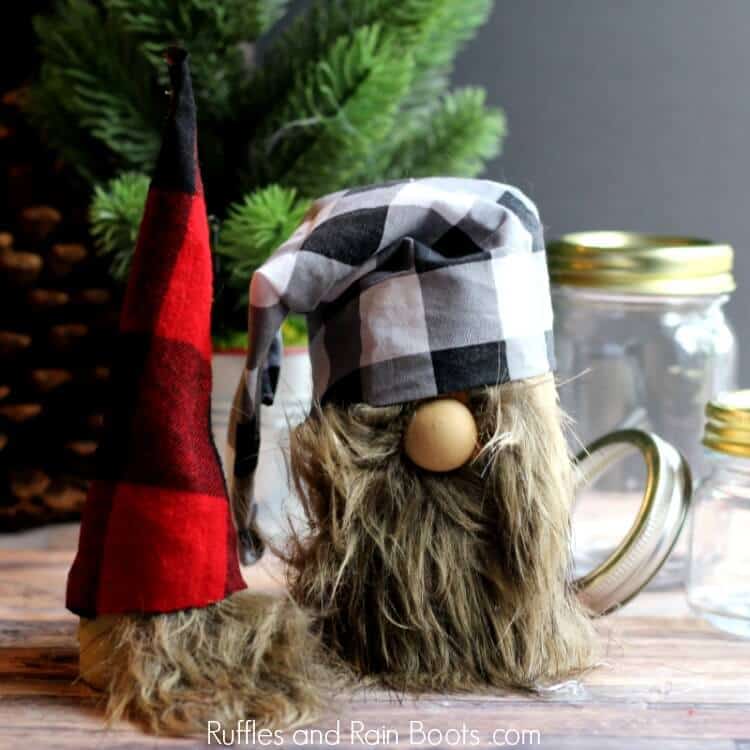
Glue on your beard halfway down the jar and glue on a wooden circle or bead just above it for the nose.
Add the mustache pieces just above the nose and direct them off to the side before gluing.
Fold up about a quarter of an inch of the fabric and glue the bottom of the hat shape, giving it a nice finish without sewing. Roll the hat into a cone, overlapping, and secure with glue.
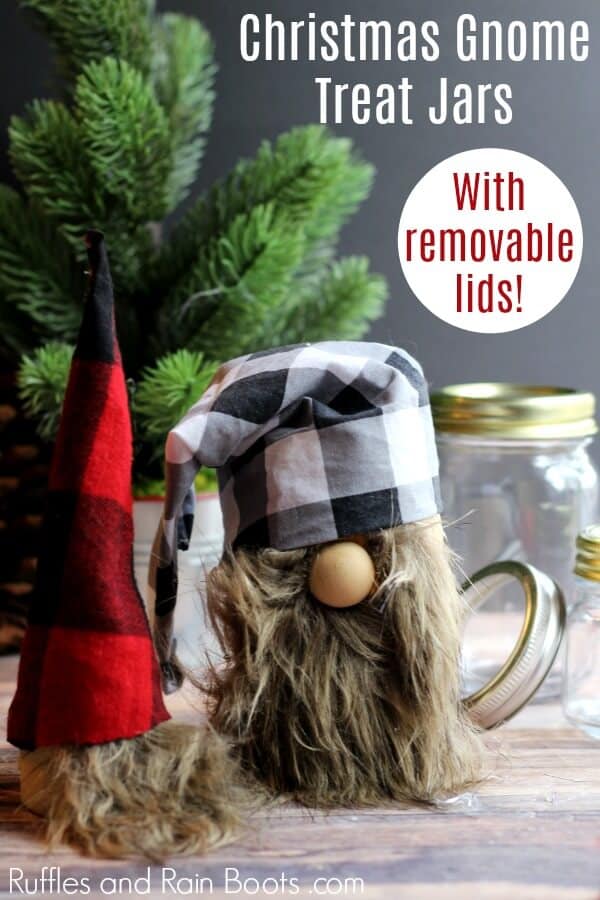
Slip it onto the jar but do not glue. This is just going to slide down onto the jar so you can still access the contents.
What to Store (or Give) In These Fun Gnome Mason Jars
Depending on the size of your jars, you can make the following:
- Ornaments (using these tiny jars – SO cute)
- Cookie holders – Ramp up your cookie exchange with a few of these jars.
- Treat and candy storage – I’m not saying this is for everyone but these little jars make great stealthy storage for the treats you want to keep to yourself…
RELATED READING: Gnome Wine Cork Ornaments – Too Cute!
Please Save This on Pinterest or Share on Facebook
Your shares are how we grow and I am sincerely grateful.
Christmas Gnome Mason Jars - Bring on the Holiday Smiles
These Christmas gnome mason jars are a quick and easy craft to bring the holiday season home. Grab some scraps and let's get started!
Materials
- Jars (with lids) in various sizes
- Faux fur (craft fur) and a razor blade or straight-edge to cut
- Flannel or other fabric
- Flesh-colored paint (tan, beige, brown, etc.)
- Unfinished wood circle or bead
Tools
- Hot glue gun or craft glue (will take longer to make)
- foam brush
Instructions
- Paint the jar (below the threads). Set aside to dry. Repeat, if needed.
- Measure the length of your beard using half the jar height as your guide by however wide you would like. Decide whether you like a straight-across beard or the point.
- Measure your hat by using the following: twice as long as your jar is high and as wide as your jar's circumference plus 2 inches. So far a jar which is 10" around and 10" tall, you would cut a triangle that is 20 inches tall by 12 inches wide (at the widest part, the bottom).
- Cut a gnome beard from the faux fur. If you've never done this, here's how you get a natural-looking beard. Flip the fur over and draw your beard shape on the fabric. We used a trapezoid shape for the large jar. Use a razor blade to cut only the fabric (you can use scissors, just be sure not to cut the fur). If you'd like a mustache, cut it out the same way using measurements of half your beard's length by about half or three-quarters of an inch.
- Glue on your beard halfway down the jar and glue on a wooden circle or bead just above it for the nose. Add the mustache pieces just above the nose and direct them off to the side before gluing.
- Fold up about a quarter of an inch of the fabric and glue the bottom of the hat shape, giving it a nice finish without sewing.
- Roll the hat into a cone, overlapping, and secure with glue. Slip it onto the jar but do not glue. This is just going to slide down onto the jar so you can still access the contents.
Notes
Note: for the very small Christmas gnome mason jars, I didn't use a nose and just glued the beard under the threads at the top.
Meet the Creator
Hi there, I’m Sarah Nenni-Daher. I’m a crafty gal and always have at least 14 projects going at once. I am a crafter, designer, DIYer, and pattern maker. I share my creations here and in the Ruffles and Rain Boots® Shop.
Here at Ruffles and Rain Boots®, you’ll find DIY gnomes, crafts, gifts, cupcakes, laser crafts, and so much more. I love sharing video tutorials over on YouTube and chatting with other crafters in my Facebook groups. We’d love to have you!