
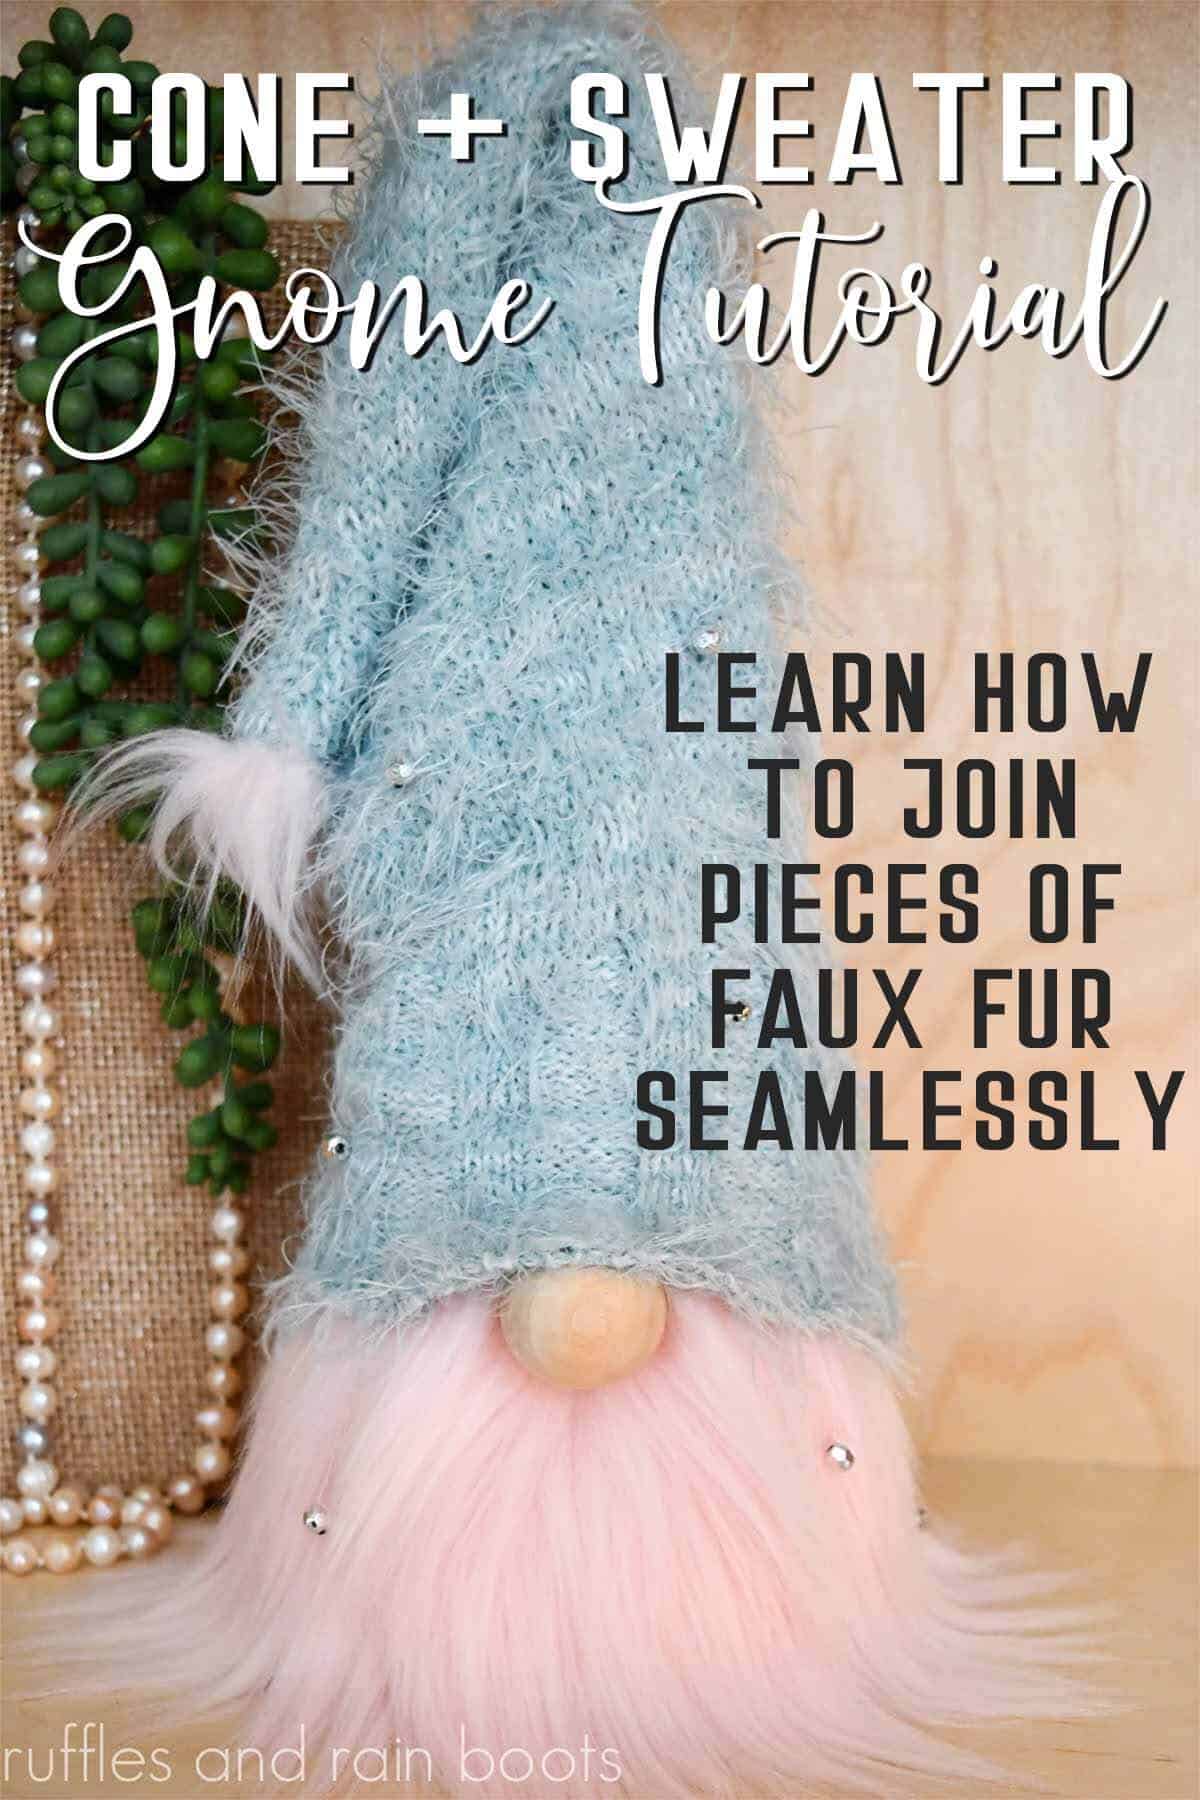
Beginner Cone Gnome: Glam Gnome with a Sweater Hat
You can make a high-end, beginner cone gnome using the sleeve of a sweater and a simple cone. Learn how to join fur pieces, add decorations, and make an easy gnome in just minutes.
What You'll Find On This Page
DIY Beginner Gnome with a Cone
Here at Ruffles and Rain Boots, I make quite a few different styles of gnomes: sock gnomes, gnome patterns with the sewing machine, hot glue gnome patterns, and cone gnomes. Sure, there are more but I wouldn’t want to come off as gnome-obsessed or anything…
One of my very first gnomes was built on a tiny paper maché cone and it’s still one of my favorites. The best part is that most of the work is done for you by the cone. If you haven’t tried making this style of DIY gnome, this is your invitation to try.
Please Save or Share
Before we get started, let’s save this so that you can find it later in case a little one comes running and needs a snack opened or the dog gets into something he shouldn’t. Please save this to a DIY pin board or share it with a crafty friend on Facebook.
As an Amazon associate, I could earn from qualifying purchases. There could be affiliate links within this article.
RELATED READING: DIY Witch Gnome for Halloween (No Sewing)
How to Join Faux Fur Pieces of the Same Color
One of the most frequently asked questions how to blend fur when you don’t have enough for your project. The good news is that combining pieces of faux fur is pretty easy to do whether you’re sewing or you want to work with hot glue and will work with craft store fur and premium fur.
For this project, I am using the hot glue method and think it’s actually the easier of the two. The steps are:
- Affix the fur to the project or measure the needed amount.
- If the fur is fitting to a project, use paper to trace out the area you’re missing by laying it over the space and using a pencil to shade it in. In the video tutorial for this easy cone gnome, I show that I need a triangle and how to get the exact size.
- Once you have the piece, add a small buffer (no more than 1/8th of an inch; 3.175 mm) to the entire shape.
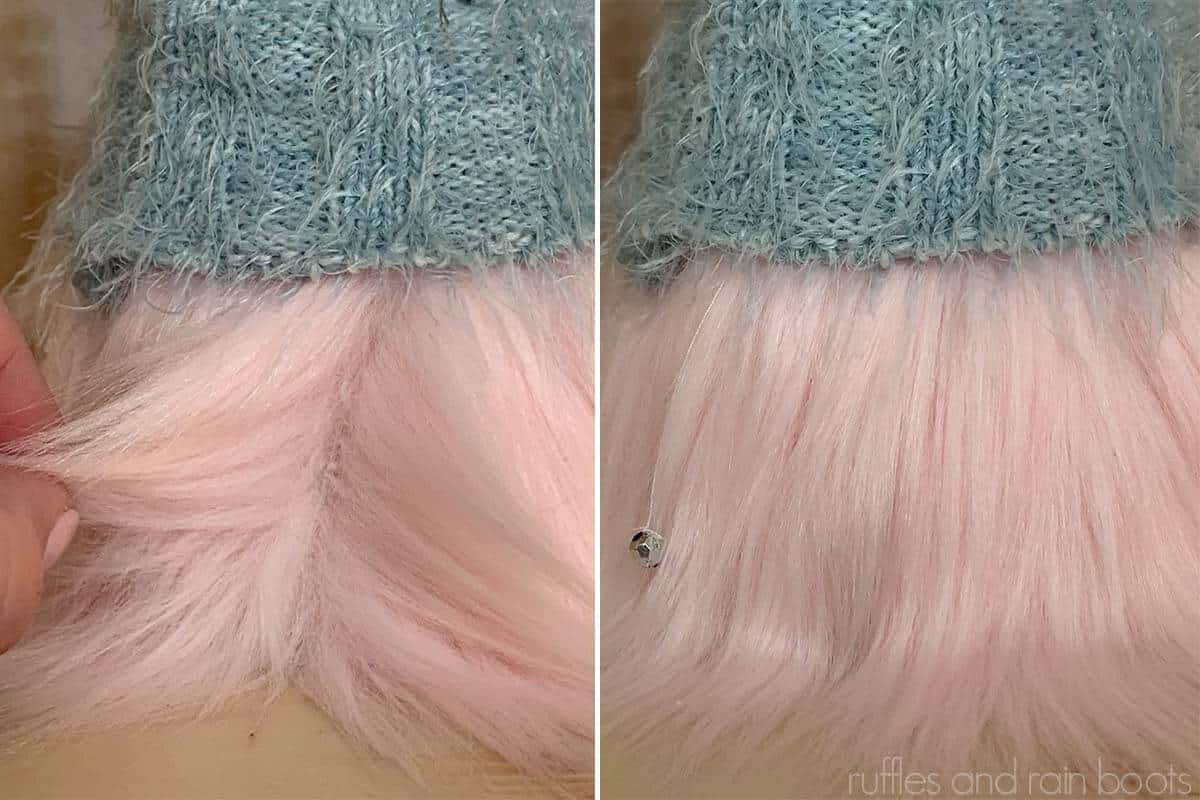
- Brush fur pile away from all edges and, using a detail tip hot glue gun, line hot glue along one side. Place the small piece vertically, lining up the side of the fabric backing of the fur into that glue. Let dry.
- Glue the other edges or points the same way (fabric backing down into the channel of glue). Let dry and brush out the gnome beard for a seamless look.
Note: if you are combining two edges of fur to piece together instead of for immediate use on a project, I recommend choosing a backing which extends across both. I’ll share that in another video tutorial soon.
Tips for Making an Easy Cone Gnome
This project comes together very, very quickly. Here are a few notes I took while making this project:
- If using a sweater sleeve for a hat, keep the seam of the sleeve to add structure.
- There is no stuffing in this hat style because the cone will keep it upright.
- If you have a large-weave fabric on the sweater, note that you might have to line the top of the cone with a thick fabric scrap to avoid the tip of the cone coming through. It doesn’t have to look pretty but it should match the sweater color.
- Cone gnomes are easier than the DIY sock gnome style because the hat is supported and requires no stuffing. That said you can add some Poly-fil to your gnome hat to shape it.
- The bottom of the cone remains open (great for stacking or storing other gnomes inside the cone shape), however, you can cover it with felt or fleece prior to adding the beard.
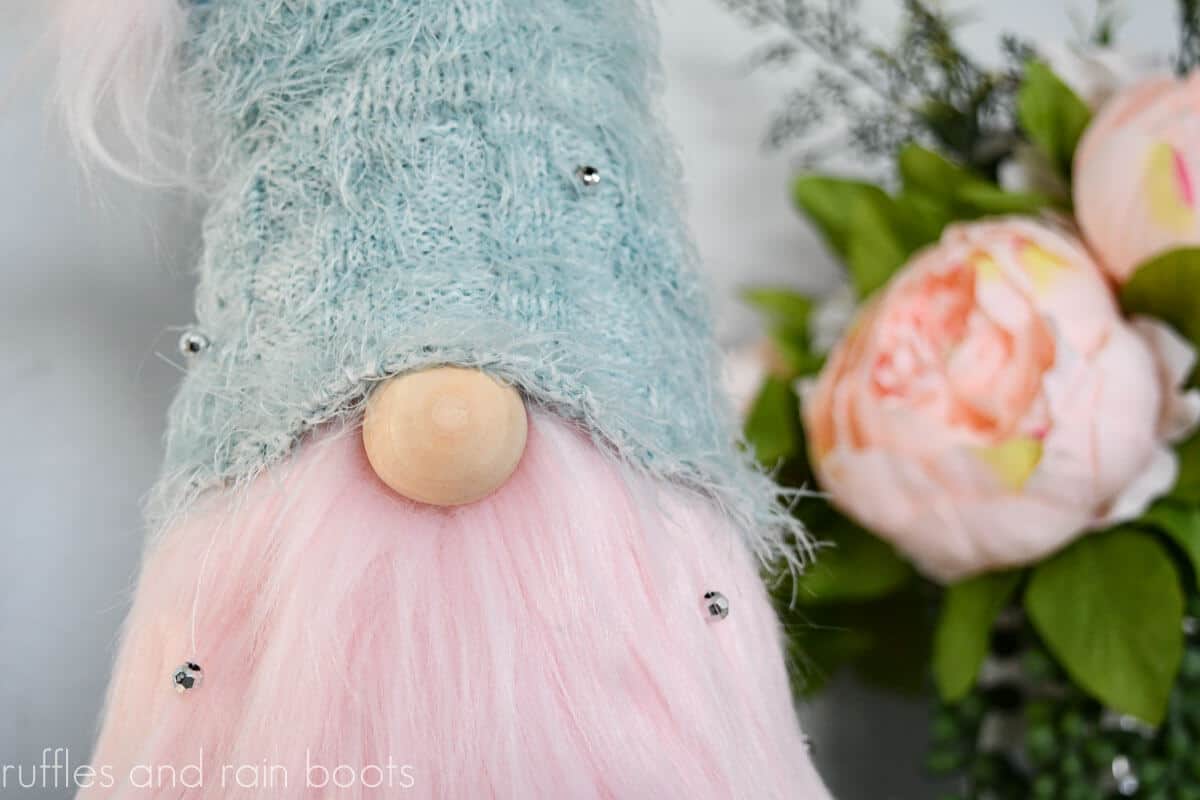
- I used wood beads (wood rounds without the holes) for the gnome nose, however, other suggestions are pompoms, nylon stuffed with Poly-fil, felted wool balls, and even table tennis balls covered in fabric or painted.
- These can be made into other holiday gnomes or Christmas gnomes (see the very popular family below).
How to Make a Beginner Cone Gnome with Hat
Below is the written tutorial for this quick gnome. If you are a visual learner or are making a gnomes playlist on YouTube, here is the full-length tutorial on how to join fur pieces and make a cone gnome.
DIY Beginner Gnome with a Cone

This easy (and a bit glamorous) cone gnome can be made in just a few minutes. No sewing machine is required to get an adorable, customized gnome.
Materials
- 11 inch paper maché cone
- Sweater sleeve or fabric you can cut into a triangle
- Faux fur (mine is a light pink)
- Nose (I’m using a 1 inch wood round)
- Optional, shiny beads
- Optional, thread in coordinating fur color
- Optional, notebook paper and pencil
Tools
- Hot Glue Gun and Glue Sticks
- Scissors and an Exacto Knife
- Cutting Mat
- Optional, Sewing Needle
Instructions
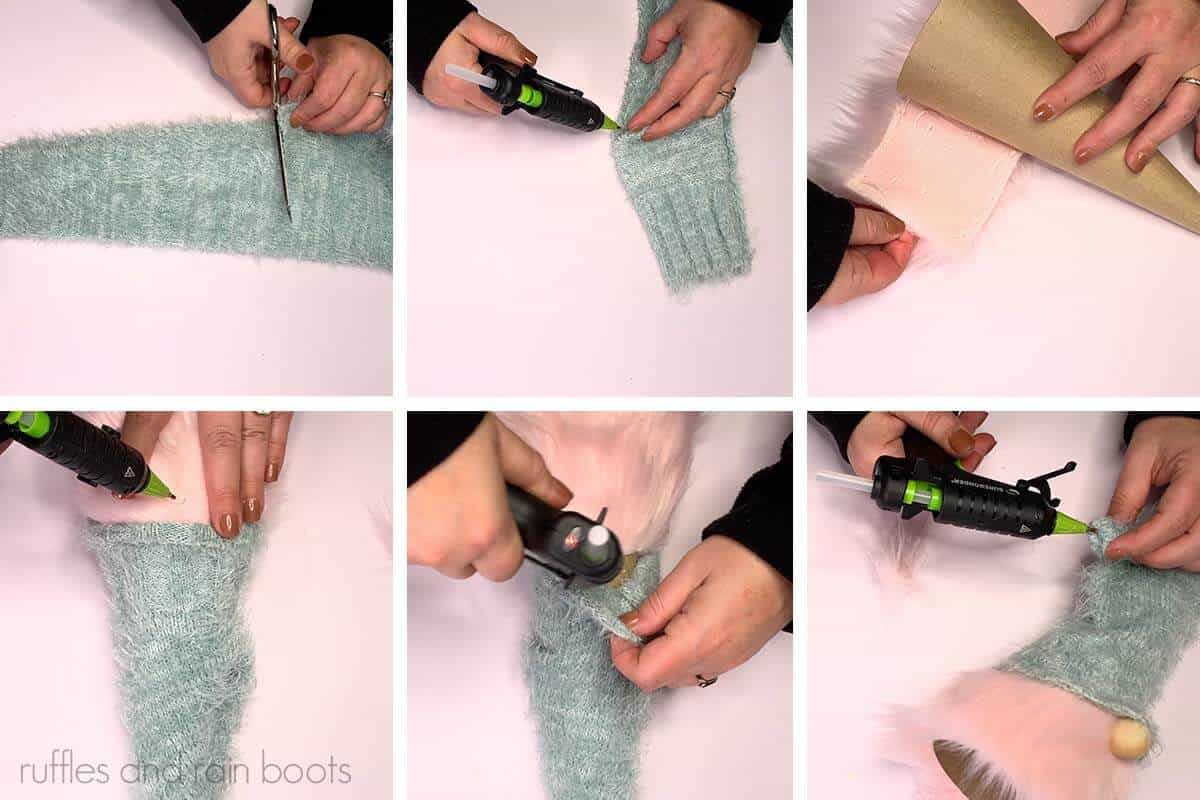
- Slip the hand-end or ribbed section of the sweater sleeve onto the cone and measure the desired height of the hat. I chose to flop my hat over to the side, so I added some. Mine was about 11 inches.
- Turn the sleeve inside out and cut the height. Then, add two inches above the ribbing (or between 4-5 inches from the bottom) and cut a triangle shape up to a point at the open end. Use the hot glue gun to glue the open long edge. Let dry, turn right sides out, and pull all seams to ensure adhesion.
- Wrap the faux fur around the widest part of the gnome to get the measurement. Determine the height of the fur and cut only the fabric backing. Cut the fabric backing only with an Exacto knife to avoid cutting through the fur.
- If you need to cut a piece out to fit an opening, use a piece of notebook paper to trace the opening. Add 1/8th of an inch around the notebook paper shape and trace onto the back of the fur. Cut with an Exact knife.

- Attach the fur to the cone, lining up the bottom of the fur fabric (not the bottom of the fur) with the bottom of the cone. Glue down the top by adding glue and pressing the fur flat to the cone as best you can.
- Split the fur to the fabric backing and add a nose. Use a generous amount of glue and avoid getting any onto the fur. Slip on the hat, securing it down to the top of the nose and the cone. If you cut it like mine, fold down the top and secure it along the seam.
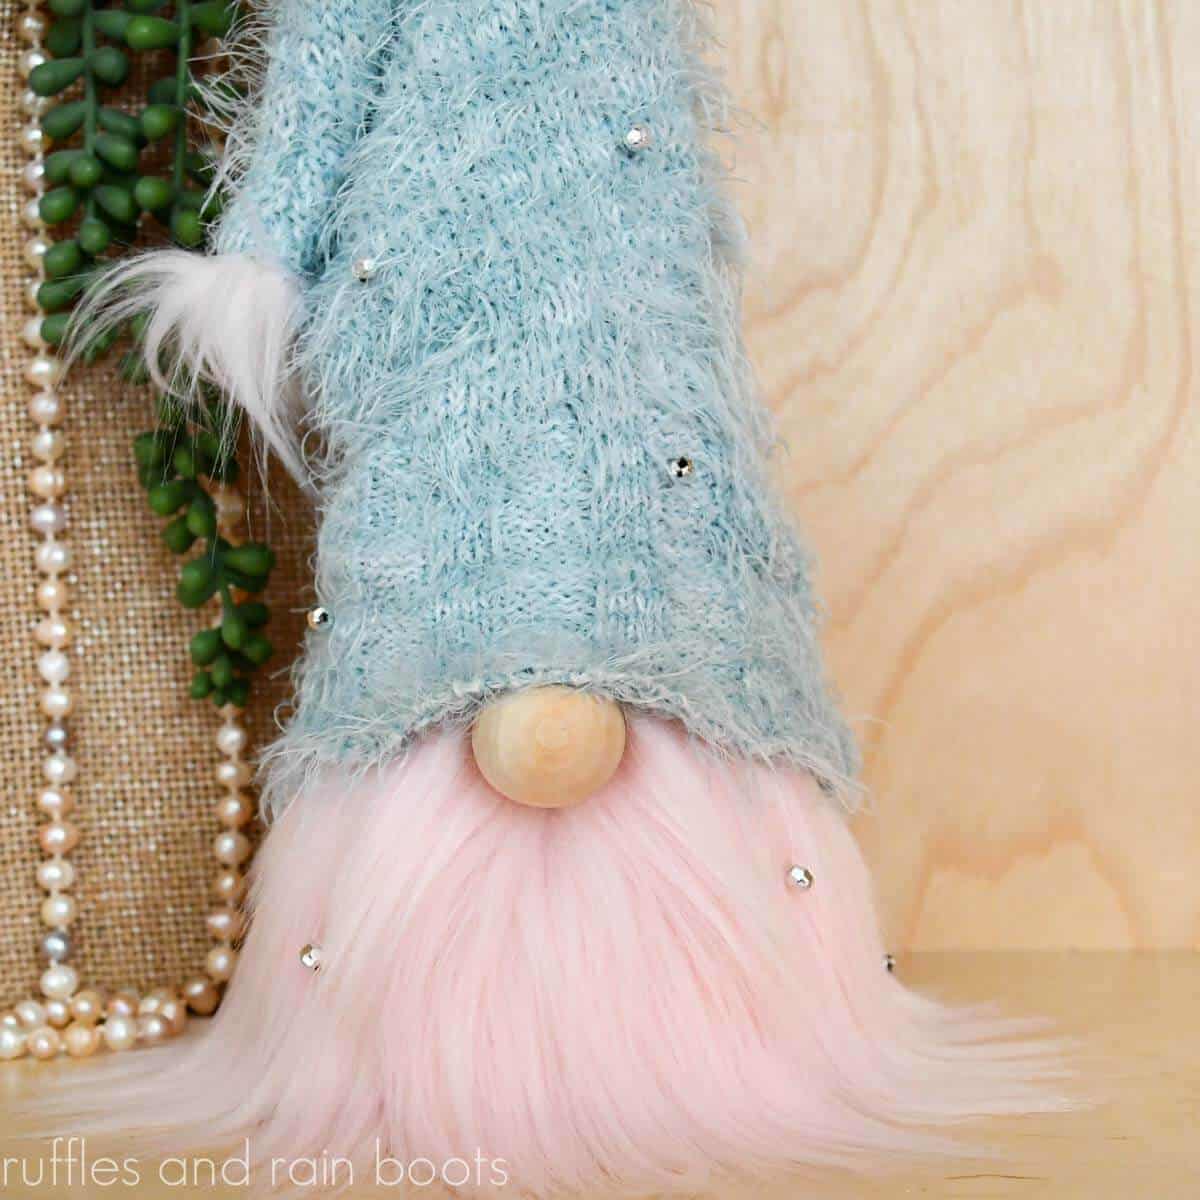
- Make a fur pompom by taking a square of fur (mine was one inch) and folding each corner into the center and securing each to the fabric backing. Glue this to the tip of the hat.
- Optional: If you would like to add invisible beads to your gnome, it will take an additional 20 minutes to do what I did. Use thread the same color as the fur to attach to the inside bottom of the hat. Please see the video for instruction. Add more beads to the hat to coordinate.
Notes
For more gnome tutorials than you can count (there's something for everyone), visit RufflesandRainBoots.com
More Cone Gnome Projects You Mike Like
- Make a Gnome Family without Sewing – This is a popular Christmas crafts tutorial because this produces elegant gnomes without a lot of work. And, they stack for storage! Full video tutorial here.
- Rustic Gnome Farmhouse Style – This easy DIY gnome uses Dollar Tree supplies and has the most adorable beard.
- Motorcycle / Bike Gnome – Everyone just LOVES this guy and I teach you some cool and new techniques in gnome making.
Please Save or Share
Thank you so much for being here with me today. Your shares are how this site grows and I am sincerely grateful. Please save this article to your Facebook feed or share it with a crafty group.


Hi Thanks for all you do.
Where can I get pre made Gnome hats, like a stretchy slouch knot with a pom? Also gnome shoes/boots?
THANK YOU
Pre-made hats can be purchased on Etsy for most gnomes between 6 and 12 inches (the body size). The pre-made boots and shoes can also be purchased (Wendy’s Gnome Shop on Etsy has some boots), but you can also use 18 inch doll shoes or Christmas ornaments.