This Easy DIY Bunny in a Pot Easter Craft is Adorable
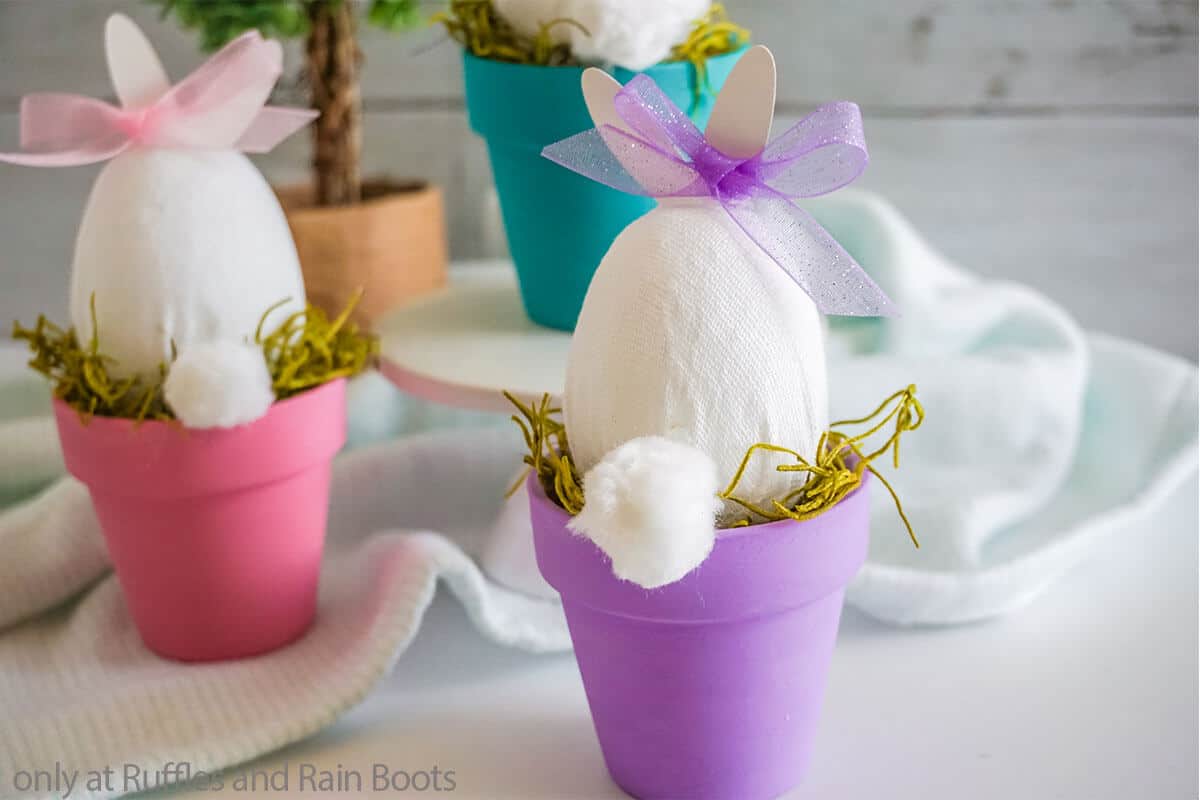
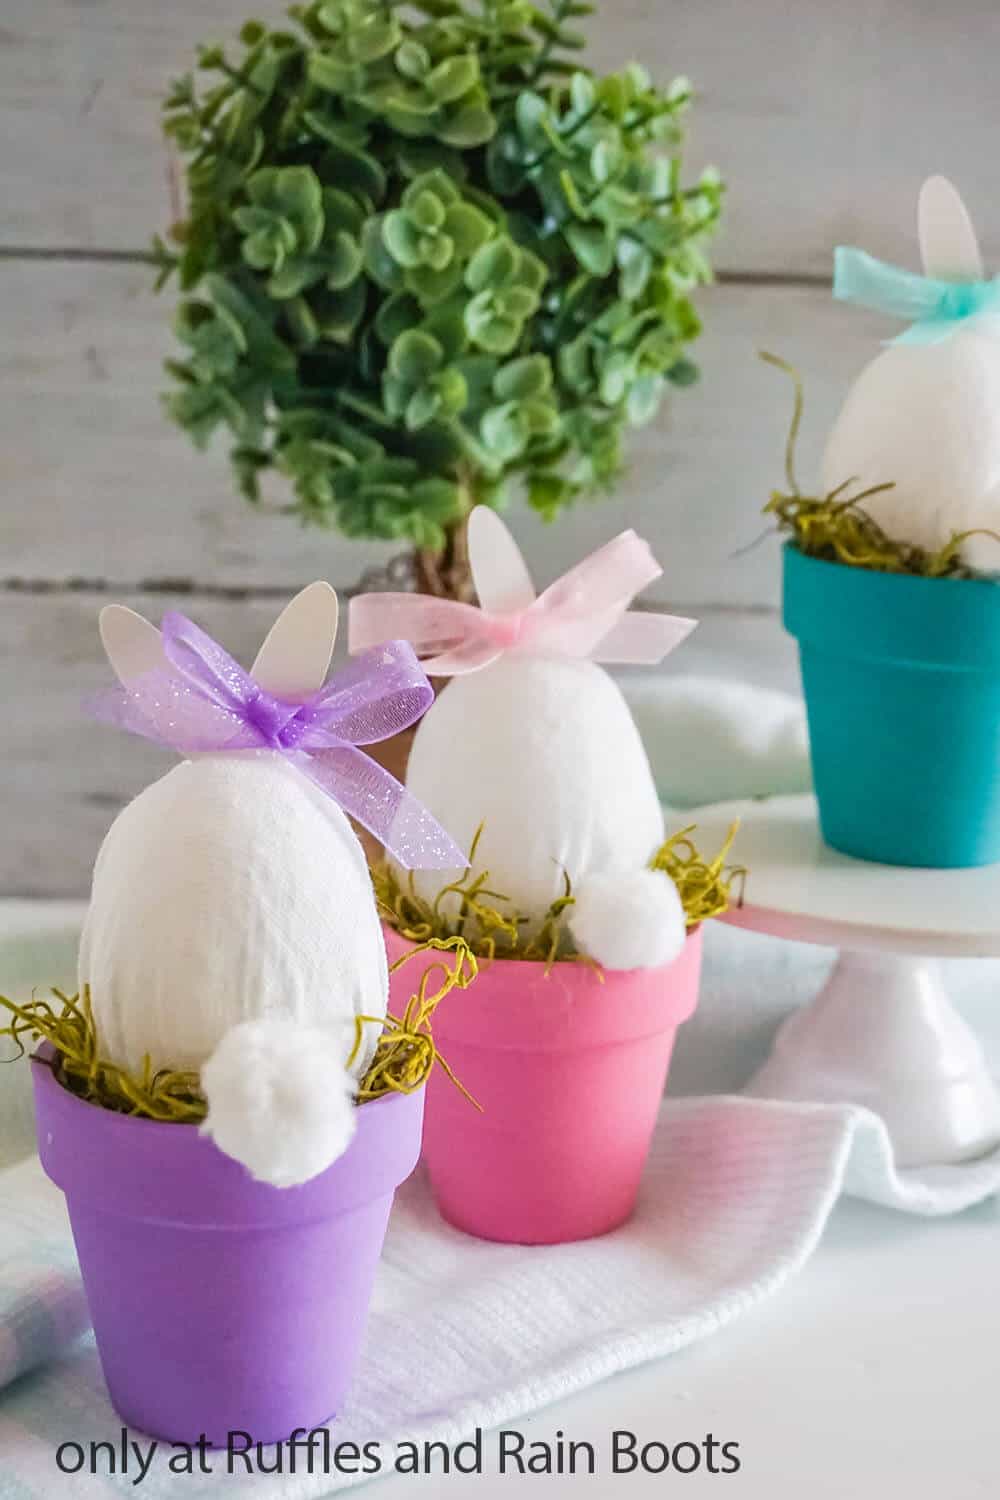
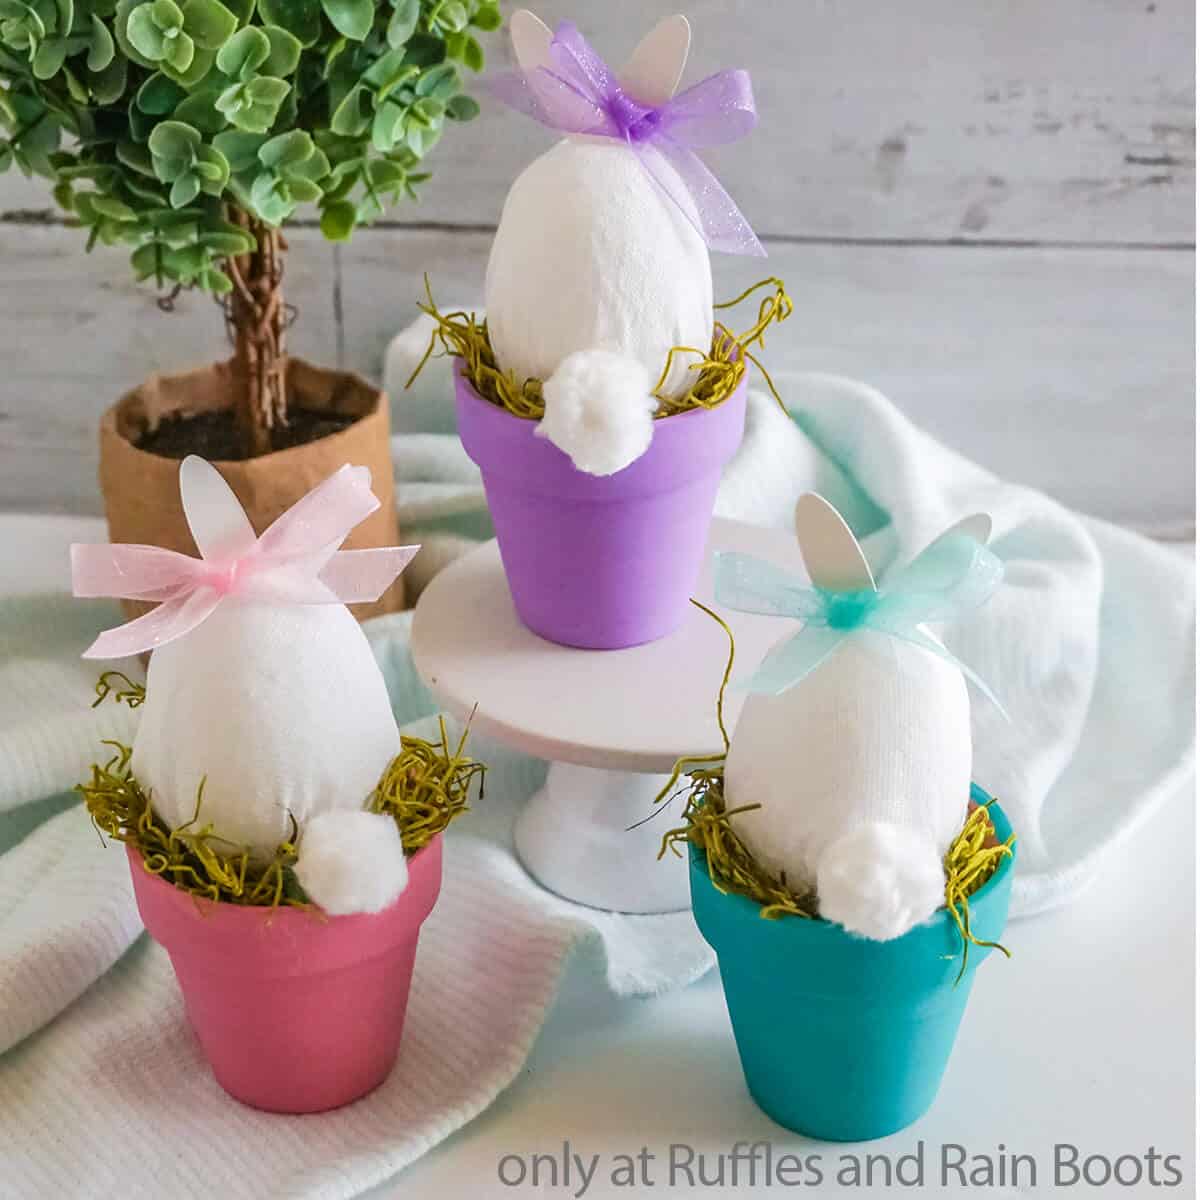
This bunny in a pot Easter craft is an adorable addition to any tiered tray, Spring display, or Easter mantle. With Dollar Tree and craft store supplies, you can make a sweet and easy little farmhouse bunny in Spring colors or muted tones for a minimalist look.
What You'll Find On This Page
DIY Bunny in a Pot Easter Craft – Dollar Tree Easter Decor
Here at Ruffles and Rain Boots, I have a “thing” for bunnies in my Spring decor. One year, we decorated one of the tiered tray displays in all bunny items and my daughter just loved this quick craft. This craft is so sweet, easy customized to your decor, and is fun to have on display.
You can have the trio done in just about 20 minutes, including paint drying time, so I would classify this as a great quick craft or one to fill a rainy afternoon. If you’re ready to make a fun bunny in a pot Easter craft this afternoon, let’s get started.
RELATED READING: Easy Bunny Coasters and Tiered Tray Decor
No Time to Make This Now? Save or Share It for Later
Need to check your stash or gather some supplies? Save this to an Easter crafts or spring pin board or share it to Facebook. This will be easy to find when you’re ready.

As an Amazon Associate, I can earn from qualifying purchases. There could be affiliate links within this article.
Tips to Make Easter Bunnies in Terra Cotta Pots
- First, download the free Easter bunny ear cut file here. You can cut your own and do not have to use my drawing with a cutting machine. It’s just as easy to print the jpg and cut the shapes out with scissors.
- To make this into an Easter centerpiece, choose a 4-6 inch foam egg from the craft store and a cute white porcelain pot. This size would make adorable home decor, too, tucked away on a bookcase or on an end table.
- One of the things about this craft is that you make it multiple ways. I used 2-inch foam eggs and small pots from the Dollar Tree, because I wanted to put these on the top tier of a tray display. You can make the same craft using the largest eggs (I believe the largest I saw were 8-inches) and larger terra cotta pots. If you size up the ears and use a larger pom pom, this would make an absolutely adorable Easter porch decoration!
- I used a little moss to add a touch of unifying color to my whole set of three. If you would rather, you could use some Easter basket filler grass to match the pot color or work with your theme. Other filler options are raffia, tiny Easter eggs, or greenery like boxwood or lamb’s ear.
- This DIY Easter craft is budget friendly but be sure to check your stash before getting started. The ribbon we used had been in my craft room for years.
How Do I Make this Bunny in a Pot Easter Craft?
Below is the written and printable tutorial for this quick Easter DIY. If you have any questions, please use the comments section below. I cannot wait to see your creations.
Bunny in a Pot Easter Craft

This bunny in a pot craft is a easy way to add a little fun to your Easter decor. You can scale it up, making it perfect for a centerpiece or Easter porch display.
Materials
- 3 x 3-inch Terra Cotta Pots
- 3 x 2-inch Foam Eggs
- 1 Sheet White Card Stock Paper
- 1/4 yard White Cotton Fabric
- 1/4-inch Sheer Ribbon in Pink, Blue, and Purple
- White Embroidery Thread
- Moss
- 3 1/2-inch White Pom Poms
- Acrylic Craft Paint in Pink, Blue and Purple
- Tissue Paper
Tools
- Scissors
- Hot Glue Gun and Glue
- Paintbrush
- Craft knife
Instructions
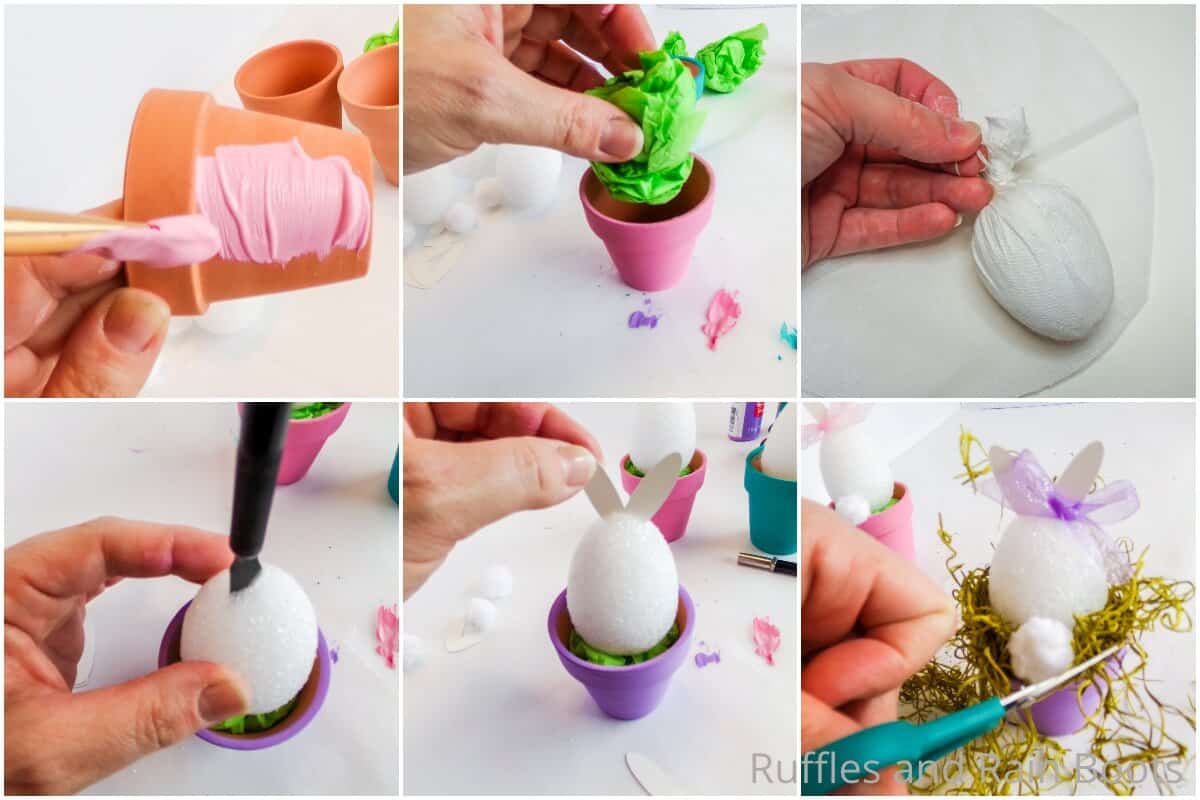
- Paint each of the terra cotta pots a different color (one pink, one blue and one purple). Allow the paint to dry completely.
- Cut three roughly 6-inch round circles of white cotton fabric. Wrap one circle of fabric around an egg, pulling the fabric tightly around the egg, bunching the loose ends together on the fatter end of the egg. Using the embroidery thread, tie the bunched fabric together on the end of the egg, adding a bit of hot glue to ensure the string remains secure. Trim the excess fabric.
- Tuck a 1/2 piece of tissue paper into the bottom of each pot, leaving about 1/2-inch of space from the top of the tissue paper to the top of the pot. Add a bit of hot glue to the top of each tissue paper bundle then place the bunched end of the cotton-covered foam egg on top, pressing it down into the tissue paper.
- Download the bunny ear cut file set and cut it out using a cutting machine or with scissors, as desired. Using the craft knife, cut a 1/2-inch long slit into the top of each foam egg. Hot glue the bunny ears into each slit.
- Hot glue a pom pom to the base of each foam egg, making the bunny tail.
- Tie a bow from each of the colored ribbon, then hot glue the bow to the ear on each corresponding color pot.
- Tuck moss into the edges of the pot between the egg and the pot edge. Trim the moss, as desired.

Notes
For more fun Easter crafts, visit Ruffles and Rain Boots.
More Spring Farmhouse Tiered Tray Filler ideas You Might Like
- Moss Tiered Tray Fillers – This easy trio of simple tiered tray fillers is going to blow your mine. So fast, but the result is STUNNING!
- Farmhouse Carrots from Clothespins – No kidding, these are the most adorable little accent pieces to add to a farmhouse tray or other spring decoration piece.
- DIY Dollar Tree Bunny Coasters – These are absolutely adorable and can be used as tiered tray accents, dough bowl fillers, and even tucked into a mantle display. Oh, and as coasters, of course.
Please Save or Share This
Your shares are how this site grows and I am sincerely grateful. Know a friend who’d like this? Please share it on Facebook or save it to your favorite Easter crafts pin board.