
Wood Slice Snowman Ornament – A Quick Christmas Craft
This adorable wood slice snowman ornament is done in about 15-minutes and makes for a wonderful, DIY rustic Christmas ornament. Let’s get started

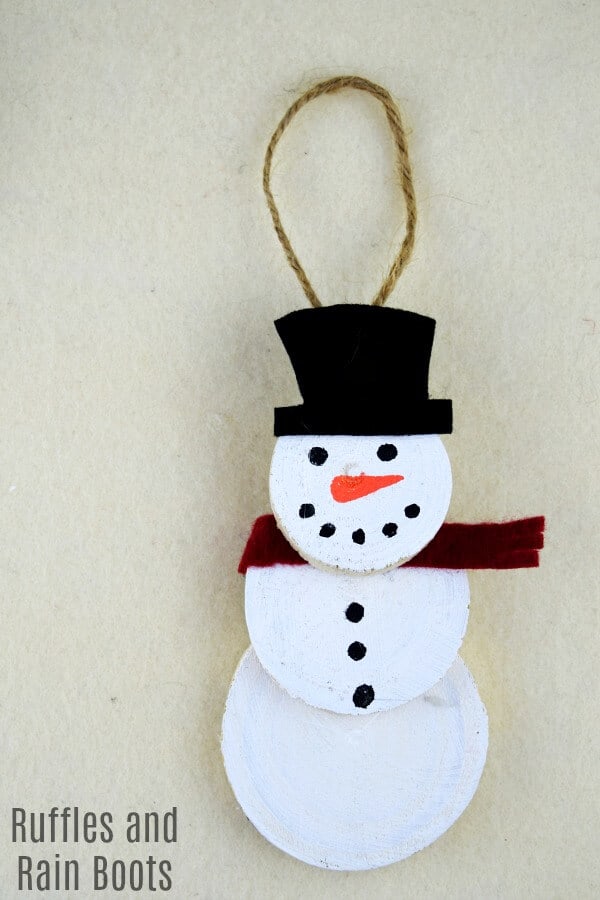
Wood Slice Snowman Ornament
Here at Ruffles and Rain Boots, we’re busy making so many fun ornaments. Last week, my daughter came up with the idea for this cute wood slice snowman ornament and I’m happy to say, it only takes about 15-minutes to make.
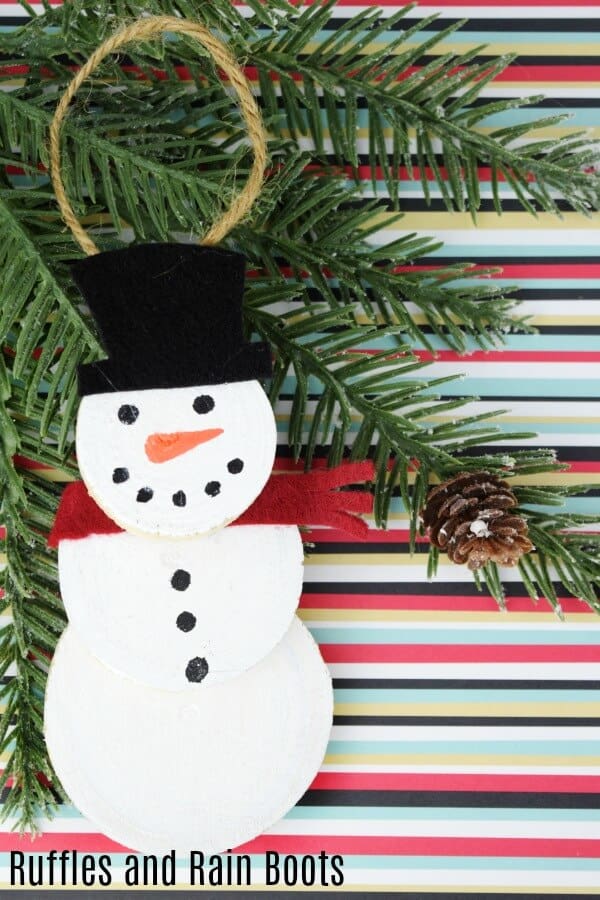
We made a few, so we’re also going to hang them on the larger presents we’re giving this year. We painted the back of the bottom snowman section so that we could write our “To and From:” sentiment on.
Let’s get started with this quick Christmas craft!
RELATED READING: Salted Caramel Hot Cocoa Ornament – It’s As Good As It Sounds
Supplies for an Easy Snowman Ornament
We had these wood slices on hand from our simple hand lettering ornaments, but you can also pick them up at the craft store or on Amazon.
- three wood rounds in different sizes (descending)
- white acrylic paint and a foam brush
- black and orange paint pen (or paint)
- scrap felt in black (for the hat) and another color (for the scarf)
- 10-inches of twine or ribbon for a hanger
- scissors and a glue gun

How to Make a Fun Wood Slice Snowman Ornament
This only took me about 15-minutes to make with the longest part waiting for the paint to dry. During that time, cut the felt pieces or make this hot cocoa ornament (so cute and tasty).
If you’re creating a DIY Christmas ornaments playlist on Youtube, here is our Wood Slice Snowman Ornament video tutorial.
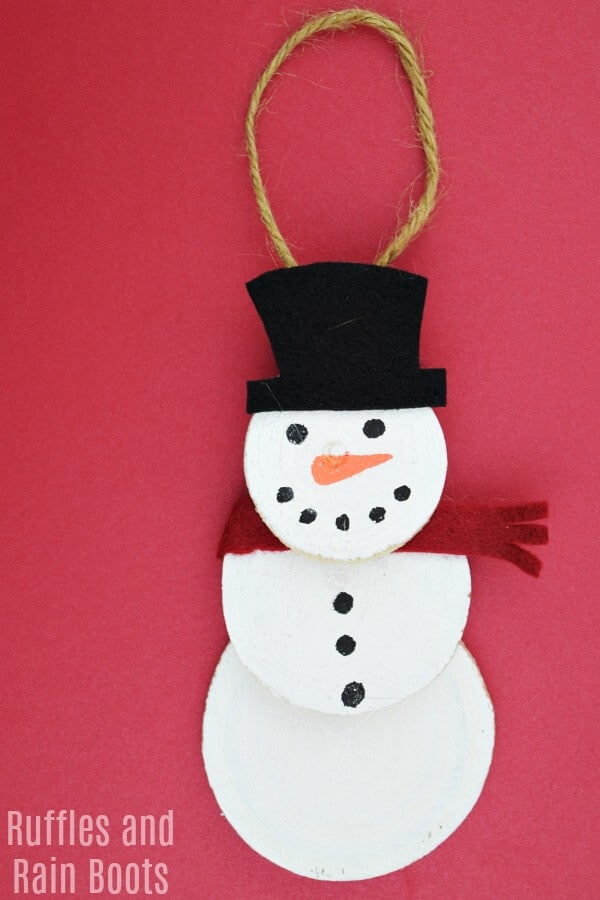
- Paint the wood rounds. If you’re using these for gift wrap or as a gift, paint the back of the largest snowman round, as well. Let dry.
- Use the paint pens to draw on a face on the smallest wood round (black for eyes and mouth, orange for the nose).
- Roughly measure out the width of the scarf on the middle-sized round so that it just bends around one side of the snowman body but hangs off straight on the other side. Cut it out and make slits on one end. Glue it to the middle-sized round.
- Cut out a hat from black felt and glue it on above the eyes.
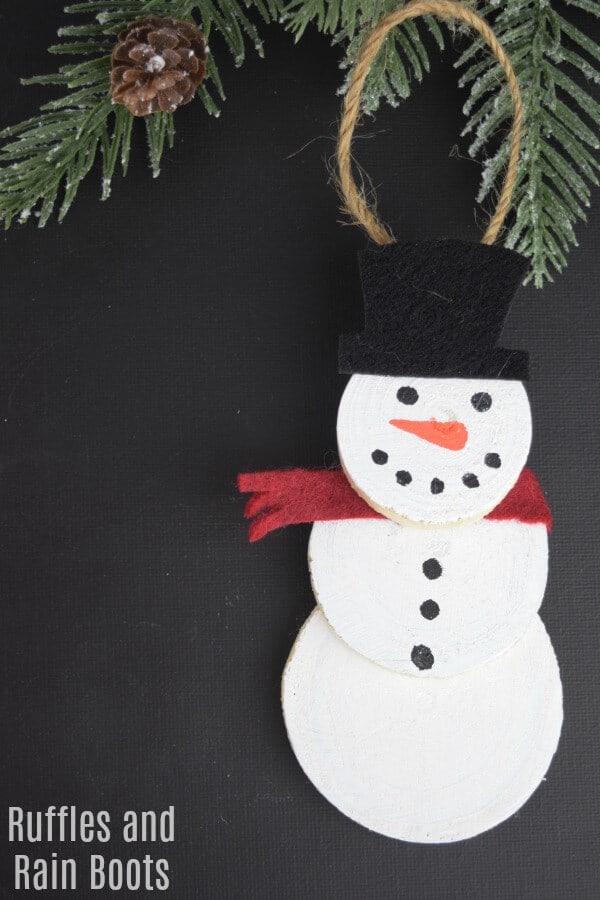
- Hot glue the small wood round over the scarf on the middle wood round. Hot glue the middle and small rounds to the large one.
- Put the twine’s ends together and tie a knot. Hot glue the twine to the back of the smallest round. And that’s it – you’re done with this easy wood slice snowman ornament!
A Few More Easy DIY Christmas Ornaments
Just like you, I’m usually pressed for time and want to fit in as many crafts as I can. Here are a few more Christmas ornaments that don’t take a long time to make.
- Salted Caramel Hot Cocoa Ornament (great gift idea)
- The Grinch Ornament Set (another wood slice DIY ornament)
- Polka Dot Glitter Ornament (great for the inside of the tree to bounce light)
RELATED READING: The Stuck Grinch Ornament – The Green Guy Is Stuck in a Chimney!
Be Sure To Follow Along with Ruffles and Rain Boots
We love making crafts here at the ‘Boots and would love to share them with you. Sign up to receive our weekly newsletter and you’ll get access to the Hand Lettering Library (full of free practice sheets and instructions) and the Exclusive Library (full of free cut files for cutting machines, tips on our favorite craft mediums, and all things fun)!
Please Save This to Pinterest or Share on Facebook
Your shares are how this site grows and I am sincerely grateful.
Meet the Creator
Hi there, I’m Sarah Nenni-Daher. I’m a crafty gal and always have at least 14 projects going at once. I am a crafter, designer, DIYer, and pattern maker. I share my creations here and in the Ruffles and Rain Boots® Shop.
Here at Ruffles and Rain Boots®, you’ll find DIY gnomes, crafts, gifts, cupcakes, laser crafts, and so much more. I love sharing video tutorials over on YouTube and chatting with other crafters in my Facebook groups. We’d love to have you!