
Unicorn Head Wall Décor – Unicorn Taxidermy
Looking for a fun and unique way to make your own unicorn head decor? You’ll love the outcome of this fun and a simple craft.

Unicorn Head Decor
Here at Ruffles and Rain Boots, we love unicorn crafts. And I have to admit, I’m really loving this latest one. Who doesn’t want a unicorn head on their wall to display proudly?
While there might be several steps to creating this beauty, I can assure you that the outcome is totally worth it. This is one craft that is certain to become a prized possession in your home. Let’s get started.
No time now? Pin this for later
Life happens, no worries. All you need to do is pin this to your favorite board for later to be able to come back to it when you’re ready.

Tips to Make this Unicorn Head
These simple tips can make creating this unicorn head a breeze.
- Don’t forget to use those coupons at the local craft store – you can save some major dough!
- You get to pick the base color of this unicorn head decor, so have fun choosing a color that you love.
- There’s lots of glitter involved in making this unicorn head so just prepare yourself now for all that fun.

How do I make this Unicorn Faux Taxidermy?
I’m so glad that you asked. Below you’ll find our step-by-step written directions.
Unicorn Head Decor

This Unicorn Head decor is so simple and easy to make!
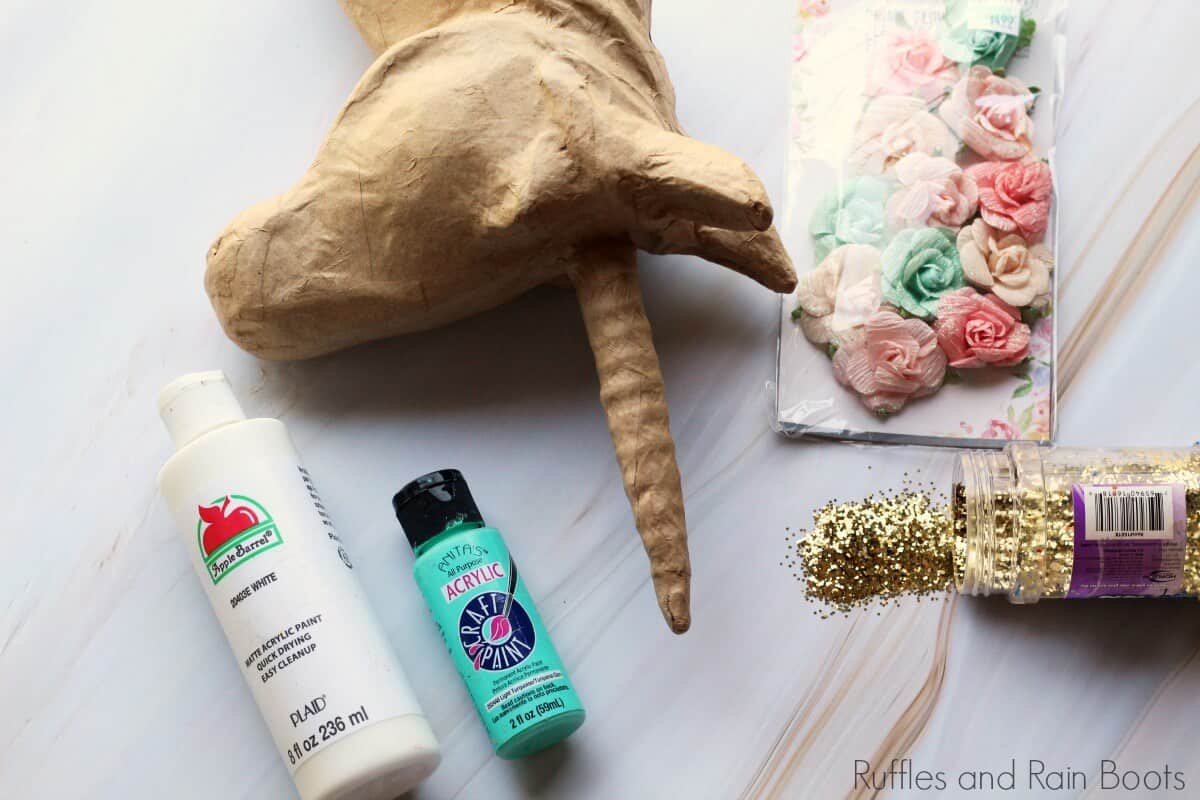
Materials
- Paper mache unicorn head
- Small silk/paper flowers
- Acrylic craft paint
- Tacky craft glue
Tools
- 2 small foam paintbrushes
- Hot glue gun/ glue sticks
Instructions
- Gather up all your necessary supplies and tools.

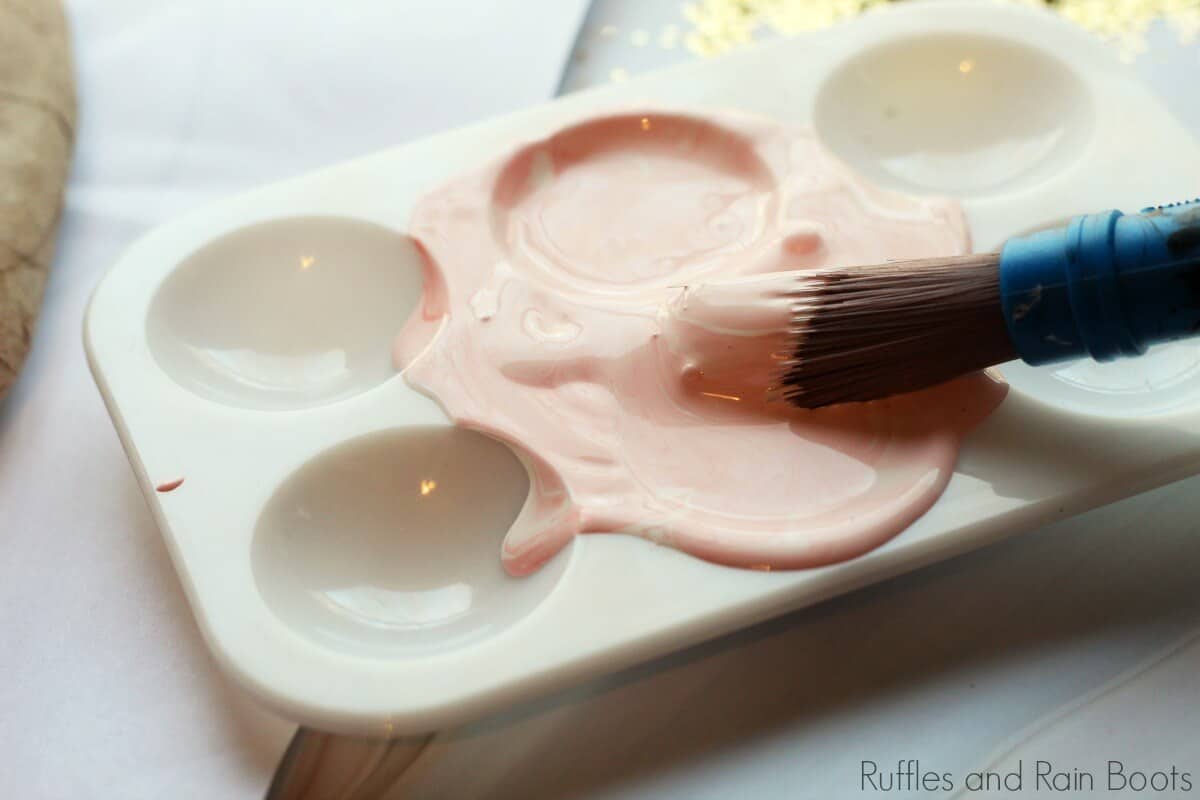
- Start by choosing your base color. This is totally up to you. We choose a coral color and then added a bite of white to make it lighter.
- Once you choose your color, cover the entire head (not the horn!) with the paint. Let it dry. Depending on how it looks, you may need to add in a second coat. Same as before - let it dry completely if you do.
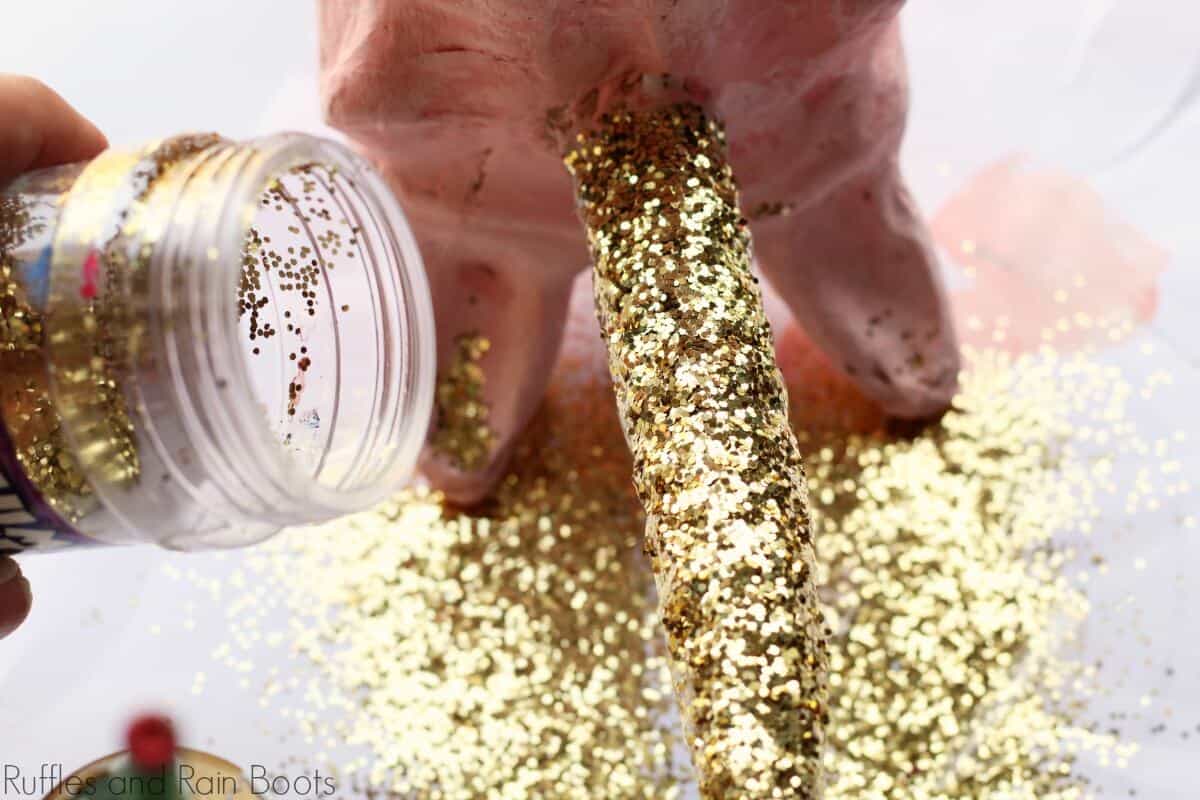
- Once it's dry, lay it down on its side so that the horn can be over a piece of paper. Add a thick layer of glue and shake glitter on top of it. Tap off the excess that didn't stick and add some more glue and glitter to any blank spots. Leave it overnight to dry.
- The next day, use your hot glue gun and glue the flowers to the base of the unicorn horn.


Notes
For more unicorn crafts, visit Ruffles and Rain Boots.
Creativity, Delivered
Sign up to our once-weekly newsletter and we’ll deliver creativity right to you. There’s no pressure, just fun and lots of bonuses. You’ll get immediate access to two subscriber-exclusive libraries!
More Unicorn Crafts you Might Like
- Clay Unicorn Charm; Perfect for Best Friends! – Perfect to share with others!
- Unicorn Poop Bath Bomb Recipe; It’s Rainbow, Too! – Who doesn’t love unicorn poop?!
- DIY Unicorn Headband; A Fun Unicorn Party Craft – Adorable and simple!
Please save this to Pinterest
Sharing is caring and helps our site grow!

Meet the Creator
Hi there, I’m Sarah Nenni-Daher. I’m a crafty gal and always have at least 14 projects going at once. I am a crafter, designer, DIYer, and pattern maker. I share my creations here and in the Ruffles and Rain Boots® Shop.
Here at Ruffles and Rain Boots®, you’ll find DIY gnomes, crafts, gifts, cupcakes, laser crafts, and so much more. I love sharing video tutorials over on YouTube and chatting with other crafters in my Facebook groups. We’d love to have you!