
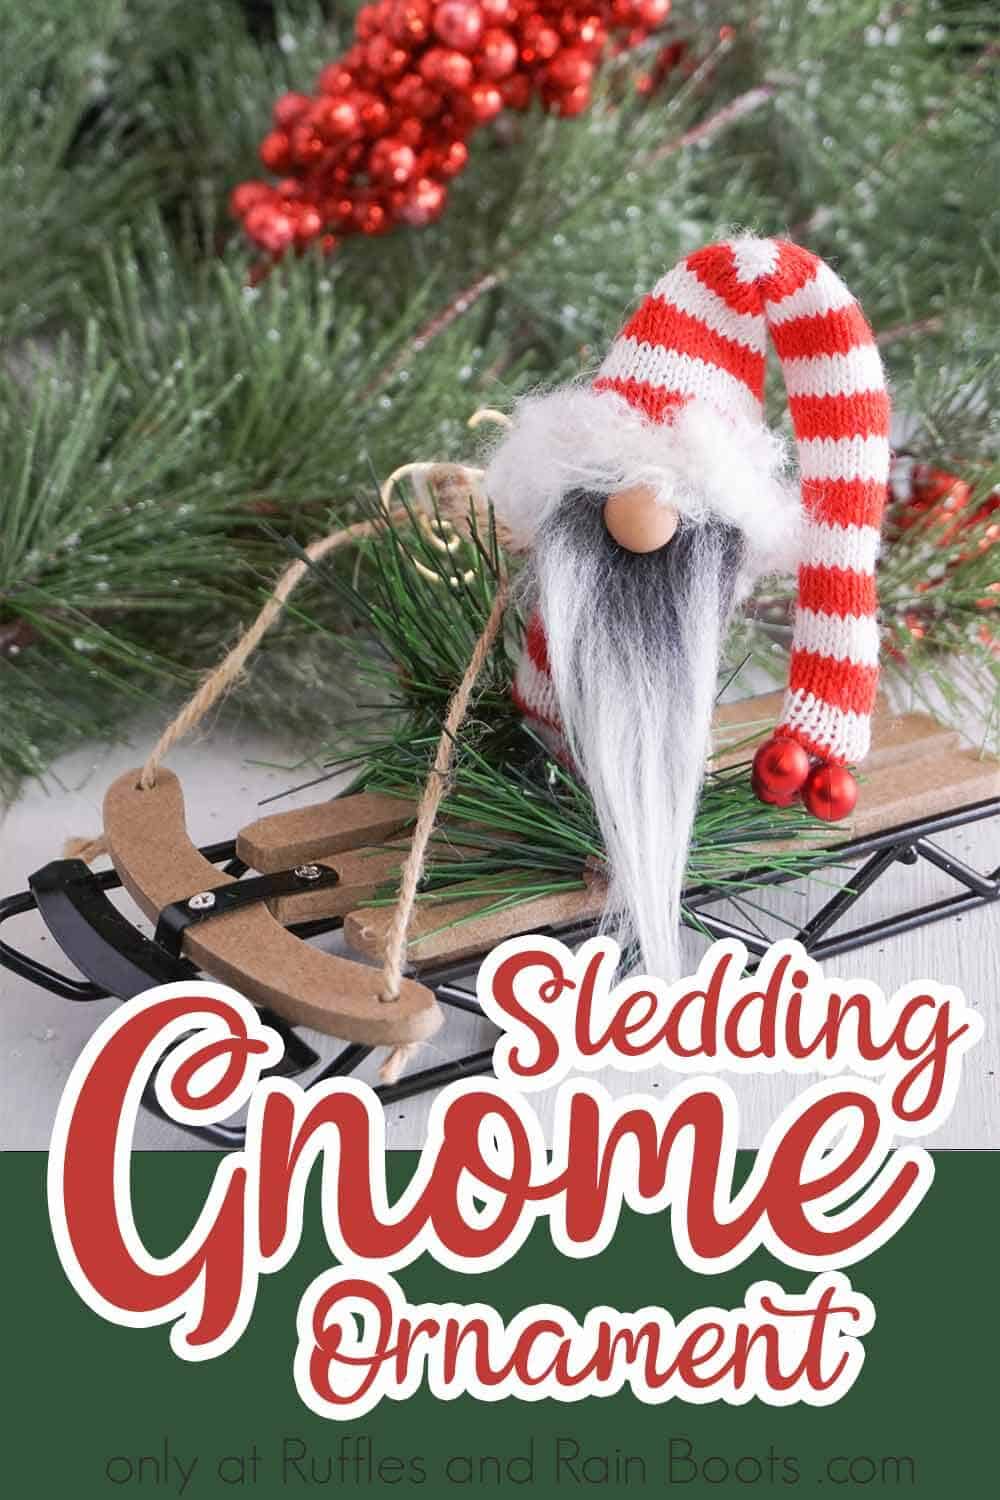
This Sledding Gnome Ornament is So Easy and Fun!
After making this easy sledding gnome ornament, I was so pleased with how it turned out. I immediately had to share it because it is adorable and FUN!
What You'll Find On This Page
Sledding Gnome Ornament
Here at Ruffles and Rain Boots, we are a little occupied with making a new gnome, tomte, nisse, whatever you want to call them, almost every day recently. We’re seriously going overboard this year, making gnomes for gifts, for farmhouse decor, for everything. Heck, I even have a gnome to guard my cookies! But in all seriousness, one of my favorite things is making gnome ornaments for the Christmas tree.
RELATED READING: BEST CHRISTMAS GNOME TUTORIALS
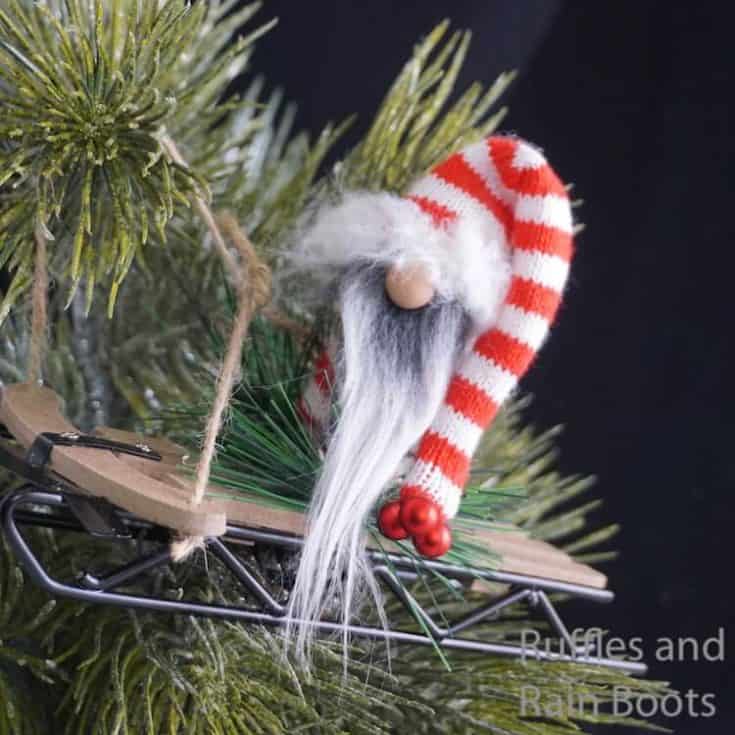
In particular, I loved loved LOVED making this easy sledding gnome ornament. Not only was it ridiculously easy, but the result was so much cuter than I imagined. Let’s get started.
DIY Christmas Gnome Tutorials
If you’re looking for the best DIY Christmas gnome tutorials, you have come to the right place. Check out all of my favorite tomte tutorials for the holidays!
No Time to Make This Now? Pin it for Later
You’re busy, I get it. Pin this to your favorite Christmas crafts board on Pinterest and it’ll be here for when you’re ready.
As an Amazon Associate, I can earn from qualifying purchases.
Tips to Make a Gnome Christmas Ornament
- Start by snagging a sled. My sled was another ornament that had broken. I found a cool sled here that looks almost identical. Just add a tiny bit of pine bough to the center and then yours will be exactly like my broken one!
- Click here to get the free printable pattern for this tomte ornament. You could try to wing it, but why do that?!
- The best part of every Scandinavian gnome, in my humble gnome-loving opinion, is the way the nose and hat interact. Whether it’s with a little wrinkle or, like in this case, fuzz tickling the nose, I just love the way they come together. Here are my favorite things to make gnome noses out of:
- Polymer Clay (that’s what I used for this Scandinavian Christmas gnome)
- Wood Beads
- Pom Poms
- Buttons
- Hot glue whatever nose you’re going to use up high on the beard and pull the hat down low.
- If you’ve never cut Mongolian fur before, keep these in mind: flip the fur over and cut with an Exacto knife or razor blade on JUST the fabric. That will keep the fur intact and you’ll get a beautiful beard every time.

How Do I Make this Christmas Gnome Ornament?
I’m so glad you asked. Below is our written tutorial.
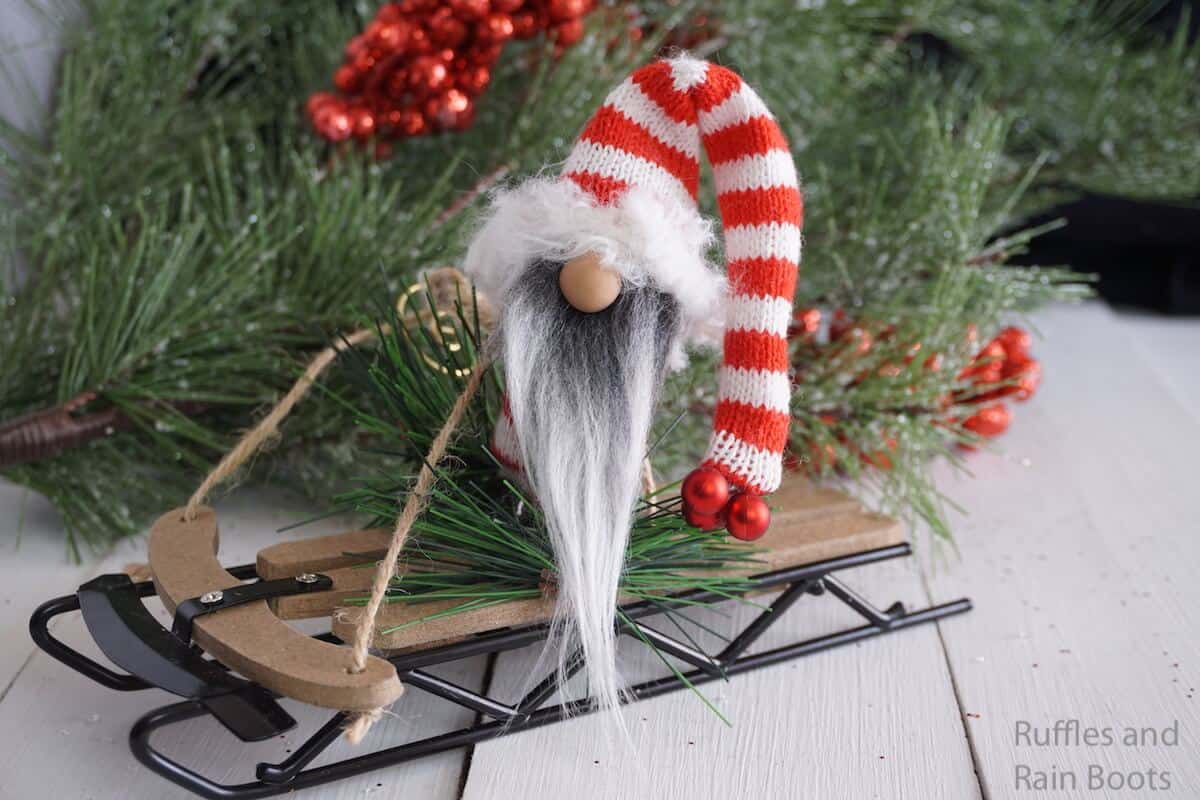
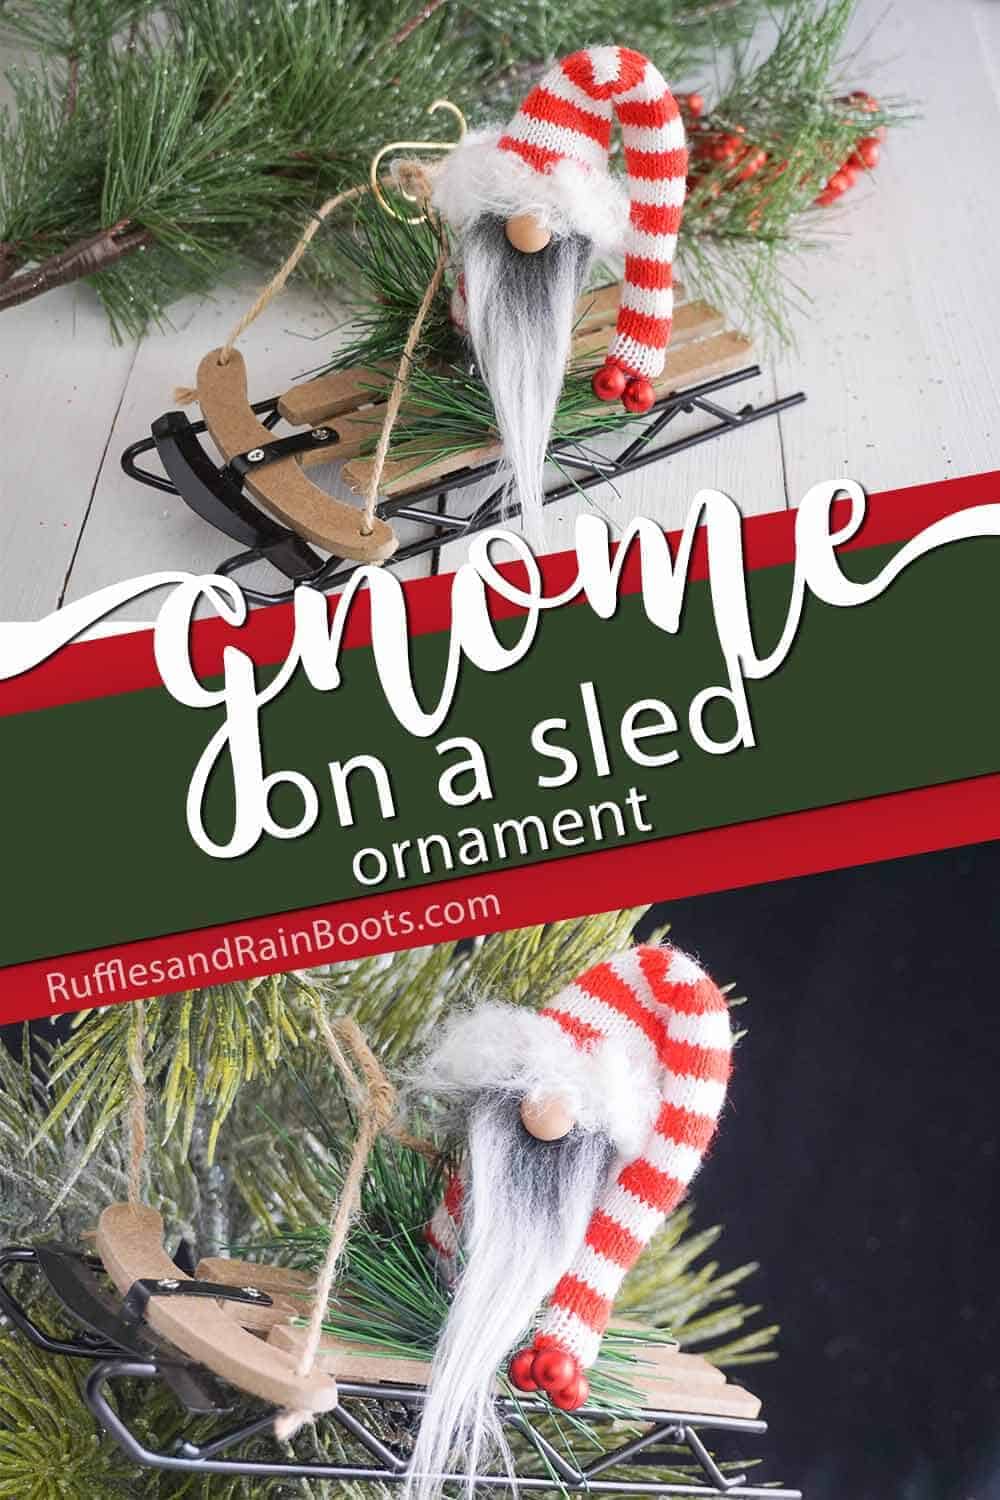
Sledding Gnome Ornament
Making this little sledding gnome ornament is so simple. Just make a Scandinavian gnome, pop it on a sled and you're dashing through the snow with this beautiful gnome Christmas ornament!
Materials
- Sled Ornament
- Scrap Fabric in Red and White Stripes and Fluffy White
- Mongolian Fur Scraps
- Tiny Amount of Polyfill
- Nose (I used polymer clay, but you can use a wood bead or anything round really)
- Three Red Beads
Tools
- Scissors
- Hot Glue Gun & Glue
- Free Printable Template
Instructions
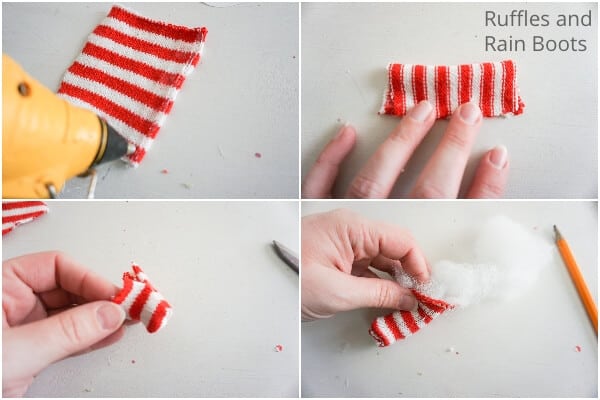
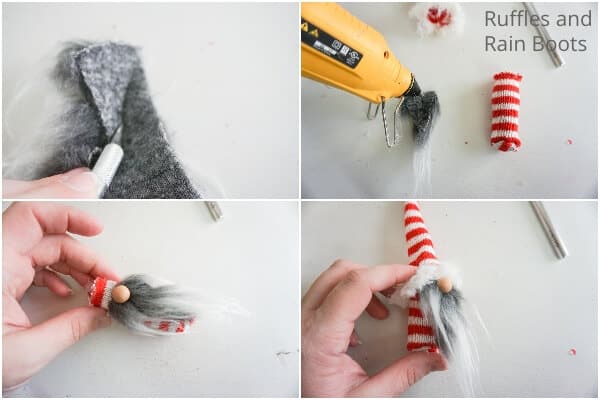
- Cut out the hat and body from your red and white fabric.

- Fold the gnome body in half and hot glue the two sides together, as well as the bottom. You are forming a tube with one end closed and one end open. Allow hot glue to dry completely.
- Fold the hat in half and hot glue along one edge, forming a cone. Allow hot glue to dry completely.
- Turn the hat and body pieces right side out.
- Stuff the body with the world's tiniest amount of polyfill. Really, you're just looking for the gnome to stand up--not be heavy.
- Cut out the beard from the Mongolian fur.
- Hot glue the beard in place on the gnome, about a half inch from the top of the opening of the gnome body.
- Glue on the nose about 1/4-inch from the top of the beard.
- Slide the hat on top of the gnome and hot glue it in place.
- Cut a thin strip of fuzzy white fabric about 1/4-inch wide.
- Hot glue that in place on the bottom rim of the hat.
- Hot glue on the red beads on the end of the hat.
- Affix the gnome in place in the center of the sled.

Notes
For more fun gnome ornament tutorials, visit RufflesandRainBoots.com
Recommended Products
As an Amazon Associate and member of other affiliate programs, I earn from qualifying purchases.


More Gnome Ornament Tutorials You Might Like
- Wooden Gnome Ornaments – If you love rustic farmhouse ornaments, these easy wood gnome ornaments will make your day!
- Easy Christmas Gnome Ornaments – By far and above our most popular gnome tutorial ever! If you aren’t making these tomten, you’re crazy…
- Mason Jar Lid Gnome Ornaments – You get to upcycle an old mason jar lid and make an adorable gnome in one easy tutorial.
Please Save This to Pinterest
Your shares are how this site grows and I am sincerely grateful. Know a friend who’d like this? Please share it on Facebook or save it to your favorite Christmas crafts board on Pinterest.
Meet the Creator
Hi there, I’m Sarah Nenni-Daher. I’m a crafty gal and always have at least 14 projects going at once. I am a crafter, designer, DIYer, and pattern maker. I share my creations here and in the Ruffles and Rain Boots® Shop.
Here at Ruffles and Rain Boots®, you’ll find DIY gnomes, crafts, gifts, cupcakes, laser crafts, and so much more. I love sharing video tutorials over on YouTube and chatting with other crafters in my Facebook groups. We’d love to have you!