
This Paper Poinsettia Jar Topper Cricut Craft Makes a Great Gift Decoration!
Making this easy poinsettia jar topper Cricut craft is a beautiful way to add a touch of festive cheer to a mason jar gift!
Poinsettia Jar Topper Cricut Craft
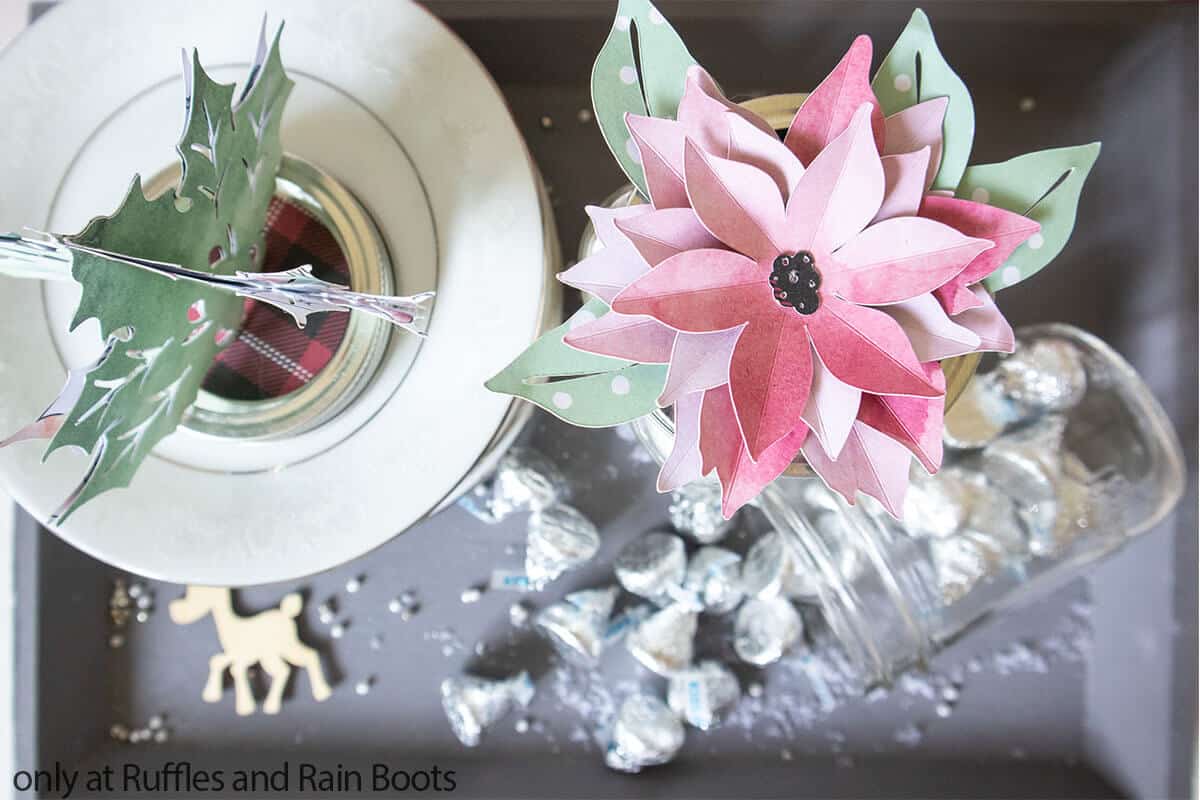
Here at Ruffles and Rain Boots, we love gifting for the holidays. But the deal is, sometimes just handing off a gift in a jar is kind of boring. I wanted to spice it up for a recent gift. This adorable paper poinsettia jar topper Cricut craft was exactly what I needed to make a beautiful gift from a plain jar!
RELATED READING: DIY HOLIDAY GNOME CUT FILE SET
Plus, this is such an easy craft idea, you can use it to make so much more than just a jar topper, but you could even make a pretty 3D card or wall art! If you’re ready to make a fun paper flower for Christmas, let’s get started.
No Time to Make This Now? Pin it for Later
You’re busy, I get it. Pin this to your favorite Cricut ideas board on Pinterest and it’ll be here when you’re ready.

As an Amazon Associate, I can earn from qualifying purchases.
Tips to Make Paper Flower Cricut Craft
- There’s a couple of different ways to go about this, but I decided to use less patterned paper for the flower itself so that it would be more obvious that my paper flower is a poinsettia. So I used a couple of sheets of coordinating sheets from a set of Cricut card stock paper in a pack called Hostess with the Mostest.
- If you’re at a loss of what to put inside your mason jar for a gift, think about filling it with your gift recipient’s favorite candies, coffee, or cookie mix.
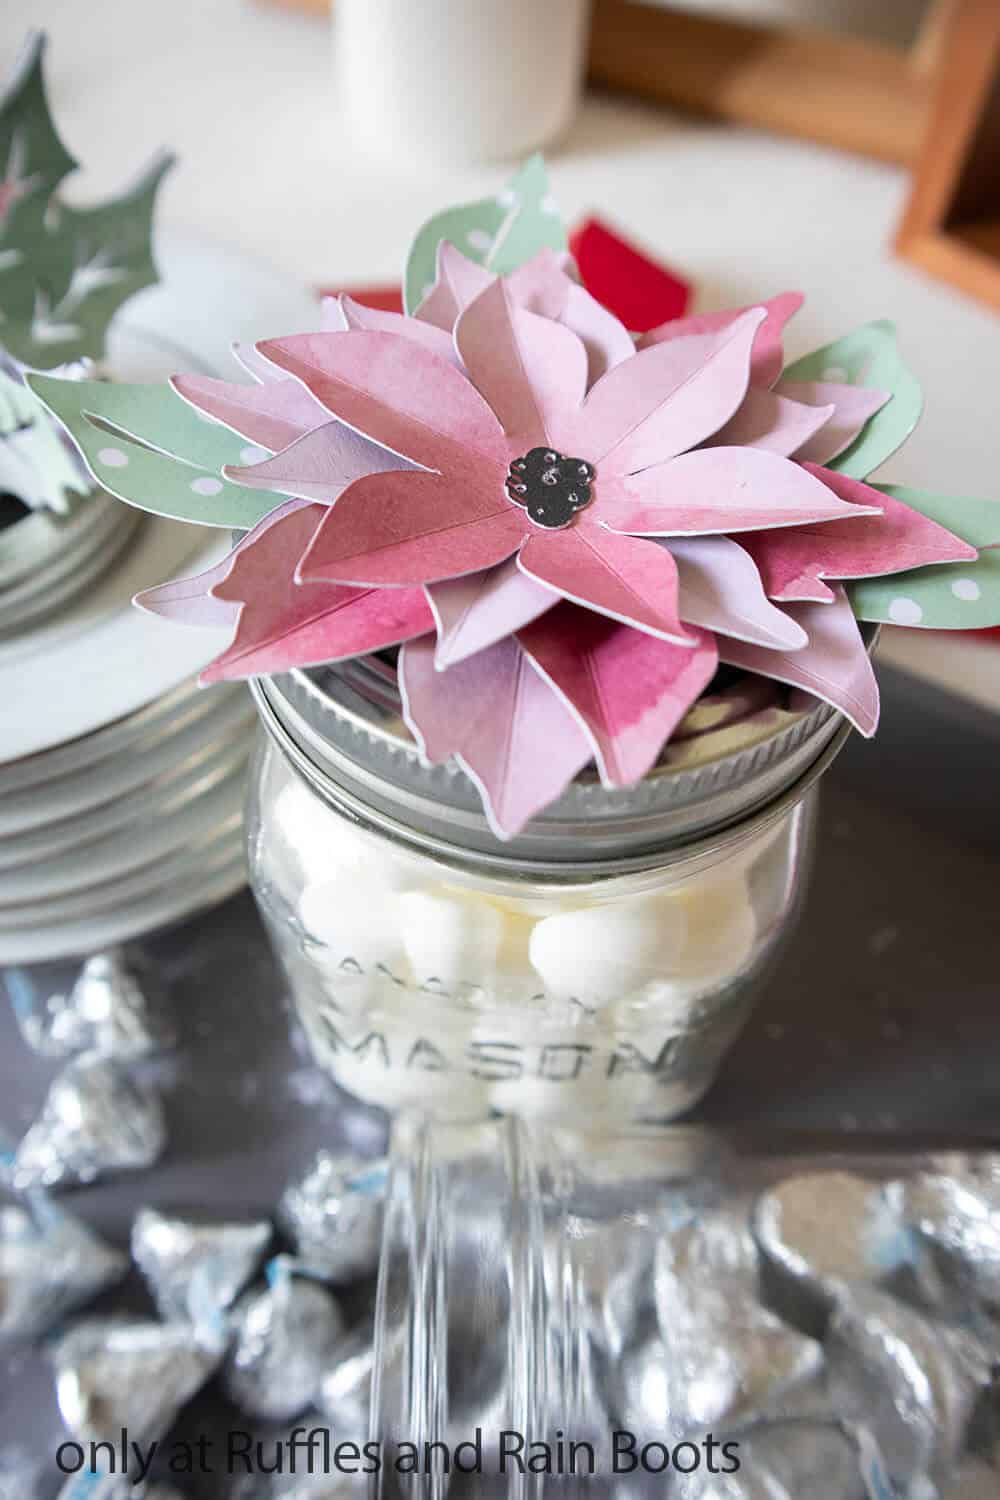
- I decided to use the small 8 oz. square jars like these for my paper poinsettias. It seemed like a great size for a little gift and perfect for offsetting the size of the paper flower.
How Do I Make this Poinsettia Jar Topper Cricut Craft?
I’m so glad you asked. Below is our written tutorial.
Paper Poinsettia Jar Topper Cricut Craft

This easy Christmas craft is so simple, but it will make an y mason jar gift so fantastic looking, you're going to love it!
Materials
- Poinsettia template in Design Space, #M5258CA
- Holly Stand Up Icon in Design Space, #M524F76
- Cricut Deluxe Card Stock paper in Hostess with the Mostest
- Glass Jars with lids, 8oz
- Spatula
Tools
- Cricut Maker (or other Cricut cutting machine) with Fine Point Blade and Scoring tool
- Cricut Standard Grip Mat
- Hot glue gun with clear hot glue sticks
Instructions
- Open Cricut Design Space and select the “+” button to start a new project. This will open a blank canvas.
- Select the Images button in the toolbar and search for both #M5258CA and #M524F76 and insert each design onto the canvas.
- Leave both of the designs as-is, do not resize.
- Select the Shape button in the toolbar and insert a circle into the canvas. Size the circle to 2-inches in diameter for an 8oz jar.
- Duplicate all of the design elements except for the little centerpiece element of the poinsettia flower.
- Flip the new (second set) holly images horizontally, making them a mirror image of the original set.
- Move to the color sync tab to see all the pieces sorted by color.
- Modify the color of the centerpiece to match the small circle shapes so they will be cut from the same paper.
- Modify the poinsettia leaves to be a light green color.
- Modify the holly leaves to be a dark green color, the cactus pieces to a pink and the prickly barrel cactus to a dark green color.
- Select “Make It” , set material to Medium Cardstock and load the paper onto the mat and into the cutting machine.
- When the cut is finished, unload the mat and remove the cut paper from the cutting mat with a spatula tool.
- Repeat until all of the pieces are cut.
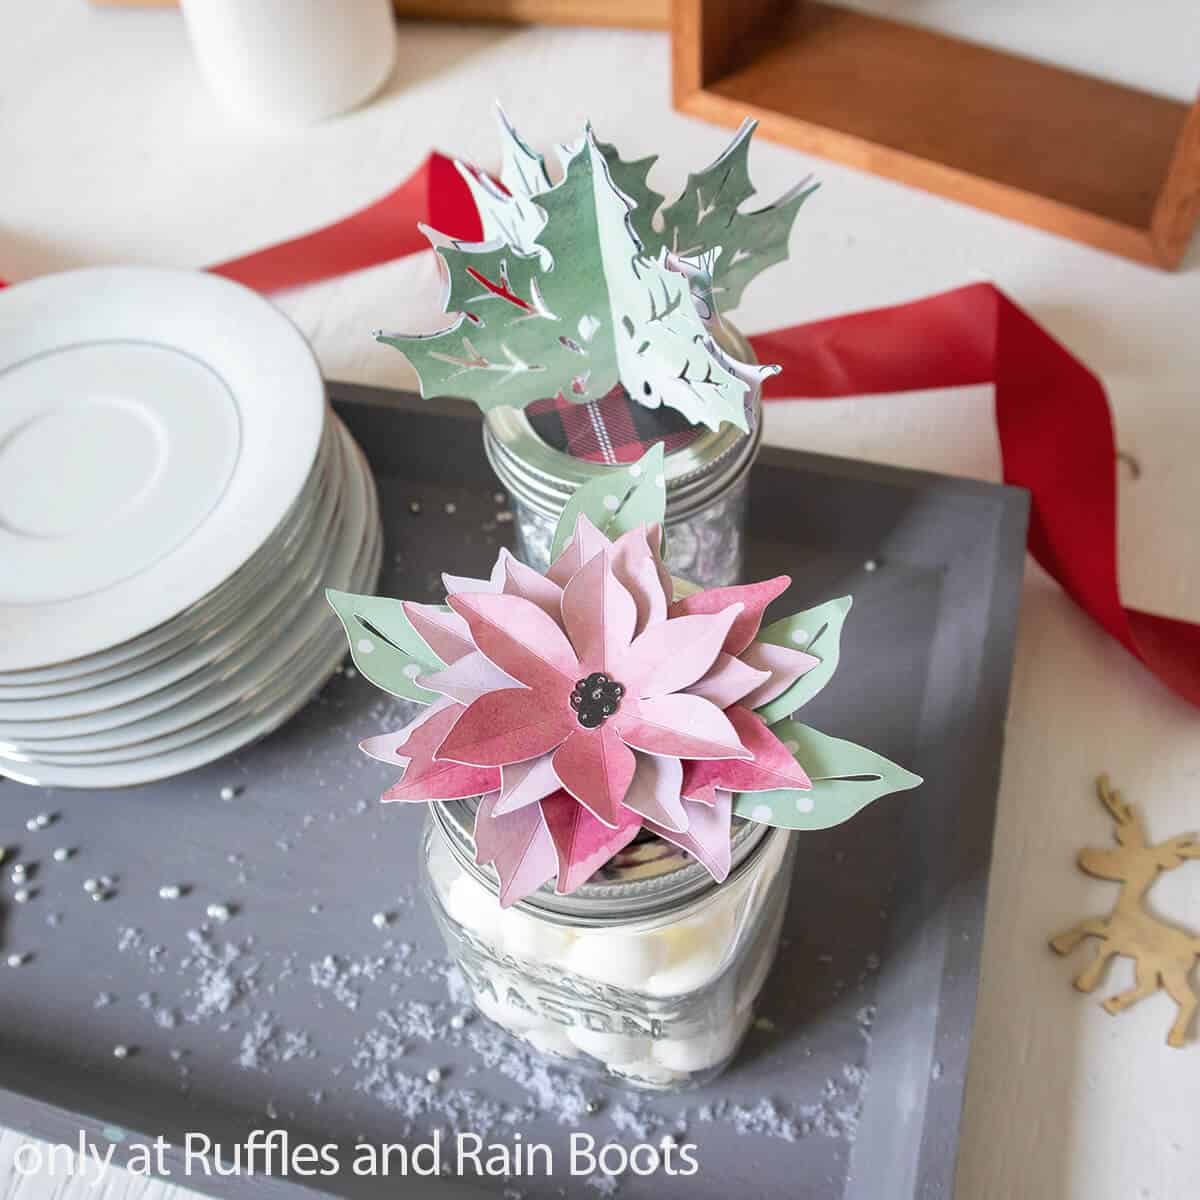
- Lay the holly pieces back to back, lining-up the pieces along the center slit to form 3D shape. Glue both the tops and bottom edges together to help hold the holly shape.
- Fold each of the poinsettia pieces along the score lines then stack the the pieces with the largest piece on the bottom, turning each petal piece and gluing between each layer at the middle. To finish it, affix the centerpiece in the middle of the flower.
- For the poinsettia leaves, fold the tab and apply a bit of glue to the tab. Align the adjacent edges tucking the tab towards the back to form leaf shape.
- Glue the two circles to the jar lids, followed by the poinsettia leaves on one of the lids and the poinsettia flower to the center of that lid.
- Glue the holly on top of the other lid then fill your jars with treats.


Notes
For more fun Cricut crafts for the holidays, visit Ruffles and Rain Boots!
More Easy Cricut Holiday Crafts You Might Like
- Gift Card Holder House from Paper – You can make a gift card a fun gift with just the right kind of wrapping and this little house is all that you need!
- Farmhouse Mickey Centerpiece – For a little pop of color and Disney charm on your mantle, this Cricut craft is fast and fun.
- Merry Christmas Wood Round Sign – A wood round sign that brings a little holiday cheer to any entry way!
Please Save This to Pinterest
Your shares are how this site grows and I am sincerely grateful. Know a friend who’d like this? Please share it on Facebook or save it to your favorite holiday crafts board on Pinterest.

Meet the Creator
Hi there, I’m Sarah Nenni-Daher. I’m a crafty gal and always have at least 14 projects going at once. I am a crafter, designer, DIYer, and pattern maker. I share my creations here and in the Ruffles and Rain Boots® Shop.
Here at Ruffles and Rain Boots®, you’ll find DIY gnomes, crafts, gifts, cupcakes, laser crafts, and so much more. I love sharing video tutorials over on YouTube and chatting with other crafters in my Facebook groups. We’d love to have you!