
Easy Orange Peel Bath Bombs
If you want a bath bomb without citric acid but still want to enjoy the bright citrus scents, reach for these easy DIY orange peel bath bombs. They are fun and simple to make in about 20 minutes.

RELATED READING: DIY No-Fail Bath Bombs and Shower Fizzies Recipes
Orange Peel Bath Bombs
Here at Ruffles and Rain Boots, we are all about making homemade bath bomb recipes frequently. They make a bath or a shower that much more luxurious.
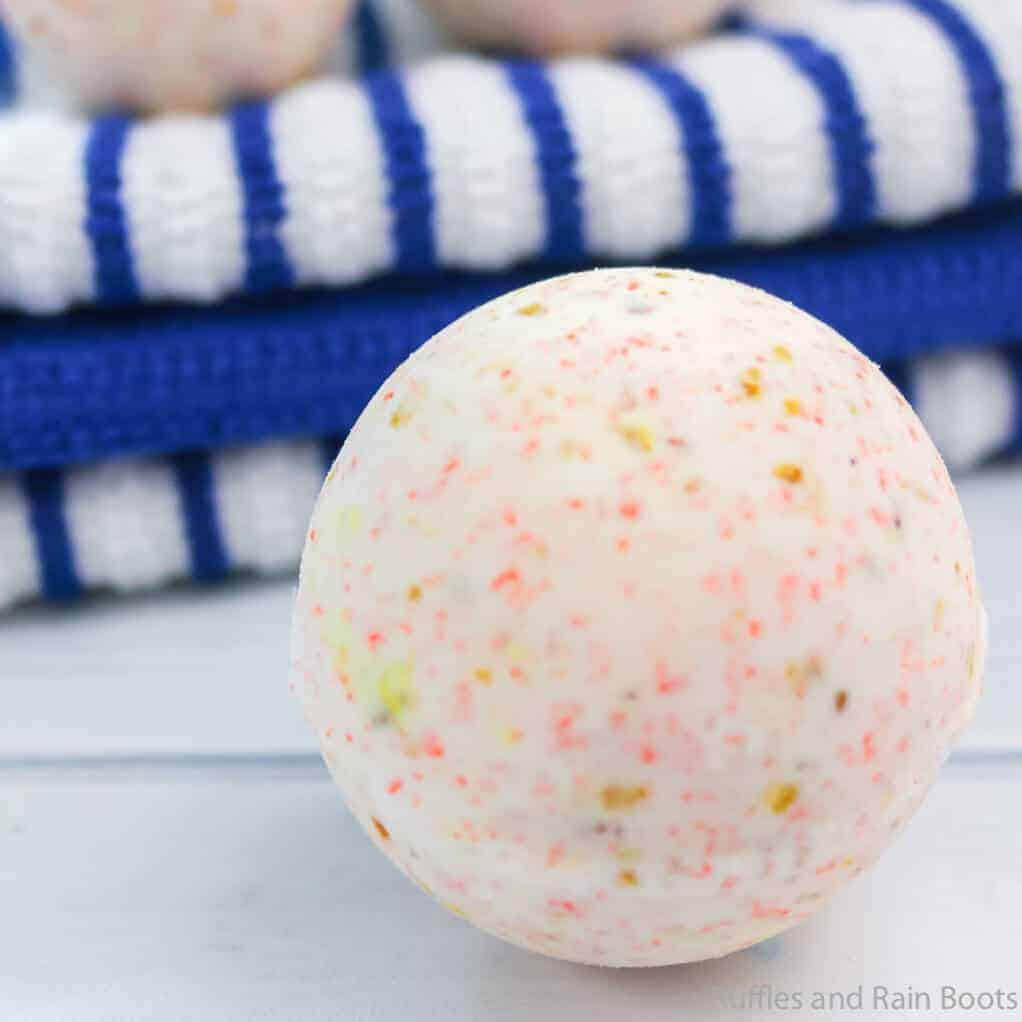
One of my favorites I made recently is this easy orange peel bath bomb. It is bright, smells so fresh, and is perfect on a hot day.

RELATED READING: Make These WOW-Worthy Rainbow Bath Bombs
No Time to Make This Now? Save or Share it for Later
If you’re too busy to start this right now but want to come back to it, save this to an easy DIY beauty ideas pin board or share it to Facebook.
Either way will make it easy to find when you’re ready to begin.

As an Amazon Associate, I can earn from qualifying purchases. There could be affiliate links within this article.
Tips to Make Orange Bath Bombs
- Let these citrus bath bombs sit for at least 24 hours. The mix needs to dry fully to get the most fizz.
- Store them in an air-tight container and, if gifting, let them know.
- Never use food coloring as it can stain skin and the tub or shower. Soap colorant or mica powder are the best.
- If you live in a humid area or you’re having trouble getting one to hold it’s shape, see this article on trouble-shooting bath bombs and shower fizzies.
More Easy Bath Bomb Recipes You Might Like
- Peaches and Cream Bath Bombs – Remember the peaches and cream craze from the late 80’s? Bringing back all the most rad memories. Ha!
- Lemon Zest Bath Bombs – Love the zest but want a fizzy tub? Got your back–all fizzy and fun just for you.
- Rose Petal Bath Bombs – Real rose petals and a bit of calming, soothing rose scent makes this one of the best bath bombs in my self-care arsenal!
Please Save This Homemade Bath Bomb Recipe
Your shares are how this site grows and I am sincerely grateful. Please share this on Facebook or save it to your favorite easy DIY ideas pin board.

RELATED READING: Easy Flower Bath Bombs with Rose Petals
Orange Peel Bath Bombs

This bath bomb recipe without citric acid is perfect for those who are allergic or just don't have it on hand. You can substitute any scent, making these perfect for you!
Materials
- 2 cups baking soda
- 1 cup powdered buttermilk
- 1/4 cup cornstarch
- 1 tbsp coconut oil (liquified)
- 10-20 drops orange essential oil
- 2 tablespoons dried orange peel
- 1-2 drops vegan soap colorant
Tools
- Stainless steel bath bomb molds
- Spray bottle filled with rubbing alcohol
- 1 large mixing bowl
Instructions
- In a mixing bowl, add the baking soda, buttermilk and cornstarch. We are using buttermilk instead of citric acid in this recipe to make the fizz! Whisk all of these dry ingredients together.
- Add your coconut oil, orange essential oil and orange color and mix thoroughly. Use your hands to crush any lumps and make sure it's mixed well. The mixture is ready when it holds together like wet sand after you mash it in your fist.
- Add in the dried orange peel and stir one more time.
- Fill both sides of a bath bomb mold with the mixture then press the two halves together and grind a little to remove any excess mixture. Gently tap both sides of the mold to release the bombs.
- Allow the bath bombs to dry a minimum of 24 hours. If your climate is wet or cold, bump that up by an additional 24 hours.


Notes
For more fun bath bomb recipes, visit Ruffles and Rain Boots!
Meet the Creator
Hi there, I’m Sarah Nenni-Daher. I’m a crafty gal and always have at least 14 projects going at once. I am a crafter, designer, DIYer, and pattern maker. I share my creations here and in the Ruffles and Rain Boots® Shop.
Here at Ruffles and Rain Boots®, you’ll find DIY gnomes, crafts, gifts, cupcakes, laser crafts, and so much more. I love sharing video tutorials over on YouTube and chatting with other crafters in my Facebook groups. We’d love to have you!