
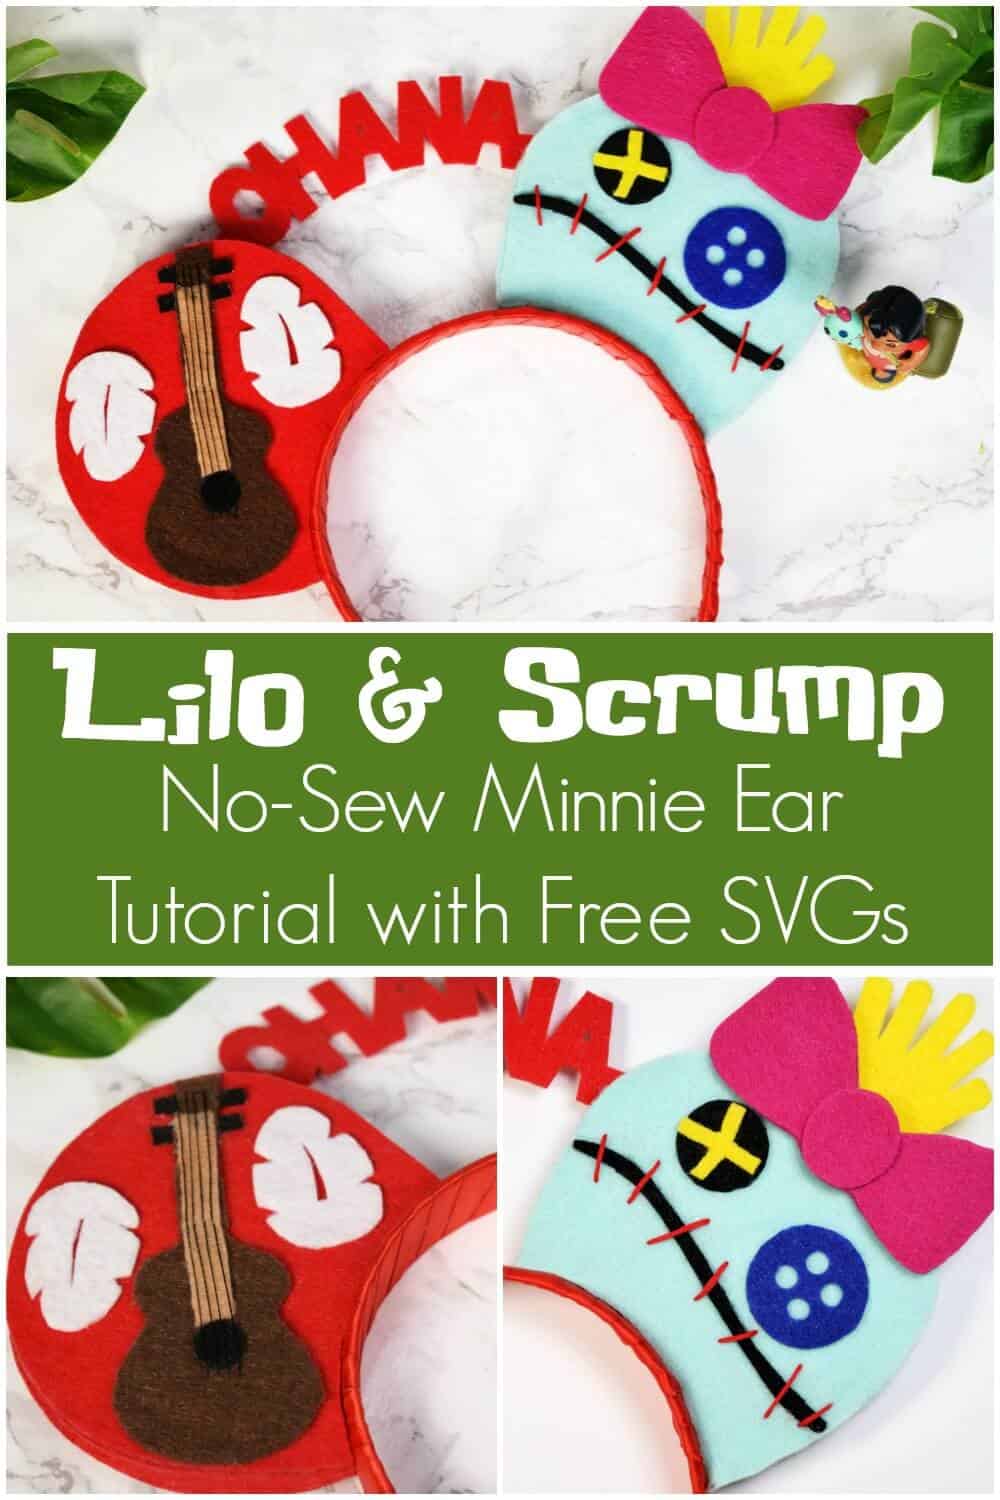
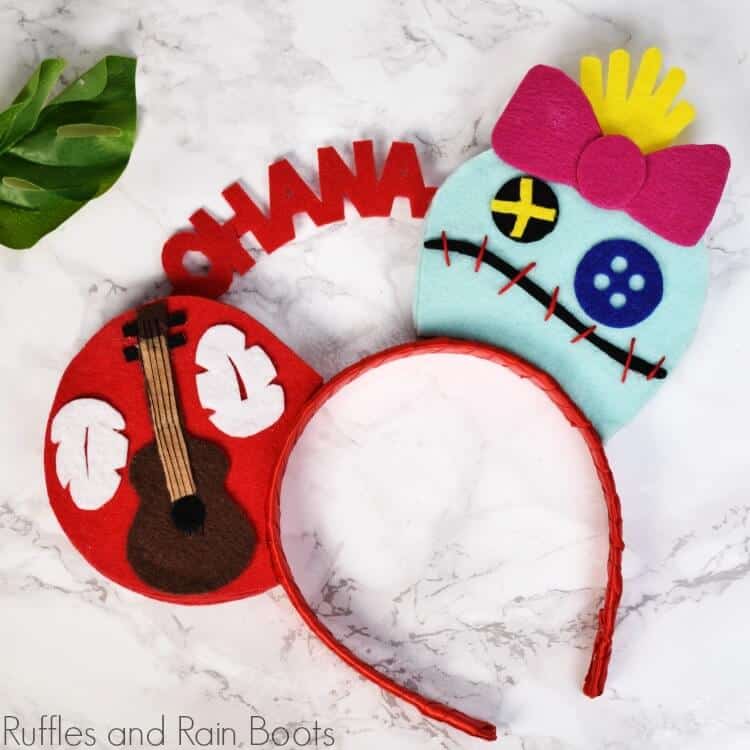
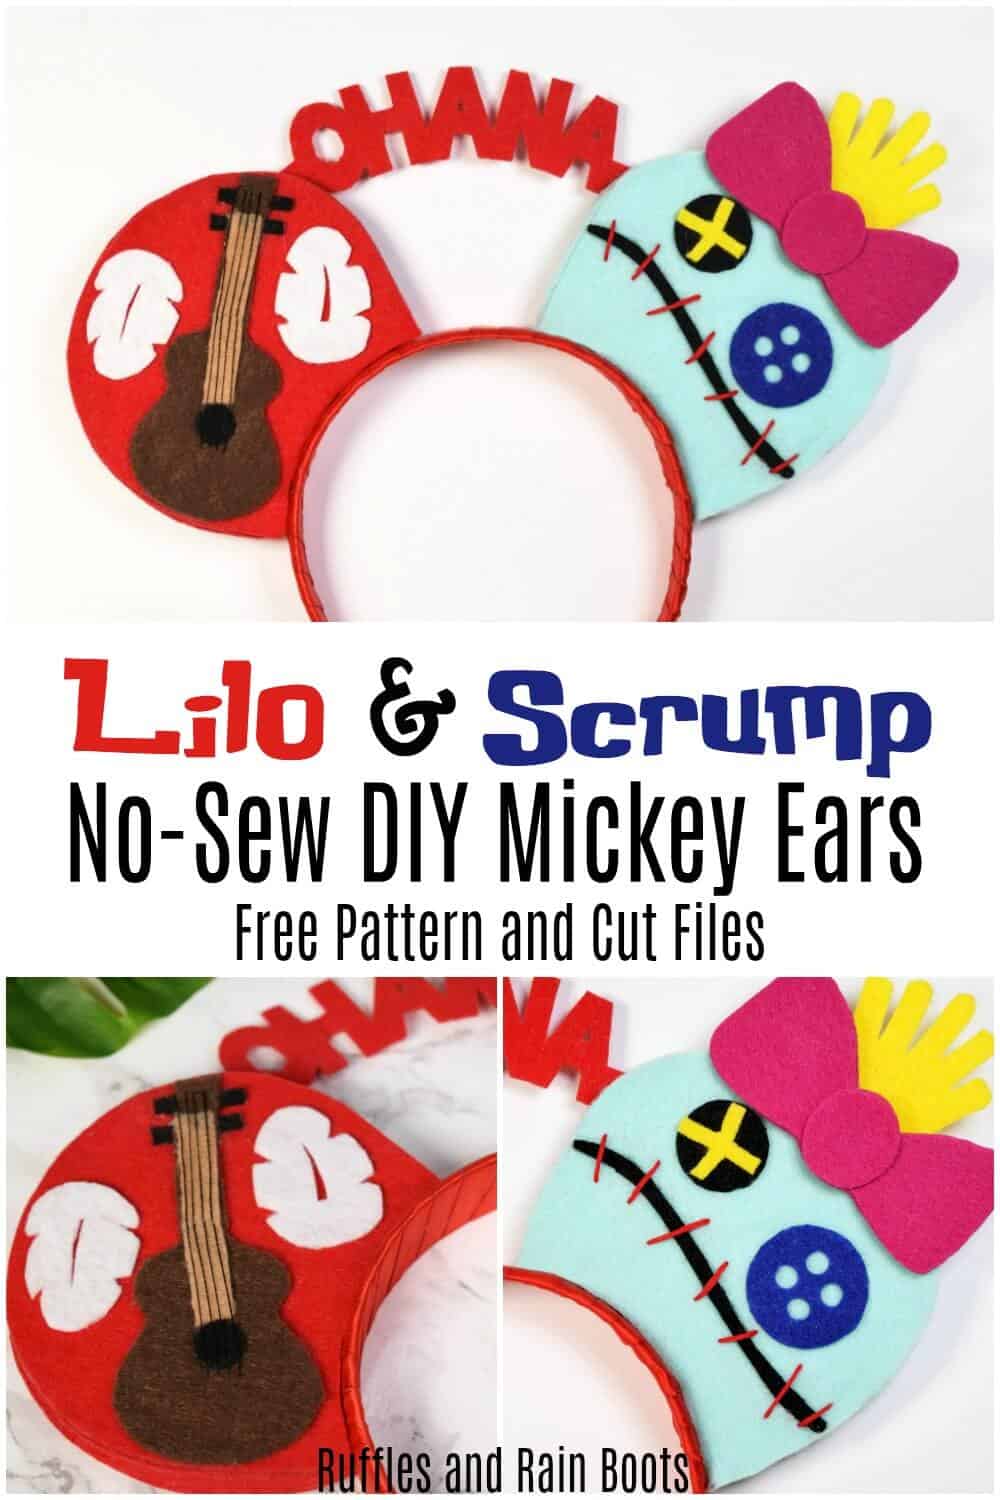
No-Sew Lilo Mickey Ears with Free SVGs
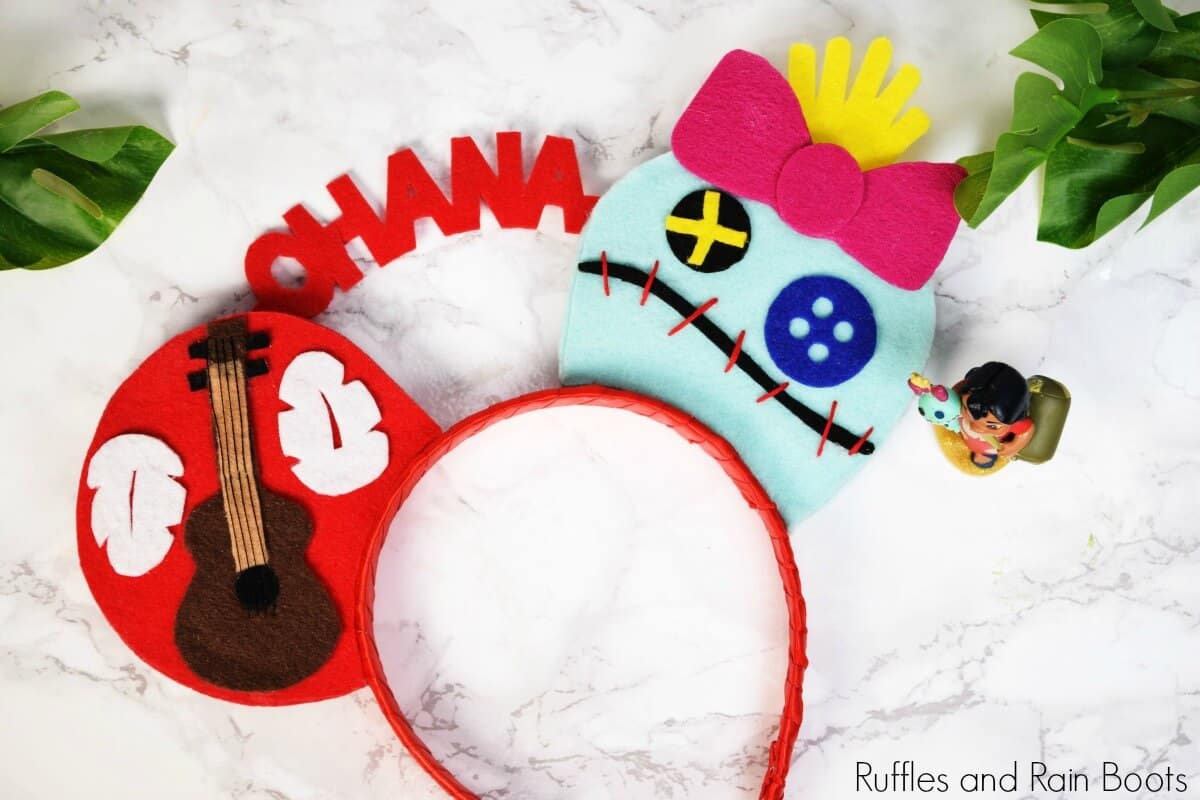
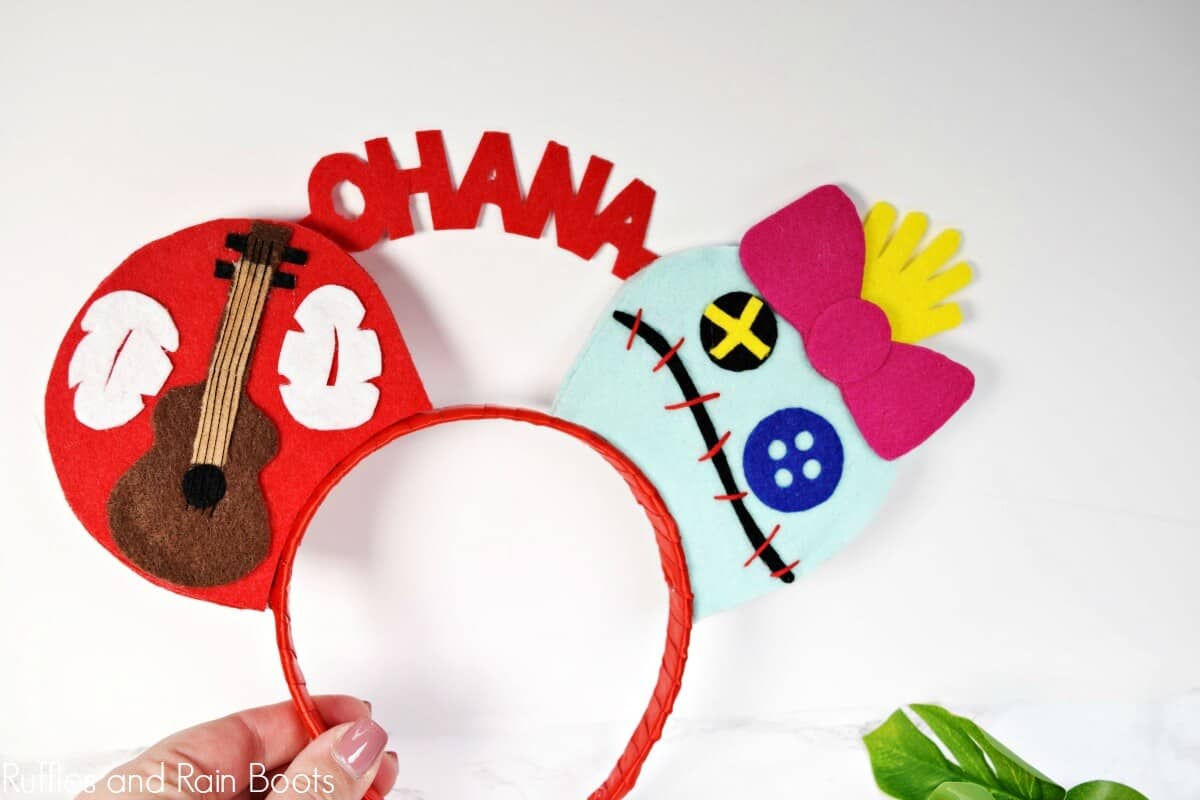
These Lilo Mickey ears come with free cut files and feature Lilo and Scrump from the Disney movie, Lilo and Stitch. Let’s make these fun DIY mouse ears!
What You'll Find On This Page
Lilo Mickey Ears – Perfect for Lilo and Stitch Fans
Here at Ruffles and Rain Boots, I love to share fun Disney crafts with you. One of my daughter’s favorite movies is Lilo and Stitch – it’s such a great story about family and we all love it around here.
I’ve been making DIY Mickey Mouse ears for a while and this set of Lilo Mickey ears is put together in. no time.
RELATED: DIY Mickey and Minnie Ears for Disney Vacation!
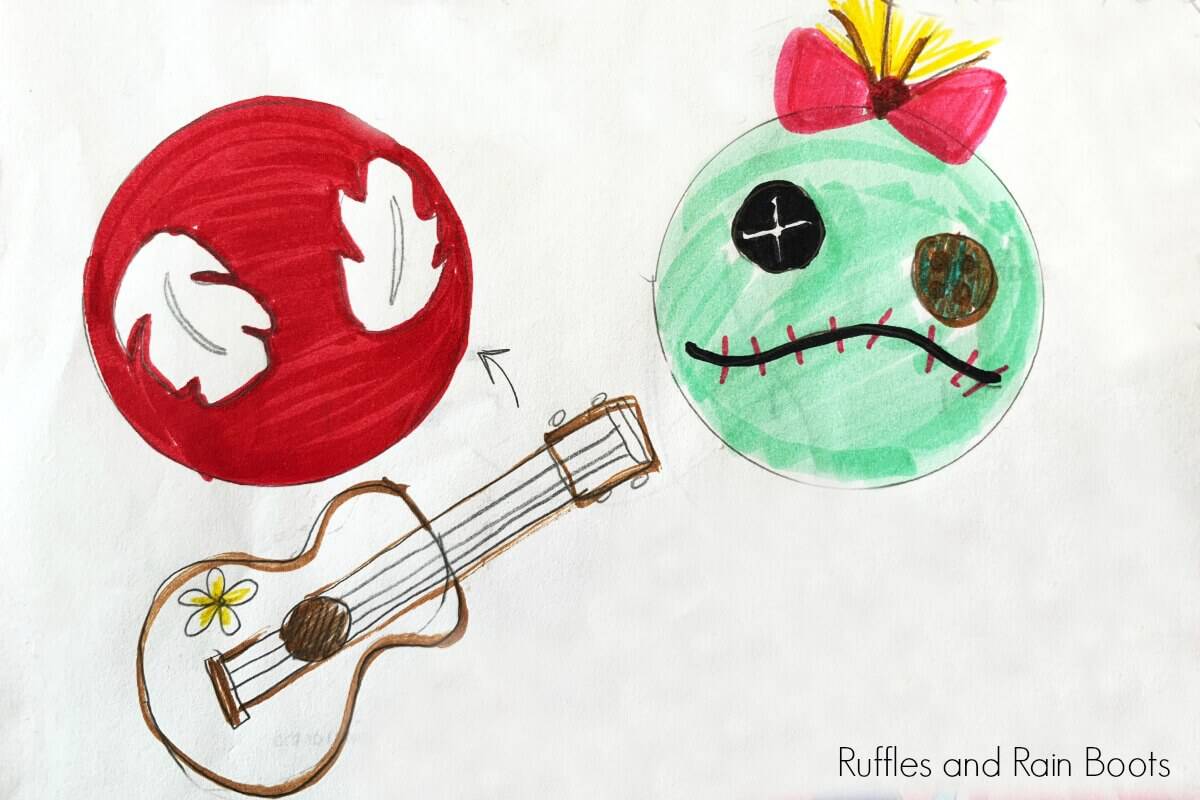
I sketch each and every design, no matter the style of mouse ears I’m making. I actually think this one turned out 100 times better than my sketch. What do you think?
No Time to Make Them? Pin for Later
Don’t have felt on hand? Pin this fun craft to your favorite Disney board on Pinterest and join us when you do.
Tips for Making No-Sew Mickey Mouse Headbands
TERMS OF USE: The digital files were created by me, Sarah Nenni-Daher, and are to be used for PERSONAL USE ONLY.
As I mentioned, I’ve made oodles of ears, and 4 sets of this style of Disney’s Mouse ears. Here are a few things to note (and a few tips).
- The directions below might seem intense, but watch the full video tutorial here – it’s really easy to make these. I made this set in less than 30-minutes after the felt pieces were cut.
- Felt and foam core board are both inexpensive – this is a very pocket-friendly craft.
- You don’t need a ton of hot glue to attach the ears. The glue will not show if you take a bit of care. If it leaks out, quickly remove it (before it dries) or use a razor to clean it up (after it dries).
- You can make these Lilo Minnie ears by using a bow instead of the “Ohana” joiner we provide in the cut files.
- Don’t press the pieces down too hard and the hot glue won’t show through the felt.
How Do I Get and Use the Templates?
Cricut, Silhouette, and Cutting Machine Users
If you have a Cricut or Silhouette machine which cuts felt (or bonded felt), this is going to take you no more than about 30 minutes. Scroll to the tutorial and download the free files. Size the ears (as a group) in the software to match your base and cut BUT do not cut the background as you’ll need to size that for the foam core ears you cut.
I have included Lilo and Scrump SVG files but have also shared the EPS, DXF, and PNG files for use with machines other than Cricut.
RELATED READING: Free Disney SVG Files on Ruffles and Rain Boots
For Those Without Cutting Machines (Hand Cut)
If you don’t have a Cricut or Silhouette machine and can’t use the Disney cut files, you can cut them by hand (everything you see here was hand-cut to make sure it could be done). Download the PNG files into a program (Word, Pages, PowerPoint, etc.) and size them down to your ears. Just like above, do not cut the background pieces until you’ve cut your foam core ears.
How Do I Make Lilo and Scrump Mickey Ears?
I’m so glad you asked! The written tutorial is below and features some tips you won’t find anywhere else. Be sure to read them all the way through, even if you’re following along with our Lilo Mickey Ears video tutorial here.
No-Sew Lilo Mickey Ears

This fun and unique set of no-sew Lilo Mickey ears can be made using a cutting machine or not. Grab the files and let's get started!
Materials
- felt in your choice of colors
- headband (I used these plastic ones from Amazon)
- ribbon to wrap the headband
- Lilo and Scrump SVG files (get them here)
- foam core (can be used, we'll cover it up)
- optional, needle and embroidery thread for accents
Tools
- glue gun and glue sticks
- scissors
- craft knife or razor blade to cut foam core
- 4-inch bowl or compass
Instructions
Before we get started, I strongly urge you to watch the DIY Mickey Ears video tutorial here.
- Create the ears as instructed in the video tutorial. Use a compass or a 4-inch bowl and the headband to determine your exact size.
- Download the cut file templates and size to fit your ears. Cut by hand or load the digital cut files into your cutting machine software.
- Build the border side and back of the ears first as shown in the video - unconnected. Do not attach the ears to the headband until the end.
- Layer the felt pieces on the front of the ears. Once layered and any sewn accents applied, if desired, glue on the front of the ears to the foam core.
- Wrap the headband in ribbon and attach the ears as shown in the tutorial. Your Lilo Mickey ears are done and you'll be the envy of all Lilo and Stitch fans!
Notes
Psst: I'll be finishing up the Stitch and Angel ears soon! Be sure to check Ruffles and Rain Boots for more Mickey Ear tutorials.
Please Share This to Pinterest
Your shares are how this site grows and I am sincerely grateful. If you know someone who would love this, share it on Facebook or save it to Pinterest. Thank you!
Meet the Creator
Hi there, I’m Sarah Nenni-Daher. I’m a crafty gal and always have at least 14 projects going at once. I am a crafter, designer, DIYer, and pattern maker. I share my creations here and in the Ruffles and Rain Boots® Shop.
Here at Ruffles and Rain Boots®, you’ll find DIY gnomes, crafts, gifts, cupcakes, laser crafts, and so much more. I love sharing video tutorials over on YouTube and chatting with other crafters in my Facebook groups. We’d love to have you!