
Farmhouse Drop Cloth Gnome Two Ways and Easter DIYs
Use this free gnome pattern to make a drop cloth gnome two ways: make and adorable flour sack towel gnome or the sweetest farmhouse gnome with a floppy hat. I’m also sharing a few Easter decor DIYs including two shelf sitter signs and drop cloth carrots.
For this project, you will need a drop cloth, faux fur (or yarn) for the beard, a bead or wood ball for the nose, weight, and stuffing. This is a quick, no sew gnome pattern to put together and comes with a written tutorial, printable tutorial, and even a full gnome video tutorial.
What You'll Find On This Page
No Sew Canvas Gnome Made from Drop Cloth
Here at Ruffles and Rain Boots, I’ve been working on Spring displays for a while because I don’t really decorate for St. Patrick’s Day with anything other than a garland and gnome. This year, I decided to hit the hardware store for a drop cloth and work up a few pieces.
In the video tutorial for this farmhouse gnome, I give you a glimpse of a few of the projects I’ve made so far and will share a post showing how I created them in case you want to use up the rest of that drop cloth. I share a LOT of Christmas gnomes, free gnome patterns, garden gnomes, and more, so do stick around if you like the creatures.
Get Secret Gnomes, Tips, & Freebies Delivered!
What is the best pattern to use when you don’t want to sew? Do you know the secrets to a properly-proportioned gnome? Do you know where to get the best-priced fur?
Get all of this (and exclusive content just for you) delivered right to your inbox with the gnome-making series, free of charge. Sign up to get the once-weekly newsletter (and a jaw-dropping special offer)!

Save or Pin This DIY Gnome for Later
In case you are standing in line at the grocery or need to wait until the season arrives, save this to an easy DIY projects pin board or share it on Facebook. It will be very easy to find it later if you’ve shared or saved it.

As an Amazon Associate, I could earn from qualifying purchases. There could be affiliate links within this article.
RELATED READING: No Sew Easter Gnome Bottle Cover
Tips for Making a Farmhouse Drop Cloth Gnome Without Sewing
- Use a detail tip glue gun. This precise machine will make this craft come together easily and I do recommend it.
- Be sure to let the glue set and cool. For many projects, I would give you this advice but for this project, it’s is critical. Drop cloth is a heavy canvas and will need a strong, solid join to stay together.
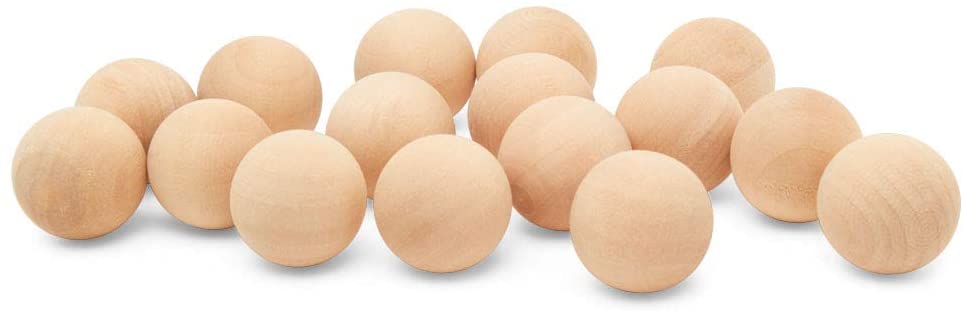
- The gnome nose can be anything you have on hand: a bead, a wood ball, a dowel cap, a nose made and baked with polymer clay, or even fabric stuffed with Poly Fill.
- You don’t have to make the adorable farmhouse patch and badge, but if you do want to, any faux leather will work, not just the one I show in the video. The trick is actually in the pen, not the leather.
- The pen I use is a white gel pen (these are the ones I use and highly recommend – they are the best ones I’ve ever found and please believe me when I say they are NOT all created equal).
- I crack a joke in the video gnome tutorial, but I use flower brads from the scrapbooking / paper crafts section of the craft store for my patch. They kind of look like stars to me and would love to know if you think I pulled it off or not. :)
- How to Make This a Gnome Sewing Project: this can also be a free sewing pattern for those who want to sew, but please note that you should use a jeans needle (100/16 or 100/18) when working with thick canvas such as this.
How Do I Make a Rustic Gnome from Drop Cloth
Below are the written and printable step by step instructions. Please note there is no printable pattern, as each piece only requires measurements. As with most of my gnomes, I have created a full length video tutorial for this farmhouse drop cloth gnome here. While you’re there, please subscribe – it’s a fun channel.
Drop Cloth Gnome - Two Ways!

This adorable farmhouse style drop cloth gnome can be made two ways and is just the sweetest little addition to your decor. This entire project can be made with a hot glue gun - no sewing needed!
Materials
- Drop Cloth
- Faux Fur
- Poly Pellets
- Poly Fill
- 1 inch Wood Ball (or Bead)
- Burlap Ribbon
- Faux Leather
- White Gelly Roll Pen
- Brads
- Twine, Optional
Tools
- Hot Glue Gun and Glue Sticks
- Scissors and an Exacto Knife
- Pencil
- Ruler
- Needle and Embroidery Thread
Instructions
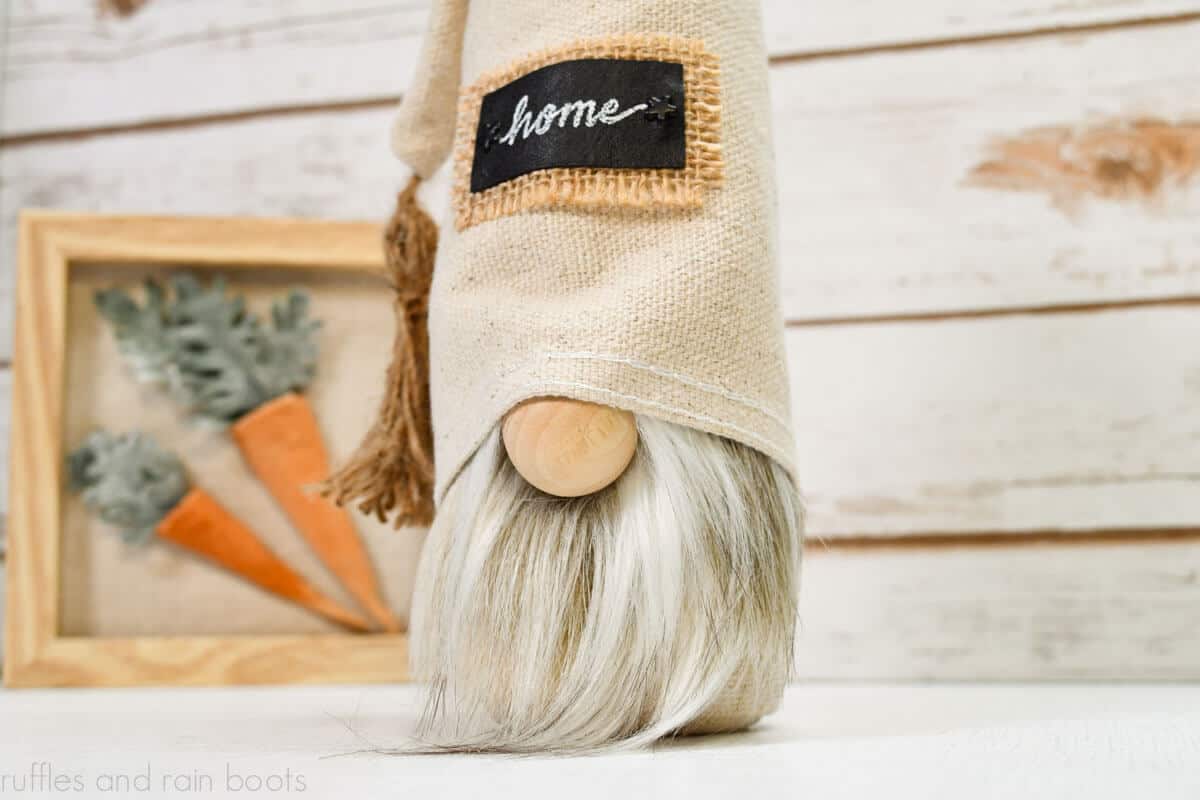
Drop Cloth Flour Sack Gnome Body
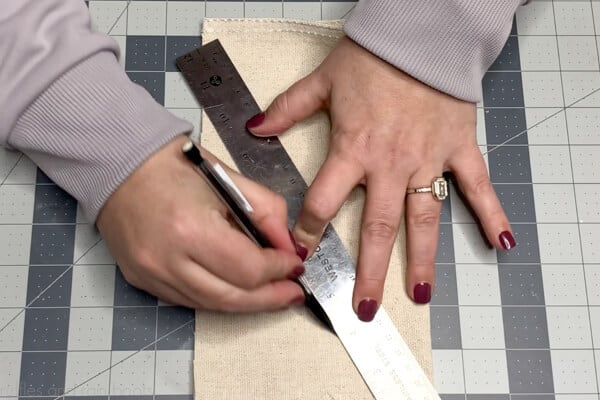
- Cut a body shape from the drop cloth at 8 inches wide by 10 inches high and a base circle 3 inches in diameter.

- Fold the rectangle in half lengthwise (right sides together) and glue along the long edge. You can leave the top 1/2 inch unglued for easy fraying.
- Add the circular base to the bottom of the glued body piece, securing it all the way around with glue. Let it set.
- Flip the entire body piece right-sides out and make sure it is secure before filling with one cup of Poly Pellets.
- Add Poly Fill to the rest of the cylinder body, stopping when there is 1.5 inches left at the top.
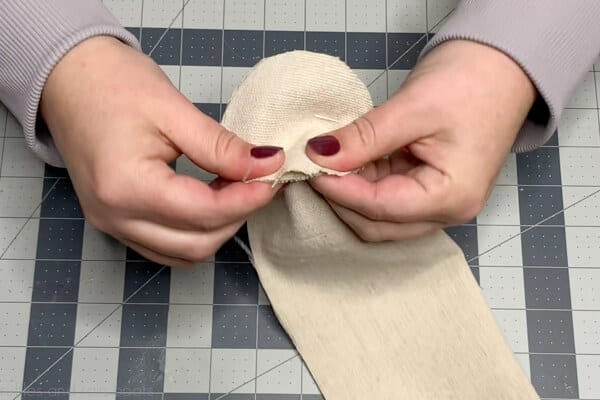
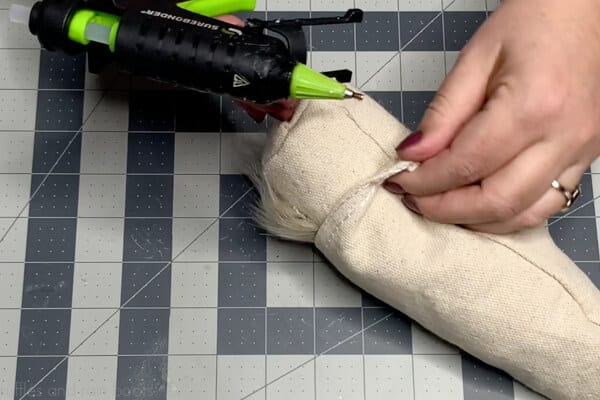
- Use the embroidery thread and needle to create a running stitch 1.5 inches from the top all the way around. Pull tight and secure the opening with a few knots.
- Use the Exacto knife to cut a piece of faux fur to your specifications or mine (3.5 inches wide by 2.5 inches high). If you are new to cutting fur, draw the shape on the back of the fur in marker or felt pen.
- Fold down the top 1/4 -1/2 inch of the beard to create a tailored look.
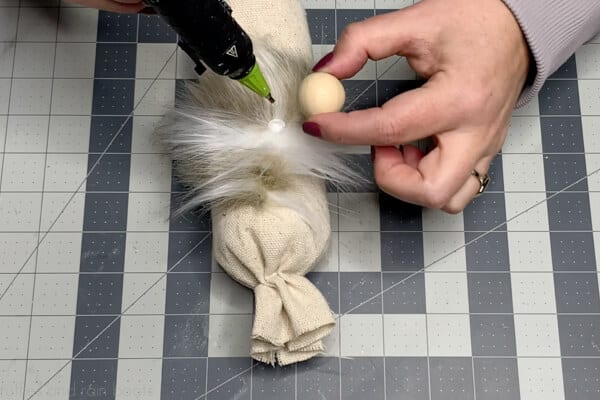
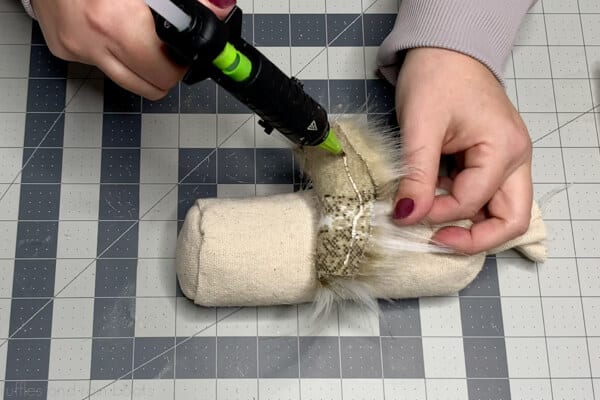
- Brush some fur up, split the center of the fur to the fabric backing, and add a generous amount of hot glue to affix the wood ball nose.
- Affix the gnome beard to the body, fray the top of the flour sack, and display. Or...


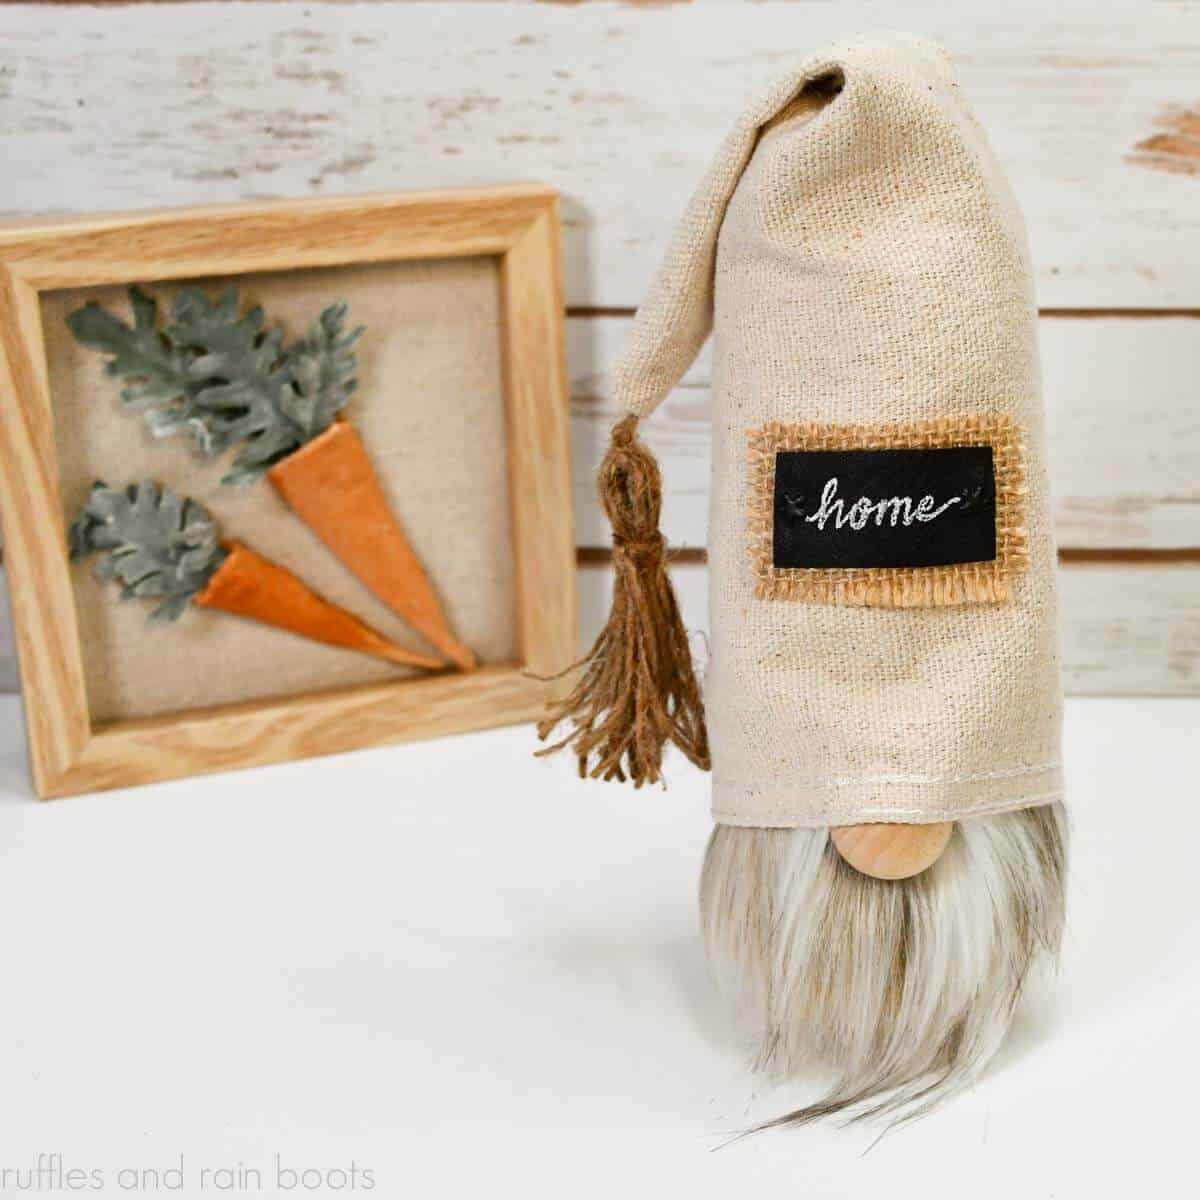
Drop Cloth Gnome with Hat
- Cut a piece of drop cloth at 10.5 inches wide by 11 inches high. Fold together and cut a triangle starting 2 inches from the brim and all the way up to 1/4 inch shy of the fold.
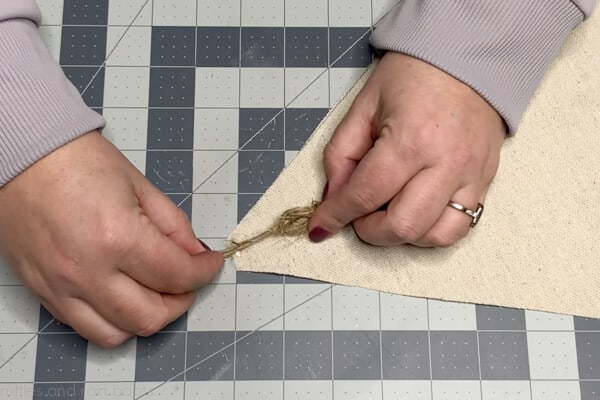
- Create a twine tassel to affix and permanently place into the hat. Place the hat right sides together, open, insert the tassel (facing into the hat, tassel at the bottom), and glue in place on the hat's table point.
- Glue the long edges of the hat together and let the glue set before turning right-sides out.
- Slip the hat onto the gnome, align the back seams, and glue in place.
- On the front of the gnome, secure the hat to the top of the gnome's nose, taking care not to get any fur in the glue. Pull the hat down to the side and glue in place.


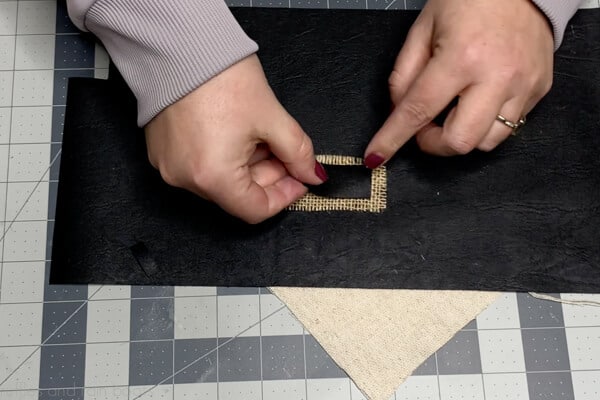
Make a Home Patch
- Cut a small piece of burlap ribbon and fray the edges. Cut a smaller piece of black faux leather to fit inside the burlap, with edge all around.
- Use the white Gelly pen to write "home" on the faux leather and let dry.
- Use the Exacto knife to create a hole on either side of the word and insert a brad. Glue the leather to the burlap and the burlap to the gnome's hat.


Notes
If sewing the drop cloth, use a canvas needle (100/16 or 100/18).
For the flour sack gnome, stop at step 10.
Recommended Products
As an Amazon Associate and member of other affiliate programs, I earn from qualifying purchases.


More Easter Drop Cloth Crafts
Shared in this Easter drop cloth crafts video tutorial, I created a few pieces to go along with this guy. Most are made with drop cloth and all are made with the same materials we use on this farmhouse gnome.
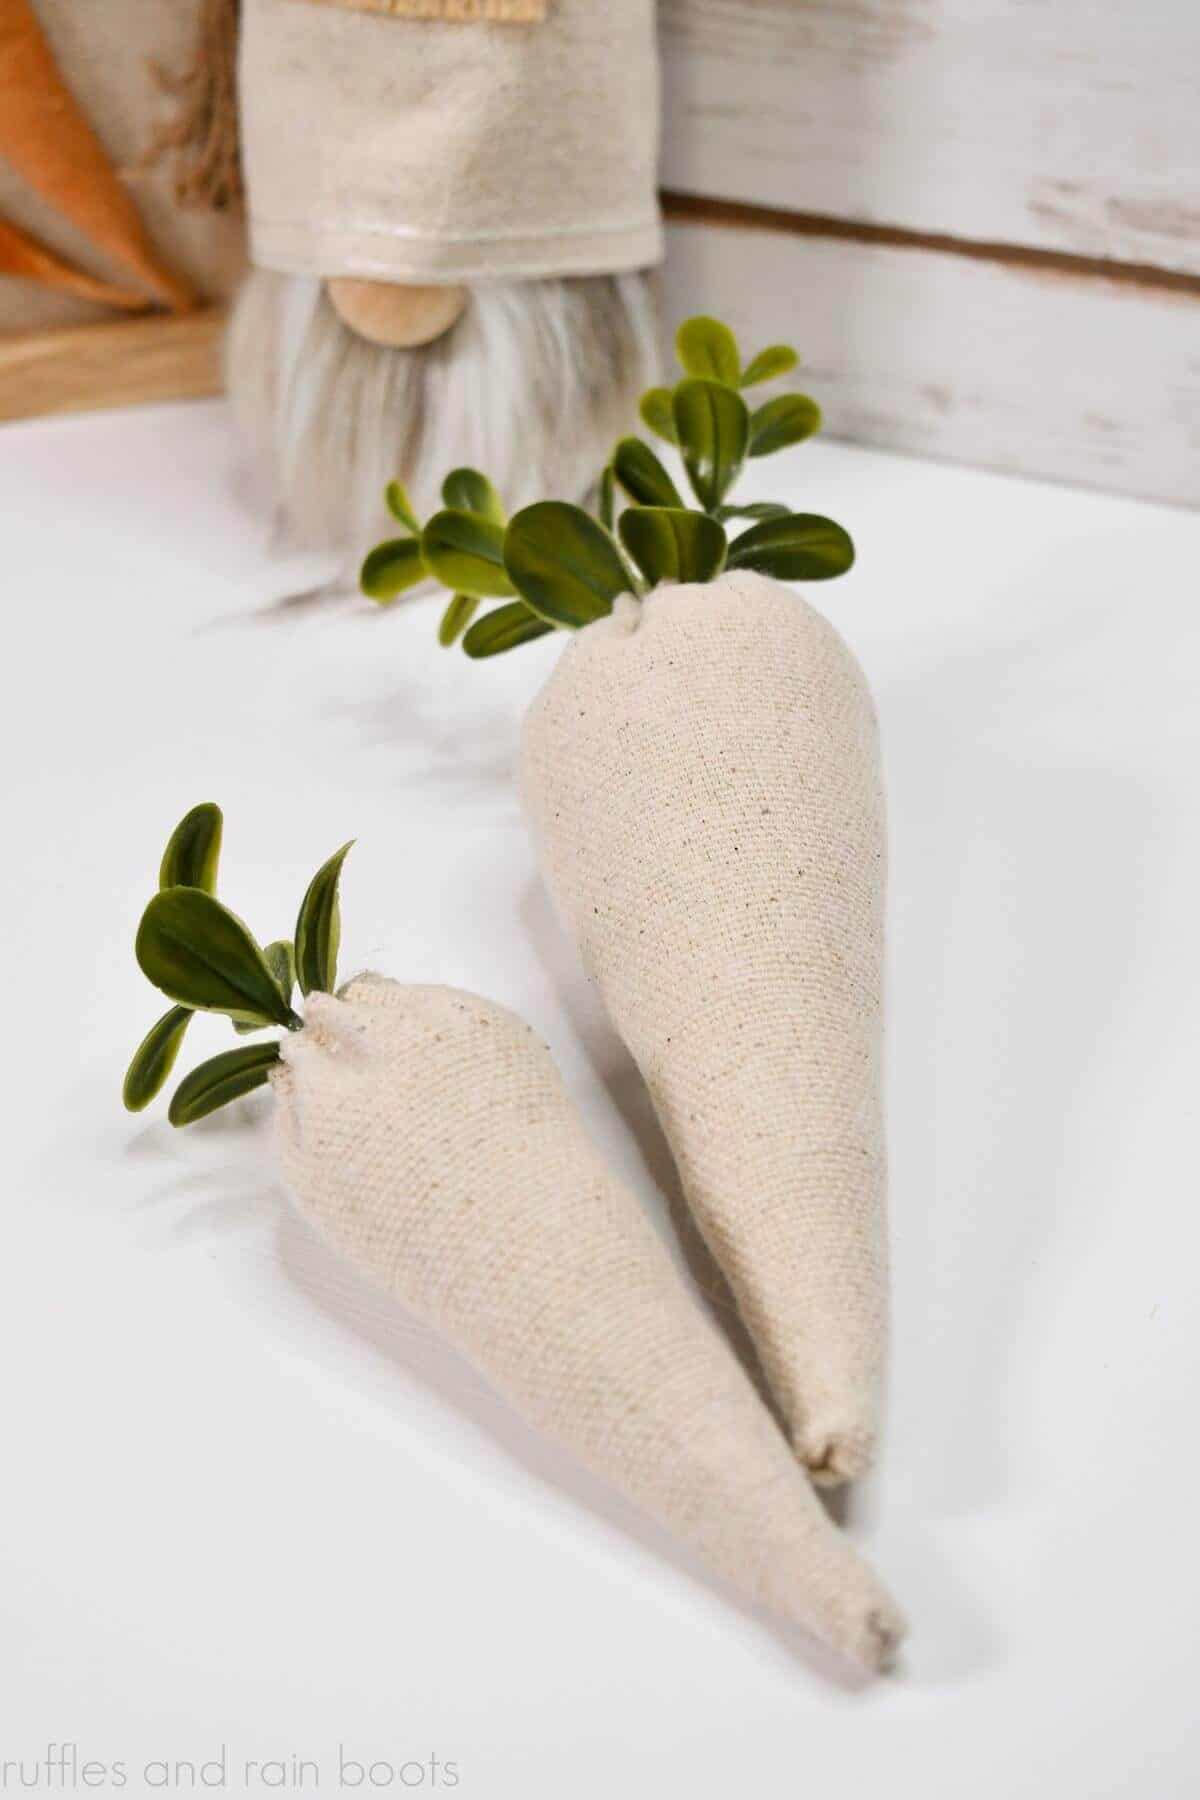
Drop Cloth Carrots DIY
These are such a cute dough bowl filler or tiered tray accent and are done in just a few minutes.
- Cut two triangles at 6 inches and 8 inches at their widest (the top) and their tallest points (the height).
- Fold right-sides together, hot glue along the long edge, press together, and let the glue set before turning right-sides out.
- Fold down the top 1/2 inch, add a running stitch with needle and thread, and stuff with Poly-Fill. Add glue and greenery, pull tight, and cut off strings after securing.
HOP Shelf Sitter Sign
This adorable HOP tiered tray sign is a great way to use up any small signs from Dollar Tree or the Target Dollar Spot. I love tucking these into displays, onto tiered trays, or even in book cases.
- Remove any paint or decoration from a small wood block. Add paint accents (you can see how I added dimension to mine using Waverly chalk paint in Elephant.
- Cut a portion of 2 inch wide burlap ribbon (fray the edges) and a smaller piece of the faux leather (both used on this gnome).
- Use a white gelly roll pen (or a cutting machine and permanent vinyl) to write out the word, “HOP” on the faux leather and let dry. Poke four holes on all corners, add brads, and then glue to the burlap ribbon.
- Create a small four loop bow, glue on the “HOP” patch and bow, and it’s done.

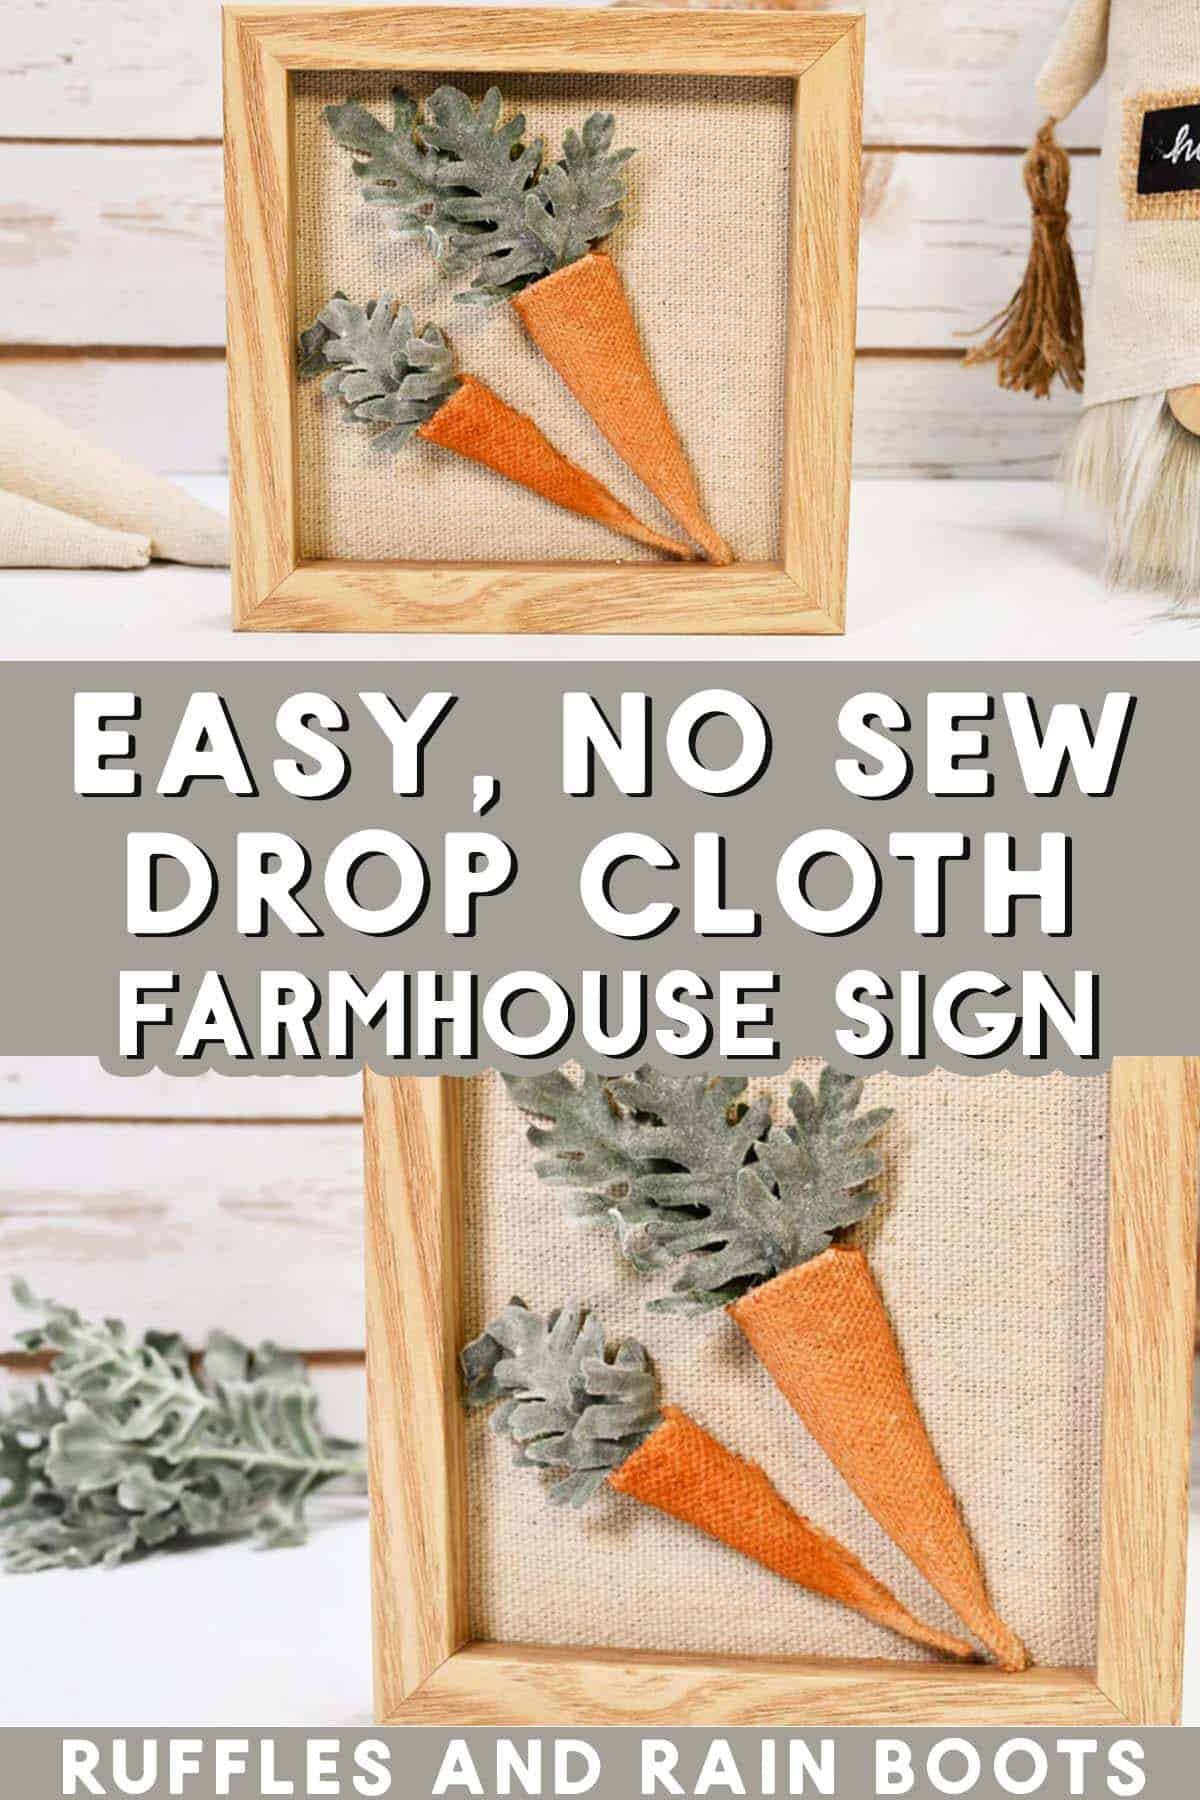
DIY Drop Cloth Carrot Sign and Shelf Sitter
This is my favorite project from all of the add-ons! I love how easy and simple a small pop of color can bring to the canvas carrots.
- Remove the image and backing from a Dollar Tree beaded square hanging sign. Remove the beads and set aside for a different project.
- Cover the image and backing with drop cloth and place back into the Dollar Tree frame.
- Cut two triangles of drop cloth (4″ and 5.5″). Roll and glue them together so they are conical (show two ways in the video).
- Paint the carrots with a light watercolor wash of burnt sienna paint (watered down) and let dry. Stuff with poly fill, fold down the top edge, and add greenery to the opening at top and secure with glue.
- Glue the carrots and greenery to the canvas and display.
More Easter Gnome Crafts You Might Like
- Elegant Bunny Gnome – This is my favorite bunny gnome (ever) and it’s so easy to put together with hot glue or a sewing machine.
- DIY Easter Sock Gnome with Carrot Hat – If you have some orange felt, you have a cute bunny gnome craft for a rainy afternoon (the kids LOVE this one).
- Easter Gnome Garland – This is a great way to add to your decor and use up those tiny fur scraps!
- Easter Ornaments and Bowl Filler – Suzy with Worthing Court Blog shares how she made these adorable stamped Easter ornaments. They’re so beautiful.
Please Save or Share
Your shares are how this site grows and I am sincerely grateful. Please save this to a spring crafts board or share it with a fun gnomes group on Facebook.

