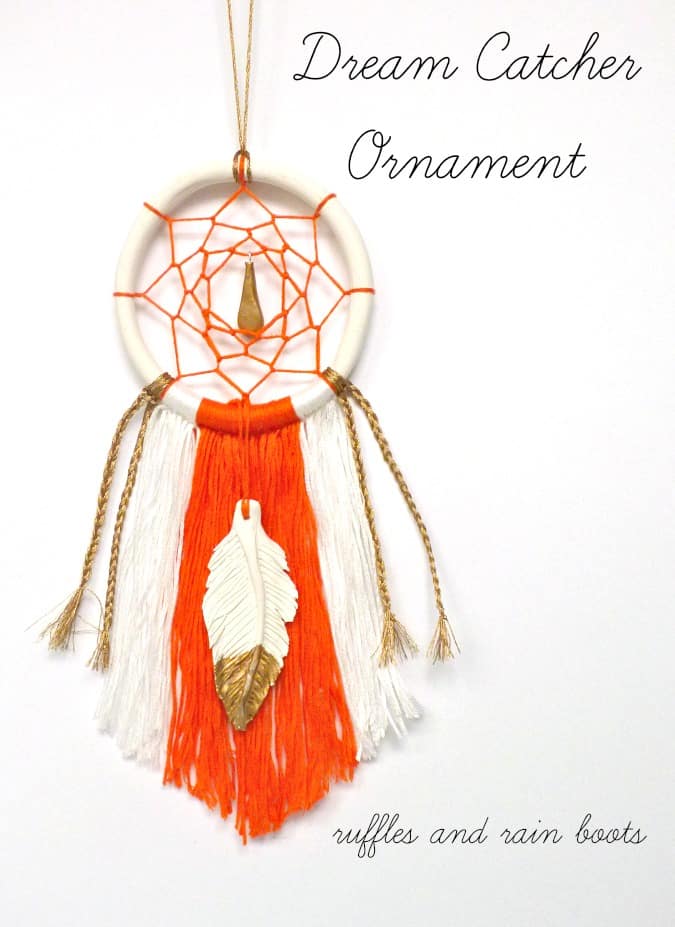
Dream Catcher Ornament
Dream Catcher Ornament
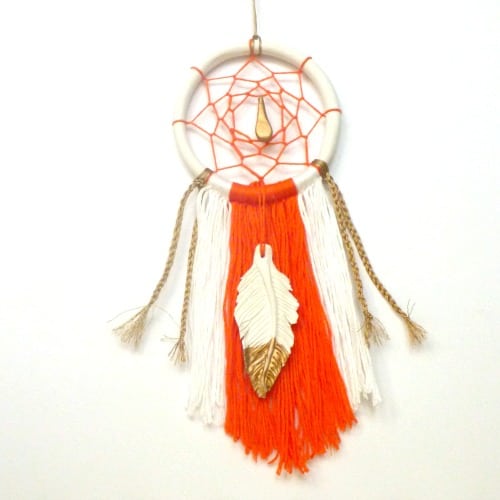
Do you have any crafting fails in your DIY history? My latest one came at the expensive of a Christmas gift I spent weeks working on. If you happen to follow me on social media, you might remember my pleas for help when red wine destroyed the first version of this dream catcher ornament. The wine wasn’t even that good…
So here’s a little background on this dream catcher ornament and the recipient. The first time I’d even heard of a dream catcher was from one of my oldest friends, Heather. If someone asked me to describe her, I’m sure item number 312 on my list would be this little nugget of truth. The first 311 on that list would be me waxing poetically about how much I, and every one who knows her, loves her.
When I thought about something to make Heather for Christmas, a dream catcher was the first thing that came to mind and to be honest, I kind of kicked myself that I hadn’t made one in the 20 or so years I’ve known her. I thought she could hang it from her car mirror or use it as an ornament, so I wanted it to be compact but still have a good bit of detail.
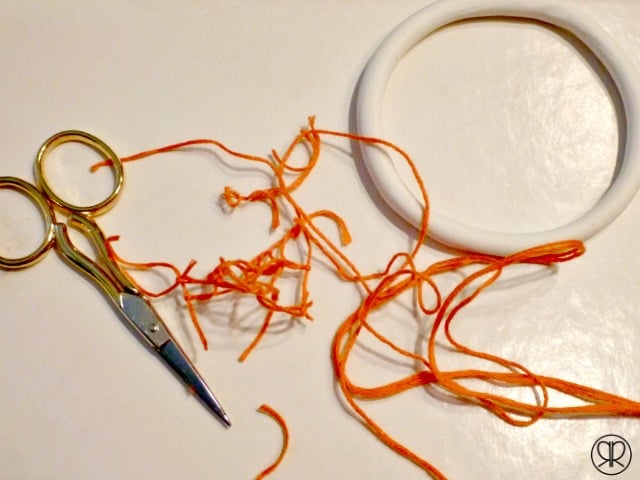
When one attempts to make a dream catcher for the first time, one should <<<>>> start with a large hoop. What-evs, I’m a bit of a rebel. Because I didn’t do a lick of research before attempting this, my first 20 or so attempts ended up like the shot below – snipped off into tons of tiny, useless bits of string. I finally got a good plan together, and that’s what I’m going to show you, sparing you from the soul-crushing failures.
Supplies
- 3 – 4 inch ring – I made one from white oven-baked clay, but you can purchase small wooden rings at craft stores. You could also fashion your own from a large gauged wire or wire clothes hanger. You could also make a square, triangle, heart – well, you get the idea.
- Embroidery thread – I believe I used four skeins of coral and two white the first time I made this. After the wine incident, I didn’t really count.
- Metallic embroidery thread – I used Antique Effects, Color E436. You’ll only need one skein.
- Jewel or accent for the hoop – I used a rain drop I made from white oven-baked clay and then used “Antique Gold” from Rub n Buff to color it.
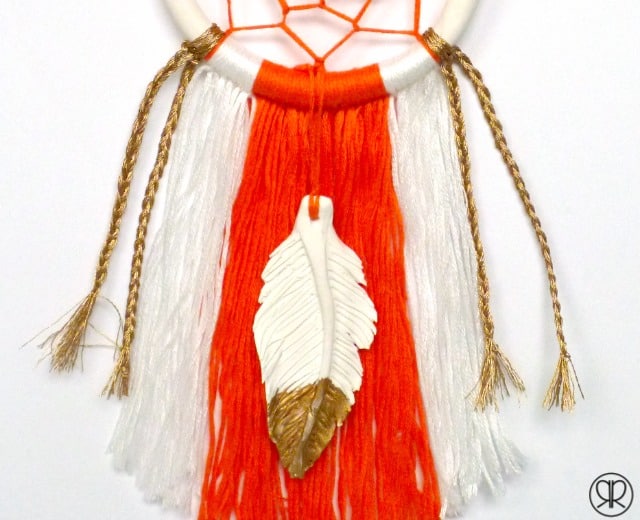
- Feather(s) – I made a feather from white oven-baked clay and then used the same Rub n Buff to color the tip.
- An idea of the pattern you want in the catcher.
The last one is kind of where I failed. I had no idea that there were tutorials on how to actually weave a darn dream catcher, so I figured it out on my own after a few (many, many, many) tries. I really don’t suggest doing that unless you’re a glutton for punishment. Search for dream catcher patterns and select your tutorial.
Instructions
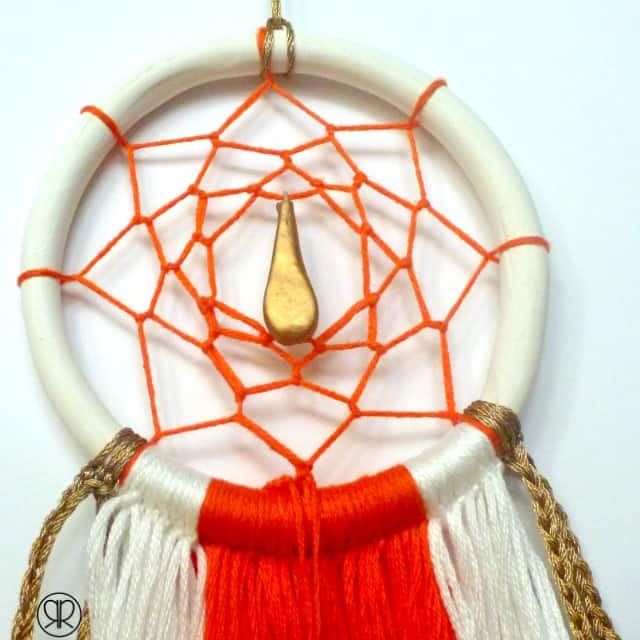
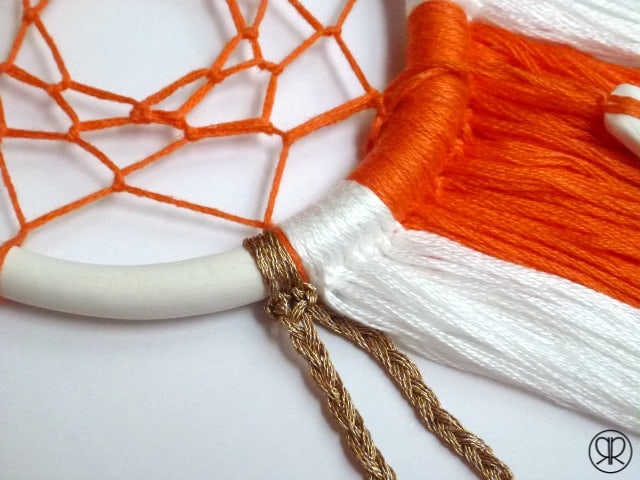
To get started with your dream catcher ornament, make your pattern on the hoop. I used an 8 point pattern, but there are so many to choose from. I will share one tip about making the pattern: if you want to make it easier on yourself, wrap your hoop or wire with jute or even embroidery thread. The thread at the starting points will move along the clay, wood, or wire hoop, but wrapping your hoop will give the points of the pattern grip. Lesson learned.
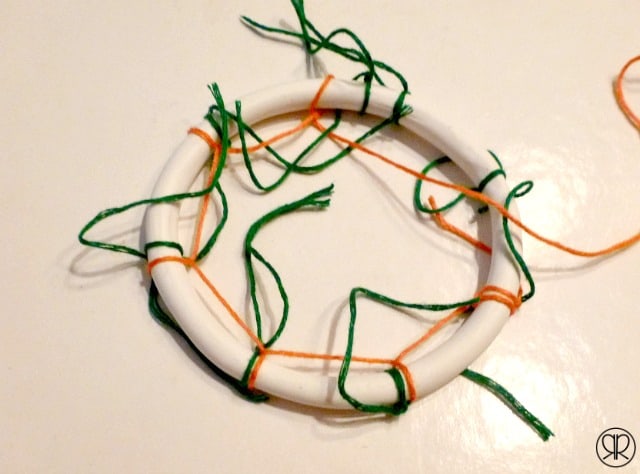
If you don’t want to wrap your hoop, here’s what I did: I used a contrasting color to create little ‘stop’ points for my working thread and then carefully cut them off the ring later. A side bonus is that they also helped me make the pattern even.
Once you have made it to the center of your design, you could add a bead or opt to add something later. I fashioned a piece from clay that had a headpin-like piece I baked in. After adding the gold to the clay, I made the pin loop over a strand of the center design.
Next, cut a bunch – like a ton – of strings a few inches longer than your desired length. Attach them to the ring by double-knotting them at the bottom of the ring. I kept things symmetrical, moving from the same coral used for the center design, followed by white. Just a tip – when doing this again, I would actually tie the feather to one of the center sets of strings, secure, it and then let those strings flow to the end like all the others. For this one, however, I simply tied the feather to a new string, put either string around the center post of the design, and secured it in the back.
Here’s the thing about the gold thread… It doesn’t lie flat like the other. I chose to tie three length of gold and then braid them. I used the 2 strings from one knotted length, along with one of the center’s knotted strings and made 2 braids. Make sense? Six strings (total) can be formed into two braids.
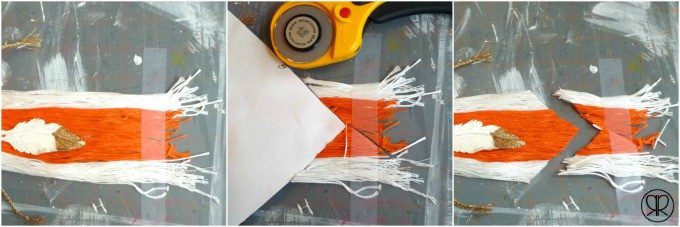
The last step is to add a hanging string and cut the bottom in the shape you’d like. I taped the strings down and cut a “v” shape. Easy peasy, lemon squeezy. Sorry about the photos. I was using my small… Ahem… and really old cutting mat which might or might not get used for small painting projects.
This dream catcher ornament is simple and fun! For more fun crafts, visit Ruffles and Rain Boots.Dream Catcher Ornament
Materials
Instructions
Notes
And you’re done with your awesome and thoughtful dream catcher ornament! Uuuuuuuuuunless you spill your not-so-fabulous-but-kind-of-expensive glass of red wine all over it and then have to take it on vacation to REDO it all. But after that, you’re done with your dream catcher ornament! Again.
What about you? Do you make your Christmas gifts? Have you ever made a dream catcher? Before you comment, Pin this little photo to Pinterest, will ya? He just looks so lonely…
If you are looking for other fun ideas to gift (to others or yourself), check out our handmade gifts page. Perhaps you might be interested in some of these.
Things to help you (or others) relax: check out these lemon-scented goodies or these pampering peppermint ones.
Maybe you’re searching for that perfect gift for the special someone you forgot to get a gift for? This quick project is perfect for your mom and this one is just what that new mama needs.





Thank you for sharing at the Thursday Favorite Things blog hop. It’s lovely xo
Such a beautiful and creative idea!
Wow this the chicest dream catcher ever. I love it! Pinning.
Thank you, Malia, for the kind words and and double-thanks for the Pin!
Oh no, so THIS was the craft you spilled your wine on. Oh I cringed when I read that in your newsletter.
Gorgeous work Sarah. I love the gold (I’m a little obsessed with gold lately).
Thanks for sharing (and for linking up to the #SHINEbloghop)!
Wishing you a lovely evening.
xoxo
This is beautiful! Thanks for sharing with the Thursday Blog Hop!
http://www.over50feeling40.com
I love that you said whatevs to the rules! This is a great dream catcher. Bummer you had to do it all again, that is not fun at all. I have a dream catcher that has been with me since I was little. Now my daughter Nora has it above her bed. Initially she thought it caught all her dreams so she could not dream, which upset her. Once I explained it she adored it. But, does exclaim that it is broken anytime she does have a bad dream. I like the added detail on the bottom with the angled cut strings, gorgeous!
Thanks so much, Emily! I was definitely trying to have to redo the entire thing after working on it for so long, but I’m glad I was able to recreate it.
And that’s just too cute about your daughter – ours has taken to making sure hers is ‘working’ each night, too, but blowing air on it and watching it sway.
Oh no this was the craft you spilled on?
This is fabulous! My oldest daughter Samantha has one on her wall and my middle daughter Rebekah has been asking for one for a solid year now. I have been telling her I would figure out how to make one and voila here is a tutorial all ready for me! She is going to be so very excited when I sit her down to make one.
It was the craft I totally spilled my not-so-fabulous red wine on, but I’m thankful that the husband was there to help me get it cleaned up quickly.
Next week I’ll be sharing a kid’s version, so it might be perfect for your littlest one, Jen. You could have a dreamcatcher making party! :)