
Easy Baby Burp Cloth Tutorial – Great for a Beginner!
This simple and easy baby burp cloth tutorial is perfect for the beginner sewing enthusiast and is a wonderful way to use up scraps. And let’s face it: new parents are going to need a TON of these!

What You'll Find On This Page
Beginner Burp Cloth Sewing Tutorial
Here at Ruffles and Rain Boots, I honestly had no idea how many burp cloths I would need for our first child. Let’s just say that I grossly underestimated all of the ways I would use these.
Burp cloths are surprisingly easy to make. They only require scissors, fabric, and thread to whip up a ton. Once you have everything cut, sew in a straight line (straight-ish will work, as well) and you’re finished.
Step By Step: How to Sew a Burp Cloth
Below is the step by step tutorial. You will need:
- 1 yard of flannel fabric
- 1 yard of terry
- a sewing machine
- coordinating thread to match your fabric (it doesn’t have to be perfect)
With these materials and measurements, you will get 12 baby burp cloth gifts from a yard of fabric (1 yard of flannel, 1 yard of terry).
Step 1: Cut a rectangle 10×18 from baby-soft flannel (available at all craft and fabric stores) and a piece of terry cloth the same size. Each burp cloth will be made up of one of each of these.
Step 2: Put the “right-sides” or pretty sides together and sew a half-inch seam around all sides (that just means leave a half inch between the edges of the fabric).
Leave about 2-inches un-sewn so that you can turn the fabric.
Step 3: Turn the burp cloths right-sides out, which means you’ll pull the entire piece through the opening you left.
Once the fabric has been turned right-sides-out, tuck the opening under and sew a seam about 1/4 of an inch around the entire baby burp cloth. This will close up the opening and keep the piece flat for ease of use.
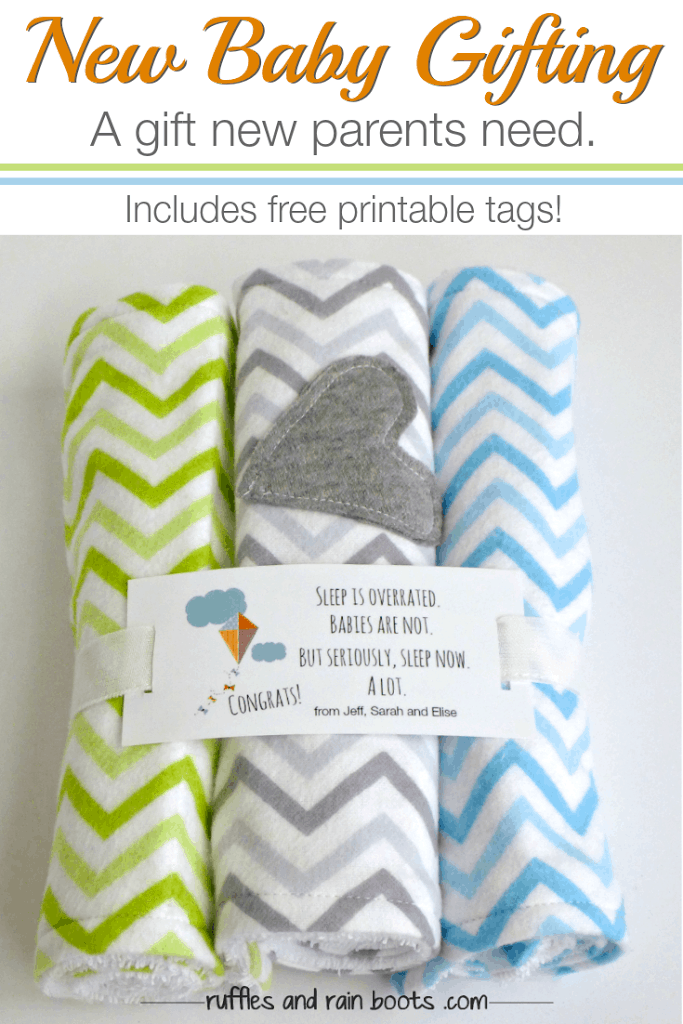
If you want to gift them as I’ve done here, just download this printable and string it through a cotton or grosgrain ribbon.
Variations and Different Styles of DIY Burp Cloths
There are a ton of styles and variations you can make using the simple tutorial above. You can make fun shapes beyond a rectangle: ovals are great and were actually some of my favorite ones because they draped on the shoulder so well.
Additionally, you can also create small square baby wipe cloths the same way. I made quite a few about 7 x 7 inches and they were perfect to keep in the go bags for days out.
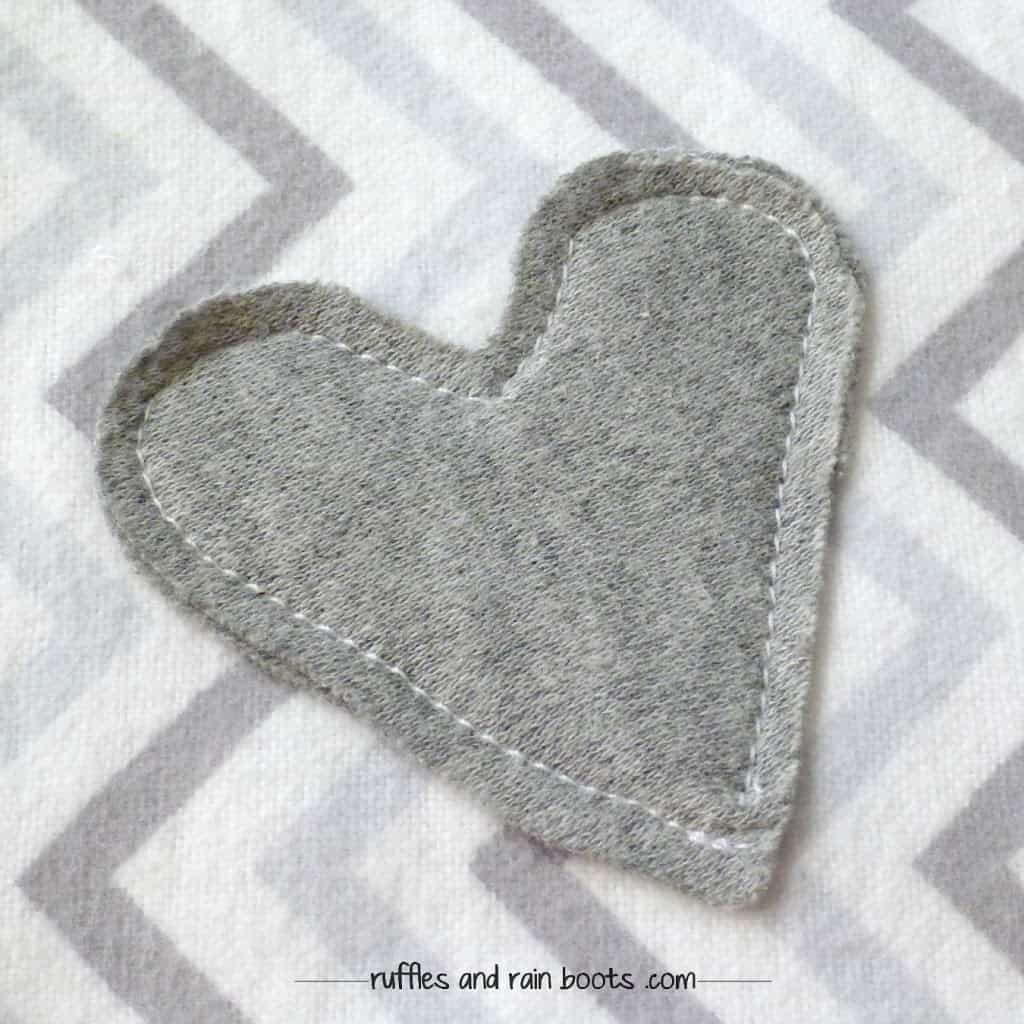
How to Add an Appliqué to a Cloth
If you would like to jazz up your project, appliqués are the easiest way to do so. I’ve added basic shapes like hearts and stars, as well as trickier shapes like anchors and hot air balloons.
If you’d like to add this as well, cut a piece of flannel in a solid, coordinating color to the flannel fabric you’ve selected for the burp cloth.
Before sewing step 2 above, hand sew or use your machine to sew the appliqué onto the flannel using a small seam allowance around the edge. Don’t try to stay very, very close to the edge, just try to stay the same distance.
Note: it’s perfectly fine to cut the appliqué slightly larger than you need so you can have a 1/4 seam allowance. You can use sharp scissors to trim the fabric later.
With some fabric scraps, you can also create baby-sized wash cloths for the new parents, so be sure to stick to square or rectangles for the burp cloths. You make them the same way as the burp cloths. :)
Free Printable for Burp Cloths, Baby Wash Cloths, and New Parent Gifts
I made a sweet little printable sentiment for each set of burp cloths and string it through a sewn ribbon tie for gifting.
If you’d like to use one of the note styles I created, I’ve included them in a free printable. Download the free printable for burp cloths and baby gifts here.
As a tip, print them on photo paper to give them an elegant, high-quality look.

Easy Baby Burp Cloth Tutorial
This simple and easy baby burp cloth tutorial is perfect for the beginner sewing enthusiast and is wonderful to use up scraps. And let's face it - new parents are going to need a TON of these things!
Materials
- 10×18 from baby-soft flannel
- 10×18 from terry cloth
- Thread (in a coordinating color or white)
Tools
- Sewing Machine
- Pins
Instructions
- Step 1: Cut a rectangle 10×18 from baby-soft flannel (available at all craft and fabric stores) and a piece of terry cloth the same size. With these measurements, you will get 12 baby burp cloth gifts from a yard of fabric (1 yard of flannel, 1 yard of terry).
- Step 2: Put the “right-sides” together and sew a half-inch seam around all sides (that just means leave a half inch between the edges of the fabric).
- Leave about 2-inches unsewn so that you can turn the fabric.
- Step 3: Once the fabric has been turned right-sides-out, tuck the opening under and sew a seam about 1/4 of an inch around the entire baby burp cloth.
- If you want to gift them as I’ve done here, just download this printable and string it through a cotton or grosgrain ribbon.
Notes
More fun and easy crafts at Ruffles and Rain Boots
Meet the Creator
Hi there, I’m Sarah Nenni-Daher. I’m a crafty gal and always have at least 14 projects going at once. I am a crafter, designer, DIYer, and pattern maker. I share my creations here and in the Ruffles and Rain Boots® Shop.
Here at Ruffles and Rain Boots®, you’ll find DIY gnomes, crafts, gifts, cupcakes, laser crafts, and so much more. I love sharing video tutorials over on YouTube and chatting with other crafters in my Facebook groups. We’d love to have you!