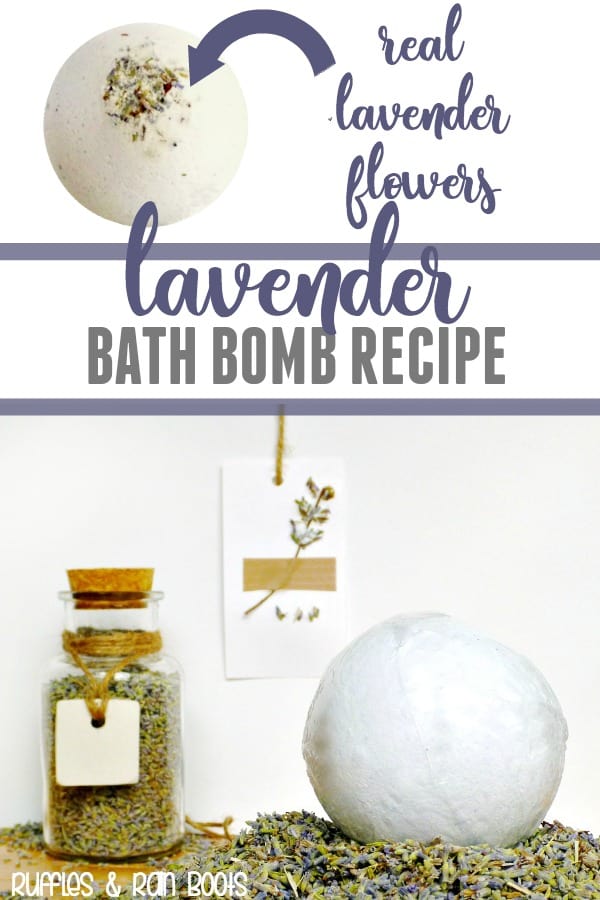
Lavender Bath Bombs Recipe – No Fail Bath Bombs Part 3
These lavender bath bombs are the perfect gift for yourself or others. They use natural ingredients designed to soothe and calm.
What You'll Find On This Page
Bath Bombs and Shower Fizzies Part 3
Today, I am sharing a mix that will deliver those LUSH-style bath bombs with simple ingredients.
Bath bombs are a great gift to give or receive – they always smell so nice and can be used for a mental break. If you (or your gift recipient) isn’t into taking baths, see our article below on shower fizzies versus bath bombs in order to adjust the recipes for shower steamers.
The mix I’m sharing today incorporates some moisturizing oil because really: sometimes dry, winter skin creeps up on us. This recipe can be altered in so many ways by choosing different oils (or butters) and still holds together well.
For detailed instructions for making bath bombs, as well as a list of troubleshooting when something goes wrong, sign up to the weekly email and get access to my Exclusive Content for Email Subscribers page.
If you are new to making bath bombs or shower fizzies, consider making it your starting point.
Update: New and WOW-Worthy Bath Bombs
I love the simple bath bombs like these, however, if you’re looking to take things up a notch, visit the DIY bath bombs recipes here. There are some jaw-dropping goodies!
Shower Fizzies Versus Bath Bombs
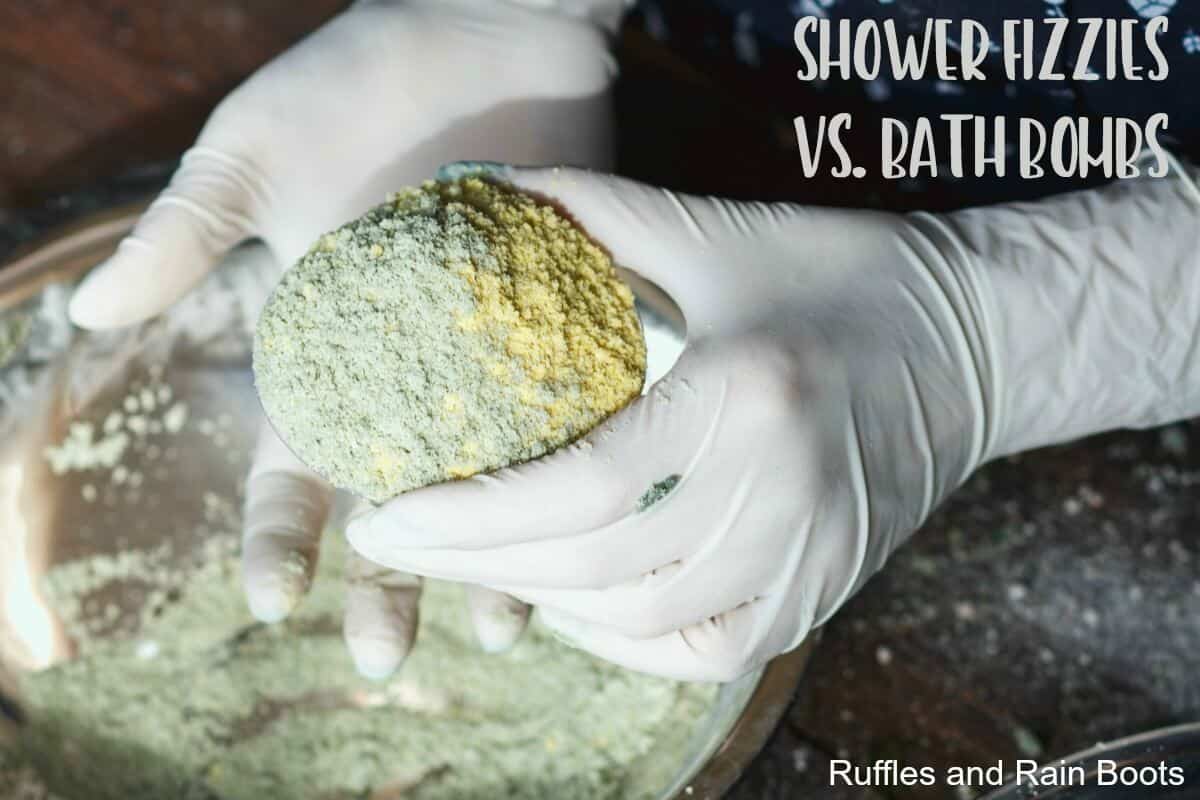
If you’d like to use this wonderful combination in a shower fizzy or shower steamer, please see our shower fizzies recipe here. The ingredients are different and I don’t want you to waste any money or time.
Supplies
The supplies for this moisturizing oil bath bomb are:
- 1 cup baking soda
- 1/2 cup citric acid
- 15-20 drops essential oil** (can be a combination of oils, but for this recipe, I used lavender and vanilla)
- 1/4 – 1/2 tsp of a moisturizing oil (almond, olive, coconut, and jojoba are some suggested oils)
- Vitamin E oil (or a capsule cut open)
- dried flowers or herbs, optional
- coloring, optional – I use gel colorants from the craft store (Wilton brand)
- a glass (or metal) bowl
- a spray bottle of witch hazel (you’ll only need a very small amount, so phone-a-friend if you don’t have any on hand)
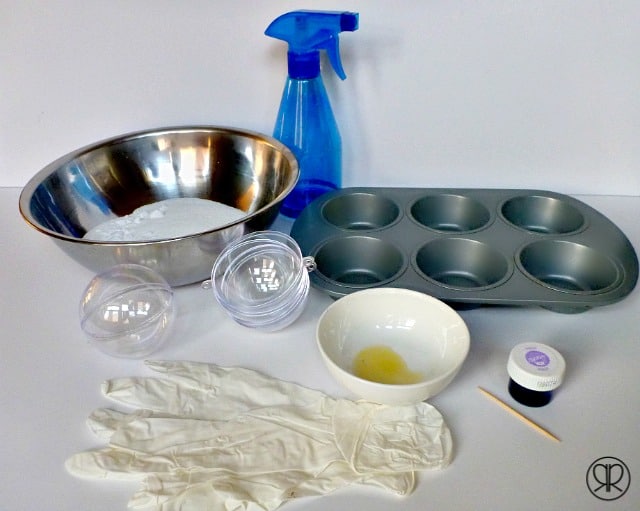
Instructions for Lavender Bath Bombs
- Dump everything in the bowl – seriously, you don’t have to be picky with this recipe.
- Add a small amount of coloring (notice I use a toothpick for the gel coloring). Use your hands to incorporate the oils and color very well. Note: if you want two (or three) colors, separate your mix after incorporating everything except the color and before you’ve added the witch hazel.
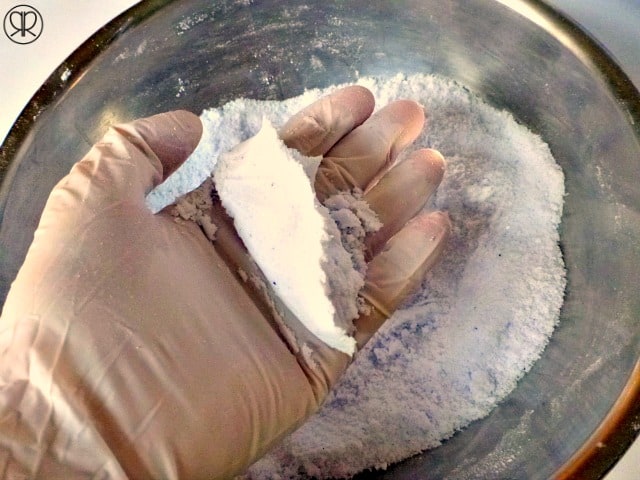
- Use your spray bottle to add the witch hazel to the top of the mix. If you have a large bottle like mine, spray two to three times and then mix it for a solid minute or two before spraying again. If you’re using one of the 3-4 inch spray bottles (travel size), use about 5-8 sprays. When it sticks together without crumbling (photo below) you can begin packing it into your mold.
How to Mold These Bath Bombs
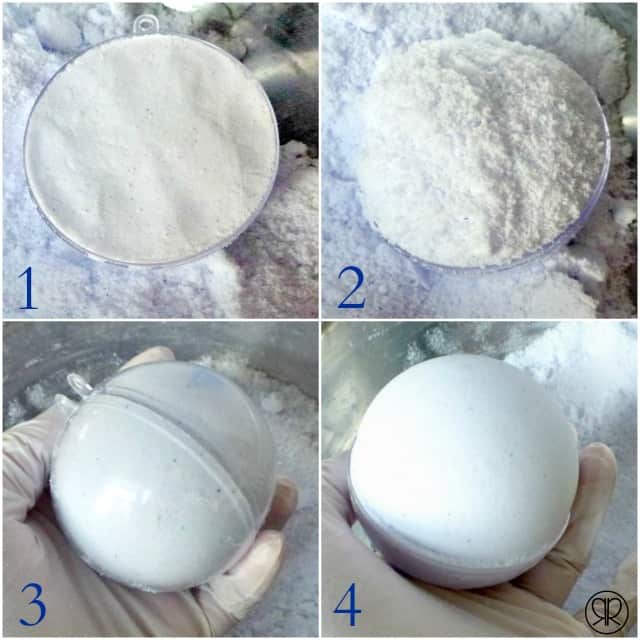
If you’re using a full sphere mold, stuff the mix in, pack it down, and then add a heaping amount to the top.
Squish the two mold pieces together until the mold is a sphere again, and leave it for about a minute before removing. Note: if your mix is wet or feels very, very soft, leave it for at least an hour. Drape a towel over a muffin tin and place the bath bomb on top of the towel.
If you are using a half circle mold, pack it in, wait a minute and then place the flat side down on a tray. If you are using a hard silicone mold, leave it overnight before removing.
Note that if you want to add a bit of lavender (or other dried flowers or herbs) to the top of the bath bomb or shower fizzy, just place it into the mold before packing the mixture.
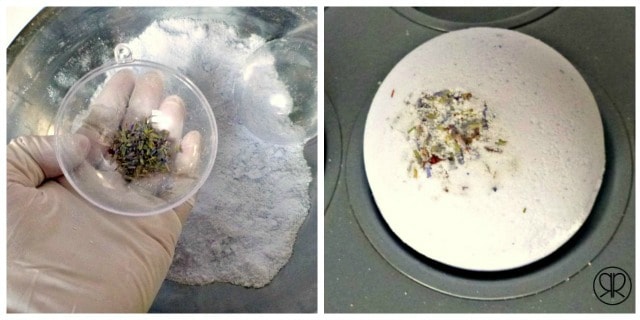
This recipe is very easy to remove from the molds almost immediately. If you are making a ton of bath bombs for a party or wedding favors, go ahead and buy a few molds just so you can work with a few at a time.
Note that even though they can be removed from the molds, they aren’t ready for packing. The bath bombs should be left to dry for at least another 24 hours, but I would suggest 48 or more.
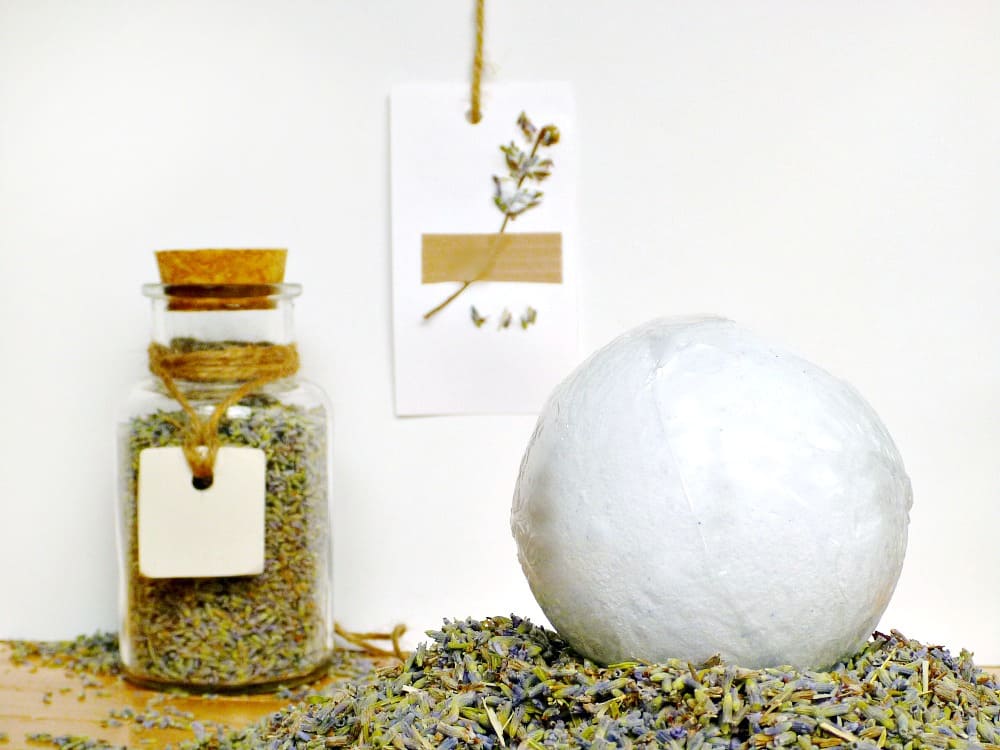
This recipe makes a GREAT Lush-style humongous bath fizzy very well and you’re able to mold it and set it aside to dry quickly, allowing you to reuse your mold immediately. If you are looking to make the big LUSH-inspired spherical bath bombs, this recipe does the job well.
Lavender Bath Bombs Recipe - No Fail Bath Bombs Part 3

These lavender bath bombs are the perfect gift for yourself or others. They use natural ingredients designed to soothe and calm.
Materials
- 1 cup baking soda
- 1/2 cup citric acid
- 15-20 drops essential oil** (can be a combination of oils, but for this recipe, I used lavender and vanilla)
- 1/4 – 1/2 tsp of a moisturizing oil (almond, olive, coconut, and jojoba are some suggested oils)
- Vitamin E oil (or a capsule cut open)
- dried flowers or herbs, optional
- coloring, optional – I use gel colorants from the craft store (Wilton brand)
- a glass (or metal) bowl
- a spray bottle of witch hazel (you’ll only need a very small amount, so phone-a-friend if you don’t have any on hand)
Instructions
- Dump everything in the bowl – seriously, you don’t have to be picky with this recipe.
- Add a small amount of coloring (notice I use a toothpick for the gel coloring). Use your hands to incorporate the oils and color very well. Note: if you want two (or three) colors, separate your mix after incorporating everything except the color and before you’ve added the witch hazel.
- Use your spray bottle to add the witch hazel to the top of the mix. If you have a large bottle like mine, spray two to three times and then mix it for a solid minute or two before spraying again. If you’re using one of the 3-4 inch spray bottles (travel size), use about 5-8 sprays. When it sticks together without crumbling (photo below) you can begin packing it into your mold.
How to Mold These Bath Bombs
- If you’re using a full sphere mold, stuff the mix in, pack it down, and then add a heaping amount to the top.
- Squish the two mold pieces together until the mold is a sphere again, and leave it for about a minute before removing. Note: if your mix is wet or feels very, very soft, leave it for at least an hour. Drape a towel over a muffin tin and place the bath bomb on top of the towel.
- If you are using a half circle mold, pack it in, wait a minute and then place the flat side down on a tray. If you are using a hard silicone mold, leave it overnight before removing.
- Note that if you want to add a bit of lavender (or other dried flowers or herbs) to the top of the bath bomb or shower fizzy, just place it into the mold before packing the mixture.
- Note that even though they can be removed from the molds, they aren’t ready for packing. The bath bombs should be left to dry for at least another 24 hours, but I would suggest 48 or more.
Please Share This on Facebook or Pinterest


How many does this recipe make? Using metal molds.
Danielle, Honestly, it depends on the size of your molds. I have 5 different sizes of stainless molds, and they vary from 1.5 inches to 6.
With this recipe, I can make 2 large, 2 medium, and 2 small easily or a full silicone mold’s worth.
Hi! I have made bath bombs a couple times and I used plastic sphere molds, they molds started to break apart soon after i closed them together. Do you use plastic,and if not do youhave any tips on what molds to use?
Also what is the shelf life for these? The ones i made didn’t have a specified shelf life, and started to crumble after a couple days.
I use both the stainless and the plastic molds. The plastic molds were just some holiday ornaments I picked up at a craft store years ago. They still work, though I have broken one or two over the years.
I use a stainless steel mold set I purchased on Amazon, as well. Those work best for very dense recipes (like those w/ a lot of salts).
The shelf life for these is about 6 months when stored in an airtight container. I have used them more than a year later and they still fizz and deliver an aromatherapy benefit.
This sounds like a heavenly scented bath bomb. I like the tip about using one in the shower, although I think I would use one without the oil so it wouldn’t get slippery. Thank you for sharing at What We Accomplished Wednesdays. Happy New Year!
Blessings, Deborah
And now I all of a sudden need to go take a nice, warm bath. :) I’ve been interested in making soaps, but I haven’t given bath bombs much thought until now. Maybe they would be an easier way to break me in? Thanks for sharing this tutorial – I’ll be pinning it for later!
Glad you joined us for the SHINE Blog Hop!
Chelsea, I was just considering starting with some melt and pour soap! To me, it’s like an easy way to enter soap making without the possibility of my clumsy self getting hurt by lye. :)
Thanks for stopping by from the #SHINEbloghop
Sarah, love love love your bath bombs. I’ve got to try them! And thanks for joining THE SCOOP!
Featuring these on facebook!
Thank you so much for the Facebook feature, Yvonne. See you at the next party.
I need to do this! After the crazy holiday break and activity’s. A household with people sick, and the cold temperatures this is just what I need!
Emily, so sad to hear the family is sick. I was just sick and used a eucalyptus one in the shower – it really helps to open up a stuffy head. :)