
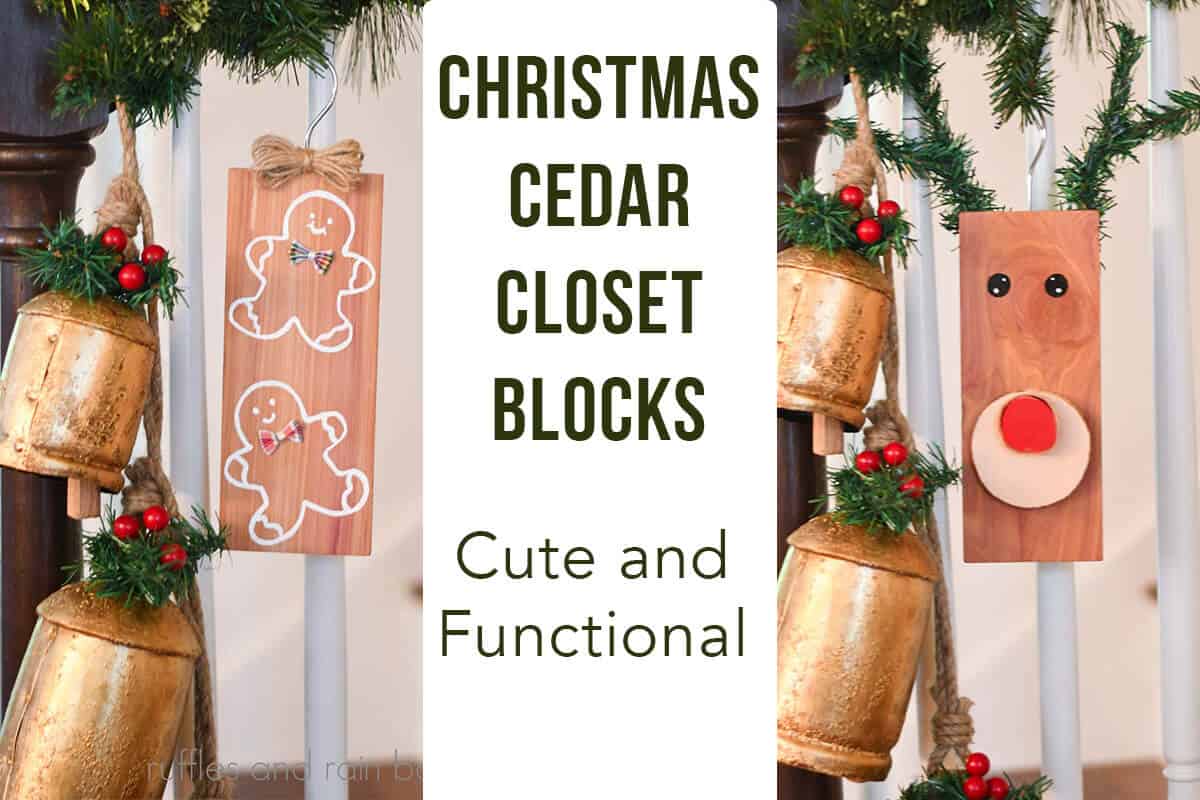
Christmas Cedar Closet Blocks Craft
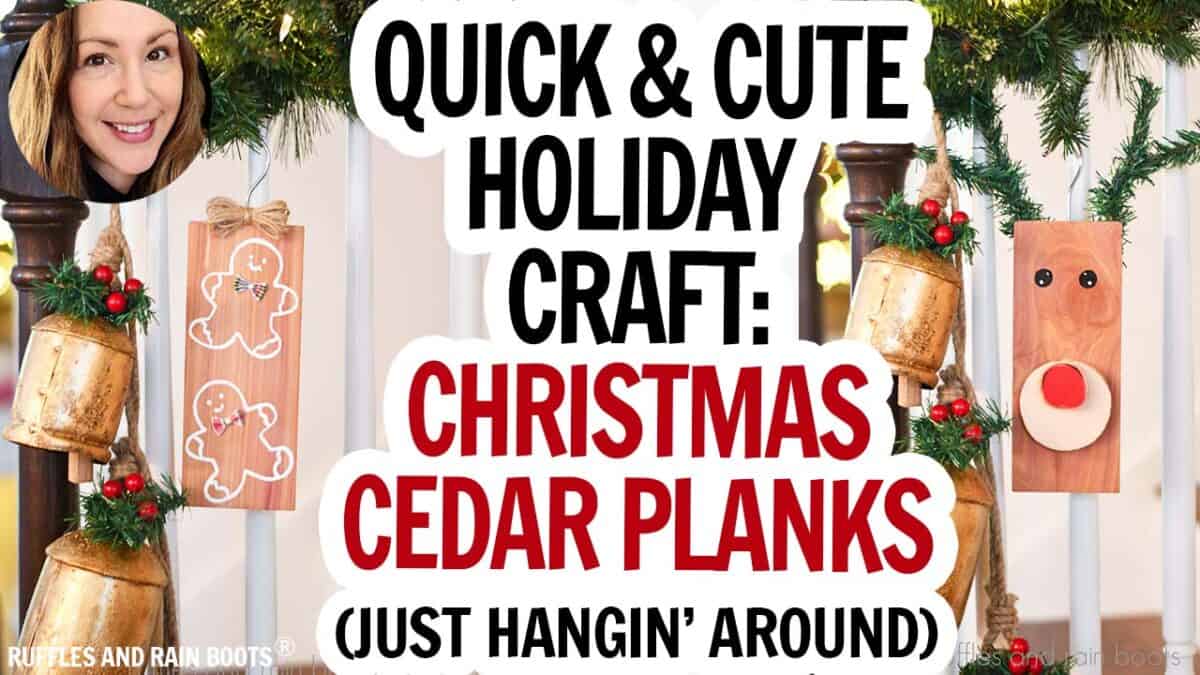
I wanted to add a little something to my coat closet for the holiday season and this cedar block closet Christmas craft idea is both functional AND quick. This easy DIY is a fun one for a holiday craft night and uses inexpensive supplies.
RELATED READING: DIY Gingerbread Garland with Free Gingerbread Man Pattern
What You'll Find On This Page
Christmas Craft Idea with Cedar Planks
Here at Ruffles and Rain Boots, we often host for the holidays. Because everyone is familiar with our home and hangs their own coats, I wanted to pop a cute holiday piece into that closet.
You can find these planks at any store or online. When I saw them, I thought: well that looks like the perfect blank canvas!
RELATED READING: Hot Cocoa Dry Milk Recipe for Christmas Gifts
Materials You Will Need
In addition to some basic craft supplies like a hot glue gun and scissors, you will need:
- Hanging Cedar Closet Blocks
- Paint Pens and/or Acrylic Paint
- Garland Ties, Wood Rounds
- Gingerbread Cookie Cutter
Christmas Cedar Blocks Video Tutorial
If you’re a visual learner or just love watching things come together, check out this short Christmas hanging cedar closet blocks video tutorial. While you’re there, be sure to subscribe – we have a lot of fun on the channel.
How to Make Hanging Christmas Cedar Closet Blocks
I’ll put the printable version of the instructions below. Keep this page open and follow along or scroll down to print.
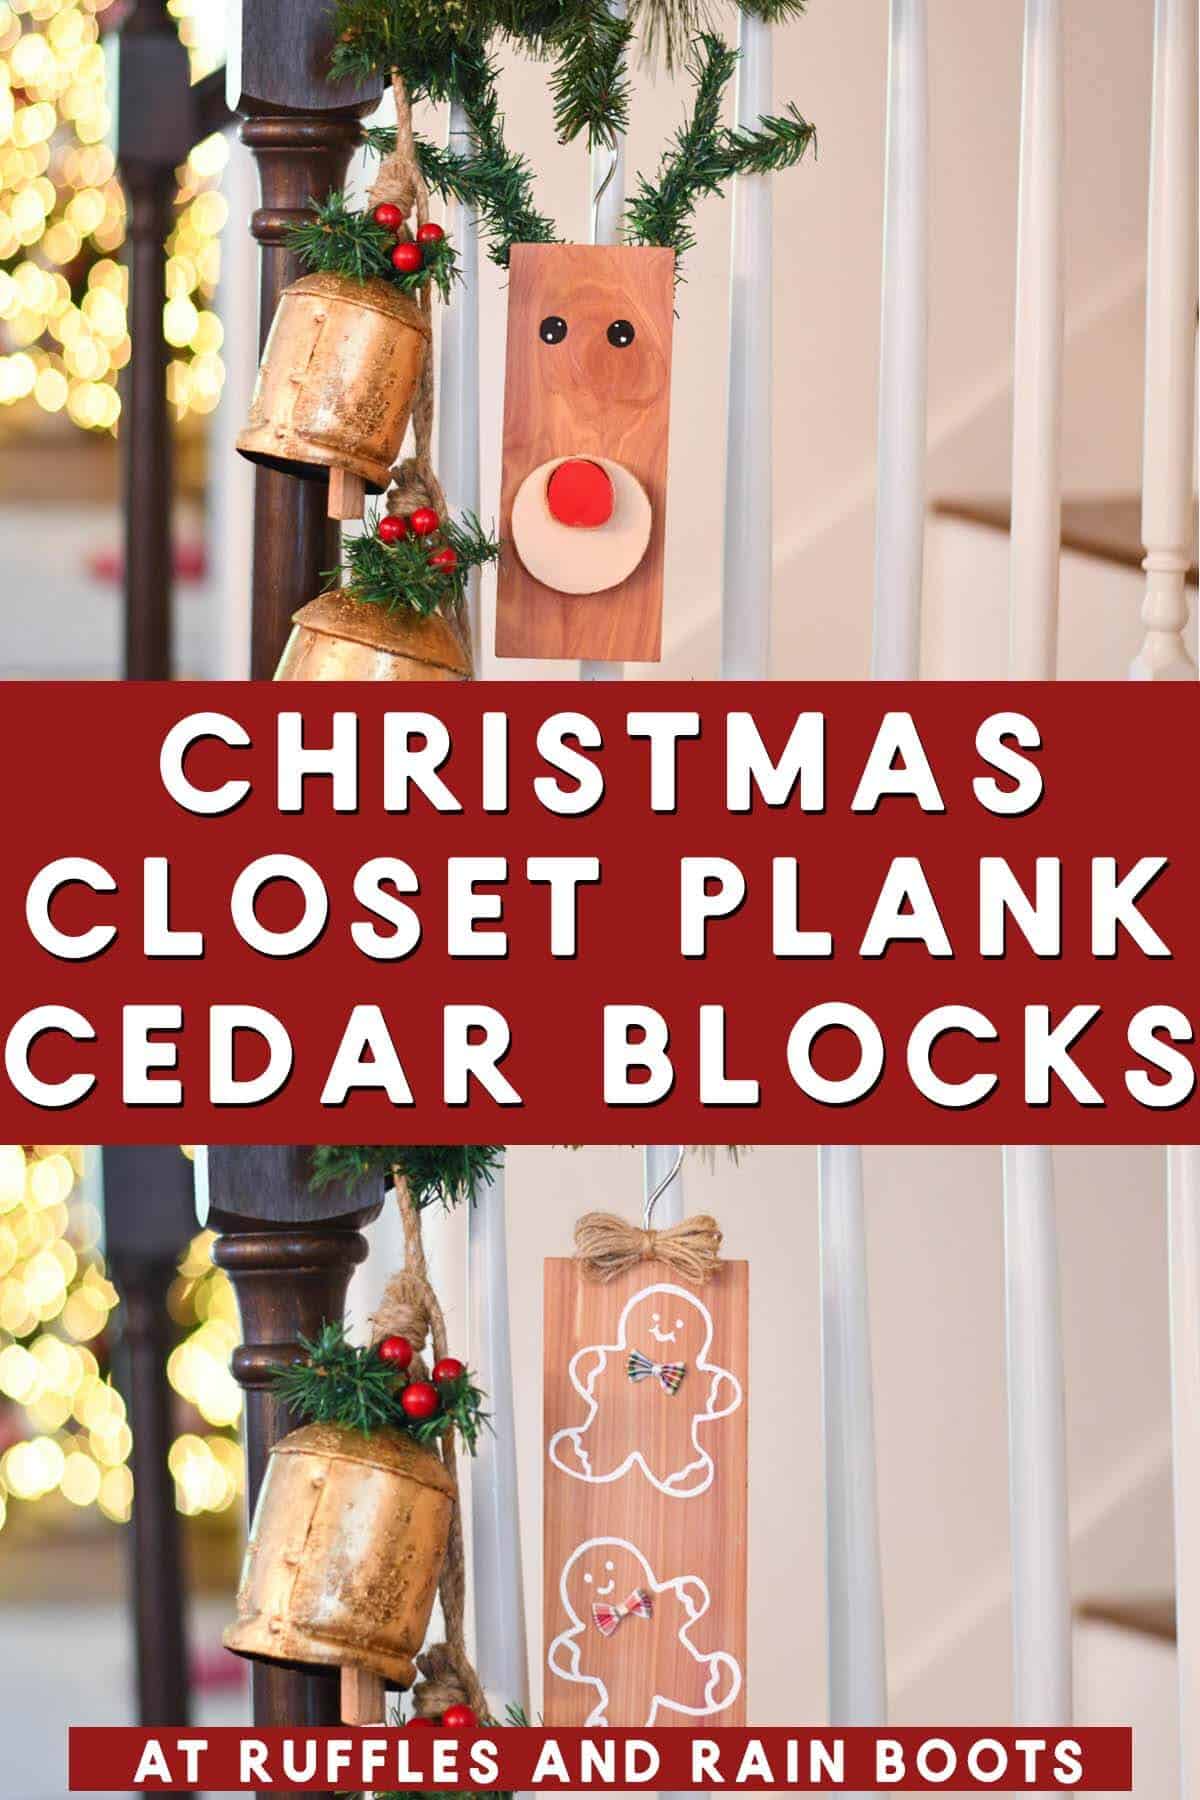
For the Gingerbread Man Closet Block
- Using a pencil, trace the gingerbread cookie cutter onto one or both sides of one of the cedar planks.
- Use the white paint pen to cover the pencil marks and decorate the arms, face, and accents.
- Use hot glue to attach a mini bow tie for each gingerbread.
For the Reindeer Closet Cedar Block
Glue the nose and muzzle wood pieces to the center bottom of the plank under the eyes.
Paint a wood ornament tan and a smaller one in red. Let dry and glue the red onto the tan to the center top.
Use the garland ties to create antler shapes and the staple gun and staples to affix them to the back of the plank. Cover the back with a piece of felt (hot glue or staple in place).
Draw two eyes with the black paint pen and add reflections with the white pen.
More Christmas Crafts You Might Like
- Whipped Peppermint Sugar Scrub Recipe – Easy? Yes. Quick? Of course. Loved by all? You bet!
- Holiday Garland and Roborock Qrevo CurvX – There isn’t a better combination during the holidays.
- Free Candy Cane Cutie Design – From lasers to Cricut, make the most of your holiday crafts with this free Christmas SVG design.
Please Save or Share
Your shares are how this site grows and I am sincerely grateful. Please save this fun Christmas craft idea to a DIY holiday ideas pin board or share it to social.
Cedar Block Closet Christmas Craft

Give your coat closet a holiday update and make guests smile with these cedar block closet Christmas cuties. Make a gingerbread cedar plank and a cedar reindeer closet block.
Materials
- 2 Hanging Cedar Blocks for Clothes
- Garland Ties
- Wood Rounds
- Black and White Paint Pens
- Tan and Red Paint
- Mini Bows or Ribbons
- Twine
- Felt
Tools
- Gingerbread Cookie Cutter
- Staple Gun, optional
- Hot Glue Gun and Glue Stick
Instructions
For the Gingerbread Man Closet Block
- Using a pencil, trace the gingerbread cookie cutter onto one or both sides of one of the cedar planks.
- Use the white paint pen to cover the pencil marks and decorate the arms, face, and accents.
- Use hot glue to attach a mini bow tie for each gingerbread.
For the Reindeer Closet Cedar Block
- Paint a wood ornament tan and a smaller one in red. Let dry and glue the red onto the tan to the center top.
- Use the garland ties to create antler shapes and the staple gun and staples to affix them to the back of the plank. Cover the back with a piece of felt (hot glue or staple in place).
- Draw two eyes with the black paint pen and add reflections with the white pen.
- Glue the nose and muzzle wood pieces to the center bottom of the plank under the eyes.
Meet the Creator
Hi there, I’m Sarah Nenni-Daher. I’m a crafty gal and always have at least 14 projects going at once. I am a crafter, designer, DIYer, and pattern maker. I share my creations here and in the Ruffles and Rain Boots® Shop.
Here at Ruffles and Rain Boots®, you’ll find DIY gnomes, crafts, gifts, cupcakes, laser crafts, and so much more. I love sharing video tutorials over on YouTube and chatting with other crafters in my Facebook groups. We’d love to have you!