Adorable Angel and Stitch Mickey Ears Headband
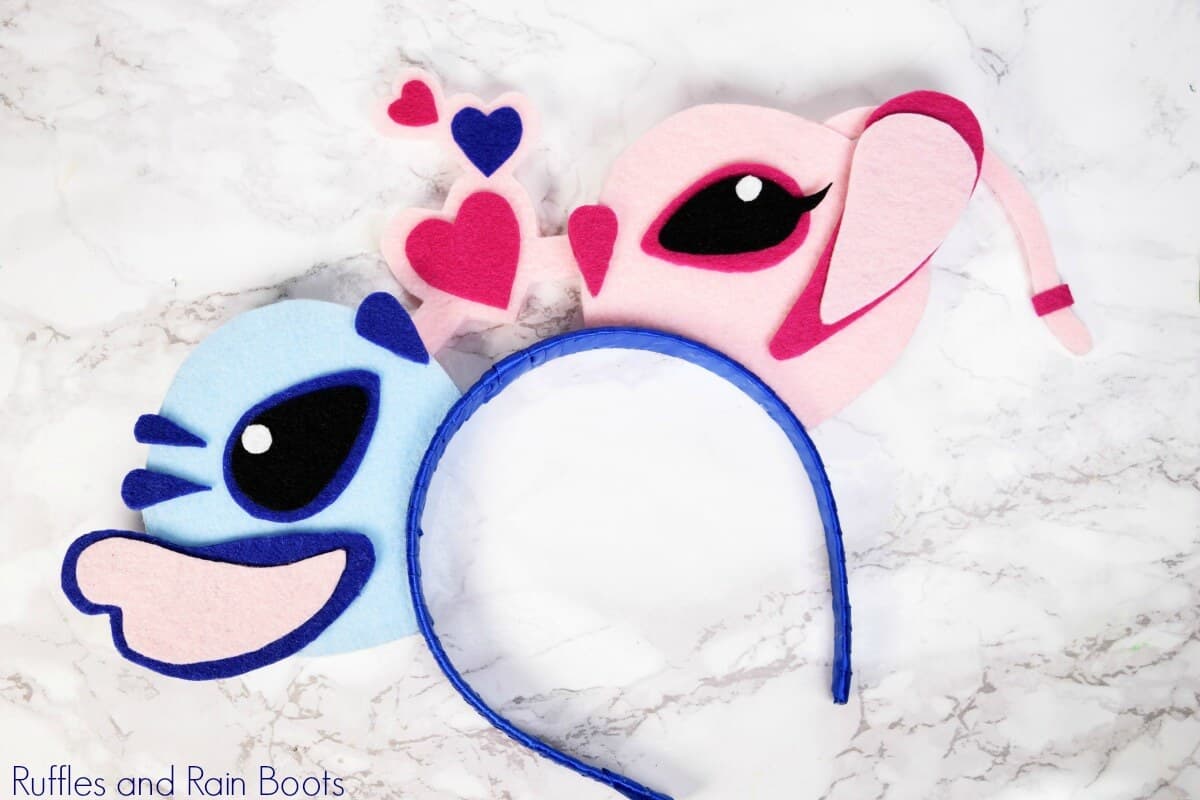
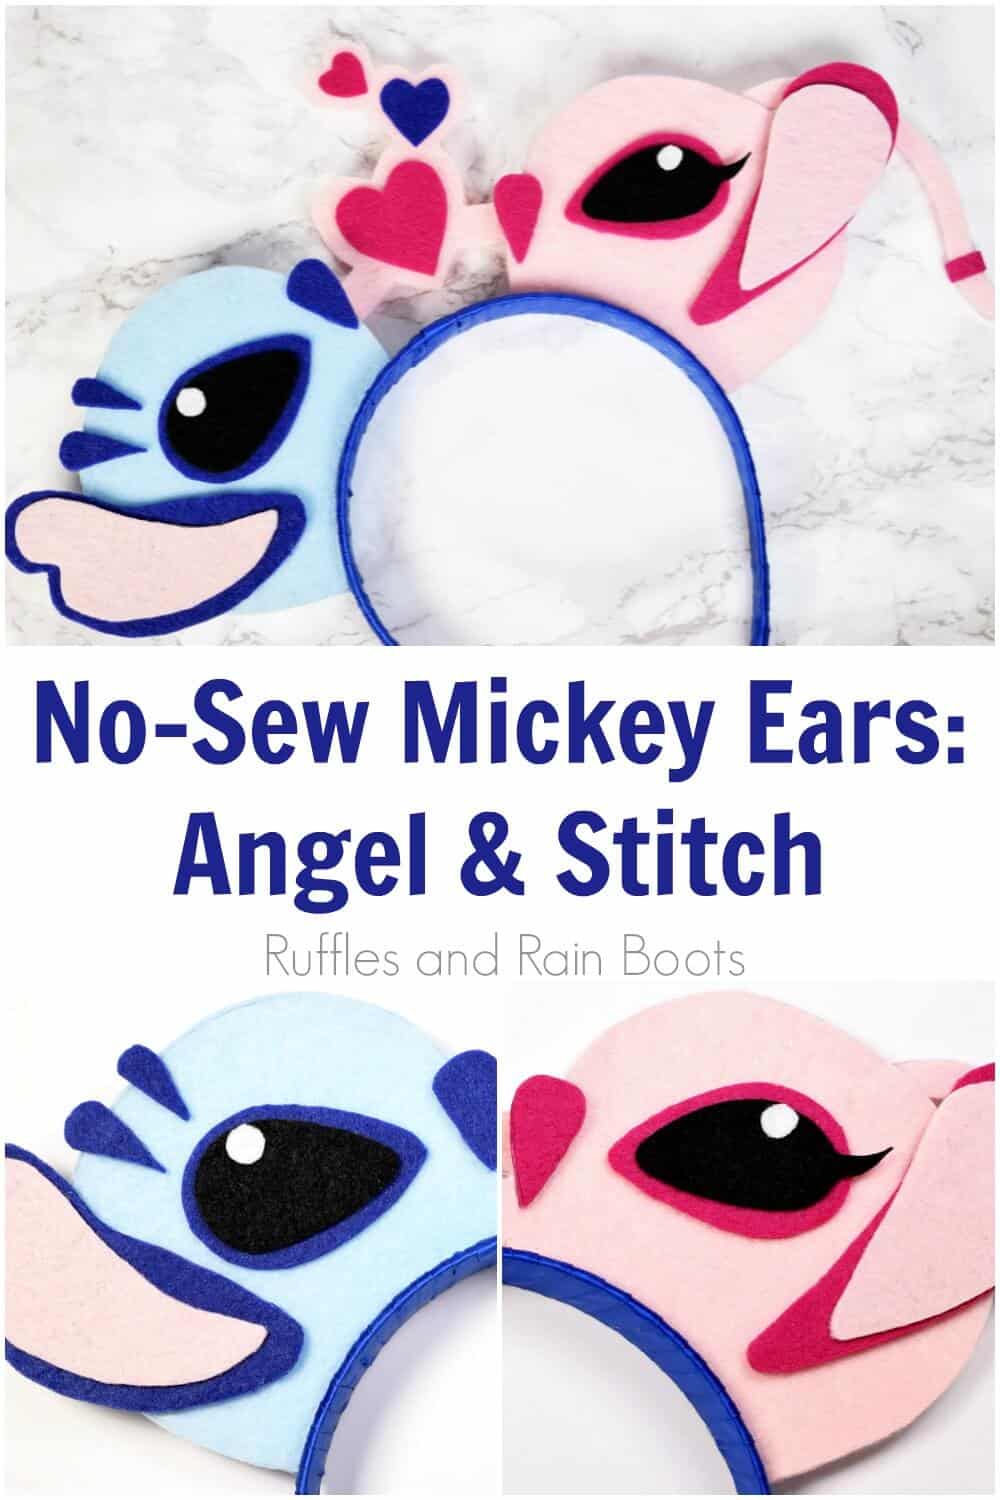
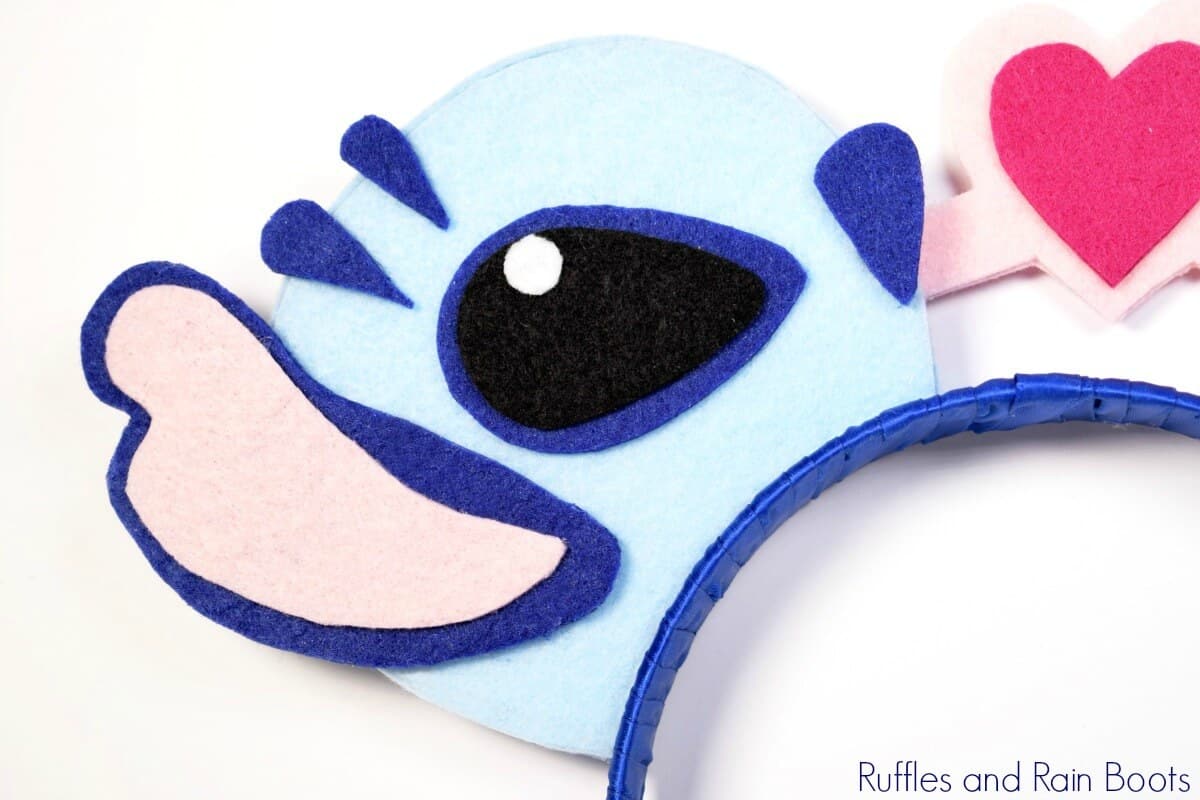
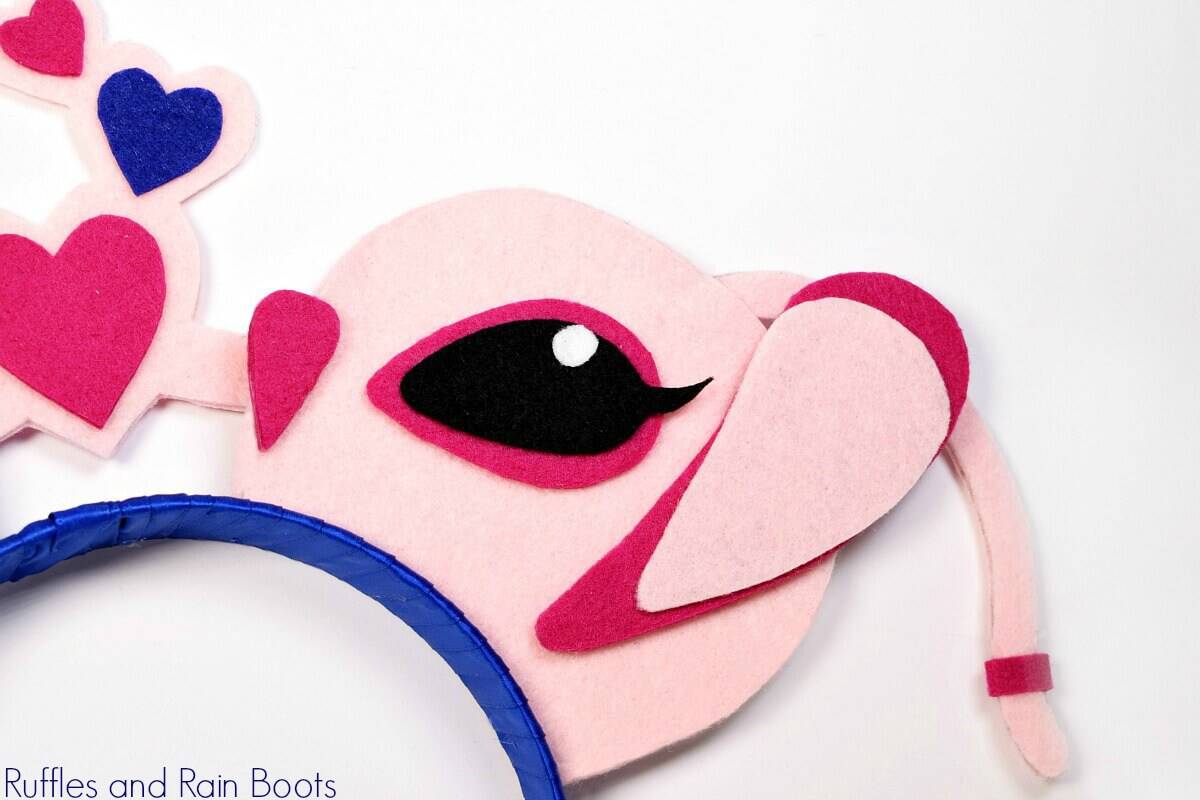
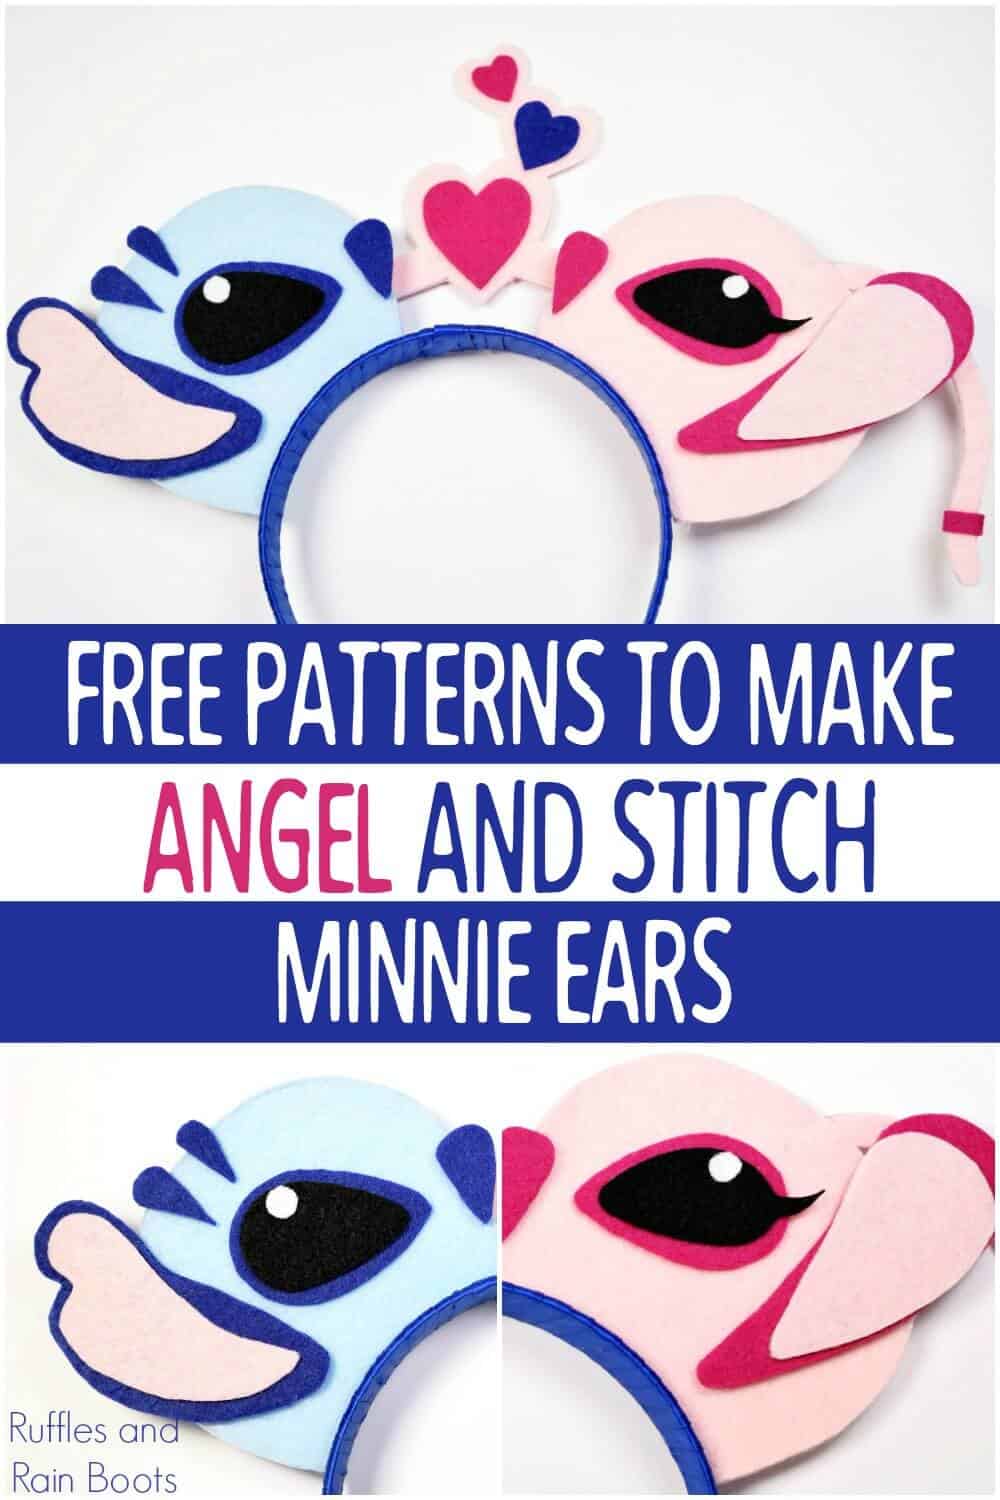
These Angel and Stitch Mickey ears are the perfect craft for any Lilo and Stitch fan. All templates are provided and it’s an easy set of DIY Mickey Mouse ears.
What You'll Find On This Page
Angel and Stitch Mickey Ears Headband
If you’re new here at Ruffles and Rain Boots, I’ll let you in on a not-so-well-kept secret: we love to make our own Disney Mickey Mouse Ears (and Minnie Mouse ears, too). We’ve shared sparkly, girly character ears, rough and rugged mouse ears, and now this set of Angel and Stitch Mickey ears.
Within my daughter’s room, you’ll find no less than 15 items with her favorite Disney character: Stitch. Actually, if I add up the tiny figures, stationery supplies, AND stuffed animals, it’s at least twice that. But you get it – this kid LOVES the adorable alien, Stitch, from Disney’s Lilo and Stitch movie series.
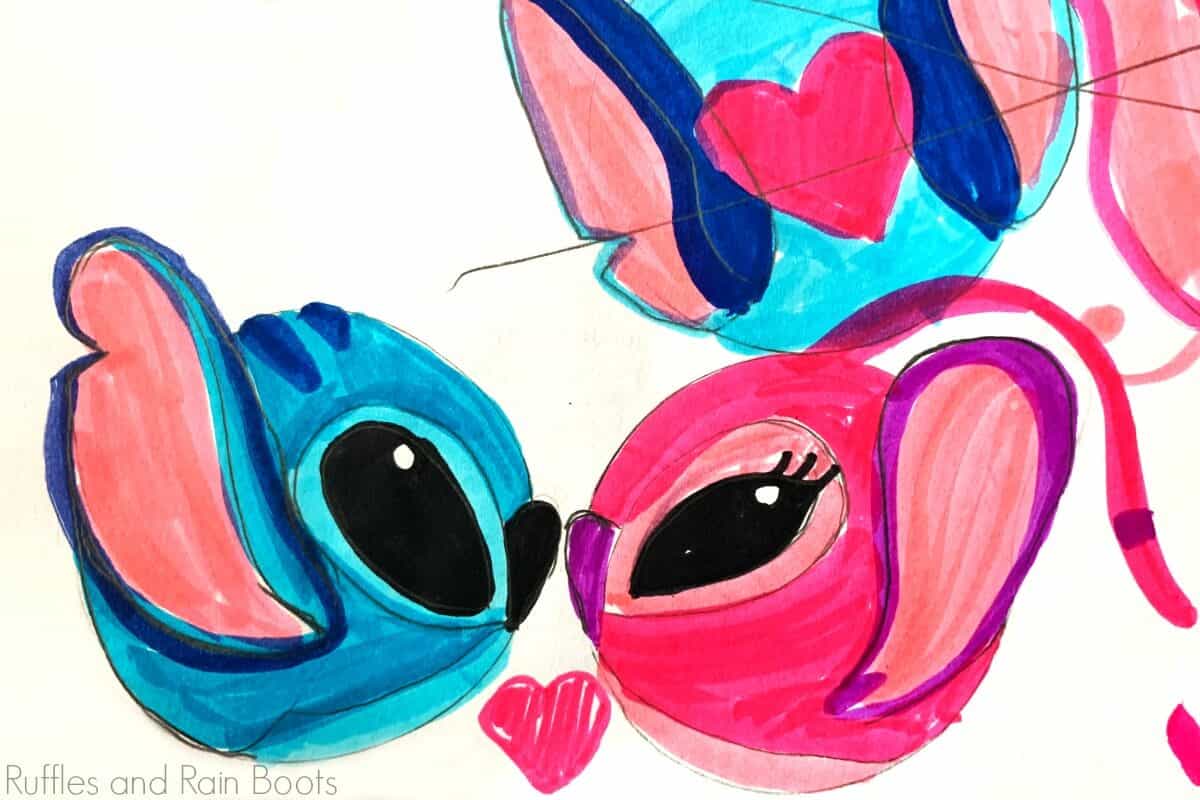
As with all of my ears, I sketch each design. This one looks MUCH better on the ears than it did on my sketch. And I’m okay with that. Let’s get started making your very own set of Stitch Mouse ears.
Pin for Later
In case you have to gather supplies, please this to your favorite Disney crafts board on Pinterest. And let’s connect there: follow me on Pinterest here.
Tips for Making No-Sew Mouse Ear Headbands
TERMS OF USE: The digital files were created by me, Sarah Nenni-Daher, and are to be used for PERSONAL USE ONLY. Copyright is strictly enforced through the use of infraction agents.
- You don’t need to use a lot of hot glue and don’t press down on the felt when you glue it. Lesson learned: it will show through. Add a bit of glue and simply rest the felt on. It won’t show and it is secure.
- If you see any hot glue seeping out when making these adorable Angel and Stitch mouse ears, wipe it away quickly. If it has dried when you notice it, use a razor blade to remove it.
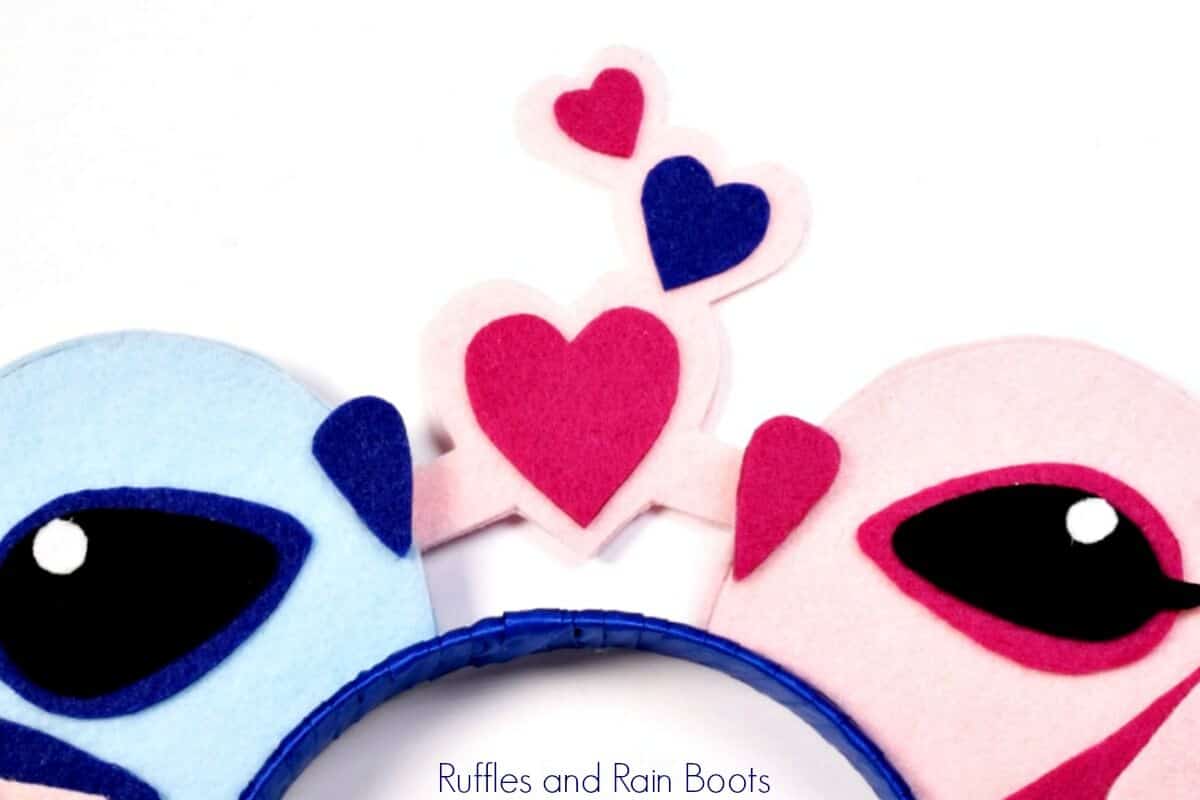
- I used a felt set of hearts to join the two alien ears together, but use any bow you can find or make. A white or purple bow would look great with these Angel and Stitch ears.
How Do I Get and Use the Templates?
Cricut, Silhouette, and Cutting Machine Users
If you have a Cricut or Silhouette machine which cuts felt (or bonded felt), this is going to take you no more than about 30 minutes. Scroll to the tutorial and download the free files. Size the ears (as a group) in the software to match your base and cut BUT do not cut the background as you’ll need to size that for the foam core ears you cut.
I have included Angel and Stitch SVG files but have also shared the EPS, DXF, and PNG files for use with machines other than Cricut.
For Those Without Cutting Machines (Hand Cut)
If you don’t have a Cricut or Silhouette machine and can’t use the Disney cut files, you can cut them by hand (everything you see here was hand-cut to make sure it could be done). Download the PNG files into a program (Word, Pages, PowerPoint, etc.) and size them down to your ears. Just like above, do not cut the background pieces until you’ve cut your foam core ears.
As an Amazon Associate, I could earn from qualifying purchases.
How Do I Make Stitch Mickey Mouse Ears?
I’m so glad you asked! Below is our written tutorial, but I strongly urge you to watch the video so that you can see how they come together. Our FULL Angel and Stitch Mickey ears video tutorial is here.
Stitch Mickey Mouse Ears

These adorable Angel and Stitch Mouse ears are on a headband, are lightweight for kids of all ages, and include all the character cut files you need.
Materials
- felt (blue, light blue, light pink, dark pink, black, and white)
- plastic headband
- plastic headband (I used these from Amazon)
- foam core board
- Click here to get the Angel and Stitch Mickey Ears templates and cut files
Tools
- glue sticks and glue gun
- scissors or a cutting machine
- 4 inch bowl or compass
Instructions
Before we get started, I strongly urge you to watch the DIY Angel and Stitch Mickey Mouse ears video tutorial here.
- Create the ears as instructed in the video tutorial. As a summary, use a compass or a 4-inch bowl and the headband to determine your exact size.
- Download the Angel and Stitch cut file templates and size to fit your ears. You can either cut each piece by hand or load the files into your cutting machine software. I have included SVG, PNG, DXF, and EPS files for you.
- Build the border first and back of the ears next as shown in the video. Do not attach the ears to the headband until the end, so you're working only on the spheres.
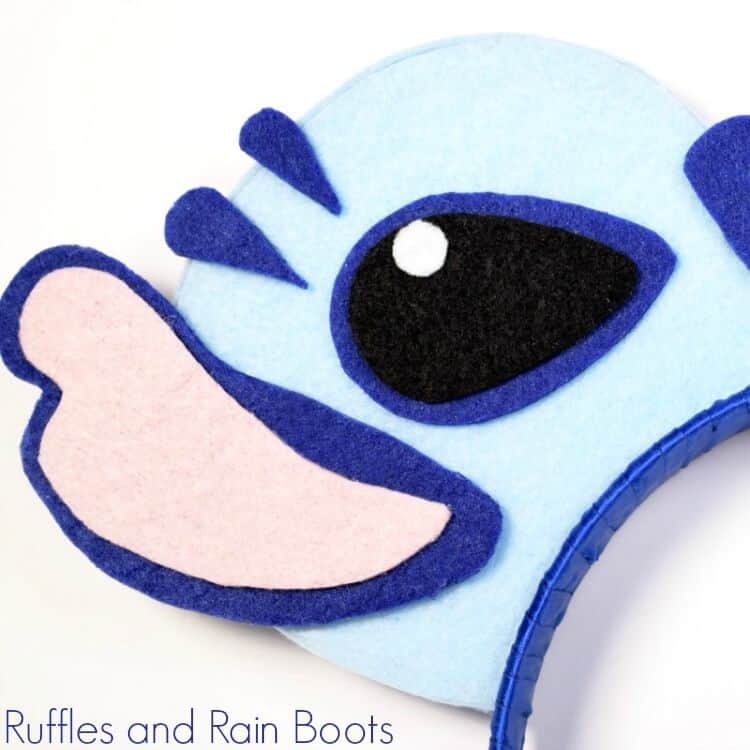
- For the front of the ears, layer the felt pieces starting with the bottom piece (shown in the video. Position everything and then glue each piece down. Do not press the felt into the hot glue because it could show through.
- Wrap the headband in ribbon and attach the ears as shown in the tutorial. Finish off the ears by assembling the heart joiner and fixing at the back OR by creating a bow from fabric or tulle. That's it' - your Angel and Stitch Mickey ears are done!
Notes
For more fun DIY Disney ears, visit Ruffles and Rain Boots.com
Love to Make Disney Ears? Check These Out
As I mentioned, I have made a few Mouse ears in my time… If you’re interested in making a few for your trip or you have a lot of little fans in your house, look at a few more.
- Free Disney SVG Files on Ruffles and Rain Boots
- Snow White Minnie Ears
- DIY Dumbo Mickey Mouse Ears
- Princess Jasmine’s Minnie Mouse Ears
Please Save This to Pinterest
Your shares are how this site grows and I am sincerely grateful. Please share this with friends on Facebook or save it to your Disney crafts board on Pinterest. Thank you!

