
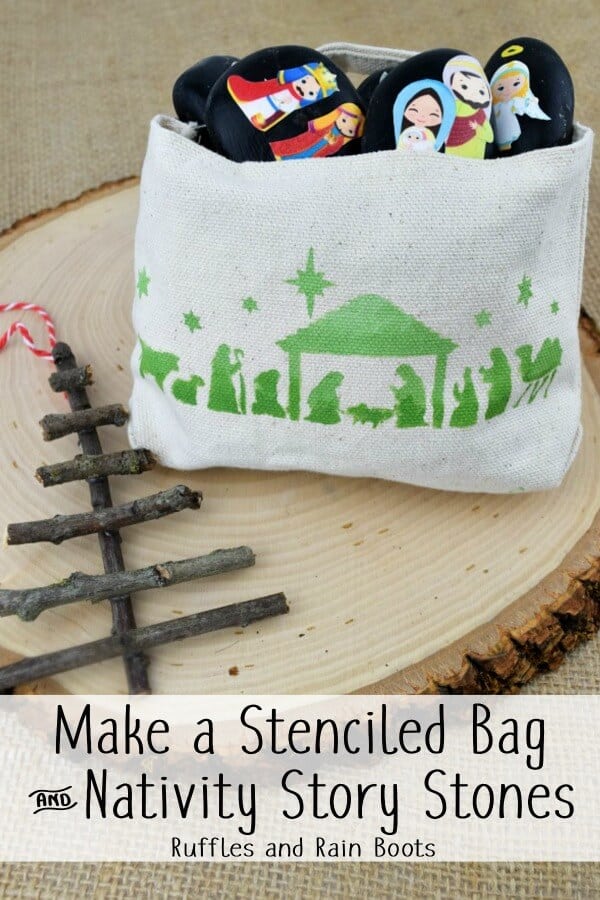
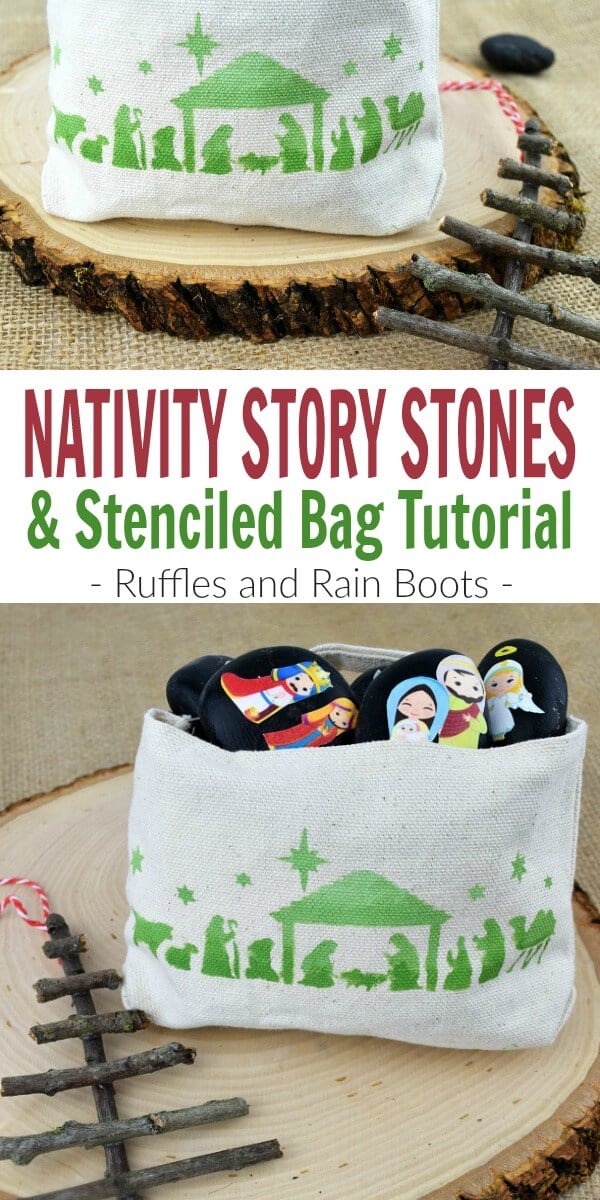
Nativity Story Stones and a Gorgeous Stenciled Bag
This stenciled bag and nativity story stones make a perfect gift for a little one. The project uses a stencil and clipart, so no artistic talent required!
I partnered with Stencil Revolution to bring you a few holiday crafts with their quality stencils. I’ve put a few of them to the test with these projects and cannot wait to share them with you!
- Santa’s Little Baker Kit with a Stenciled Apron – This is adorable and is a great gift idea.
- Snowflake Stencil Card – This is a gorgeous watercolor and hand-lettered holiday card.
What You'll Find On This Page
Nativity Story Stones
When I saw this stencil, I knew immediately what I would do with it – nativity story stones. Last year when I made our easy Christmas story stones, I wanted to make a nativity set but time got away from me.
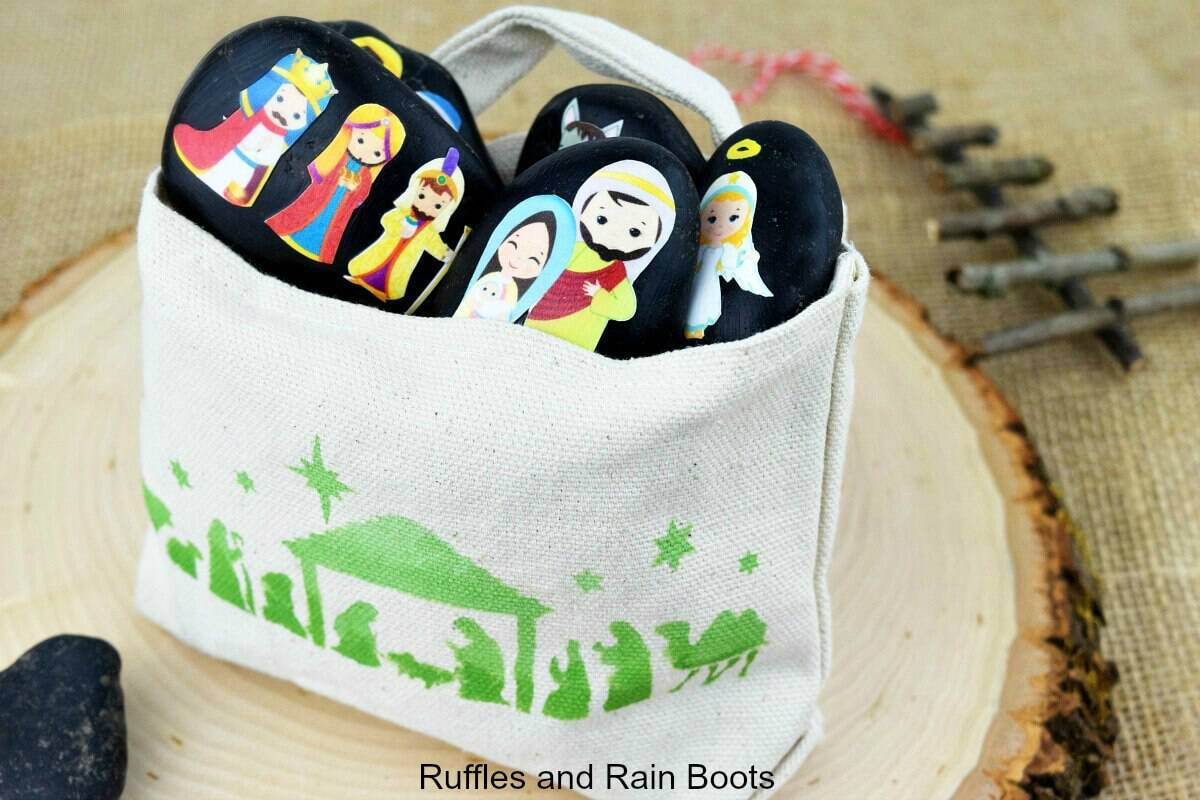
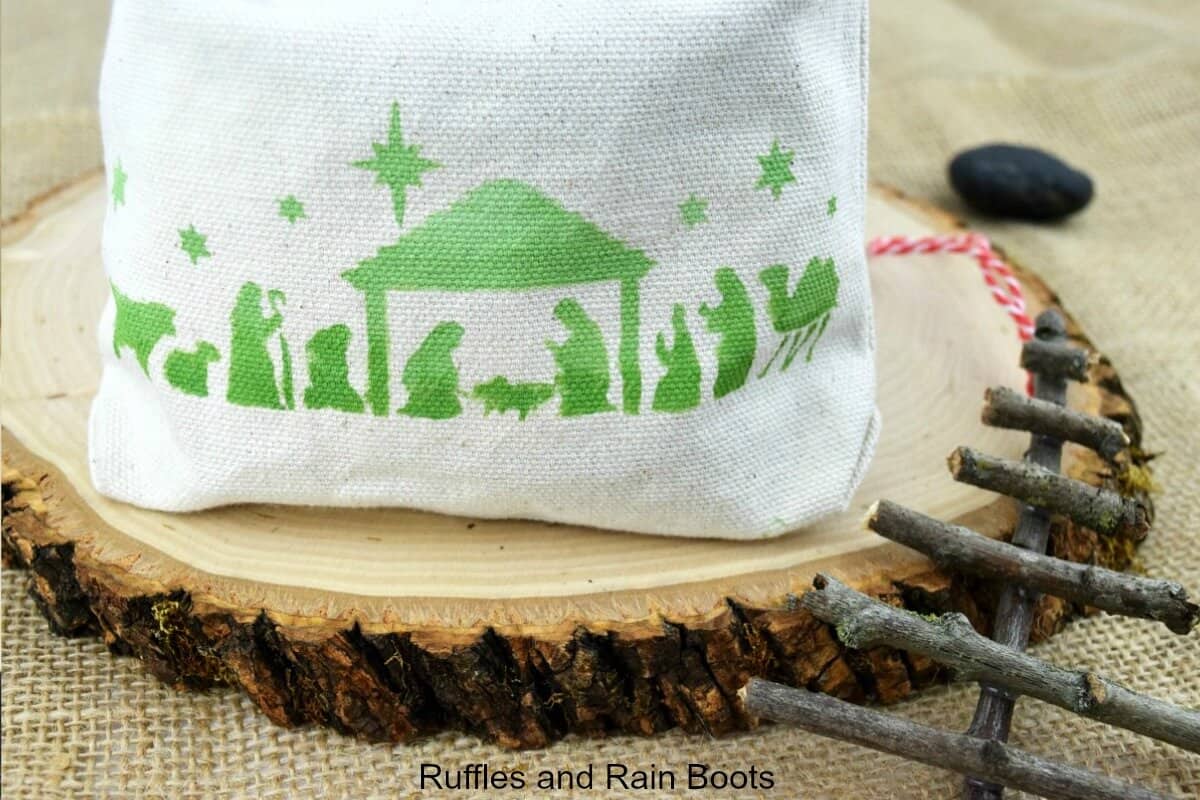
Before we get to the stones, I want to share the bag I made for the story stones. Using the nativity stencil, I made a slight green ombre print on the bag. The print came out so clear!
How to Make a Stenciled Bag for Story Stones
Learning how to use stencils on canvas is pretty easy – this was actually my first project with Stencil Revolution’s templates. And when the first time’s a charm, friends, you know it’s a good craft to share!
Supplies for a Nativity Stenciled Bag
- 5-inch x 6-inch nativity scene from Stencil Revolution
- small paintbrush with stiff bristles (or small stencil brush)
- clips to hold the stencil in place
- acrylic paint (I used green and white for an ombre effect)
- optional: fabric medium to blend with the acrylic paint – I skipped it for this project because it is unlikely we’ll wash this little bag.
How to Make a Stenciled Bag (Video Above)
- Place a piece of cardboard or foil on the inside of the bag or pouch to prevent any bleed through.
- Attach your stencil to the bag. I used clips to make sure the stencil didn’t move.
- Mix ombre paints. I used a single color of paint in one well of my palette and added different quantities of white paint to the green to lighten the other two. Easy peasy.
- Press down on the stencil and work in small sections, starting with the lightest color at the top of the stencil. The middle hue goes in the middle and the darker at the bottom. That’s it! While it’s drying, let’s make the story stones.
You’ll see in the short video, I did nothing special to make the design come out as well as it did. The stencils from Stencil Revolution are laser-cut mylar which allows for such detail.
Nativity Story Stones (the Easy Way)
There is no artistic skill required for these nativity story stones. Anyone can make them because I used adorable, kid-friendly clipart.
Supplies for Nativity Story Stones
- nativity clipart here
- small rocks
- scissors and a foam brush
- ModPodge sealant (gloss or matte)
Note: When I make story stones for kids, I use ModPodge as a sealant as opposed to polyurethane.

How to Make Nativity Stones
- Wash your rocks.
- While they dry, print out and cut the nativity clipart sized to your rocks. I used Microsoft Word to size them because everyone has this or a similar program.
- Coat the front of the rock with a thin layer of ModPodge. Place the clipart onto the glue and press down, smoothing any bubbles. Add a light coat of ModPodge over the clipart.
- Once the first layer of ModPodge is dry, add another to protect the piece.
RELATED READING: Easy Christmas Story Stones Using Clipart (with Video Tutorial)
Christmas Traditions
Talking about the Nativity is one of our Christmas traditions, and to be honest, my daughter loves it. A few days before the holiday, we will sit together with a Christmas cocoa and I’ll “tell her the story of baby Jesus.”
In our house, we have a few more Christmas traditions. A few are:
- driving around looking at lights (also while drinking hot cocoa),
- putting together donation bags for the homeless (just bags of essentials with a few holiday treats or tiny toys put in),
- reading and making activities based on the books we read. We read ALL the books, friends. If you’re looking for suggestions, please start here with the best Christmas books and activities to go with them.
Please Share This on Facebook and Pinterest

I love finding new ways to talk about the true Christmas story with my children! We will be making these for sure and the bag to go with the rocks is adorable.