Make This Farmhouse Girl Gnome in 20-Minutes!
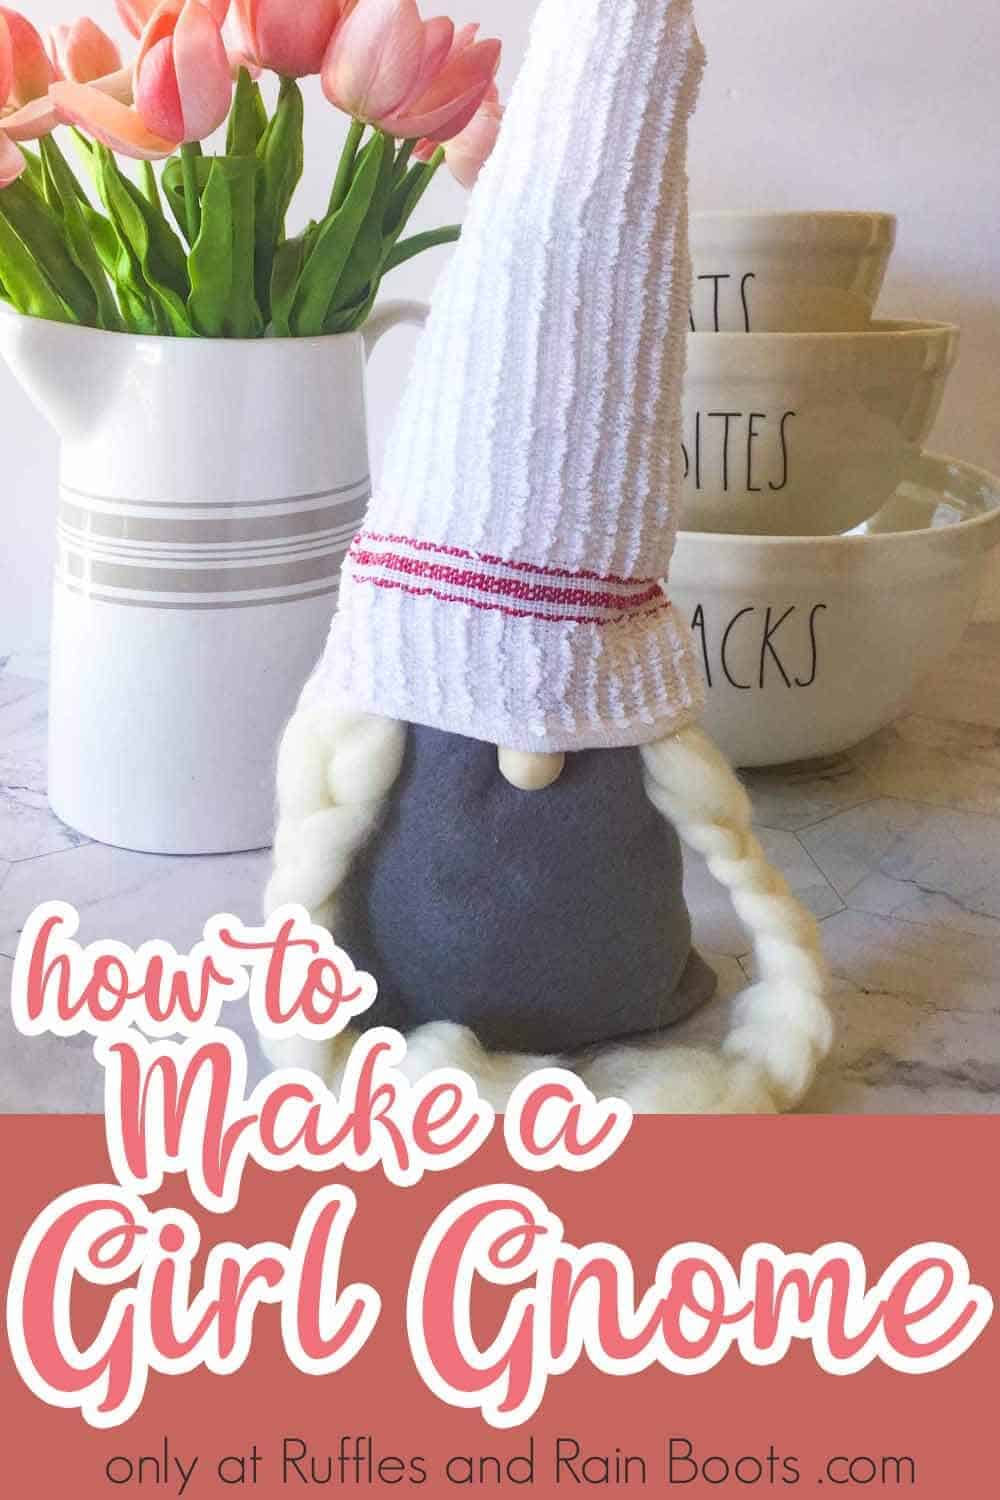
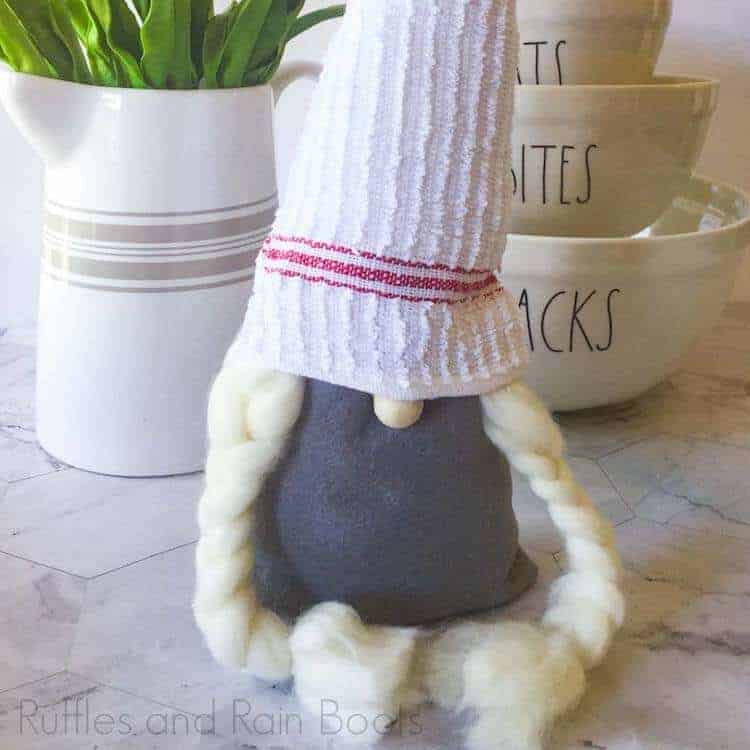
This adorable farmhouse girl gnome is the perfect little nordic kitchen gnome to keep me company when I’m baking! And, this gnome with braids is so easy–you can be done in 20 minutes.
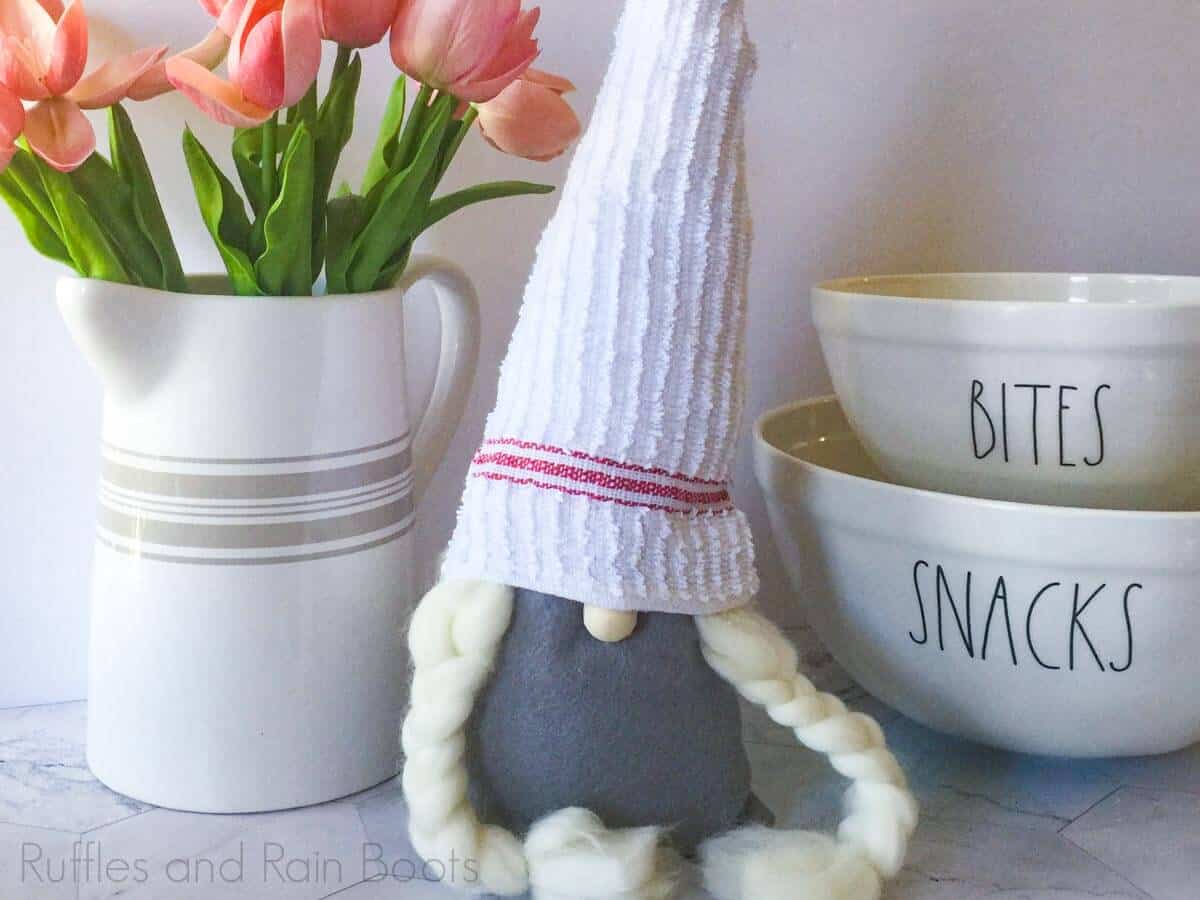
Farmhouse Girl Gnome
Here at Ruffles and Rain Boots, we are all about the gnome. If you haven’t noticed, there’s some gnomes going on in our house…Right. So, of course, I felt like I needed to make a farmhouse girl gnome with braids to keep me company in the kitchen one afternoon. Because, you know, baking takes time and gnomes make me smile.
RELATED READING: DIY GNOME TUTORIALS
I know that probably sounds ridiculous, but it’s just, I had 20 minutes to spare and if you’re doing something that makes you happy, why not?! If you’re ready to make a little kitchen gnome, let’s get started.
Get Secret Gnomes, Tips, & Freebies Delivered!
What is the best pattern to use when you don’t want to sew? Do you know the secrets to a properly-proportioned gnome? Do you know where to get the best-priced fur?
Get all of this (and exclusive content just for you) delivered right to your inbox with the gnome-making series, free of charge. Sign up to get the once-weekly newsletter (and a jaw-dropping special offer)!

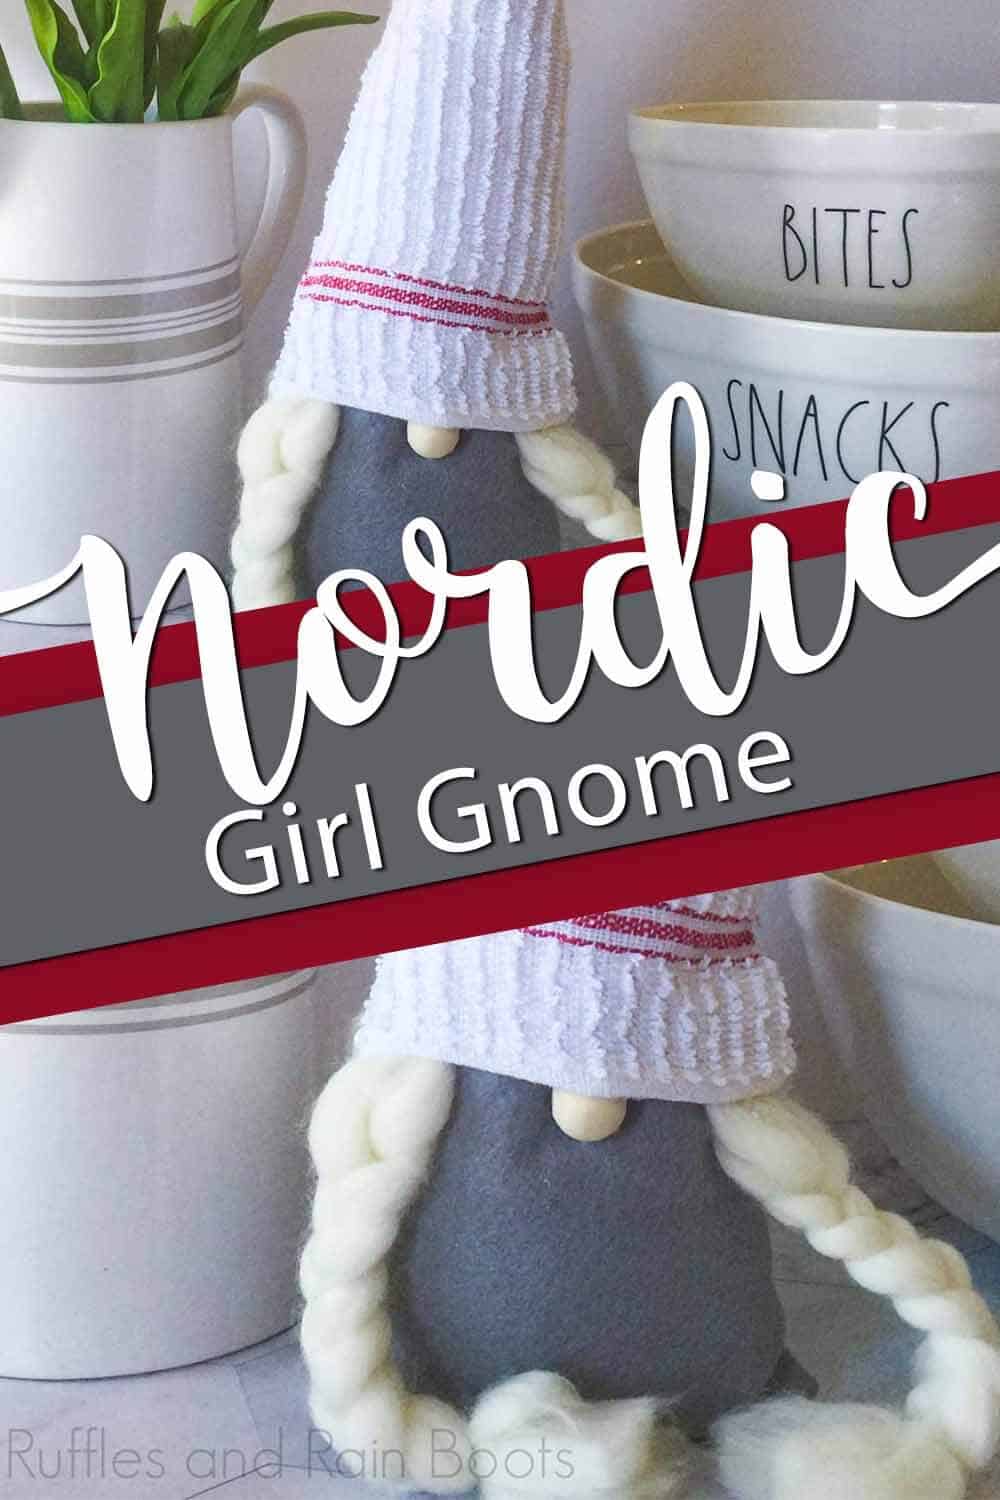
No Time to Make This Now? Pin it for Later
You’re busy, I get it. Pin this to your favorite farmhouse crafts board on Pinterest and it’ll be here for when you’re ready.
As an Amazon Associate, I can earn from qualifying purchases.
Tips to Make a Gnome with Braids
- I used a plain kitchen towel that was well-loved on one side, but still pretty nice for a significant area, so that I knew I wouldn’t have stains showing. You can use any patterned dish towel or whatever–this is just what I had.
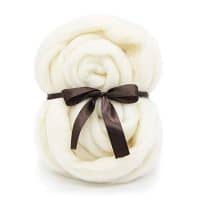
- Don’t get just any yarn. To make the braids fine and non-curly, you have to use the super-thick merino wood yarn for roving. It’s that super duper fuzzy stuff people are using to hand knit those crazy big blankets (yeah, I am tempted, but….)
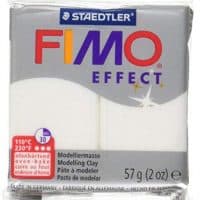
- Although I often make noses out of polymer clay, this time I decided to use a wooden bead from this kit I have. It’s just handy if you want to make a super simple farmhouse gnome, to not have to make the clay and bake it–all that mess.
How Do I Make this Farmhouse Girl Gnome?
I’m so glad you asked. Below is our written tutorial.
Farmhouse Girl Gnome
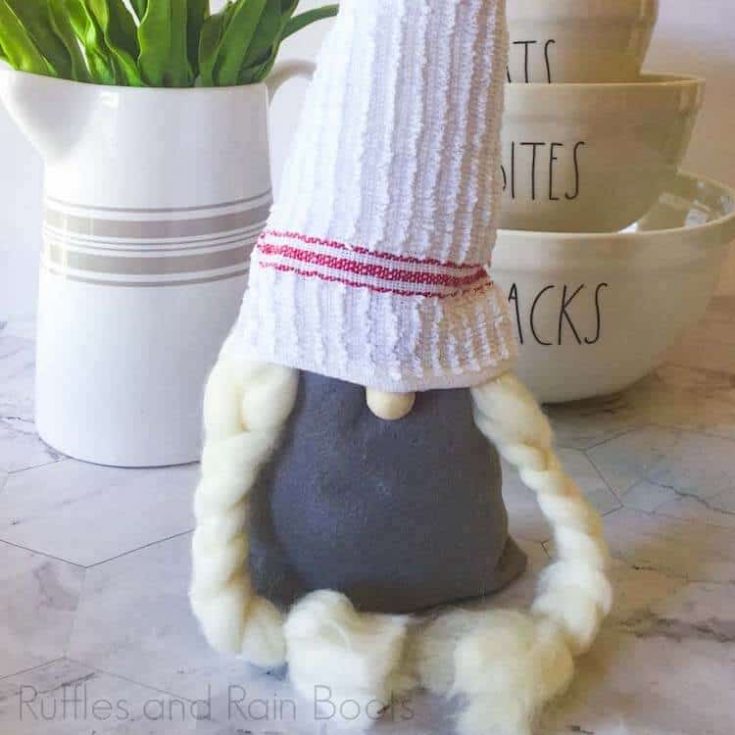
If you've wondered how to make a girl gnome, this farmhouse girl gnome tutorial is so simple, you'll be making little girl gnomes in minutes!
Materials
- Dishtowel
- Poly fill beads
- Poly fill stuffing
- Merino Wool (sectioned to about 2 inches in width)
- 1 piece of grey craft felt sheet (body)
- Wood bead (nose)
- Small elastics or string to tie off braids
Tools
- Ruler
- Scissors
- Sewing machine and thread
Instructions
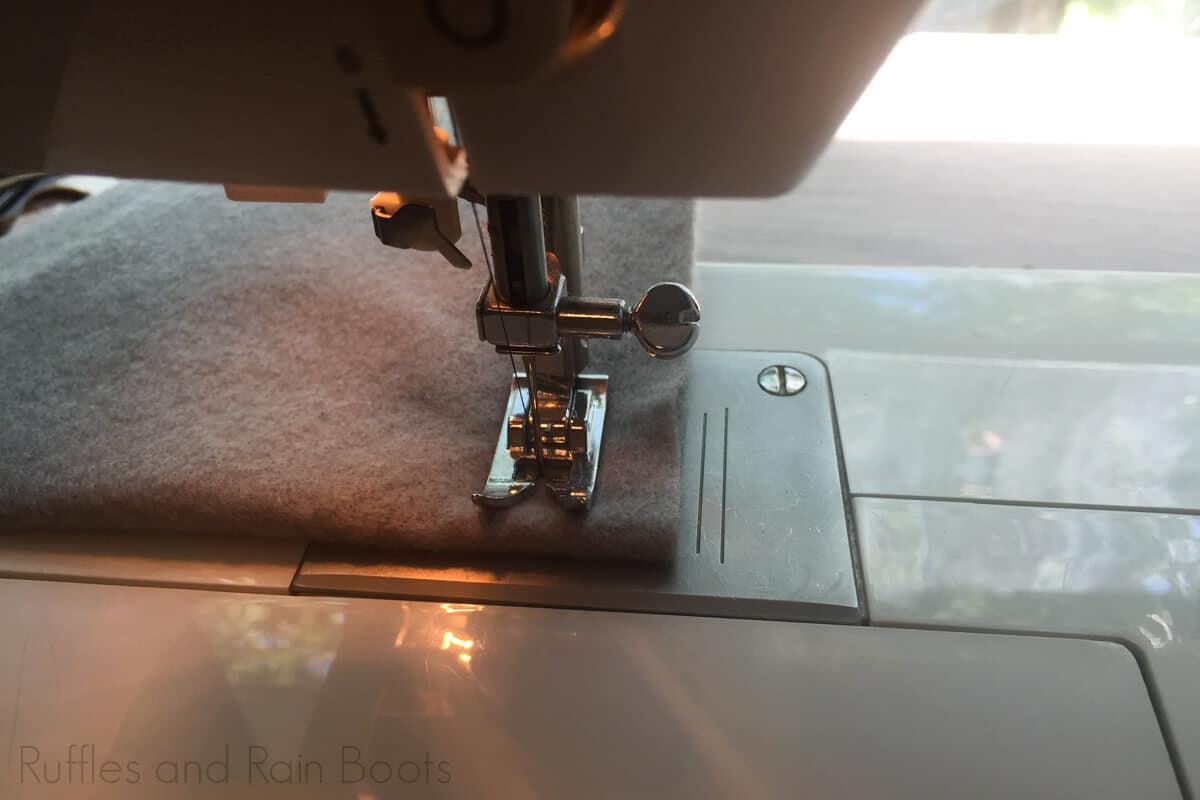
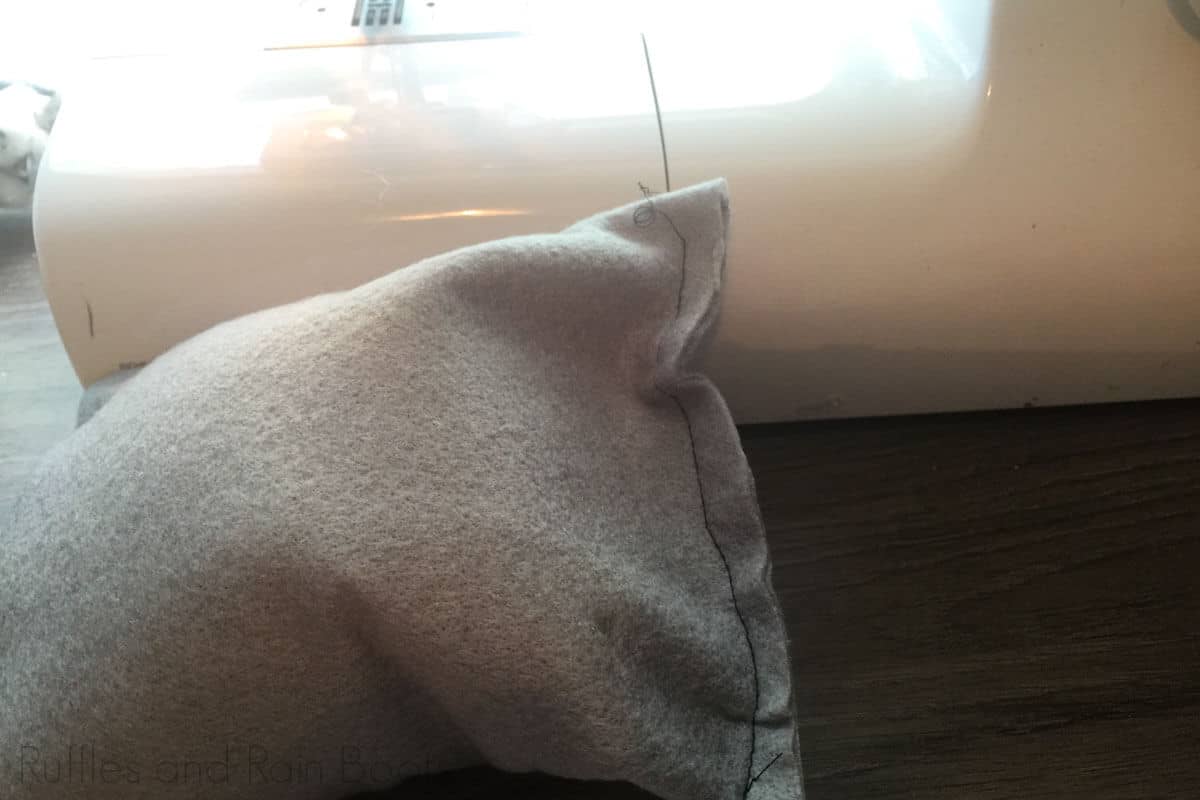
- Fold the felt in half (on the length, one side will be a folded edge). Sew the bottom and open edge. Turn the body inside out (seams to the inside).
- Add poly fill beads to weigh down the gnome. Top with poly fill to reach the desired height. Cut off any excess and sew the body’s top edge closed.
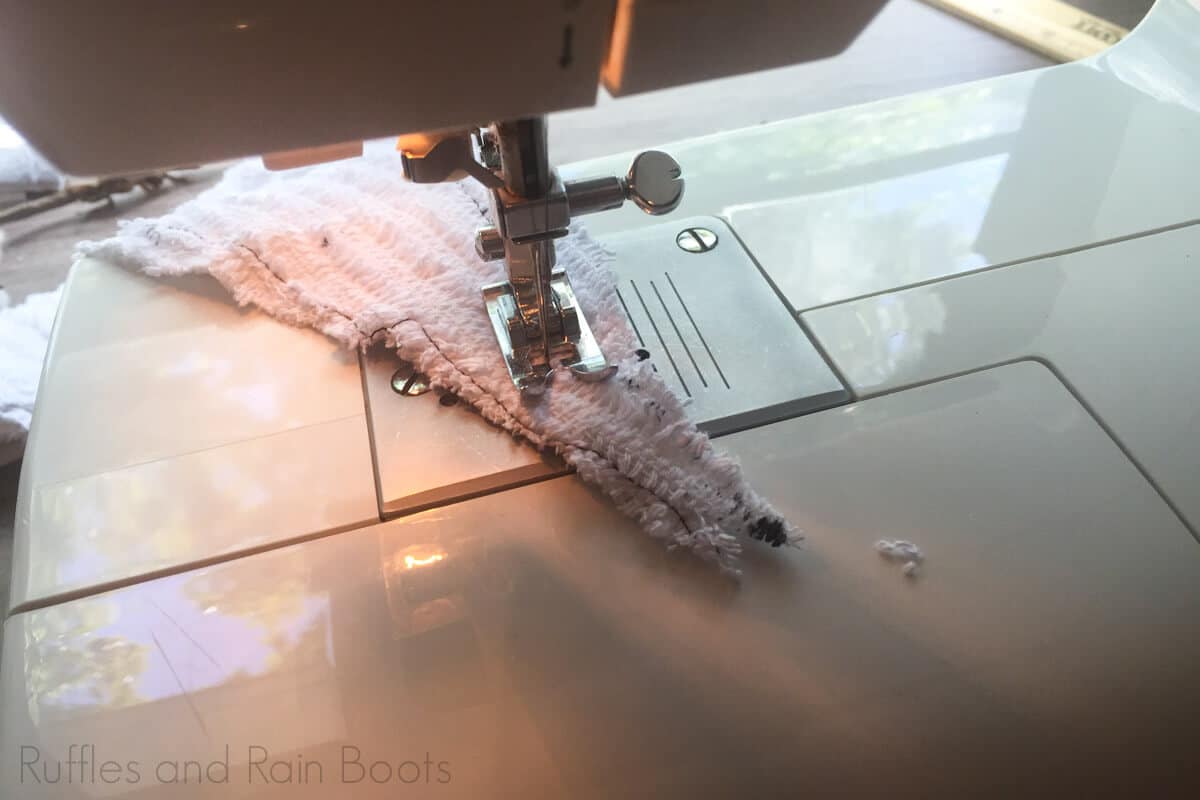
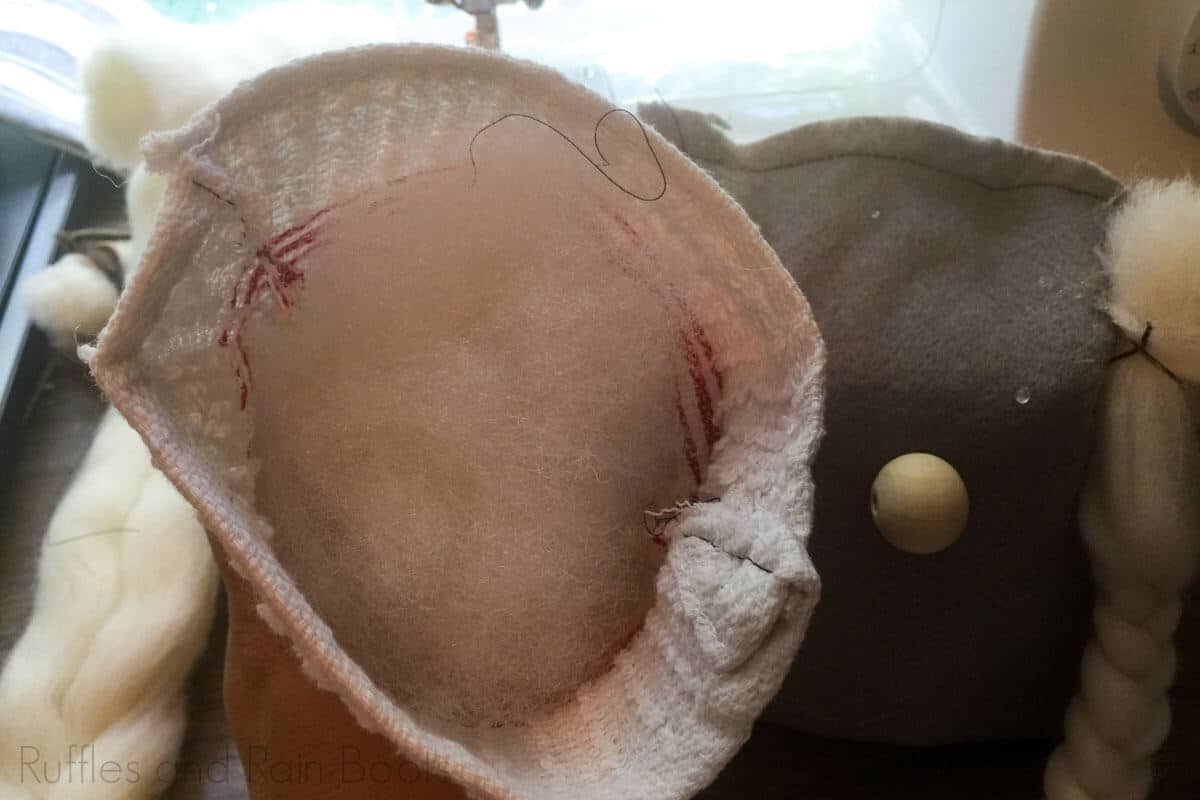
- Cut two pieces of the dish towel into a triangle shape (choose a height and measure the width of the gnome body you just completed to make sure the hat will fit WITH a seam allowance) plus a 1/2 inch to fit the braids. The cut of the towel will vary on how full you’ve stuffed the gnome body, just be sure sure to add a seam allowance and room for the braids.
- Put the right sides of the triangle towel pieces together and sew the long edges (do not sew the bottom). Turn inside out so the seams are on the inside.
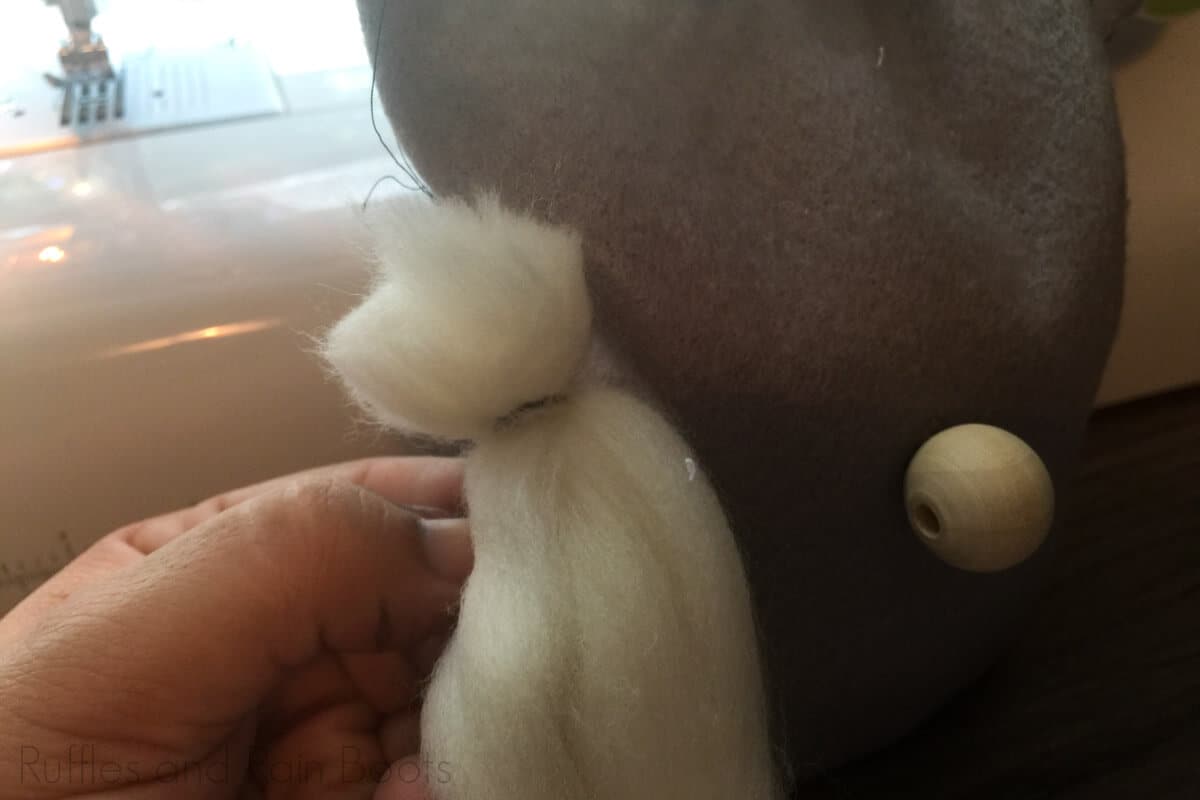
- Secure one end of the wool with an elastic or string. Hold it up next to the gnome body and cut the wool to your desired length.
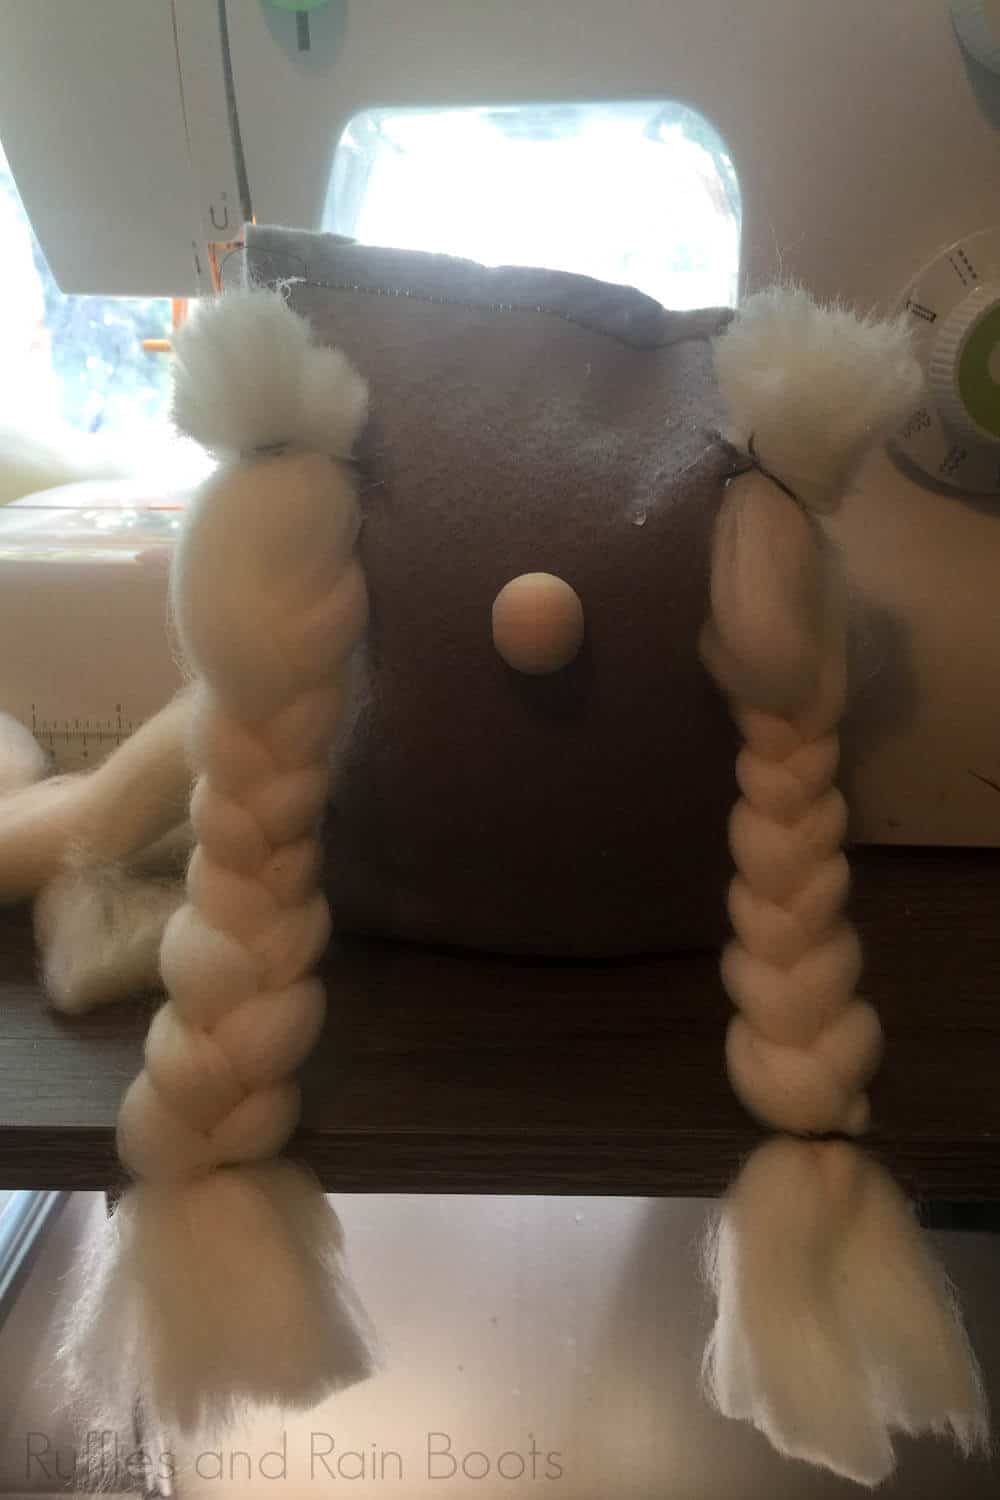
- Glue it in place, braid it, secure the end, and repeat for another braid.
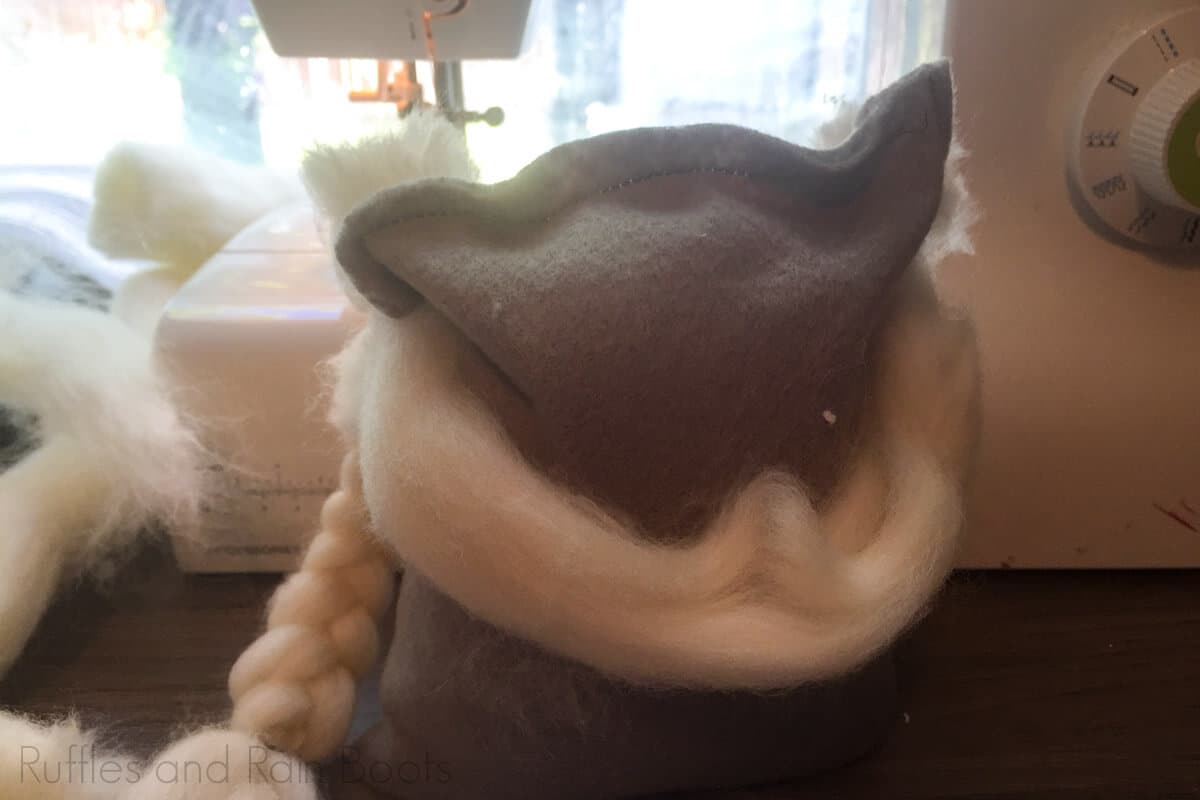
- Cut a piece of wool that will go along the back of the gnome body (it will be positioned just under the back of the hat, so don’t secure it until you are done with the next step).
- Stuff the hat with poly fill. We chose to fill ours completely so the hat would stand up, but you can fill it halfway and let the hat flop over). Place the hat onto the gnome body, pull down, and secure just the side edges.
- Position the gnome nose and glue on. Position the back hair piece, glue on, and then secure the back of the hat.
- Enjoy!
Notes
The pictures show I added the nose first. Don’t do this. I don’t know what I was thinking and had to pull it off to reposition it.
For more fun gnome tutorials (an absurd number of them), visit Ruffles and Rain Boots!
Recommended Products
As an Amazon Associate and member of other affiliate programs, I earn from qualifying purchases.
More Farmhouse Gnome Tutorials You Might Like
- DIY Chef Gnome – I love this gnome with this adorable toque. He’s the perfect little kitchen buddy for this girl farmhouse gnome with braids.
- Gnome Mason Jars – One of the best kitchen-gnomes ever. And they’re super handy!
- Gnome Cookie Jar – I needed a gnome to guard my cookies. You probably do too.
Please Save This to Pinterest
Your shares are how this site grows and I am sincerely grateful. Know a friend who’d like this? Please share it on Facebook or save it to your favorite farmhouse crafts board on Pinterest.
