
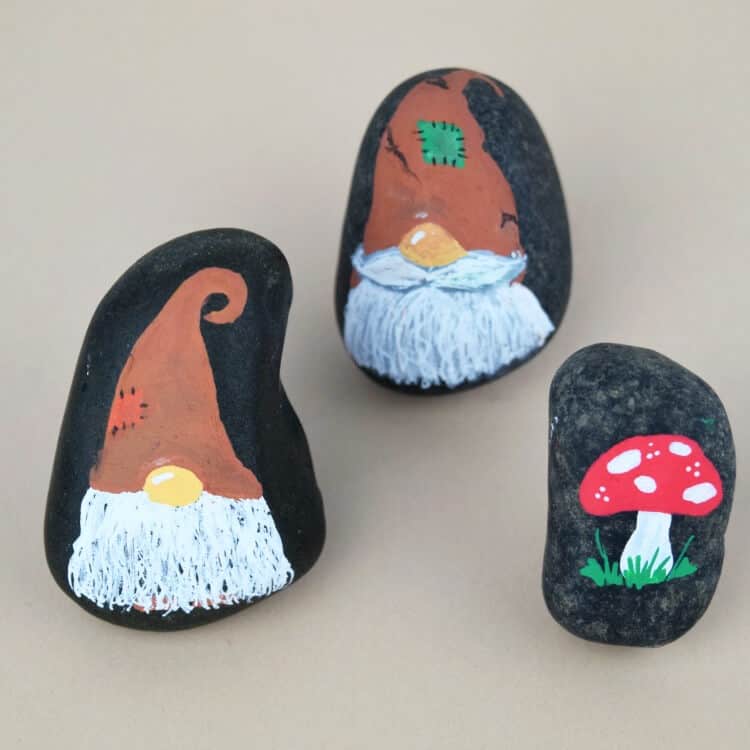
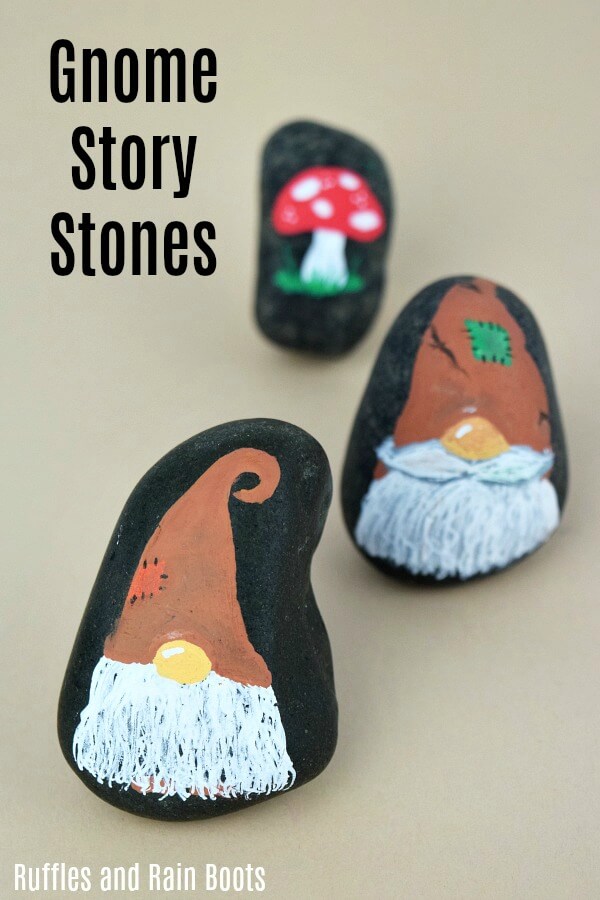
Fall Gnome Rock Painting Idea – Gruff and Adorable!
These Fall gnome rock painting cuties are a perfect addition to your rock painting collection or the pile of rocks you made to hide. Let’s get started!

There are affiliate links in this article which means, at no additional cost to you, we could receive compensation for our recommendations. You can read our full disclosure policy.
Fall Gnome Rock Painting – You Can’t Get Cuter Than These!
When I was waiting for my Christmas gnome rocks to dry, I came up with these Fall gnomes and couldn’t resist making them.
There’s something about a magical creature and gnomes have a special place in my heart. After all, I make so many gnome crafts it would be embarrassing if I didn’t get paid for it.
Enough about my weird fascination with gnomes – let’s get started painting some Fall gnome rock painting cuties!
RELATED READING: Christmas Gnome Rocks
Rock Painting Supplies
This Fall rock painting idea goes far beyond colorful foliage but can use all the same colors if you have them out. For these rocks, I used muted colors in both acrylics and water-based paint pens.
- clean rocks
- this size of our favorite paint pens in white, orange, and green
- acrylic paints (I use Deco Art most of the time) in dark chocolate though burnt umber would work
- ModPodge and wipe-on polyurethane
- pencil and paintbrush (or foam brush)
How to Paint Harvest or Thanksgiving Gnomes
We created these Fall gnome rock painting friends the same way we made our Christmas gnome rock painting story stones. If you’re a video learner, click on over to those gnomes and watch our quick video.
- Wipe the rock clean and use a pencil to lightly draw on a hat. Leave a middle space for a beard. You can choose to draw legs or not.
- Use a paint pen or paints to apply the first layer of color.
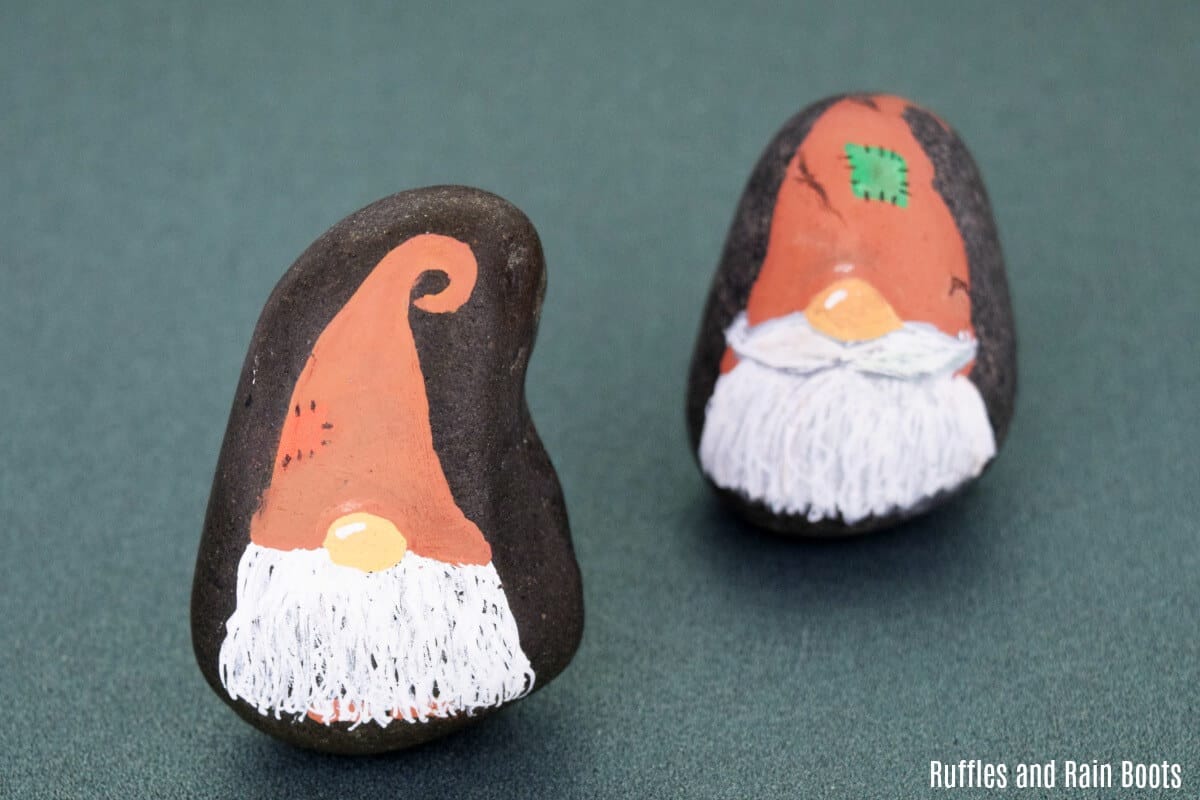
- Create the button nose by layering brown, white, and brown again to create a flesh color unless you have these.
- It’s time to make the beards (my favorite part). Some of the bears are completely filled in and others were drawn with squiggly lines over each other. I made two layers of the squiggly lines.
- Clean up any part of the paint (or apply a second coat) while the beard dries. If you’d like, add a small reflection to the nose by using the white paint pen to draw a swoosh. Additionally, if you’d like to make a weathered hat, just use your paint pen to draw a wiggly line and then blend it out a bit. For patches, I drew rectangles in paint pen and followed that up with black lines to look like crude stitching.
- Use a paintbrush or foam brush to apply a light layer of ModPodge to seal anything you’ve painted with the paint pens. Follow that up with a few layers of wipe-on polyurethane to seal and protect your Fall gnome rock painting cuties.
RELATED READING: Rock Painting Story Stone Ideas – Great Gifts for Kids
Fall Gnome Rock Painting Idea - Gruff and Adorable!

These Fall gnome rock painting cuties are a perfect addition to your rock painting collection or the pile of rocks you made to hide
Materials
- clean rocks
- this size of our favorite paint pens in white, orange, and green
- acrylic paints (I use Deco Art most of the time) in dark chocolate though burnt umber would work
- ModPodge and wipe-on polyurethane
Tools
- pencil and paintbrush (or foam brush)
Instructions
- Wipe the rock clean and use a pencil to lightly draw on a hat. Leave a middle space for a beard. You can choose to draw legs or not.
- Use a paint pen or paints to apply the first layer of color.
- Create the button nose by layering brown, white, and brown again to create a flesh color unless you have these.
- It's time to make the beards (my favorite part). Some of the bears are completely filled in and others were drawn with squiggly lines over each other. I made two layers of the squiggly lines.
- Clean up any part of the paint (or apply a second coat) while the beard dries. If you'd like, add a small reflection to the nose by using the white paint pen to draw a swoosh. Additionally, if you'd like to make a weathered hat, just use your paint pen to draw a wiggly line and then blend it out a bit. For patches, I drew rectangles in paint pen and followed that up with black lines to look like crude stitching.
- Use a paintbrush or foam brush to apply a light layer of ModPodge to seal anything you've painted with the paint pens. Follow that up with a few layers of wipe-on polyurethane to seal and protect your Fall gnome rock painting cuties.
Notes
For more rock painting ideas, visit Ruffles and Rain Boots.
Please Share This on Facebook and Pinterest

These are so cute! Garden Gnomes have a special place in my heart for sure! I will definitely share this tutorial in my FB group! Thanks for sharing awesome rock painting tutorials!
Awww, me too – they’re just the best little bit of whimsy I like i my day. :)
And thank you so much for sharing!