This 10-Minute Drawstring Bag Tutorial Will Have You Smiling
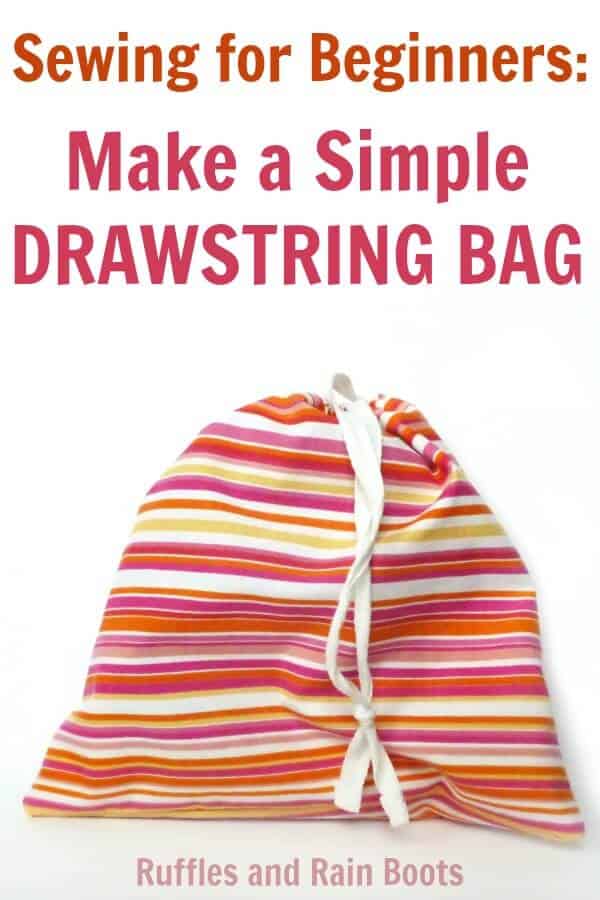
Because we were about to enjoy a 6 hour road trip locked in a car with a toddler who has boycotted naps, we thought we’d try our very first cartoon in the car with her Kindle. I made this drawstring bag very quickly and it was just perfect.
What You'll Find On This Page
Uses for Drawstring Bags
- to store toys
- travel bags for shoes
- as party favor bags
- for a quick and customized gifting solution (think wine bottles or oddly-shaped presents)
- to separate craft supplies
- to store puzzles
- to corral those tiny little Lego pieces that should have been sucked up by the vacuum…
Because of their simple design, they are easily customized to fit any item.
This tutorial is so easy and I whipped this up in 10 minutes.
Supplies for Our Drawstring Bag Tutorial
- fabric (two pieces of any size of your liking)**
- ribbon or straps that are 2 times the width of your fabric (plus 5 inches, or so)
- sewing machine, thread, scissors, safety pin
** Measure your item and add 2 inches on all sides to make certain you have enough material to fit the item and cinch the top.
** Shortcut: I used the side of a good quality sheet I picked up at a thrift store forever ago. By using the sheet that had a hem along the side already, I was able to skip a step, saving time.
Make the Drawstring Bag’s Fabric Cuts
Pinking shears are your friend in this fast little baggie so that you can reduce fraying (and the need to zig-zag stitch the edges). If you have a serger, or the time to zig-zag the edges, get busy with either, but for this drawstring bag tutorial, we want to keep it easy.
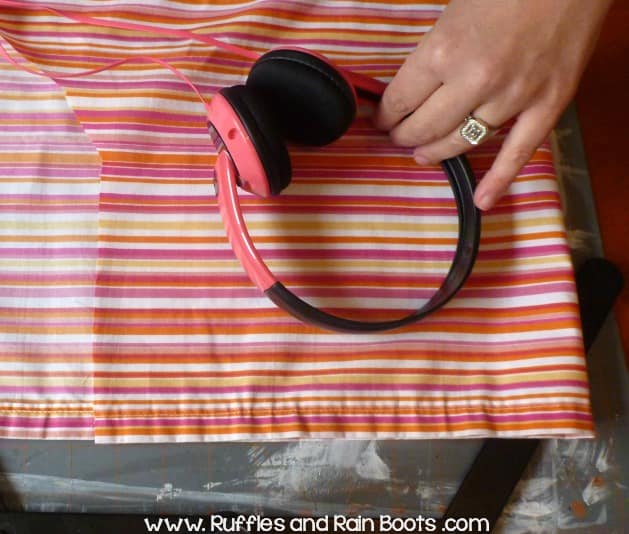
Measure out the size you want for your bag, and cut the fabric using the pinking shears. I just plopped her new headphones down on the cutting mat.
How to Sew a Casing for a Drawstring Bag
Once you have your pieces cut, you will need to make the casing for the drawstring. You can either use the pre-hemmed option like I did, or fold it over (and then over again) and create your own hem.
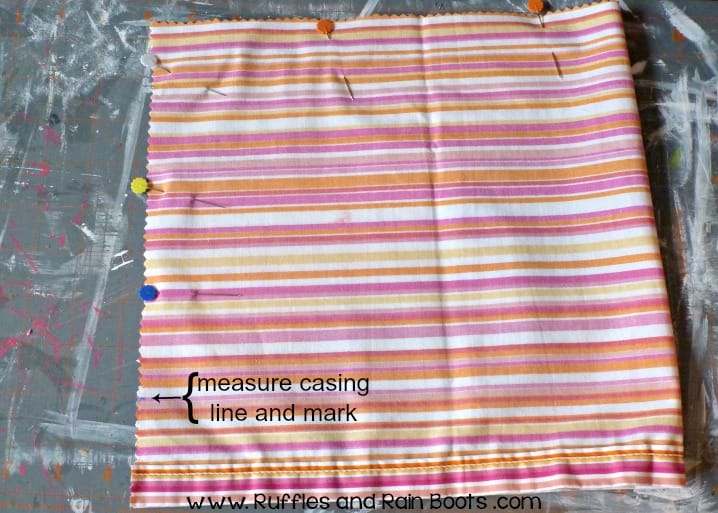
If you didn’t use a pre-hemmed piece of fabric, hem the top edge of each of your fabric pieces. Once hemmed, you will need to turn the fabric down again to create a casing to fit whatever ribbon or strap you intend to use. I measured 2 inches down from the top edge, but it will depend on your drawstring strap width.
Sew the Drawstring Bag
The hard part of this drawstring bag tutorial is actually over. Isn’t that nice?
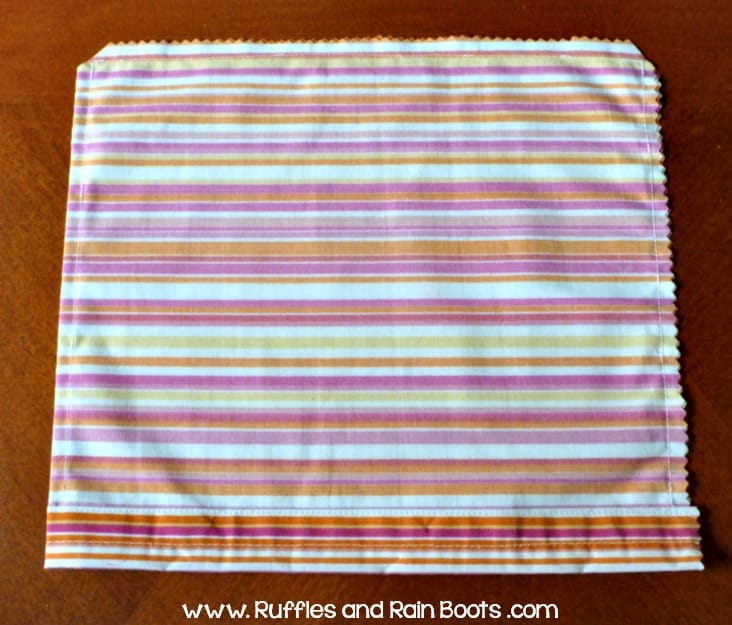
If you cut on the fold and have one large piece of fabric, you can choose to sew around just the two open sides (the two sides without the casing) or you can sew all three. I chose to sew all three, allowing for the same look on all sides. I used a 5/8 inch seam allowance.
I snipped the bottom corners, taking care not to snip the stitches. Then, I turned the bag inside out and started threading the casing.
Add a Drawstring
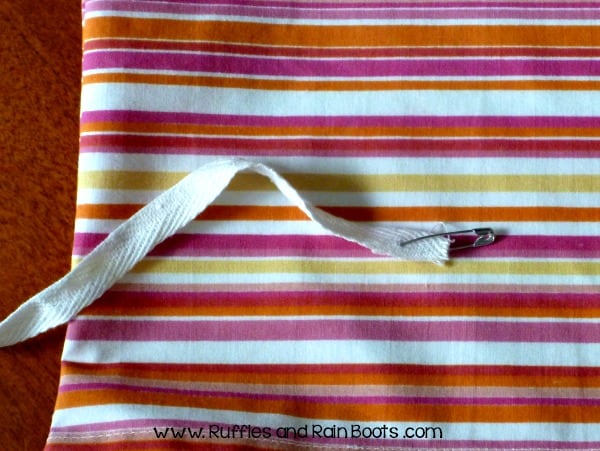
Because I was in a hurry and didn’t split the casing at the folded side, I opted for a single drawstring. Add a safety pin to one end and thread the string (2 times the width of your fabric plus 5 inches) through the entire casing and tie off at the end.
And there you have it – you’re at the end of our easy drawstring bag tutorial and are now the proud owner of your own storage bag!
Elise is already asking for another tote bag for her FROZEN dolls and yet another for her tea set. I’m not sure why one needs a tote bag for a tea set, but because these are so quick and easy, I’m happy to comply.
10-Minute Drawstring Bag Tutorial

Learn how to make a quick and easy storage option with this drawstring bag tutorial.
Materials
- fabric (two pieces of any size of your liking)**
- ribbon or straps that are 2 times the width of your fabric (plus 5 inches, or so)
Tools
- sewing machine, thread, scissors, safety pin
Instructions
- Pinking shears are your friend in this fast little baggie so that you can reduce fraying (and the need to zig-zag stitch the edges). If you have a serger, or the time to zig-zag the edges, get busy with either, but for this drawstring bag tutorial, we want to keep it easy.
- Measure out the size you want for your bag, and cut the fabric using the pinking shears. I just plopped her new headphones down on the cutting mat.
- Once you have your pieces cut, you will need to make the casing for the drawstring. You can either use the pre-hemmed option like I did, or fold it over (and then over again) and create your own hem.
- If you didn't use a pre-hemmed piece of fabric, hem the top edge of each of your fabric pieces. Once hemmed, you will need to turn the fabric down again to create a casing to fit whatever ribbon or strap you intend to use. I measured 2 inches down from the top edge, but it will depend on your drawstring strap width.
- If you cut on the fold and have one large piece of fabric, you can choose to sew around just the two open sides (the two sides without the casing) or you can sew all three. I chose to sew all three, allowing for the same look on all sides. I used a 5/8 inch seam allowance.
- I snipped the bottom corners, taking care not to snip the stitches. Then, I turned the bag inside out and started threading the casing.
- Add a safety pin to one end and thread the string (2 times the width of your fabric plus 5 inches) through the entire casing and tie off at the end.
Notes
** Measure your item and add 2 inches on all sides to make certain you have enough material to fit the item and cinch the top.
** Shortcut: I used the side of a good quality sheet I picked up at a thrift store forever ago. By using the sheet that had a hem along the side already, I was able to skip a step, saving time.
Over to You
What are some ways you use drawstring bags? Have you tried to make any food-friendly ones to use as recyclable produce bags? I’m thinking I might try that but I’ve yet to do research on food-friendly netted fabrics.


I’ll be making one for my weightlifting chalk. I’m lining it with vinylish stuff. Should be good! Thank you for the tute!
I’m so glad it will work!
I use to see along time ago. It’s been at least 40 years since I’ve had a sewing machine. I purchased me a new sewing machine a couple of
months ago and I am learning to sew all over again. I’m very thankful for Pinterest and all the people who provide
all their knowledge to so many different categories. You will be hearing from me again soon!!!
Thank you very much 👍
Susan Roper 😊😀
That is amazing to hear, Susan. I think sewing is a hard one to learn but practice means progress, right?