DIY Christmas Candles – An Easy Christmas Gift Idea
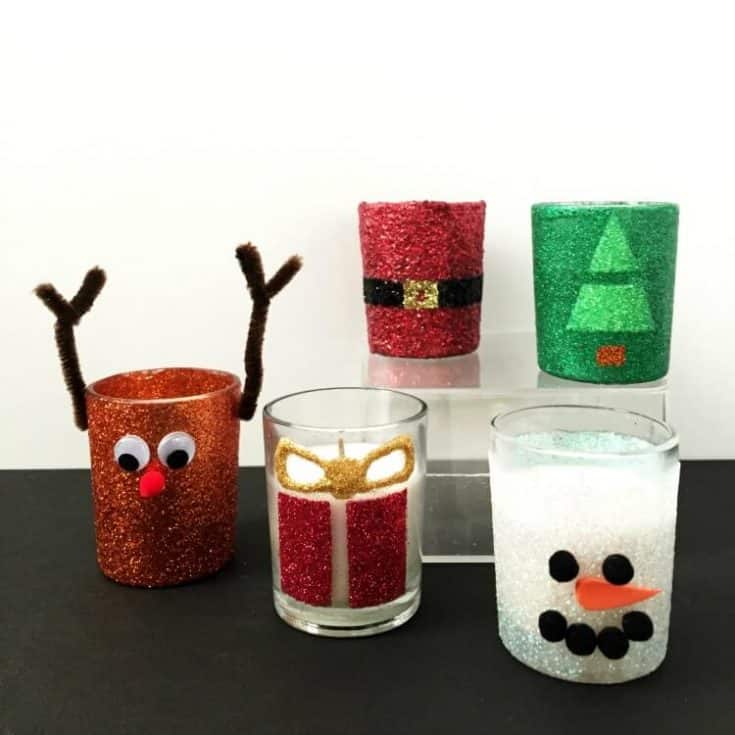
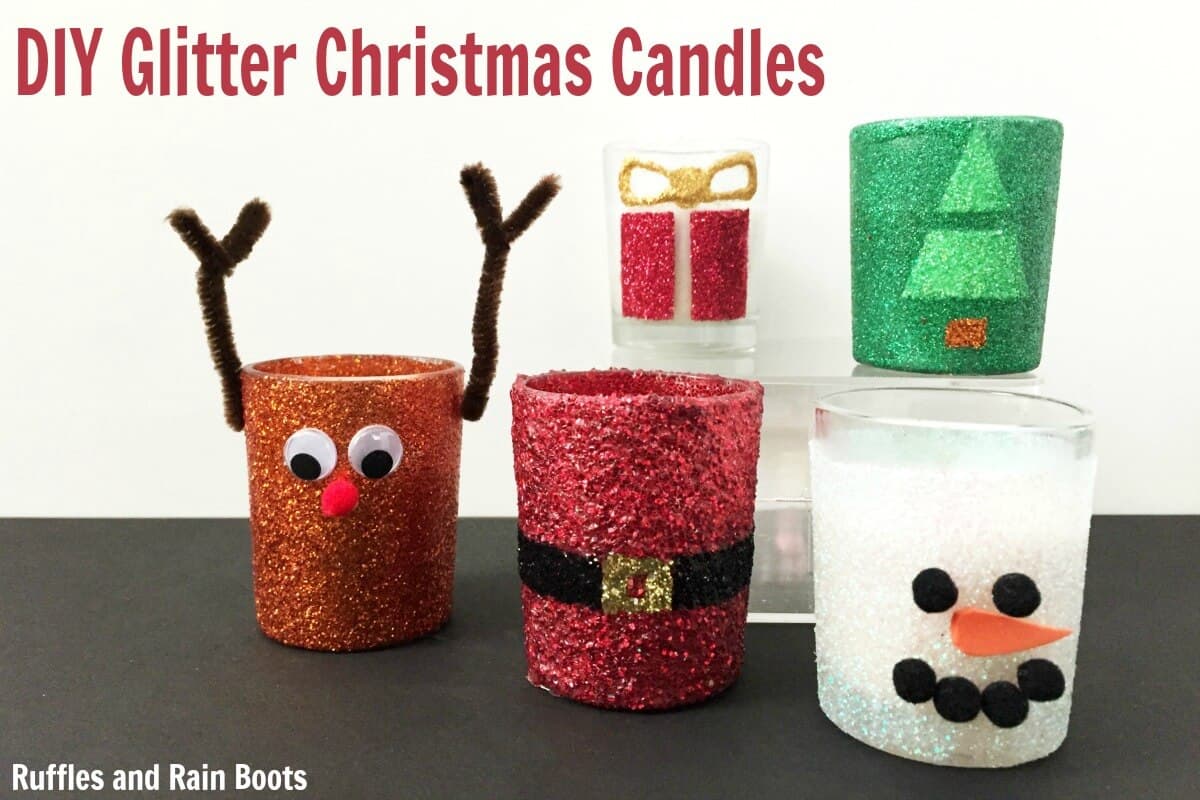
We’re sharing how to make these adorable DIY Christmas candles with votives and glitter. Let’s get started making Christmas decorations that bring the smiles!
There are affiliate links in this article which means, at no additional cost to you, we could receive compensation for our recommendations. You can read our disclosure policy.
What You'll Find On This Page
Easy and Fun Christmas Gift Ideas
As I sit here writing up this fun Christmas craft, I am grinning ear to ear. My daughter had the best time helping with this. And here on Ruffles and Rain Boots, we love to get the kids crafting.
These DIY Christmas candles took almost no time to make – the longest time spent doing anything was waiting for them to dry!
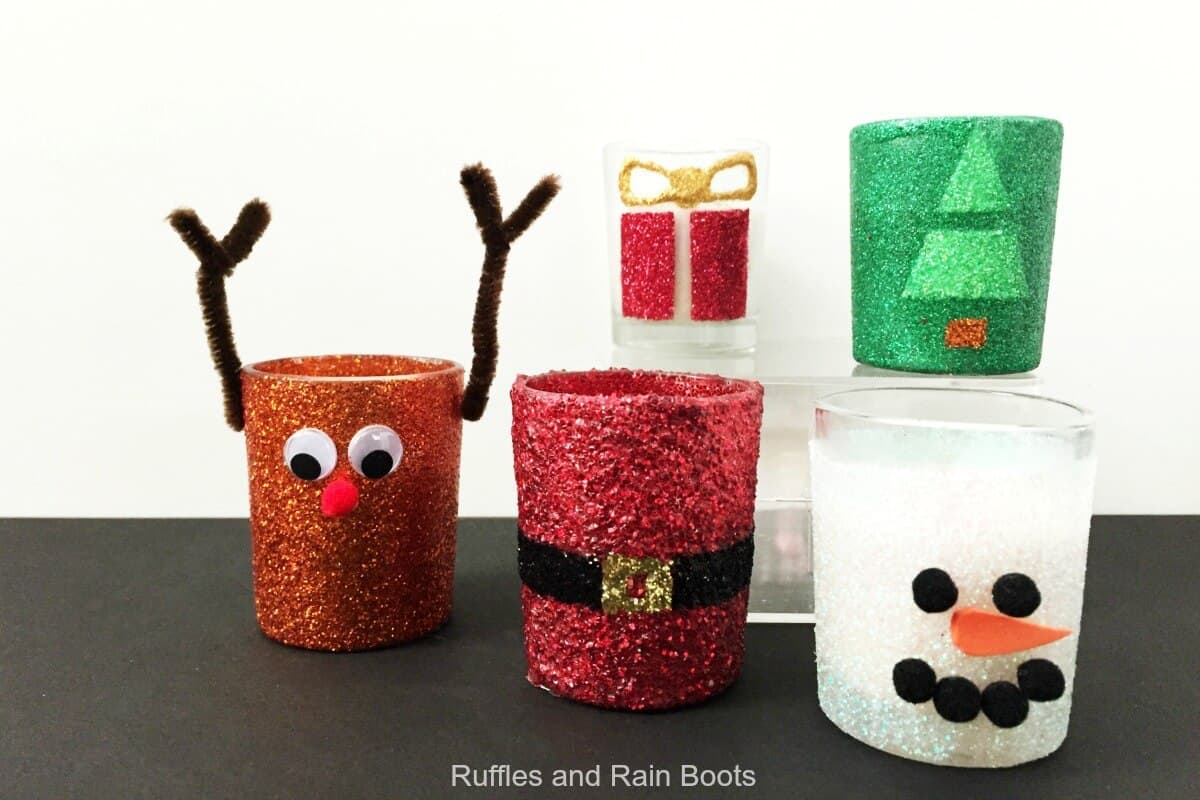
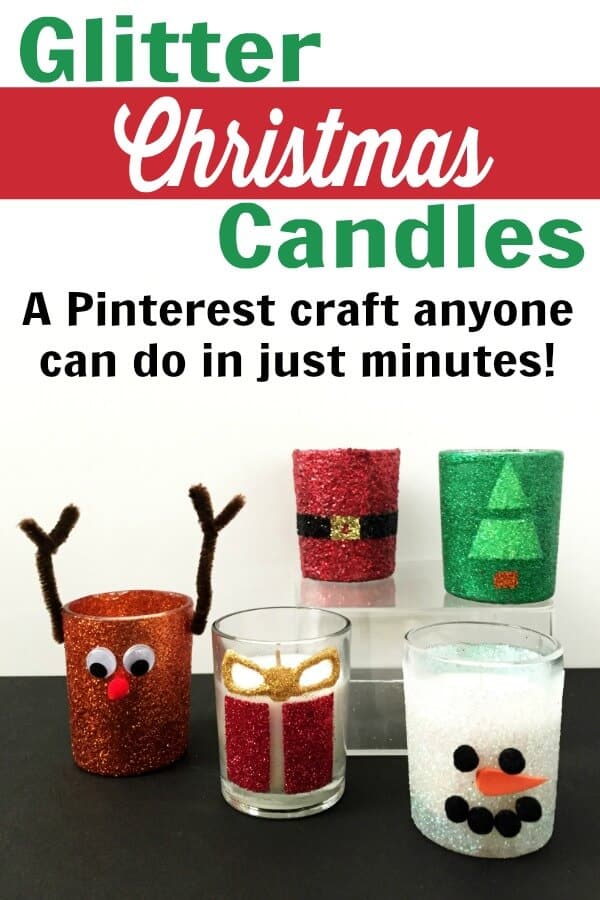
For this craft, I used basic craft supplies and made the following:
- the most adorable Rudolph candle (my daughter’s favorite)
- a shimmery snowman candle
- the sparkliest Santa candle ever
- a Christmas gift candle
- the easiest Christmas tree candle
Before we started this project, I wanted to make sure I didn’t set mine or anyone else’s house on fire. We learned that it IS safe to use ModPodge on the outside glass of candles. Yay!
Supplies to Make Your Own DIY Christmas Candles
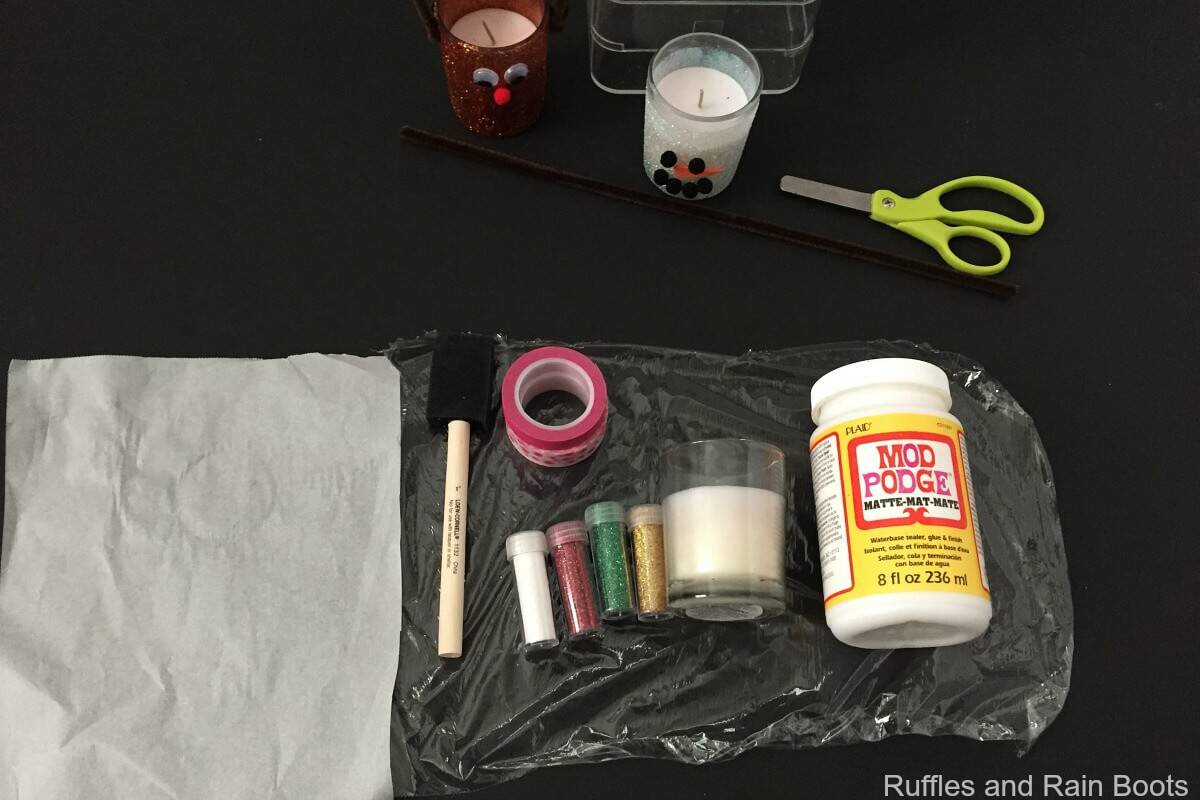
If you have a small stash of craft supplies, you’re all set to start making these DIY Christmas candles right now! Order a few candles here or pick them up locally – either way, this fun Christmas gift idea will take no time at all to put together.
- votive candles in a glass jar (white wax, with or without scent)
- extra fine glitter
(red, dark green, light green, gold, white iridescent, and brown)
- brown pipe cleaner (for Rudolph) and scissors to cut it
- googly eyes
- mini pompoms
(red and black
- washi tape (or thin artist’s tape)
- school glue (PVA)
- ModPodge and a foam brush
- optional: wax paper (to catch the glitter) and a cotton swab (for cleanup)
How to Make Christmas Candles
Friends, this is actually the easiest Christmas craft ever. All of these Christmas candles were made the same way, so I’m going to only share one – the Christmas gift candle.
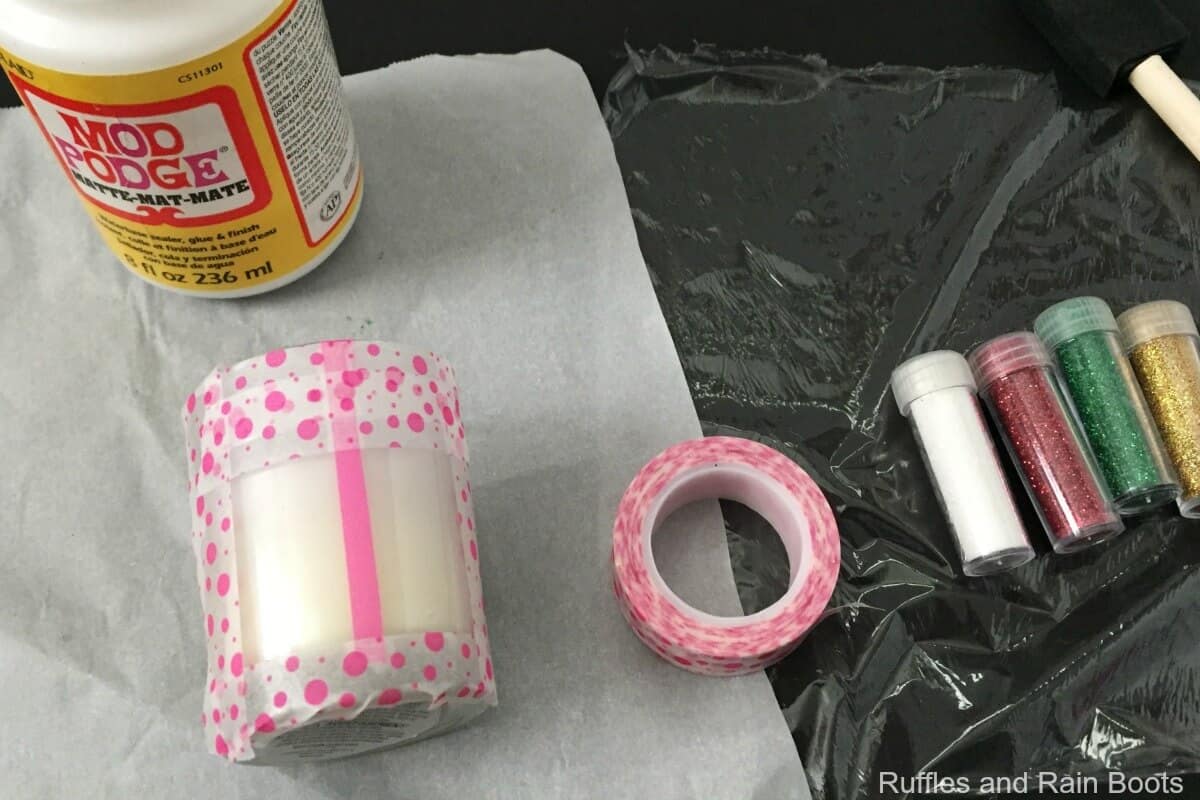
Step 1 – Tape off the votive candle.
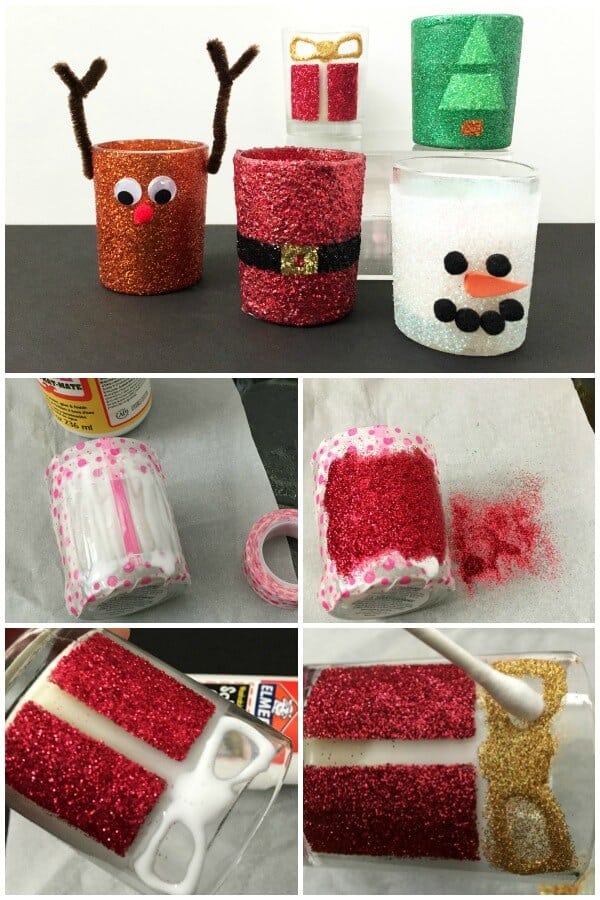
Tape off the votive candle with anything you don’t want to color with glitter. Make sure the washi tape is secure and pushed down on all edges to avoid having to do clean up later. #lazycrafter
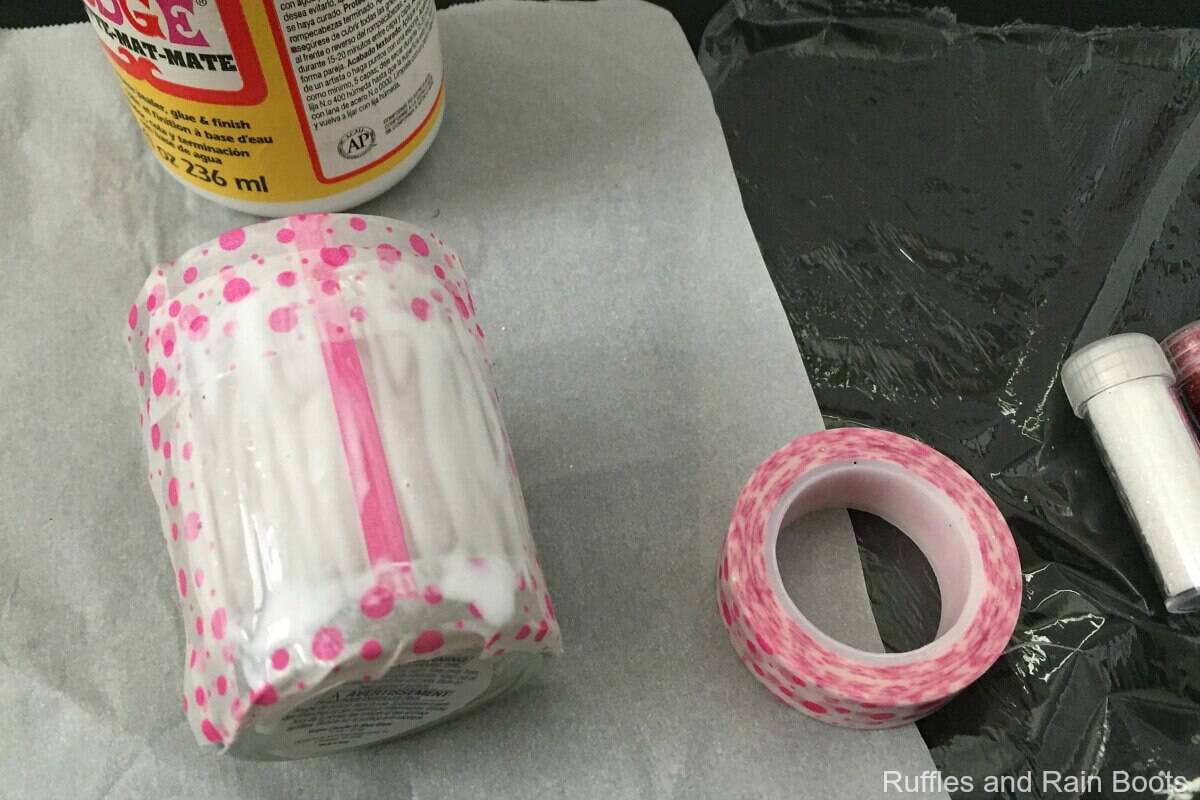
Step 2 – Apply Glue and Glitter and Let Dry
Apply glue to the candle’s glass. It’s good to go a little onto the glue so you will have a solid line of glitter when dry.
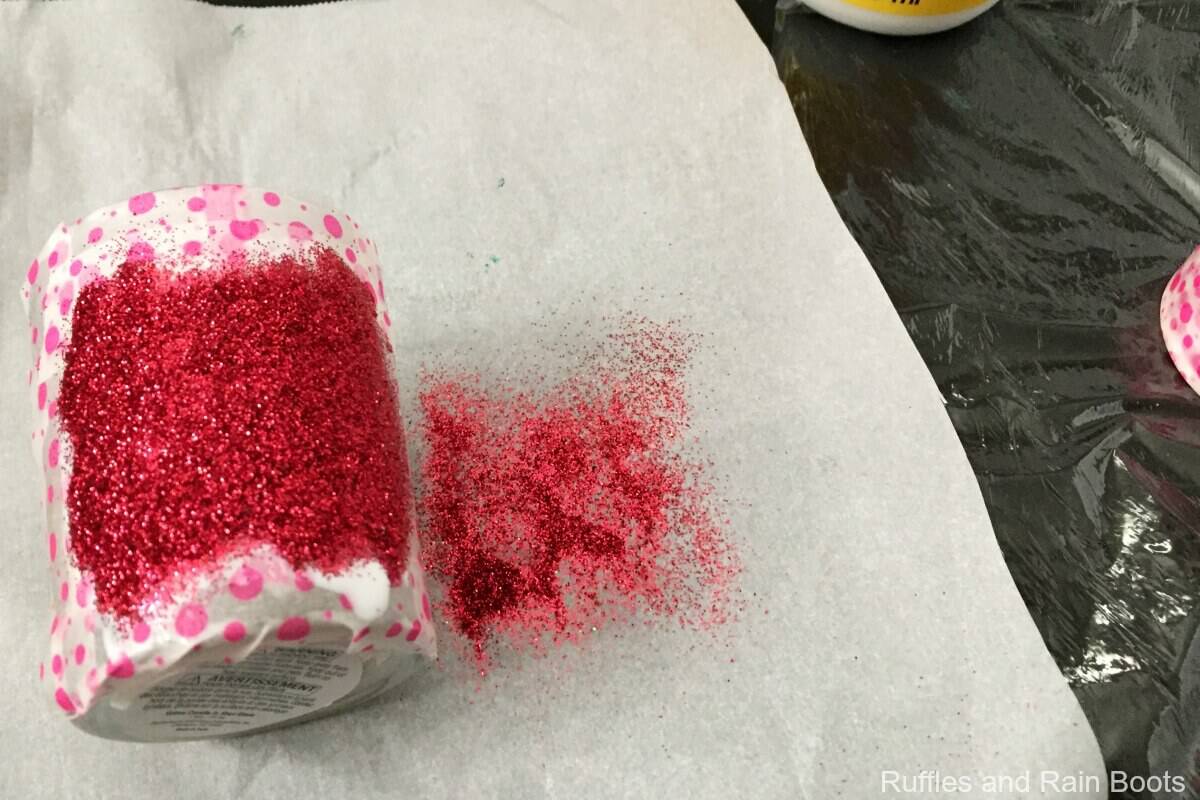
Sprinkle the wet ModPodge with glitter over the wax paper to catch all of the glitter. Pick up the candle carefully and tap it to remove any excess glitter.
Put any glitter on the wax paper back into the jar. Let the glue and glitter dry for just a few minutes (it doesn’t have to be completely dry).
Step 3 – Remove the Tape and Start on a New Section
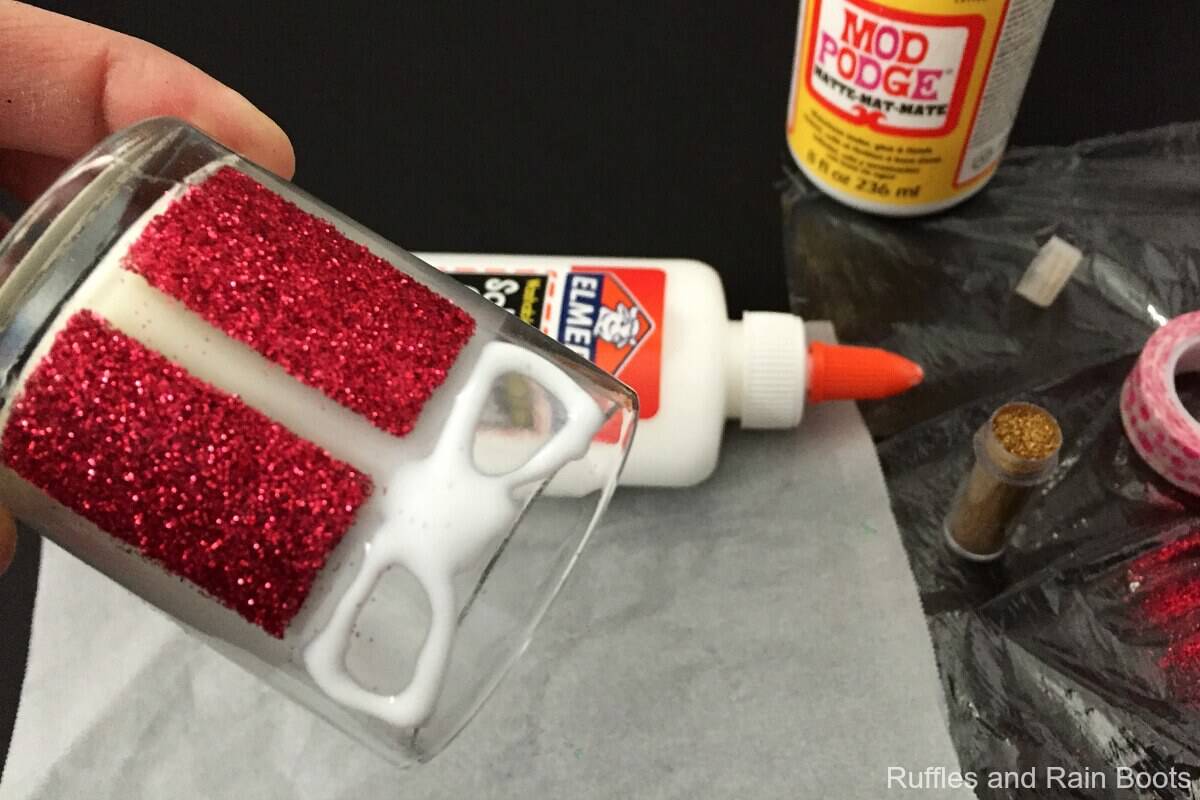
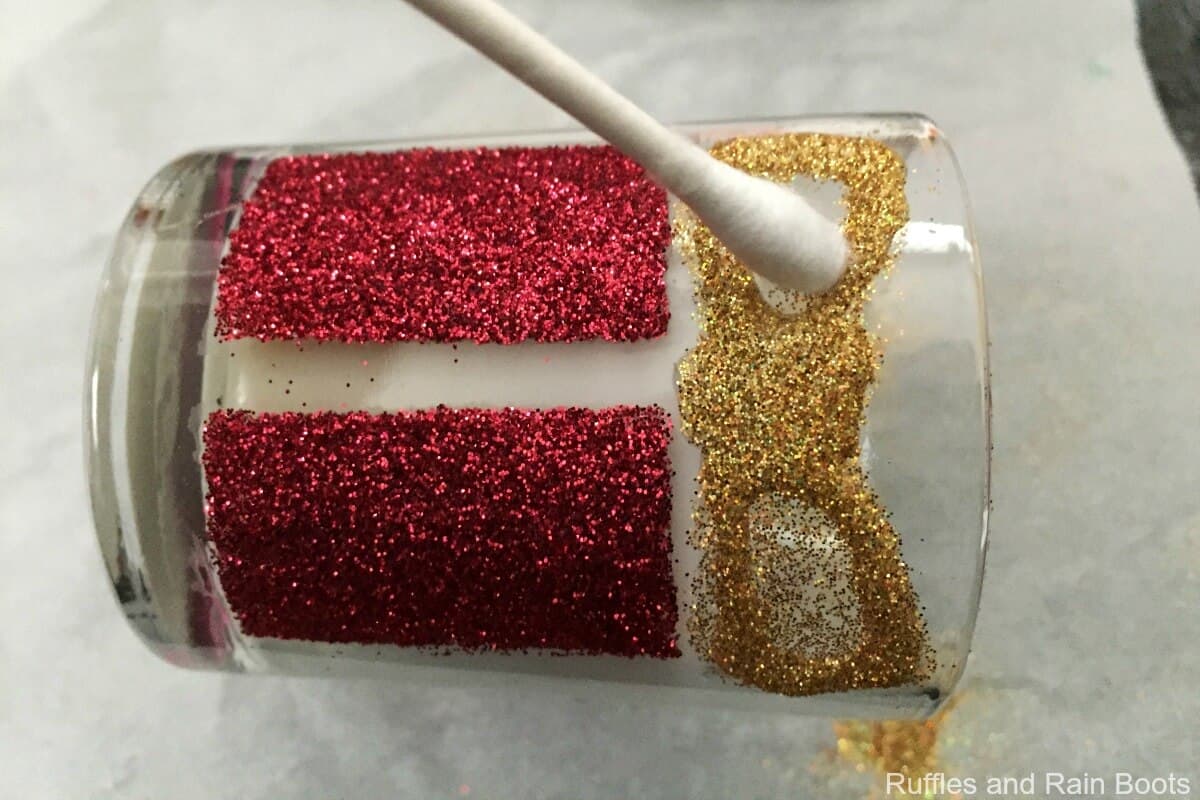
Remove the washi tape and start on a new section – in this case, the bow for the present candle. Add a bit of glue in the shape of a bow.
Hold the candle upside down while you add gold glitter. You don’t want to sprinkle any gold glitter on the red because it will stick.
Clean up any excess glitter or glue with a dry cotton swab. Don’t go for perfection, but finer glitter will adhere to the candle without glue, so just wipe it off before the next step.
Step 4 – Allow to Dry Completely and Add ModPodge to Seal
Once the glitter and glue have dried, add a couple of layers of ModPodge to seal the glitter. No one wants that stuff all over their carpet, so it’s best to add a couple of coats.
DIY Christmas Candles - An Easy Christmas Gift Idea
We're sharing how to make these adorable DIY Christmas candles with votives and glitter.
Materials
- votive candles in a glass jar (white wax, with or without scent)
- extra fine glitter (red, dark green, light green, gold, white iridescent, and brown)
- brown pipe cleaner (for Rudolph) and scissors to cut it
- googly eyes
- mini pompoms (red and black)
- washi tape (or thin artist's tape)
- school glue (PVA)
- ModPodge and a foam brush
- optional: wax paper (to catch the glitter) and a cotton swab (for cleanup)
Instructions
- Tape off the votive candle with anything you don't want to color with glitter. Make sure the washi tape is secure and pushed down on all edges to avoid having to do clean up later.
- Apply glue to the candle's glass. It's good to go a little onto the glue so you will have a solid line of glitter when dry.
- Sprinkle the wet ModPodge with glitter over the wax paper to catch all of the glitter. Pick up the candle carefully and tap it to remove any excess glitter.
- Put any glitter on the wax paper back into the jar. Let the glue and glitter dry for just a few minutes (it doesn't have to be completely dry).
- Remove the washi tape and start on a new section - in this case, the bow for the present candle. Add a bit of glue in the shape of a bow.
- Hold the candle upside down while you add gold glitter. You don't want to sprinkle any gold glitter on the red because it will stick.
- Clean up any excess glitter or glue with a dry cotton swab. Don't go for perfection, but finer glitter will adhere to the candle without glue, so just wipe it off before the next step.
- Once the glitter and glue have dried, add a couple of layers of ModPodge to seal the glitter. No one wants that stuff all over their carpet, so it's best to add a couple of coats.
Notes
For more fun Christmas craft ideas, visit Ruffles and Rain Boots.
Over to You
Which one is your favorite? The little one’s favorite is Rudolph (of course) and mine might just be that Santa coat. It doesn’t show in the pictures but that is one sparkly, bright, and happy little Christmas candle.

Meet the Creator
Hi there, I’m Sarah Nenni-Daher. I’m a crafty gal and always have at least 14 projects going at once. I am a crafter, designer, DIYer, and pattern maker. I share my creations here and in the Ruffles and Rain Boots® Shop.
Here at Ruffles and Rain Boots®, you’ll find DIY gnomes, crafts, gifts, cupcakes, laser crafts, and so much more. I love sharing video tutorials over on YouTube and chatting with other crafters in my Facebook groups. We’d love to have you!