This Christmas Cowboy Gnome is the Cutest Christmas Gnome Ever!
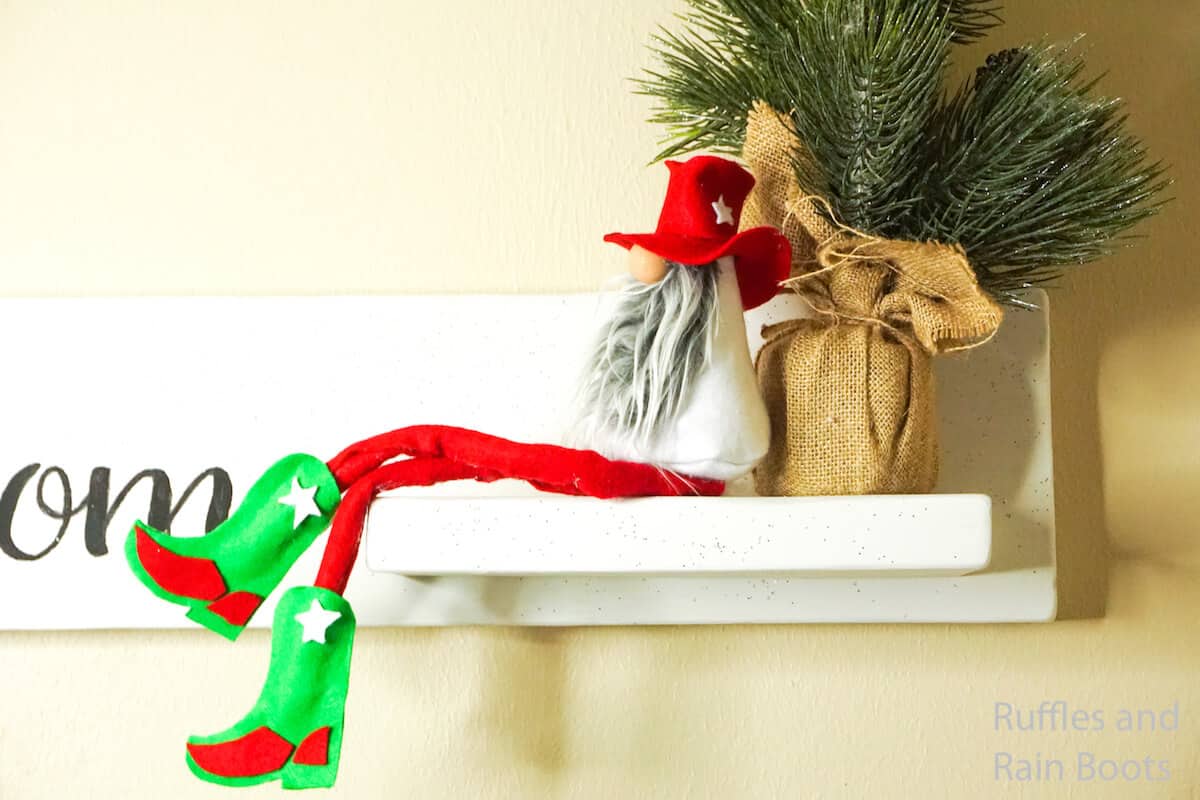
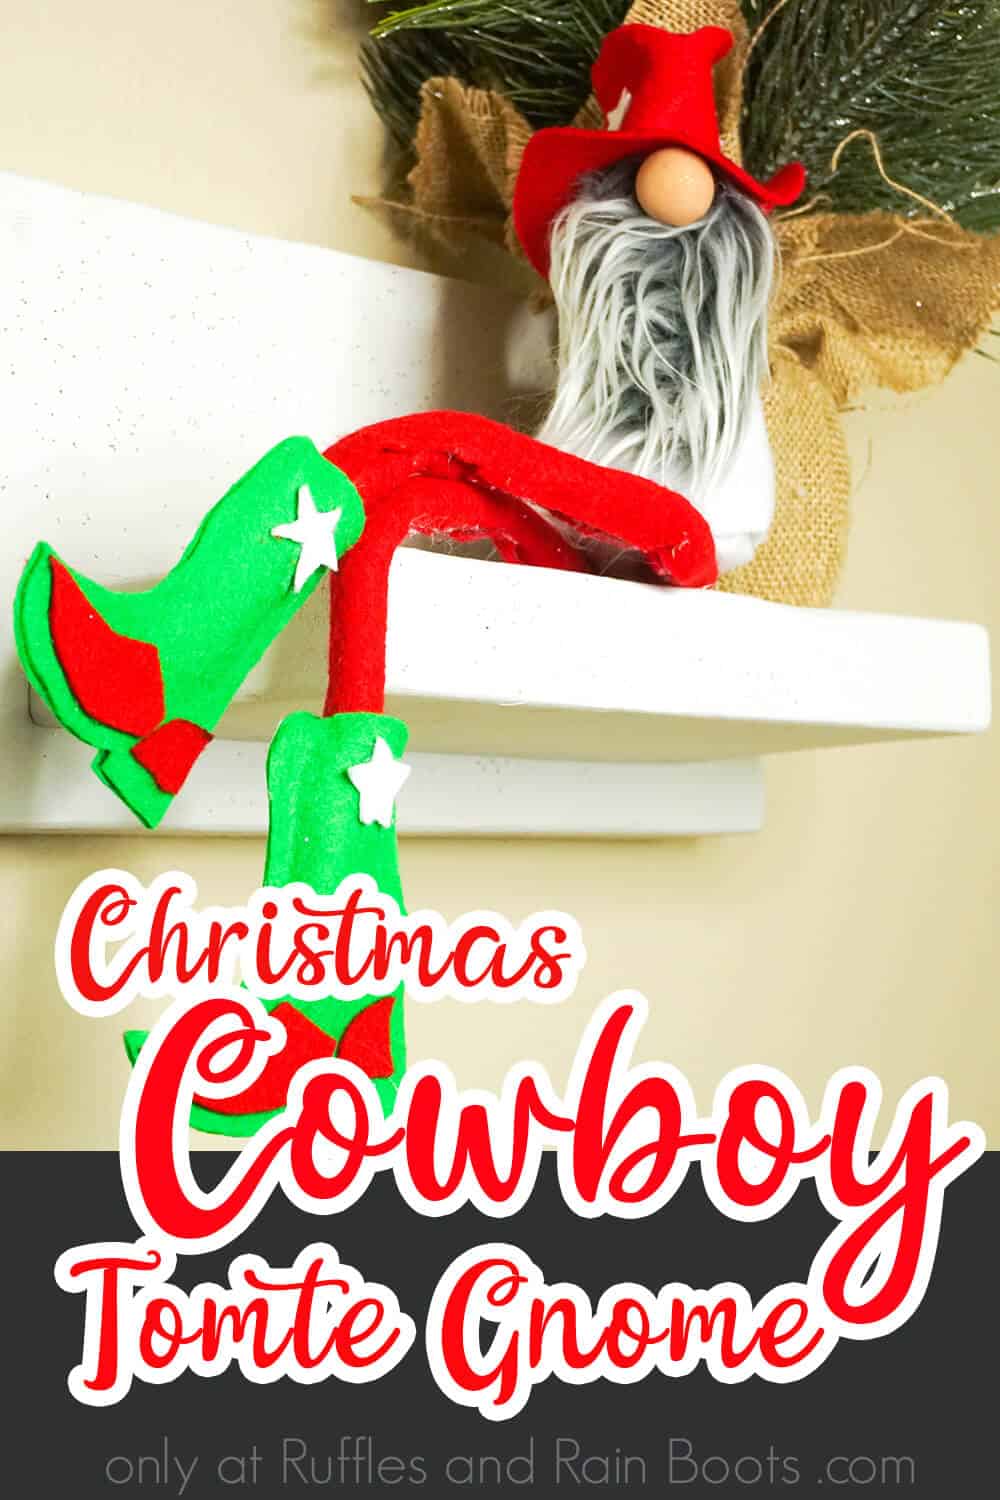
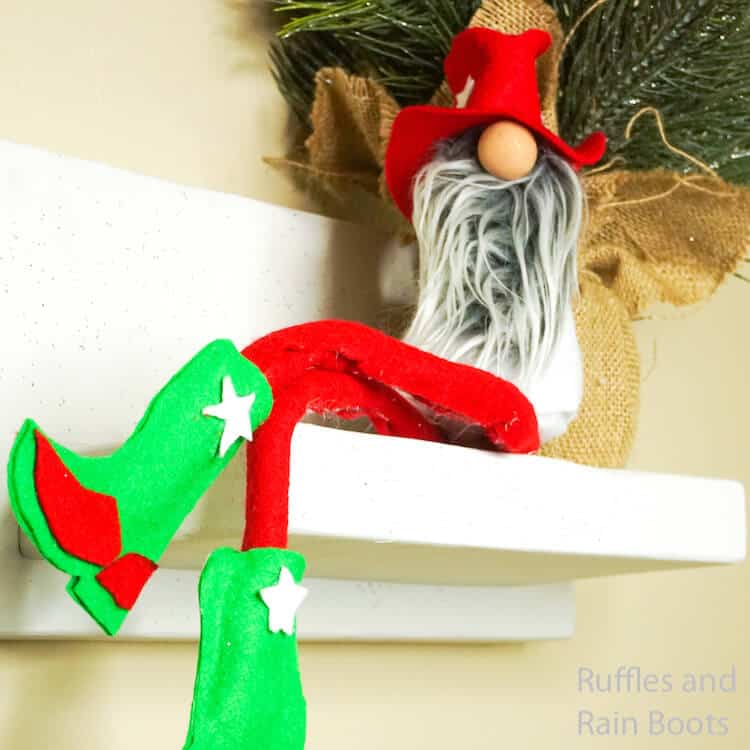
I have to say that this Christmas cowboy gnome, with his fun Christmas boots, is definitely the cutest Christmas gnome I’ve ever made. And I seriously think I need about a dozen of them now.
What You'll Find On This Page
Christmas Cowboy Gnome
Here at Ruffles and Rain Boots, we made the cutest Christmas cowboy gnome the other day. I mean, usually, I’d talk about what inspired me and why I made it, but really, this is not something I need to explain. It’s a Christmas cowboy gnome and that’s explanation enough.
RELATED READING: CHRISTMAS GNOME ORNAMENTS
And yeah, I know, I can’t make my entire Christmas tree go with this adorable Christmas gnome, but would anyone blame me if I tried? Probably not. If you’re ready to make this adorable holiday tomte, let’s get started.
Get Secret Gnomes, Tips, & Freebies Delivered!
What is the best pattern to use when you don’t want to sew? Do you know the secrets to a properly-proportioned gnome? Do you know where to get the best-priced fur?
Get all of this (and exclusive content just for you) delivered right to your inbox with the gnome-making series, free of charge. Sign up to get the once-weekly newsletter (and a jaw-dropping special offer)!

DIY Christmas Gnome Tutorials
If you’re looking for the best DIY Christmas gnome tutorials, you have come to the right place. Check out all of my favorite tomte tutorials for the holidays!
No Time to Make This Now? Pin it for Later
You’re busy, I get it. Pin this to your favorite Christmas DIY ideas board on Pinterest and it’ll be here for when you’re ready.
Tips to Make a Christmas gnome
- Click here to download the free pattern for this Christmas tomte. You could certainly try to make it without the pattern–I’m sure it could be done. But why bother when you have a pattern?!
- When you’re making the hat, be sure to be very careful with the hot glue. If you make a mess, you’ll need to clean it up immediately. Which can be done with an Exacto knife. But, its easier to just be neat on the front-end.
- Be sure to cut the Mongolian fur with an Exacto knife on the backside of the fur and only cut the fabric. That way the beard can be fluffy and full.
How Do I Make this Christmas Cowboy Gnome?
I’m so glad you asked. Below is our written tutorial.
Christmas Cowboy Gnome

I have to say that this Christmas cowboy gnome, with his fun Christmas boots, is definitely the cutest Christmas gnome I've ever made. And I seriously think I need about a dozen of them now.
Materials
- Printable Gnome Pattern
- Small Amount of Polyfill
- 2 Cups Dry Rice
- Mongolian Fur
- Polymer Clay (for gnome nose--you can alternatively use a ½-inch wooden bead):
- 1 small, dime-sized portion of brown
- 1 quarter-sized portion of white
- Elfin Gnome Pattern from Gnome Makers
- Red Craft Felt
- White Craft Felt
- Green Craft Felt
Tools
- Hot Glue Gun and Glue or thread and needle - I glued my gnome
- Scissors
- Exacto Knife
Instructions
- Start making your gnome noses by combining the brown and white polymer clay until a flesh-color is consistent throughout.
- Roll clay into a neat ball, making sure it’s smooth all the way around.
- Bake in the oven per the polymer clay package directions. Allow to cool before touching. Set aside.
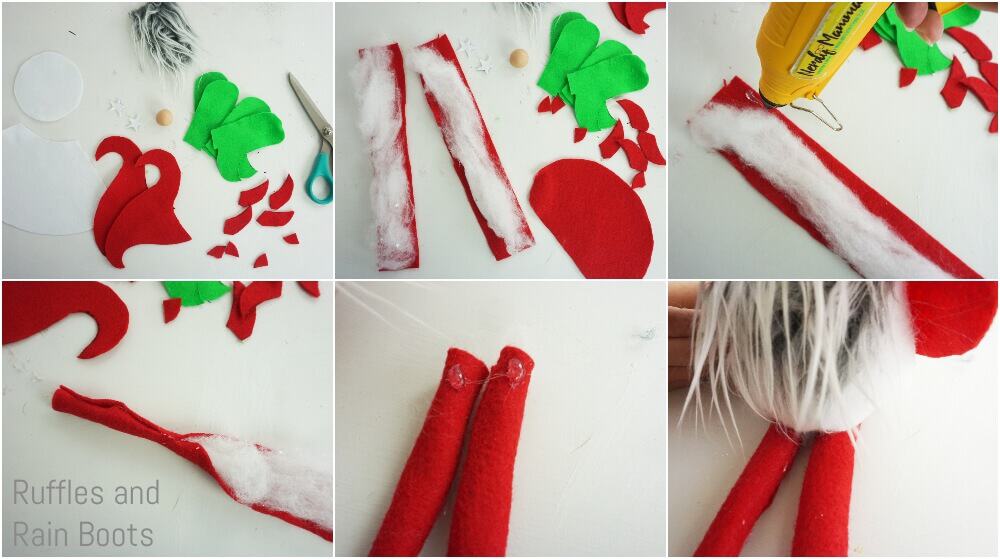
- Cut out the following: 1 body from Elfin Gnome Pattern from Gnome Makers in white felt, 1 circle base from Elfin Gnome Pattern from Gnome Makers in white felt, 1 beard from Elfin Gnome Pattern from Gnome Makers in Mongolian fur, 1 of each of the pieces of the hat from Gnome Cowboy Hat Pattern Printable in red felt, 4 boots from Gnome Cowboy Boot Pattern Printable in green felt, 6 stars from Gnome Cowboy Boot Pattern Printable in white felt, 4 of each of the other two shapes on the Gnome Cowboy Boot Pattern Printable in red felt, and 2 pieces of 3-inch wide red felt about 18-inches long (or longer for longer legs, or shorter for shorter legs).
- To assemble the gnome body: glue or sew the two straight-edges of the gnome body together, creating a large open cone. Attach the base to the wide opening of the gnome body piece cone. Turn this inside out and fill with rice. Fill the remaining area with polyfill.
- Attach the beard to top of the gnome body and attach the nose to the top of the beard.
- To assemble the gnome legs: place a small amount of polyfill in the center of each long piece of red felt. Attach the two long edges of each long piece of red felt together by rolling the felt, forming each leg.
- Attach legs to the body. I did this by putting hot glue on the tops of the legs and then setting the gnome body down where I wanted the legs to stick out.
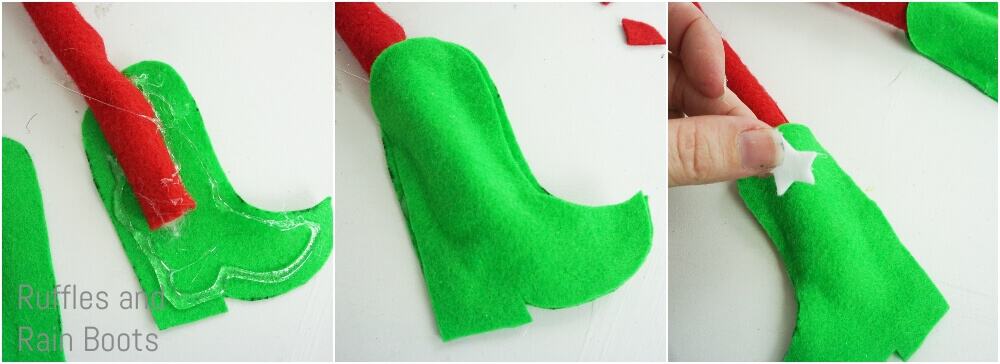
- To assemble the gnome cowboy boots: place one boot cutout under the bottom of each leg. Attach another boot cutout on top of each of the boot cutouts under the legs, sandwiching the leg between two boot cutouts.
- Attach a star to the top area of each side of each boot. Attach a red “heel” to the back of each side of each boot. Attach a red “tip” to the front of each side of each boot.
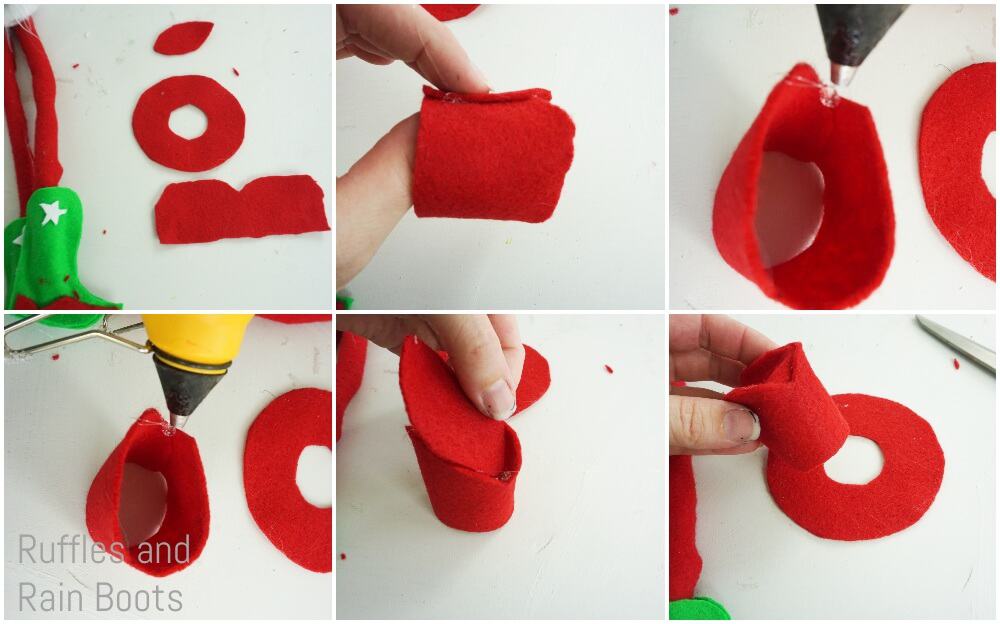
- To assemble the gnome cowboy hat: using the long, wavy-topped piece of red felt, attach the two short sides, forming a circle. Attach the diamond shape cutout to the circle on the wavy-side of the circle by gluing the two end tips into the lowest “v” points of the wave and then gluing the edges of the diamond to the edges of the wave on each side. Attach the open side of the circle to the donut hole on the remaining donut-shaped cutout.
- Place hat on the head of the gnome and shape as desired.
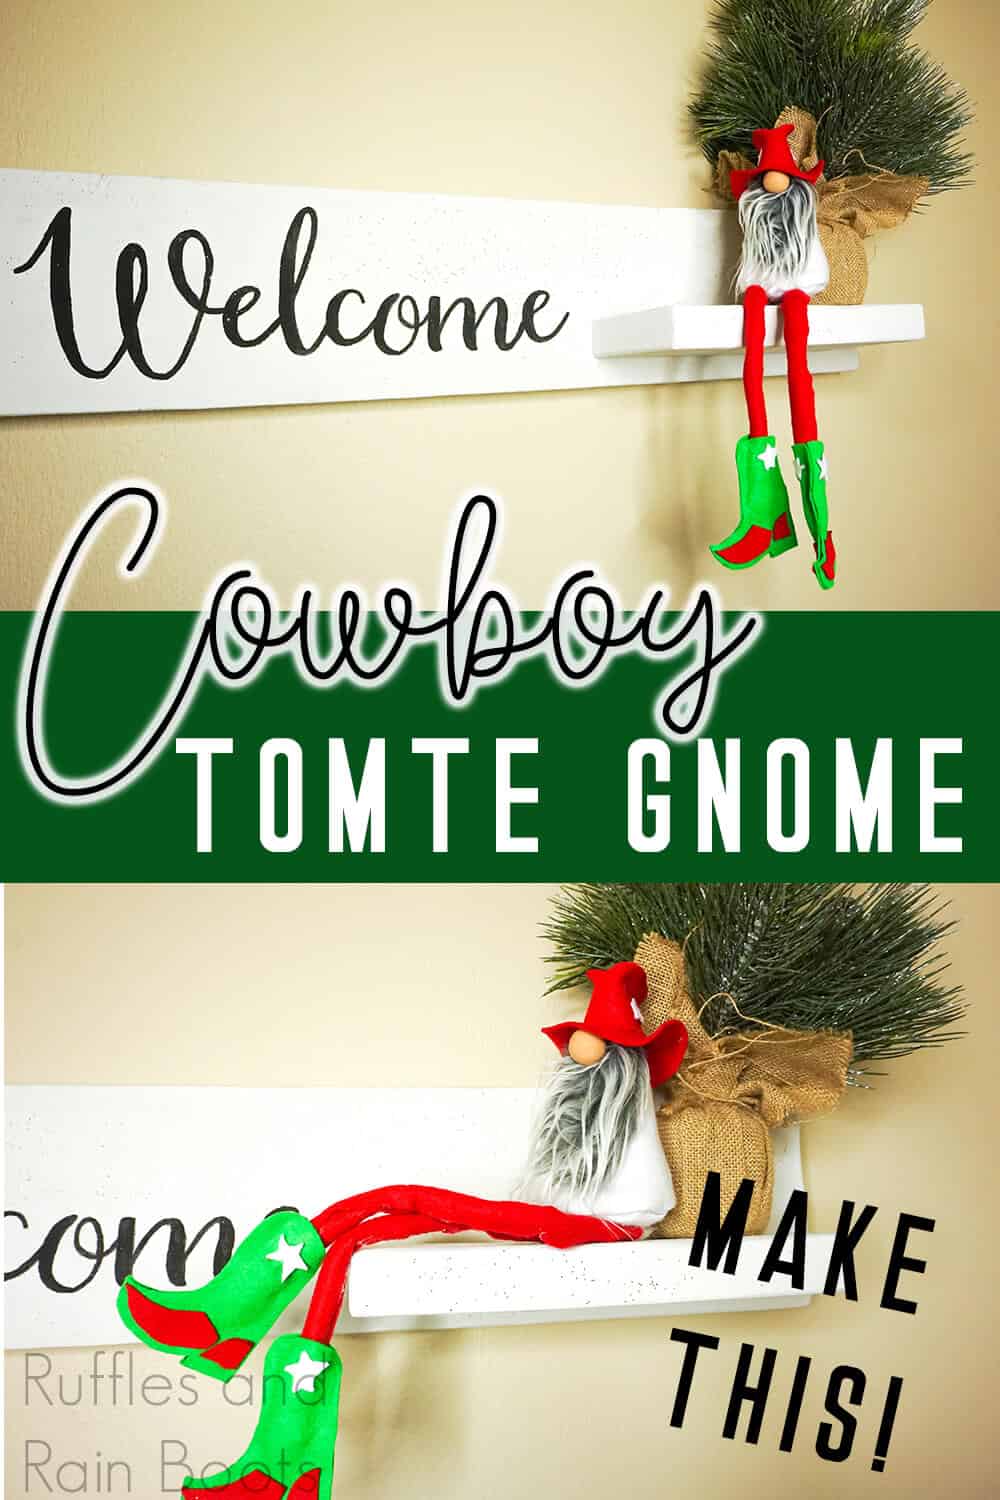
- To enjoy: Place on a mantle or on a beautiful “Welcome” sign with a shelf made for gnomes!
Notes
*Note: I had initially planned to use the hat that comes with the Elfin Gnome Pattern from Gnome Makers, but after making the legs and boots, I felt a cowboy hat was called for, so the in-process photos do have our gnome wearing the wrong hat.
For more fun gnome tutorials, visit RufflesandRainBoots.com
More Christmas DIY Ideas You Might Like
- Christmas Gnome Ornaments – Seriously one of the easiest DIY gnome tutorials that you will find. And the results are a stunning ornament you’ll be proud this is on your tree!
- All the Best Christmas Crafts and Food Ideas – So much fun to be had in this one post. And we update it frequently, so you need to bookmark this page, for sure!
- DIY Adorable Gnome Pillow – An awesome no-sew project that makes for the most adorable holiday decoration.
Please Save This to Pinterest
Your shares are how this site grows and I am sincerely grateful. Know a friend who’d like this? Please share it on Facebook or save it to your favorite Christmas DIY ideas board on Pinterest.


Everything about this is just incredible. This gnome totally has attitude! Love it!
Thank you so much for creating this pattern. I just had an order for my first cowboy gnome. This was perfect timing!!