Big Hero 6 Baymax Mickey Mouse Ears
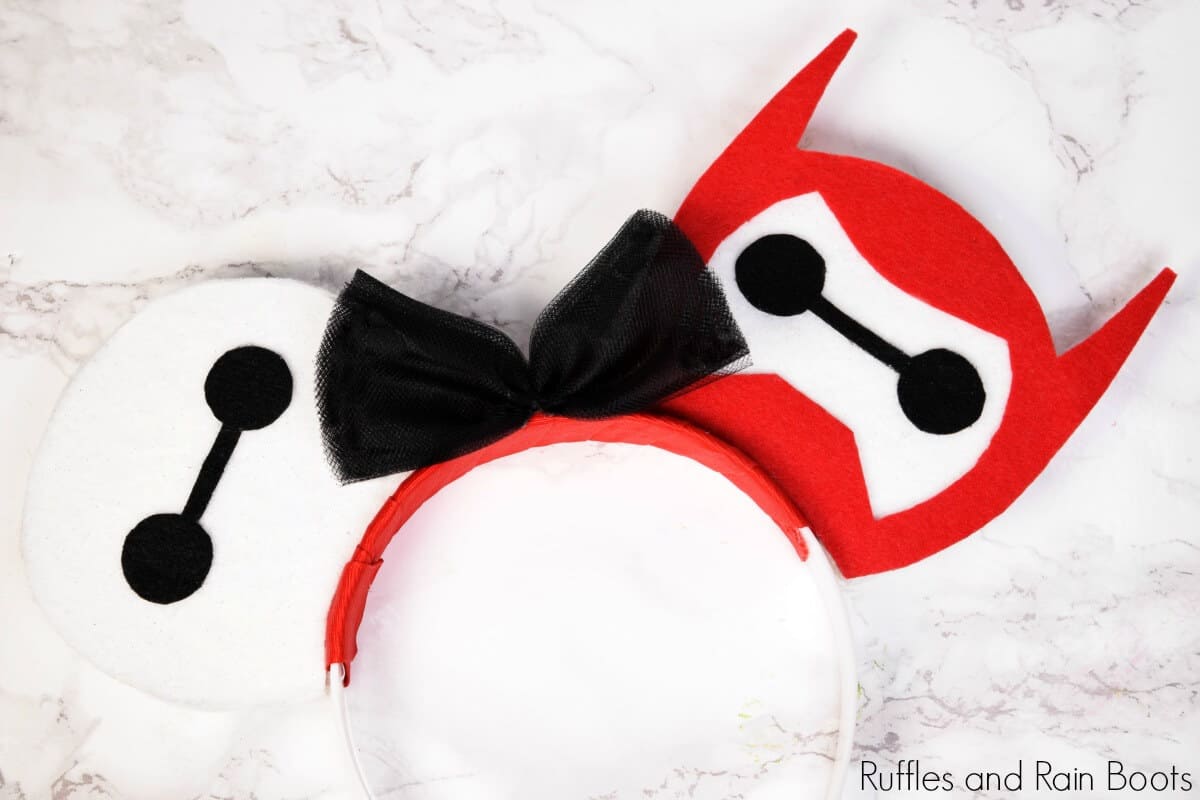
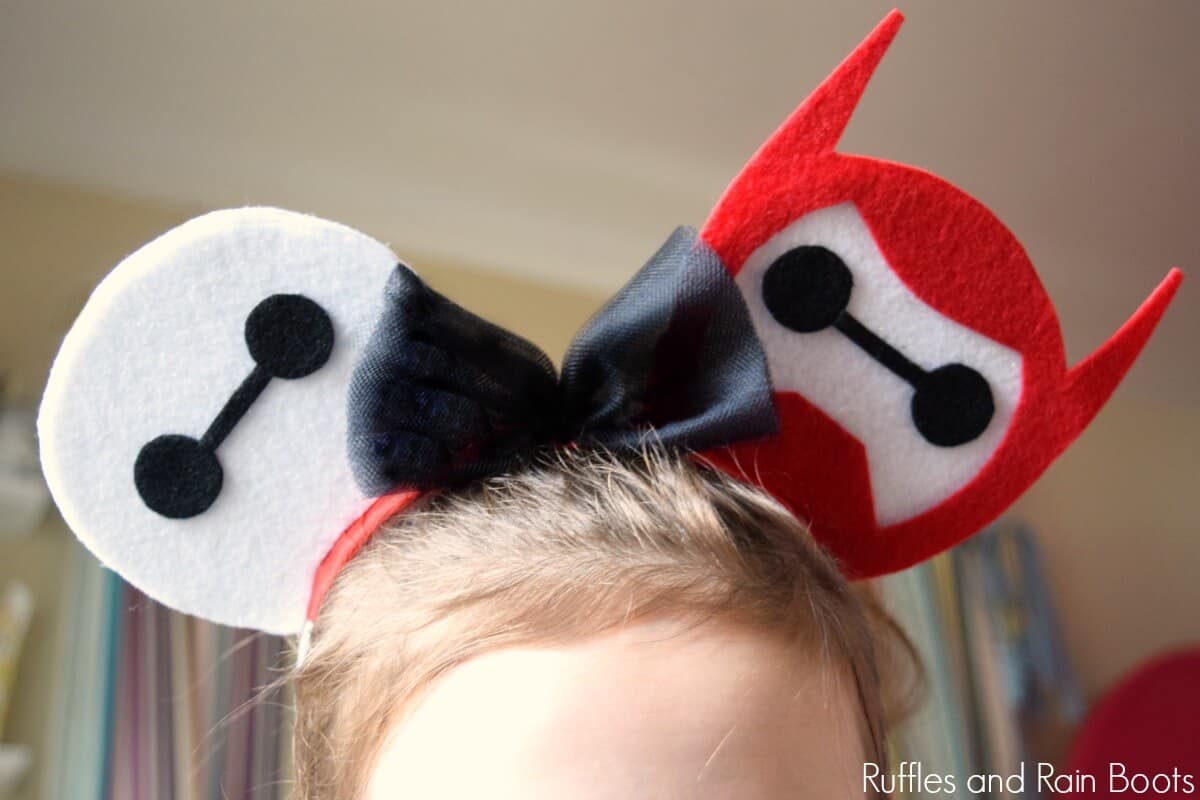
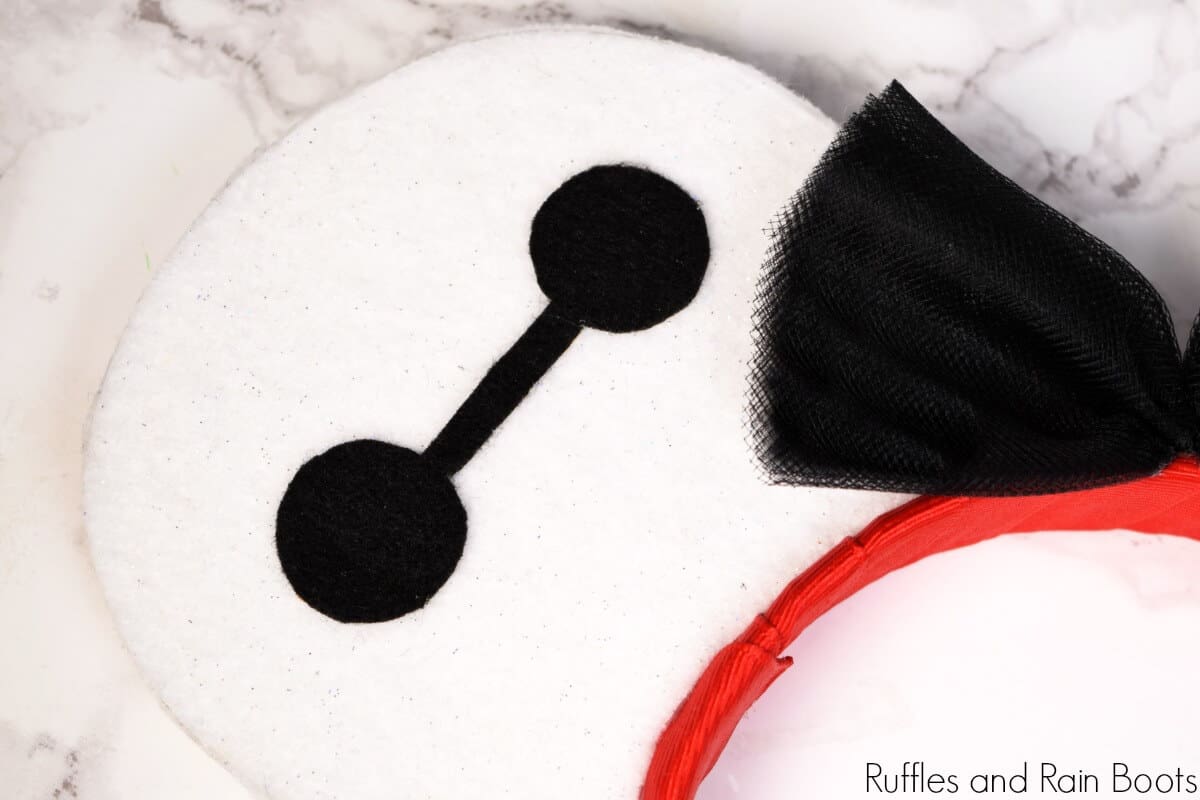
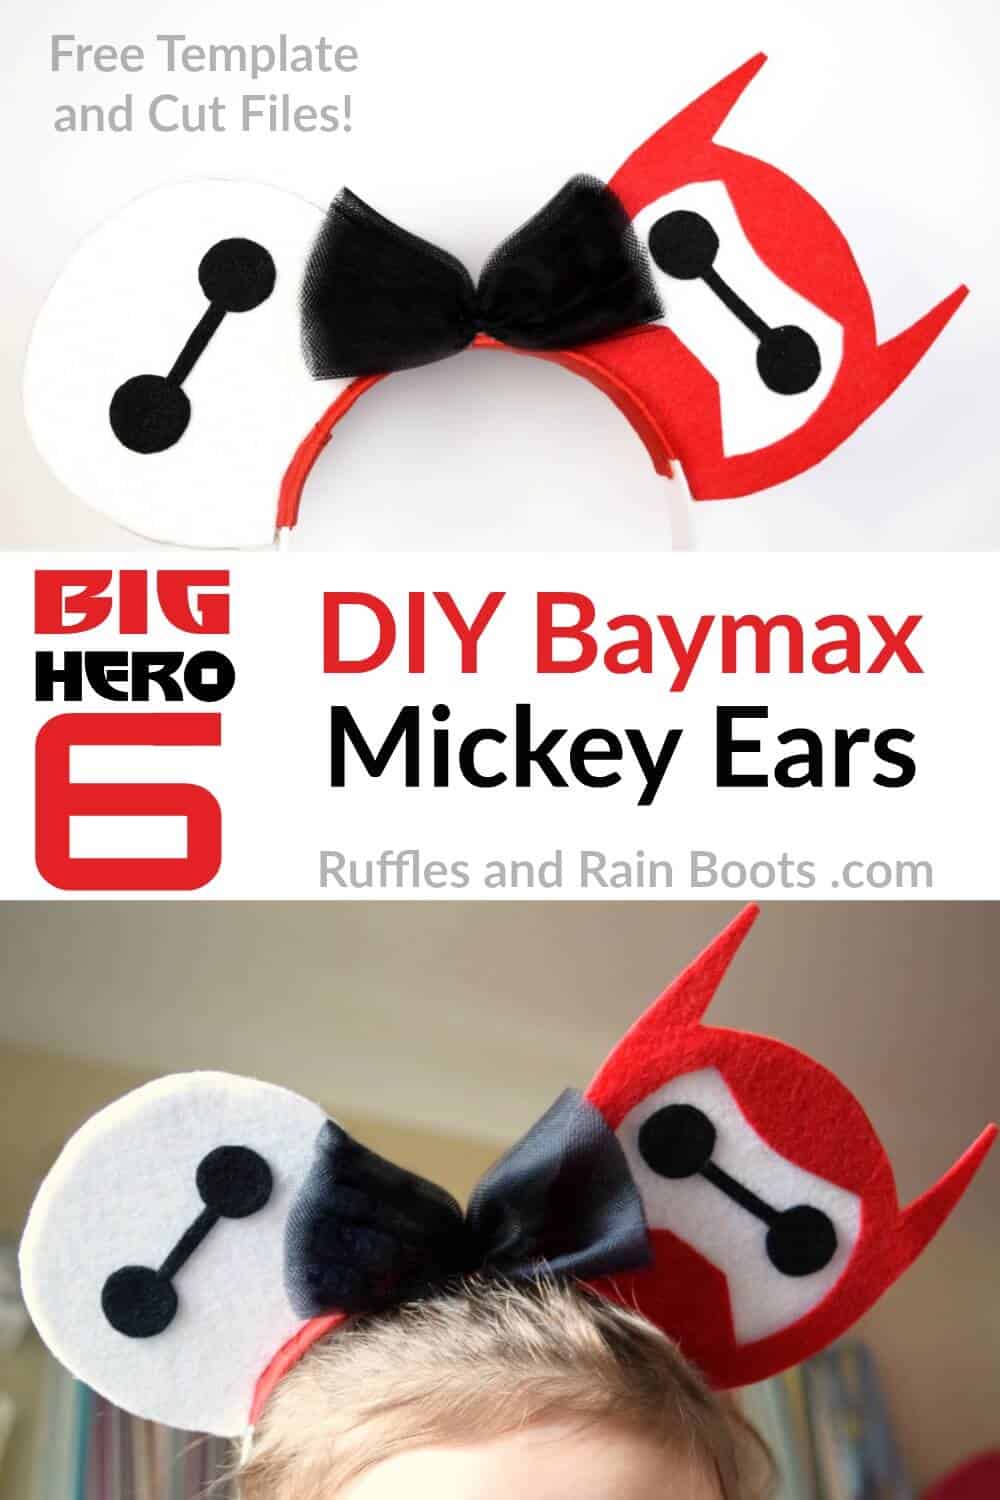
These Baymax Mickey Mouse ears come with free cut files and feature the friendliest fella from Disney’s, Big Hero 6 movie. Let’s make these fun DIY Mickey ears!
What You'll Find On This Page
Baymax Mickey Mouse Ears
Here at Ruffles and Rain Boots, I love to share fun Disney crafts. I’ve been making DIY Mickey Mouse ears for a while and this set of Baymax Mickey ears is put together like our Snow White Minnie ears. It’s easy, requires no-sewing, and is super fun to make.
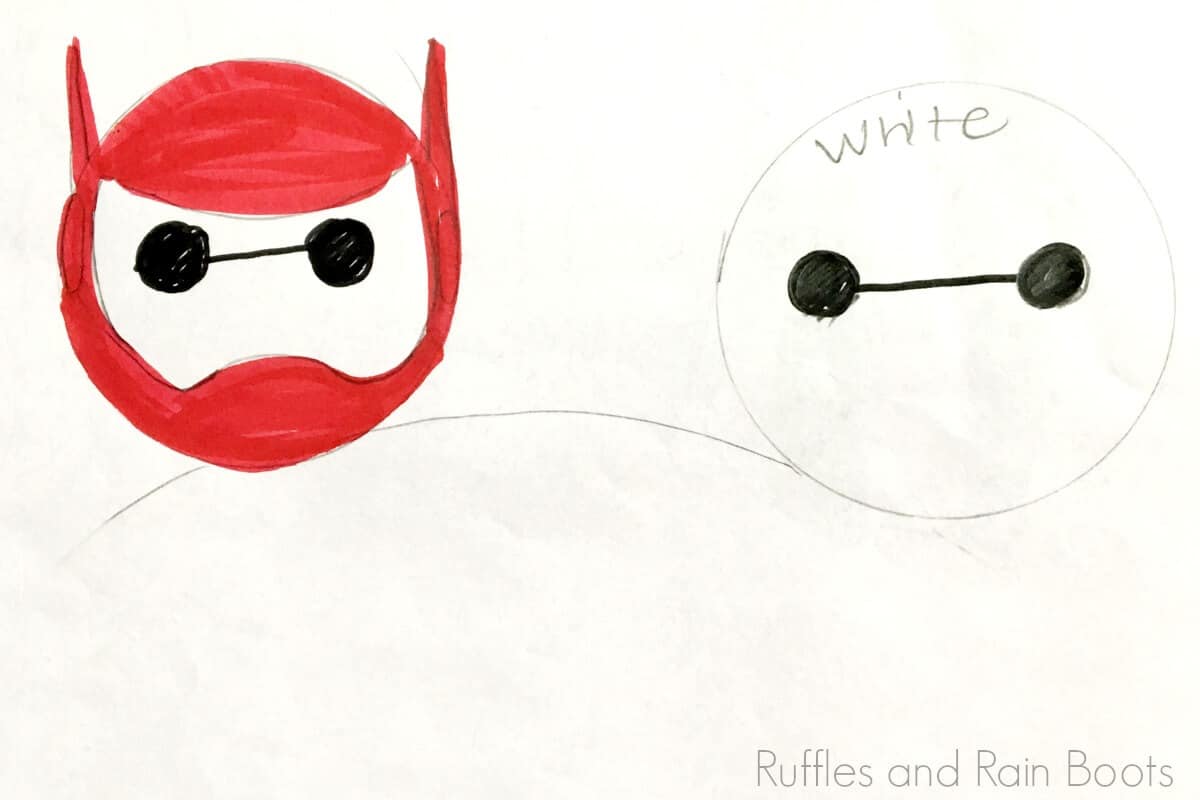
I sketch each and every design, no matter the style of mouse ears I’m making. The simplicity of this design is just what I envisioned. Okay, let’s get started.
No Time to Make Them Now? Pin This for Later
Pin this fun craft to your favorite Disney crafts board on Pinterest and join us when you do.
Tips for Making No-Sew Mouse Ear Headbands
TERMS OF USE: The digital files were created by me, Sarah Nenni-Daher, and are to be used for PERSONAL USE ONLY. Copyright is strictly enforced through the use of infraction agents.
- Use the hot glue sparingly so it doesn’t show through the felt. When you attach your complete ears to the headband, use a small amount of glue so that it doesn’t squirt out the side.
- Don’t press down on the felt when you hot glue it. Lesson learned: it will show through. Add a bit of glue and simply rest the felt on. It won’t show.
- If you see extra hot glue when you’re assembling these adorable Baymax Mickey ears, just wipe it away quickly. If it’s dried, use a razor blade to remove it – trust me, it works.
- I used tulle for the bow to join the two Baymax ears together, but use any bow you can find or make. A gray bow would look pretty great for this one, too.
RELATED READING: Get all the free Disney SVG files on Ruffles and Rain Boots here!
How Do I Get and Use the Templates?
Cricut, Silhouette, and Cutting Machine Users
If you have a Cricut or Silhouette machine which cuts felt (or bonded felt), this is going to take you no more than about 30 minutes. Scroll to the tutorial and download the free files. Size the ears (as a group) in the software to match your base and cut BUT do not cut the background as you’ll need to size that for the foam core ears you cut.
I have included both sets of Baymax SVG files but have also shared the EPS, DXF, and PNG files for use with machines other than Cricut.
For Those Without Cutting Machines (Hand Cut)
If you don’t have a Cricut or Silhouette machine and can’t use the Disney cut files, you can cut them by hand (everything you see here was hand-cut to make sure it could be done). Download the PNG files into a program (Word, Pages, PowerPoint, etc.) and size them down to your ears. Just like above, do not cut the background pieces until you’ve cut your foam core ears.
As an Amazon Associate, I could earn from qualifying purchases.
How Do I Make Baymax Mickey Ears?
I’m so glad you asked! Below is our written tutorial but PLEASE watch the full video. Here is the link to our Baymax Mickey ears video tutorial on YouTube.
Baymax Mickey Mouse Ears

Any Big Hero 6 fan would love to wear these Baymax Mickey Mouse ears. Click to get the free template for these no-sew Mickey ears to make your own set in about 30 mintues.
Materials
Untitled Group
- felt in white, red, and black
- black, 6-inch tulle roll
- plastic headband (I used these from Amazon)
- ribbon (to wrap the headband)
- foam core board
- Click here to get the Baymax Mickey Ears templates and cut files
Tools
- hot glue sticks and glue gun
- scissors or a cutting machine
- 4 inch bowl or compass
Instructions
Before we get started, I strongly urge you to watch the DIY Baymax Mickey Ears video tutorial here.
- Create the ears as instructed in the video tutorial. As a summary, use a compass or a 4-inch bowl and the headband to determine your exact size.
- Download the Baymax cut file templates and size to fit your ears. You can either cut each piece by hand or load the files into your cutting machine software. I have included SVG, PNG, DXF, and EPS files for you.
- Build the border first and back of the ears next as shown in the video. Do not attach the ears to the headband until the end, so you're working only on the spheres.
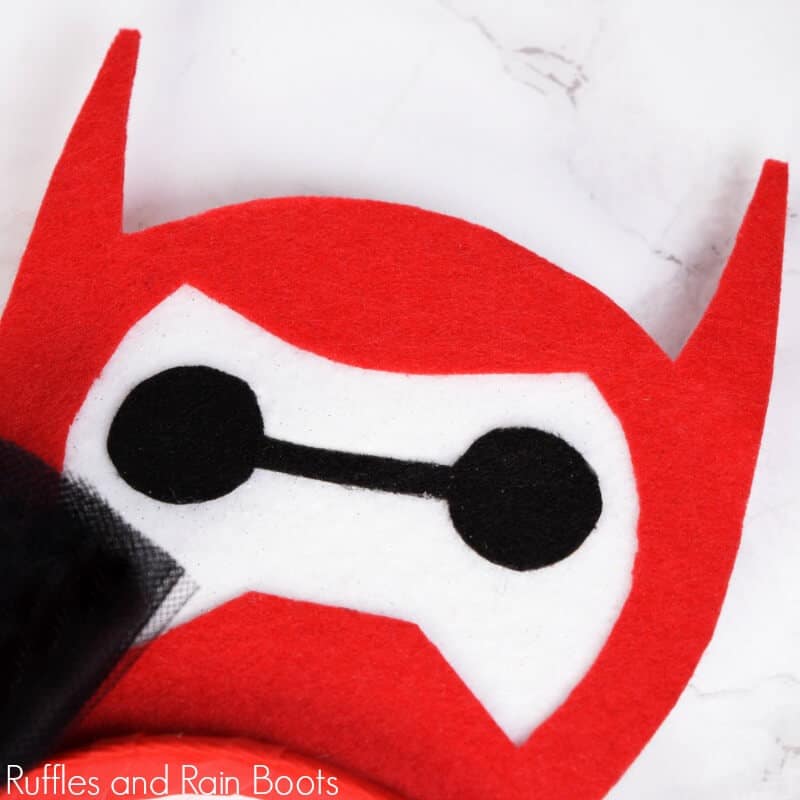
- For the front of the ears, layer the felt pieces starting with the bottom piece (white face). Position everything and then glue each piece down. Do not press the felt into the hot glue because it could show through.
- Wrap the headband in ribbon and attach the ears as shown in the tutorial. Finish off the ears by adding a bow (or leave it without one). Your Baymax Mickey Mouse ears are done and you'll be the envy of all Big Hero 6 fans!
Notes
For more fun DIY Mickey mouse ears, visit Ruffles and Rain Boots.
Need Inspiration and Crafty Fun?
I get it – inspiration is hard to come by sometimes. Sign up for the weekly Ruffles and Rain Boots newsletter and I’ll be sure to share fun crafts and food like this with you. No selling, no spammy garbage – just creativity delivered right to you.
Please Share This to Pinterest
Your shares are how this site grows and I am sincerely grateful. If you know someone who would love this, share it on Facebook or save it to your favorite Disney board Pinterest. Thank you!

