
Dollar Tree Graduation Money Gift Jar
It’s that time of year when grads are moving their tassels from the right to left and throwing those caps up into the air in celebration. With this thoughtful Dollar Tree graduation money gift jar, they will have a bit of cash to start their new endeavors.
Whenever the opportunity arises to spread love on a special occasion, it’s even better when it can be something unique. Why give the new graduate an engraved pen or graduation card when they can have a handful of cash to celebrate their special day?
RELATED READING: Commemorate the Day with a Graduation Gnome
What You'll Find On This Page
Easy Graduation Gift Idea
Here at Ruffles and Rain Boots, we love celebrating special occasions, especially when we can spoil the recipient with something fun and different. We thought this money jar gift was just what a new grad would want when they are graduating from school.
One of the nice points about this particular gift is that a group can come together to make the money jar fill up with bills for the fresh high-school or college grad in the family. This would give the grad a wonderful way to move into the next chapter of their life.
No Time to Make This Now? Save or Share
If you need time to gather up the supplies for this graduation money jar, save or share this to a grad gift idea pin board or share it on Facebook. Using the sharing buttons will make it easy when you are ready to begin your Dollar Tree DIY craft.
As an Amazon Associate, I could earn from qualifying purchases. There may be affiliate links within this article.
Tips for Making This Graduation Money Gift Idea
- Set an amount you want to have in the money jar and then you can decide if you want to be the sole giver of the gift or if you want to recruit others to pitch in for a larger amount. This is especially sweet if the grad already has a goal that would take a larger sum of cash.
- Ask the grad to give you a wish list for their graduation gifts. This will give you an idea of how much you will need to make their wish come true.
- In addition to placing rolled-up bills in the graduation money jar, you can also roll up gift certificates from a favorite store. You can even donate to a charity that is close to their heart and roll up the donation receipt.
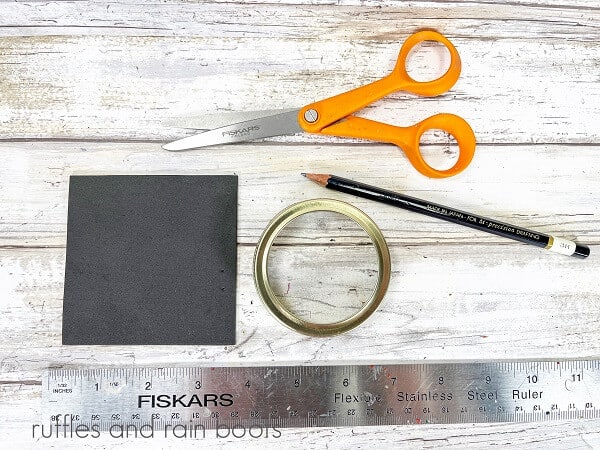
Supplies for a Money Jar for Grads
Below are the supplies I used to make a graduation money jar, but before heading out to the Dollar Tree, check your craft bin for what you may have on hand. If you plan to donate something other than cash, read our tips above for ideas on what to place in this easy-to-make gift jar.
- Pint Size Mason Jar
- Black Craft Foam
- Yellow Embroidery Floss Skein
- Black Button
- Glue Gun and Glue Sticks
- Scissors
- Ruler
- Pencil
- White Shredded Paper
How to Give Money to Grads
Each step for this DIY is detailed below so it’s easy to follow. Keep this page open while you are creating this graduation gift craft. If you would rather have a printable how-to, scroll down and select the print button.
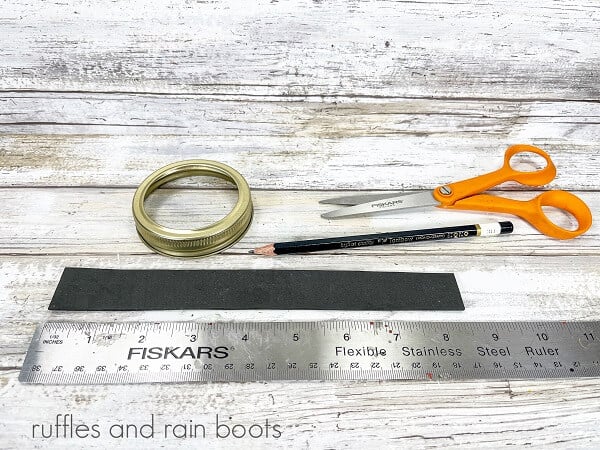
Using a ruler and scissors, measure and cut a rectangle of black craft foam that is .75 inches wide and 9 inches long.
Measure and cut a square of black craft foam that will be 3.75 inches by 3.75 inches.
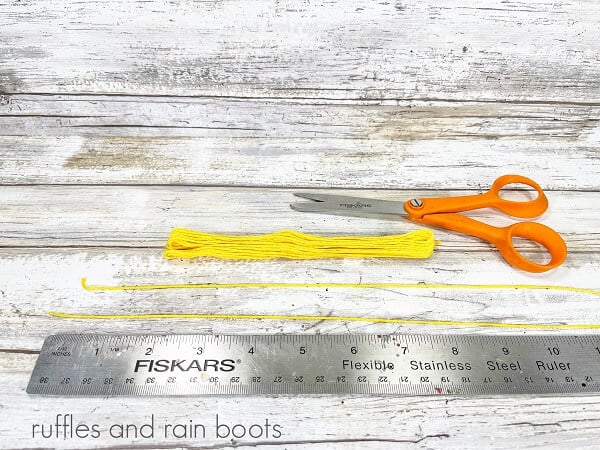
Measure and cut four, 12-inch individual lengths of the yellow embroidery floss.
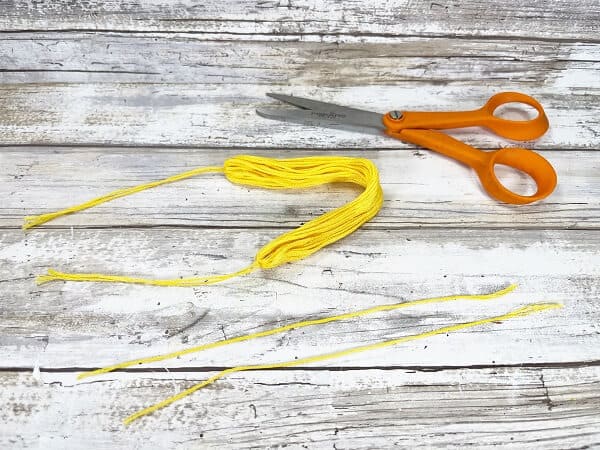
Open the middle of the skein of embroidery floss and run one of the 12-inch lengths through and then around one end of the skein. Tie a small knot to secure. Repeat on the other end.
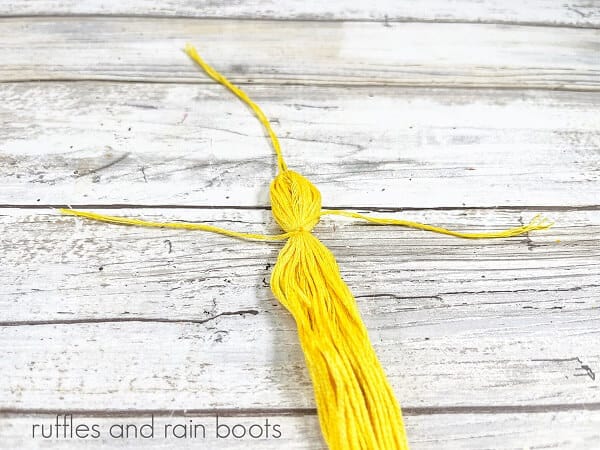
Measure down .75 of an inch from the end where you tied the knot. Tie and knot a length of embroidery floss around the skein. Wrap each end around the skein three times. Secure again with a knot. Repeat on the opposite end of the skein.

Using scissors, cut the middle of the skein and trim any uneven pieces. This will be the tassel for the graduation cap.
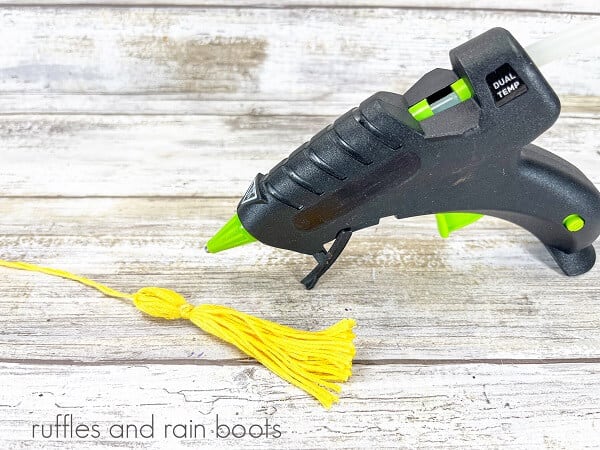
Using a hot glue gun, secure the knots with a small amount of glue.
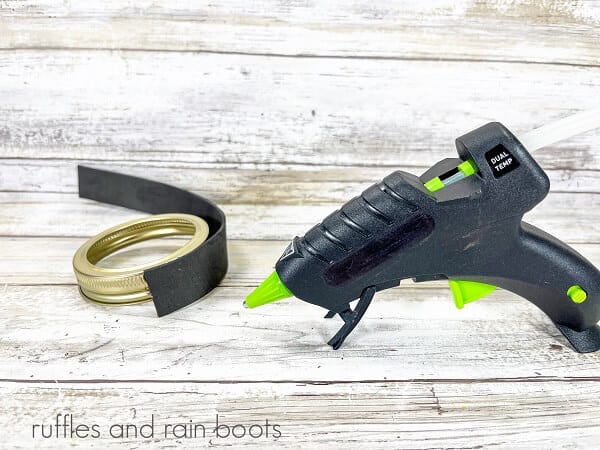
Using a hot glue gun, attach the rectangle of craft foam along the edge of the mason jar lid, gluing along the edge as you go. Secure the ends with a bit of additional glue to keep them secure when screwing the lid onto the jar.
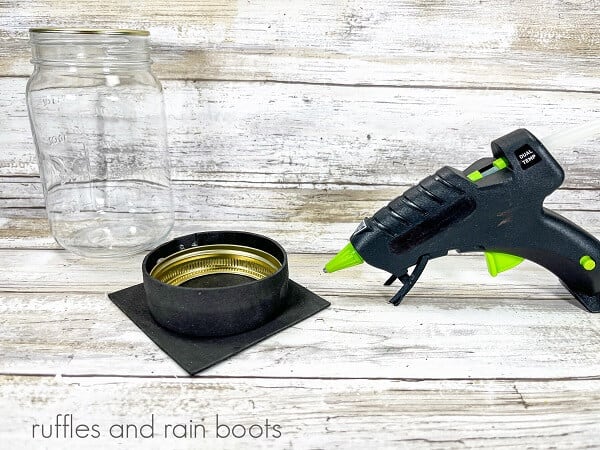
Place the mason jar ring in the middle of the craft foam square. Glue the square to the mason jar lid, making the graduation cap.
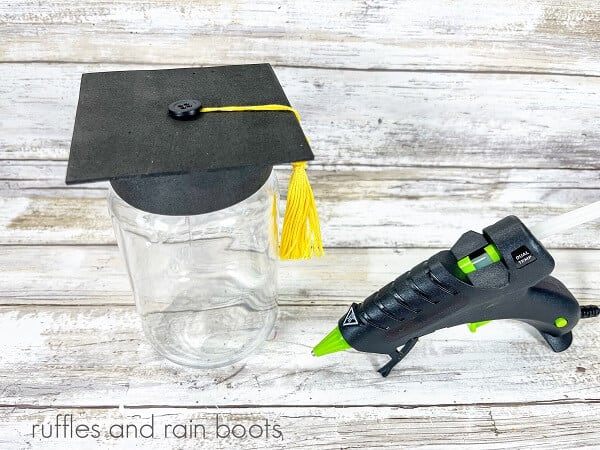
Screw the lid onto the mason jar. Attach a tassel to the center of the grad cap top with a glue gun. Cover the cut end with the black button, gluing it in place.
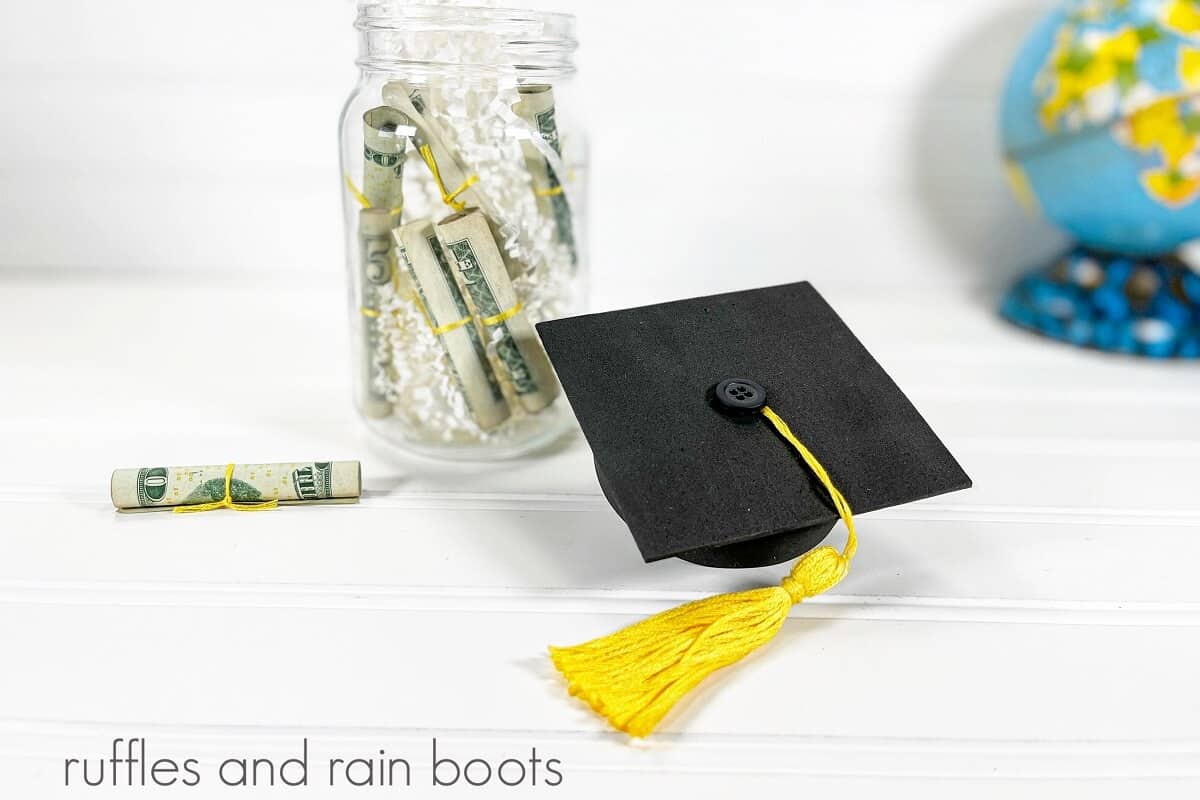
Make mini diplomas by rolling dollar bills and securing them with small pieces of yellow embroidery floss. Add to the graduation cap mason jar along with the white shredded paper.
Notes on Making This Graduation Mason Jar Craft Idea
- If you are planning on including gift cards in the graduation money jar, make sure you have a wide-mouth mason jar so they will easily fit into the jar. To see if a gift card will fit, try to slide your debit or credit card into the opening. They are about the same size as a gift card from most stores.
- In addition to rolled-up bills for the money jar, you can also add a few rolls of dimes or quarters. If your grad is going off to college or moving into their own place, they will appreciate the change come laundry day.
- If you don’t have a mason jar on hand, you can use a food condiment jar like a clean mayo container. Just adjust the measurements for the rectangle of black foam around the lid and for the square for the top.
More School-Themed Crafts and Recipes You May Enjoy
- DIY Graduation Gnome- This adorable gnome makes the perfect gift for the school graduation for the grad in your life. He is as easy to make as he is cute.
- Easy DIY Teacher Appreciation Mug – This easy Cricut mug craft is a cute and memorable gift for the kid’s favorite teacher, either for back-to-school or for the end of the year.
- Easy Apple Cupcakes– These apple cupcakes are ridiculously easy to make but will make a lasting impression on teachers, students, and faculty.
Please Save or Share
Your shares are how this site grows and I sincerely appreciate it. Please save this gift DIY to your favorite craft pin board or share it on Facebook.

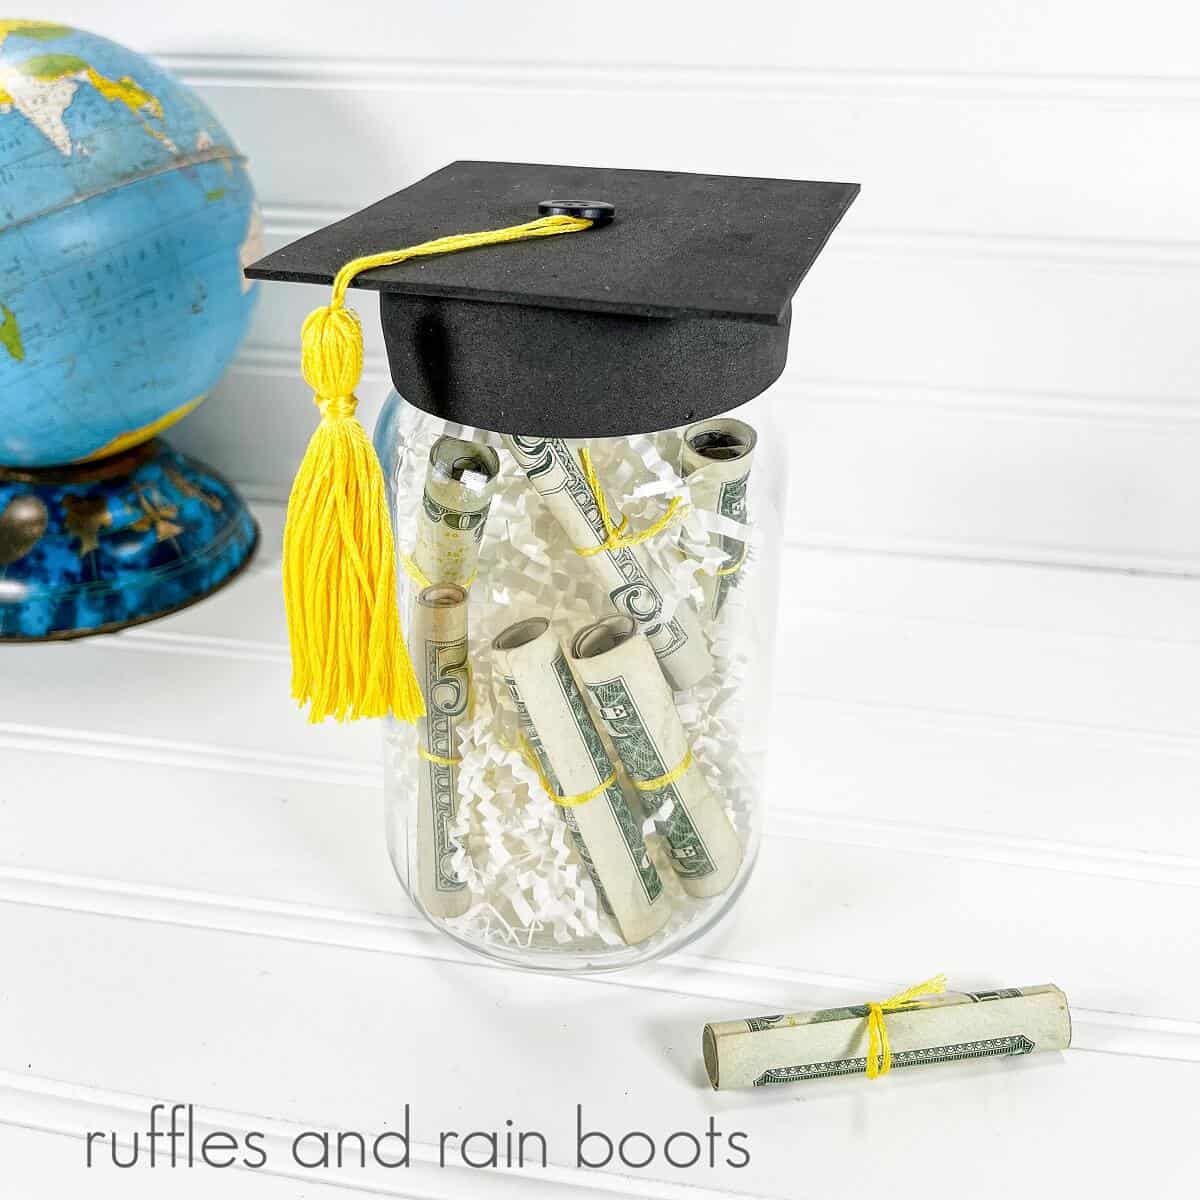
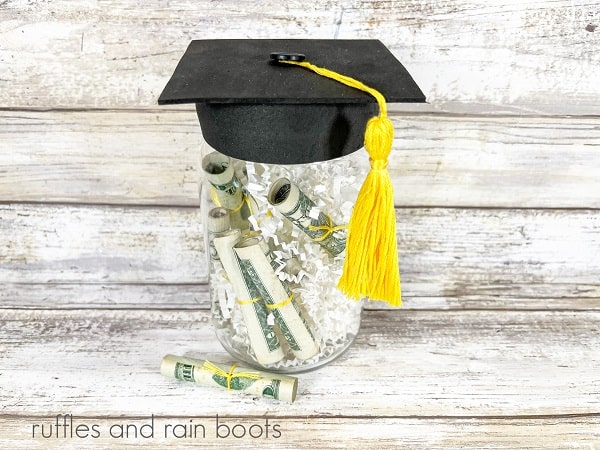
Graduation Cap Money Jar Craft

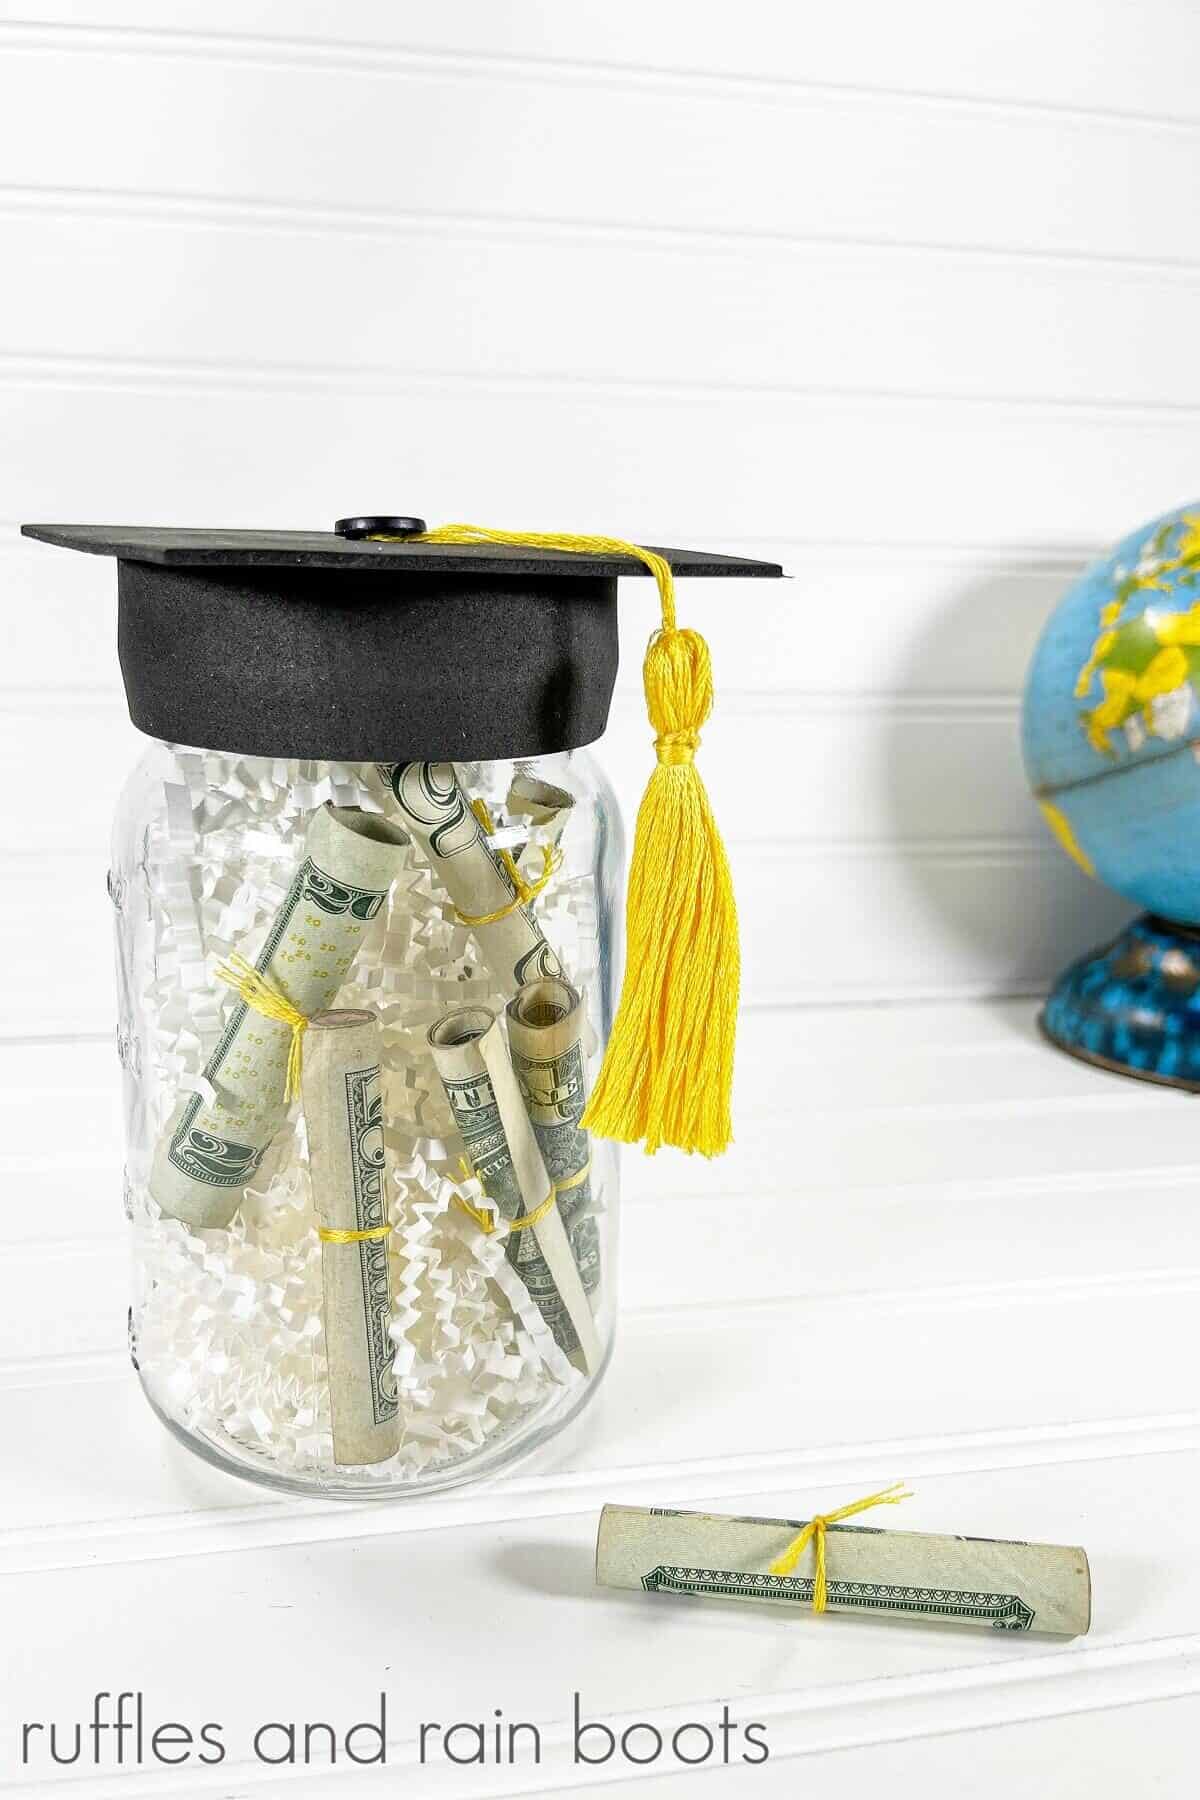
This easy to make graduation cap money jar craft is the perfect gift for the graduate in your life. It is thoughtful, practical, and so much fun to make. You need are a handful of simple supplies from the Dollar Tree and your own craft bin to complete this adorable gift. We used a mason jar, craft foam, embroidery floss, a button, and a hot glue gun to put it all together. This gift jar could be a new graduation tradition in your home.
Materials
- Pint Size Mason Jar
- Black Craft Foam
- Yellow Embroidery Floss Skein
- Black Button
- White Shredded Paper
Tools
- Scissors
- Ruler
- Pencil
- Hot glue gun and glue sticks
Instructions
- Using a ruler and scissors, measure and cut a rectangle of black craft foam .that is 75 inches wide and 9 inches long.
- Measure and cut a square of black craft foam that is 3.75 inches by 3.75 inches.
- Measure and cut four, 12-inch lengths of embroidery floss.
- Open the middle of the skein of embroidery floss and run one of the 12-inch lengths through and then around one end of the skein. Tie in a small knot to secure. Repeat on the other end.
- Measure down .75 of an inch from the end where you tied the knot. Tie and knot a length of embroidery floss around the skein. Wrap each end around the skein three times. Secure again with a knot. Repeat on the opposite end of the skein.
- Using scissors, cut the middle of the skein and trim any uneven pieces. This will be the tassel for the graduation cap.
- Using a hot glue gun, secure the knots with a small amount of glue.
- Using a hot glue gun, attach the rectangle of craft foam along the edge of the mason jar lid, gluing along the edge as you go. Secure the ends with a bit of
additional glue to keep them secure when screwing the lid onto the jar. - Place the mason jar ring in the middle of the craft foam square. Glue the square to the mason jar lid, making the graduation cap.
- Screw the lid onto the mason jar. Attach a tassel to the center of the grad cap top with a glue gun. Cover the cut end with the black button, gluing it in place.
- Make mini diplomas by rolling dollar bills and securing them with small pieces of yellow embroidery floss. Add to the money jar along with the white shredded paper.
