Rock Painting 101: How to Fix Mistakes Rock Painting
Learn how to fix rock painting mistakes and correct drawing, painting, and sealant problems. Let’s get started and fix any blips with painted stones.
What You'll Find On This Page
How to Fix Mistakes When Rock Painting
We’ve all been there. After an hour of getting something juuust right, we run our hair through it, bump it with a brush, or our 6-year-old tosses it into the lava pit she’s created in the living room.
Wait. Is that last one just me?
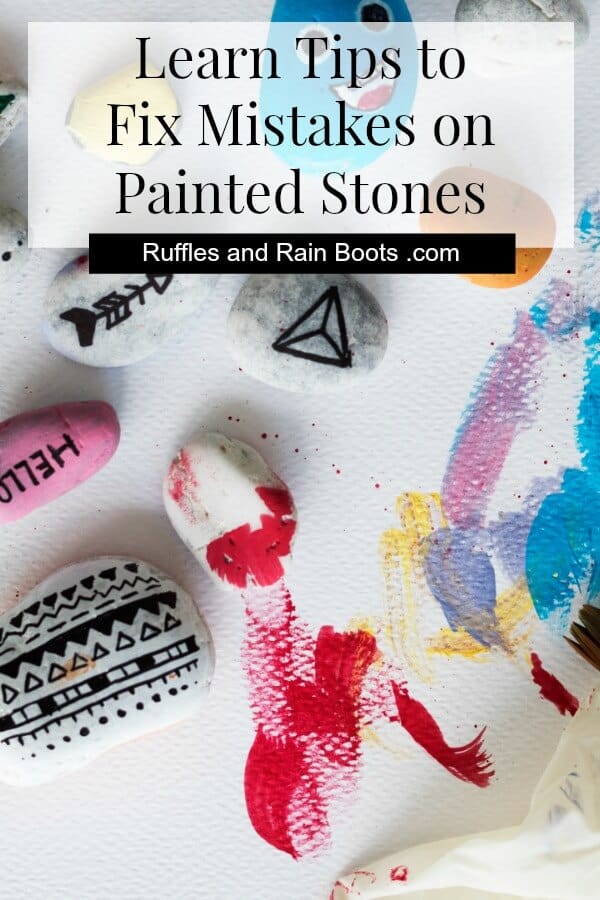
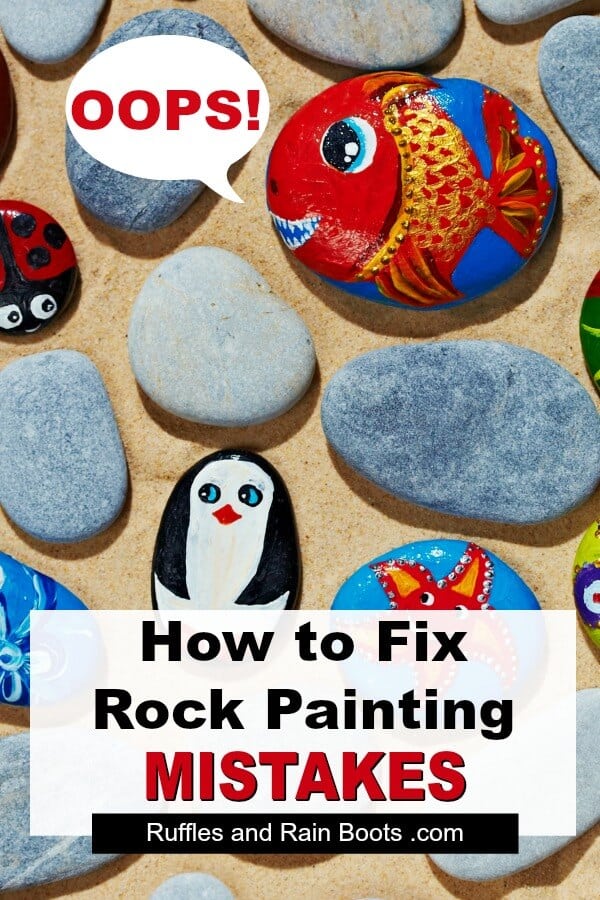
Rock painting mistakes will happen. I’ll say it again – mistakes when painting stones will happen. Rock painting mistakes, however, aren’t necessarily permanent. Let’s talk about what we can do to prevent and fix rock painting mistakes.
Mistakes When Drawing on Rocks
Tips for Drawing on Rocks – Prevent Drawing Mistakes
- Choose rocks to fit the project. If you’re just starting or have intricate designs and details to paint, always find smooth rocks. Read: Where to Find Rocks to Paint.
- Always outline a complicated design with a pencil (you can use graphite paper to transfer designs, as well).
- Never try to hand letter rocks. Instead, build the letters like this.
- Erase the outline slightly in order to cover it completely, no matter the paint color.
- Don’t strive for perfection, strive for progress.
Fix Drawing Mistakes
- If you’ve outlined in a paint pen and make a mistake, you have options.
- Paint the insides of the outline, enlarging it just slightly to cover the outline. Then, outline the edge of the painted sections.
- Try the paint mistake removal tips below.
- Paint the base layer again. If nothing works to remove the outline, consider painting the rock the color of the outline. You can use it on another project. Been there.
- Rough rocks are common. If you cannot draw because of the divots or rough pattern of a rock, you can:
- Paint a base layer with a heavy gesso paint primer.
- Sand the rock. I’ve done it with soft rocks (rainforest pebbles, for example) and it works!
- Use wood filler. Full disclosure: that just seems like so much work so I’ve never tried it. ;)
RELATED READING: Disney’s Stitch from Lilo and Stitch Rock Painting
Rock Painting Mistakes
Tips for Painting Rocks – Prevent Rock Painting Mistakes
- Try many types of paint, pens, and markers. They will react differently to different rock types (porous, smooth, sealed, etc.). You’ll love some and hate others. Read about our favorite rock painting supplies.
- Don’t limit yourself to pens, markers, and brushes. Sometimes, a toothpick or even your finger is a great tool.
- Don’t count on layering. Sometimes, water-based pens and markers don’t allow for another layer.
- Experimenting is fun and a great way to learn. Doodle before you work on a “finished project.”
Fix Rock Painting Mistakes
- Wipe the paint off immediately with a slightly damp (with water) cloth.
- Let it dry completely and scrape it off.
- Use nail polish remover. On a cotton swab, place a small amount of nail polish remover and gently rub away the paint.
- Use a paint eraser:
- They exist on Amazon. It works on wet or damp paint but I’ve only made a mess with dried paint.
- You can also *try* making your own using a bit of soft, unbaked polymer clay. No guarantees – it worked for me on white paint but not on red.
- If the paint is dry, try Dawn dish soap on a slightly damp paper towel. Surprisingly, it worked!
- If the rock is bare and you made a paint mistake, try to sand it off. Sometimes it works, sometimes it makes the area worse. I find this works best on smooth, light-colored or soft dimpled rocks.
- Sometimes, Goof Off can remove paint. It smells awful but it’s a staple in my craft cabinet.
- Repaint the base layer of the rock to the color which cannot be removed. Simple and works if the mistake happens early.
RELATED READING: Camping Story Stones – Rock Painting Gifts for Kids
How to Seal Painted Stones
Tips to Seal Painted Rocks – Prevent Sealant Problems
- Let. The. Paint. Dry. Completely. Sometimes, this is 24 hours. Others, it 3 days.
- Try many types of sealants (wipe-on polyurethane, spray sealants, etc.). Test how each sealant works with your favorite products.
- Read the instructions indicated on the container. Adding a “heavy coat” is not a good idea when the product says it isn’t.
- Cover water-based pens, paint, and markers with a water-friendly sealant like ModPodge (a very thin layer, single swipe, let dry).
- You will mess up something at least once. Breathe, learn from it, and start again.
How to Fix Sealant Mistakes
- If you put sealant on when the paint was still wet, put a bit of water on a paper towel wrapped around a brush and lightly run it over the area. Sometimes, it will remove an affected area for you to seal again. Sometimes it will remove the paint.
- If you realize a mistake after the sealant has dried, try a cotton swab with a VERY small amount of nail polish remover. NOTE: this will take off paint and base-layer paint, as well, so tread lightly.
- Use your finger. You’d be surprised how well this works when the sealant is wet.
- Scrape it off. Sometimes, a sealant will crack and can be removed with a sharp tool or small metal spatula. It’s slow-going, but it works.
RELATED READING: Make This Fun Unicorn Rock Painting Idea – Great for Hiding!
Over to You
What are some rock painting mistakes you’ve learned to fix? Or, are you here with your very own rock painting problem? Let us know in the comments.
Please Share This to Your Facebook Rock Painting Group
Your shares are how we grow and we are sincerely thankful.


Another way to fix many mistakes is to use baby wipes. I couldn’t work without them. They also remove paint from your hands easily.