
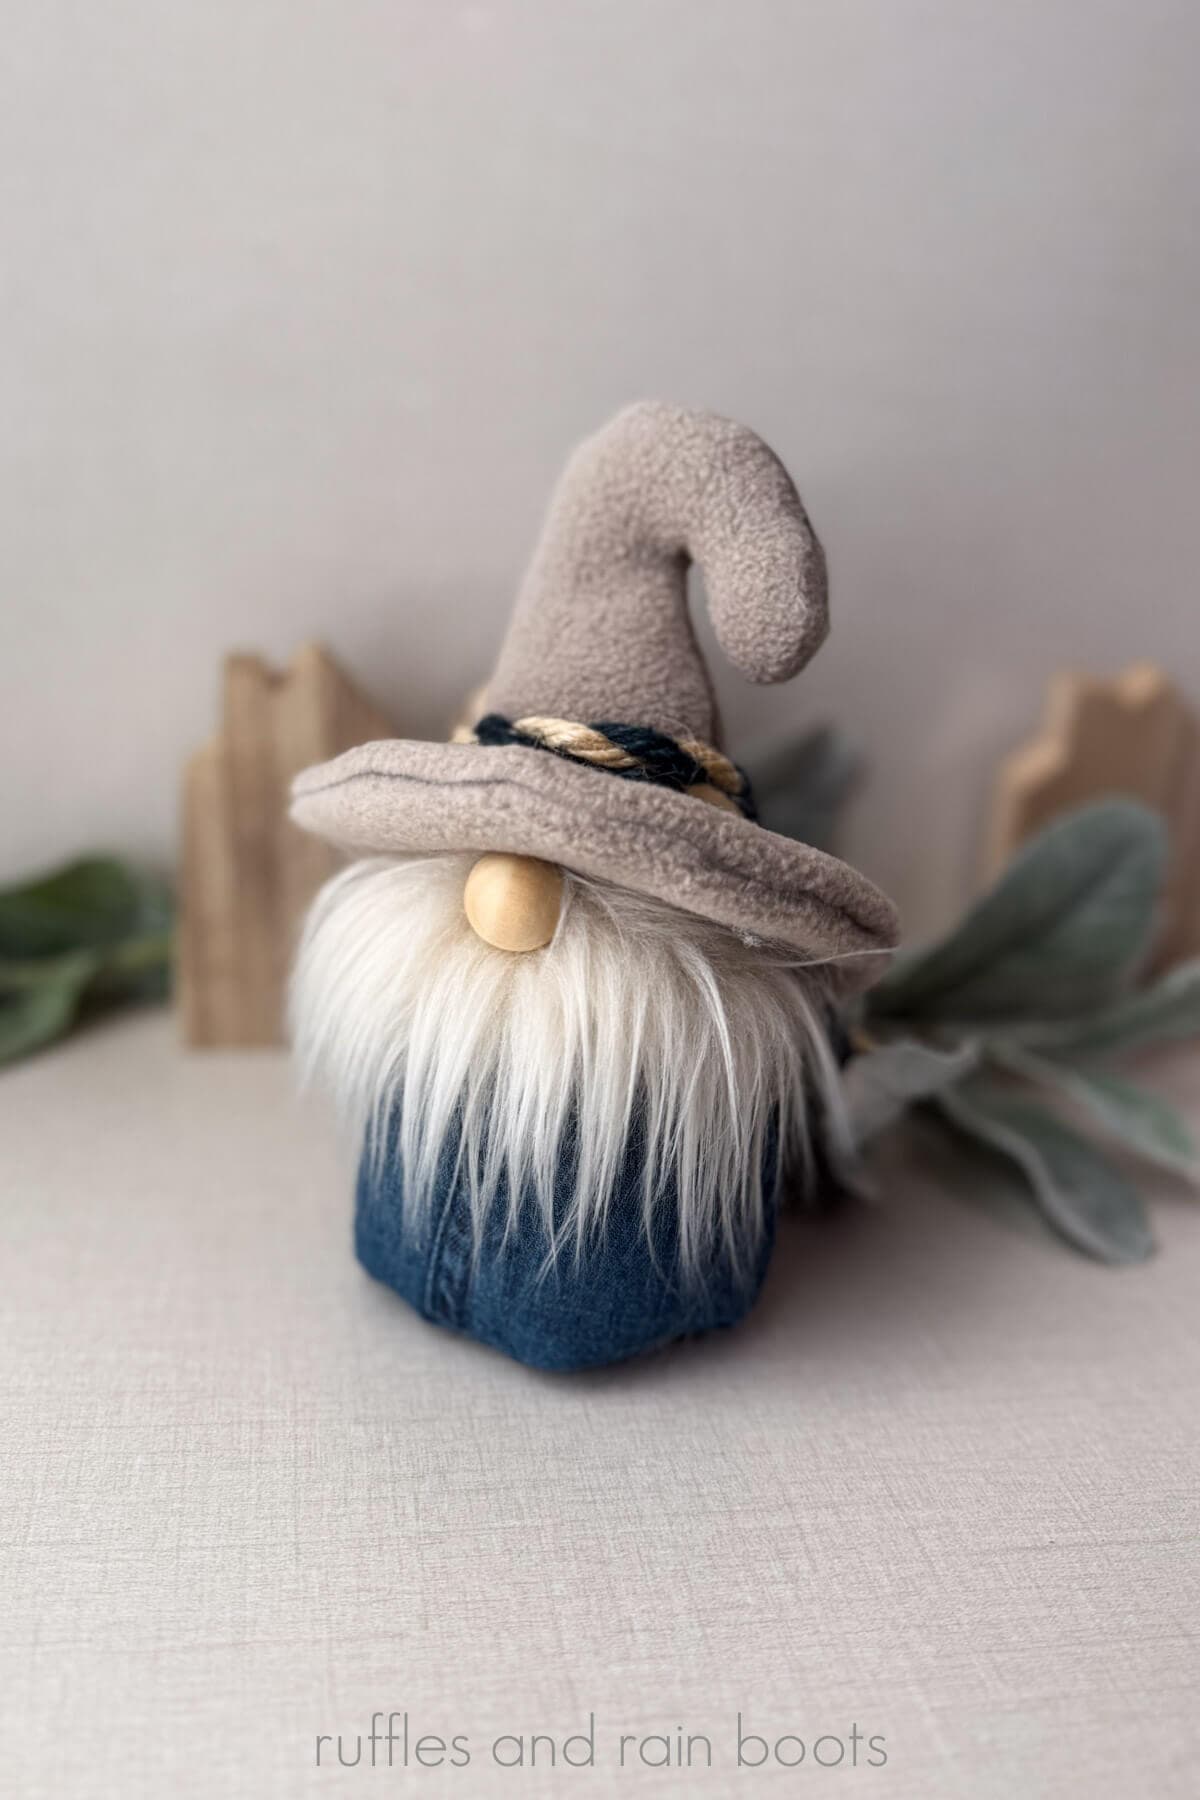
DIY Nautical Gnome
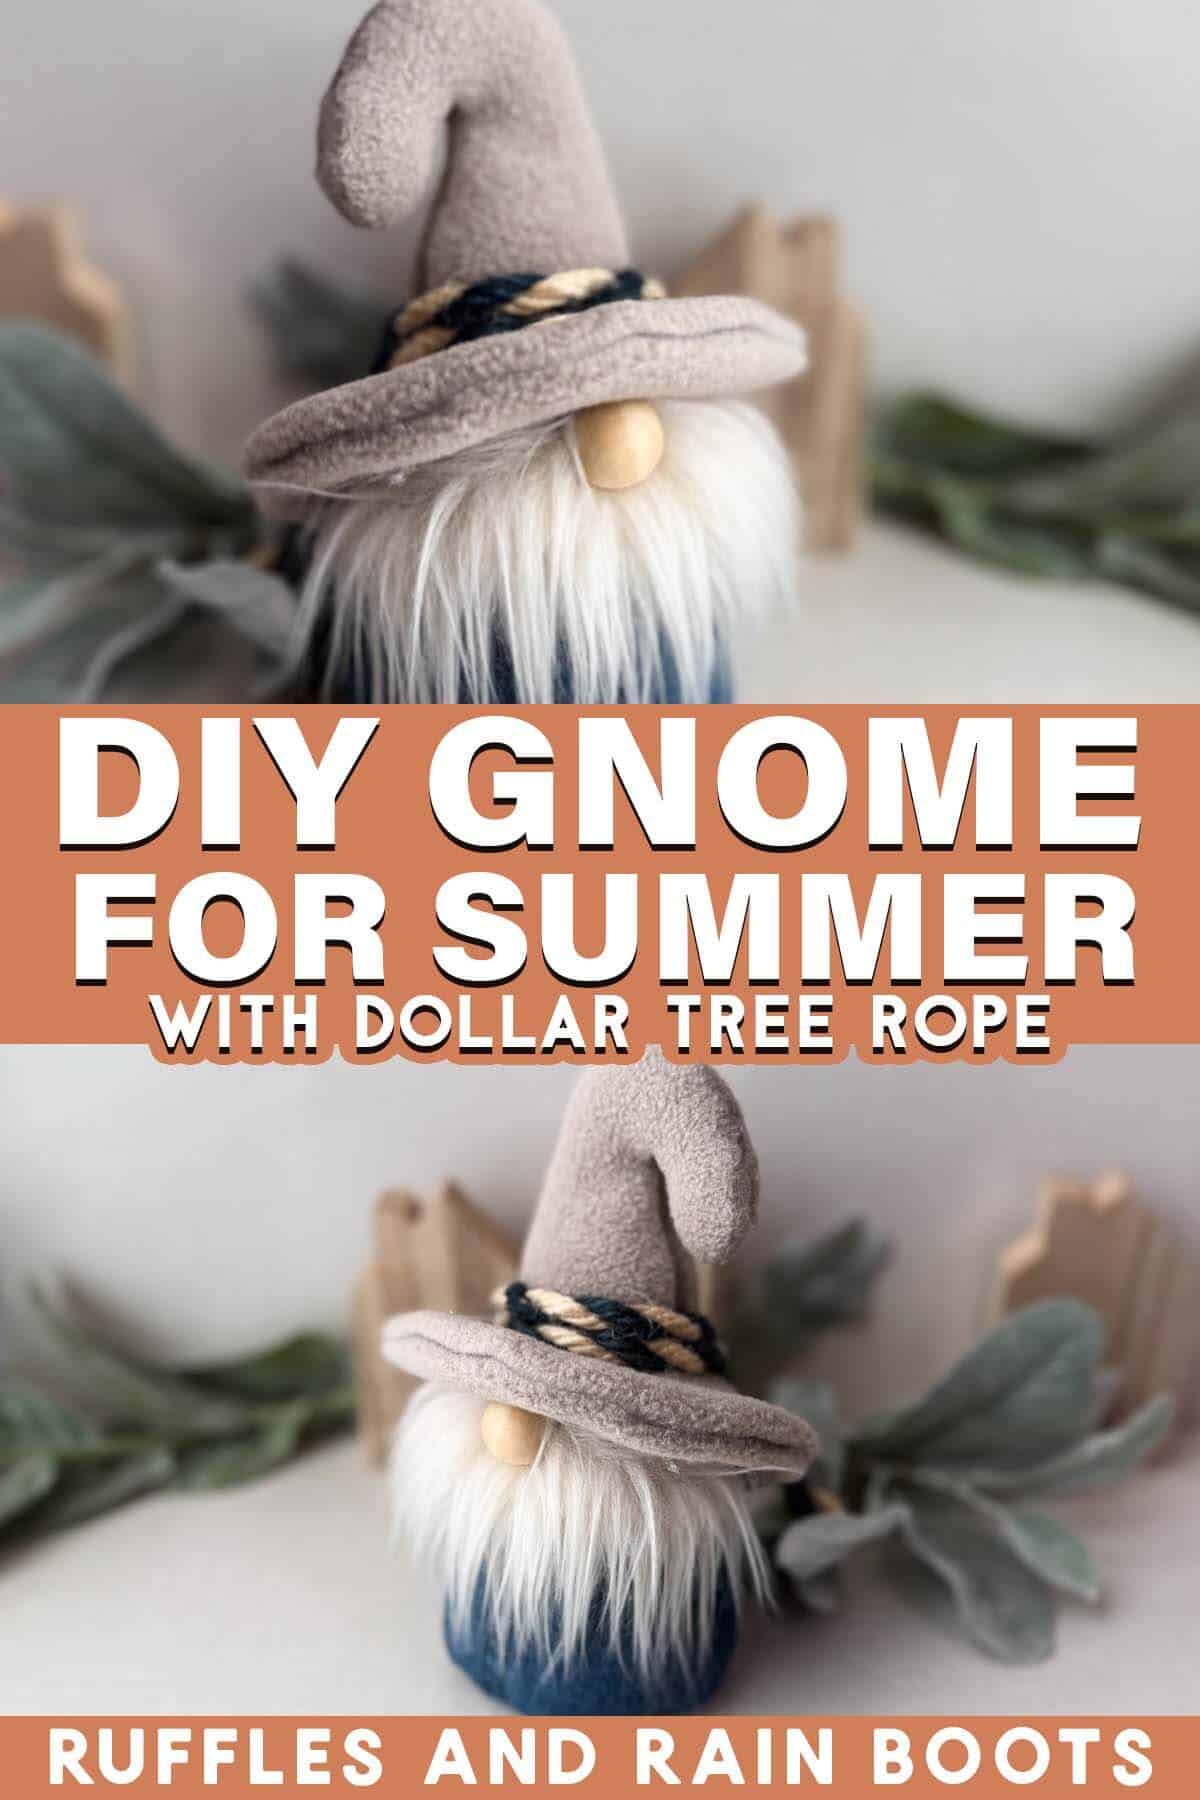
This DIY nautical gnome was inspired by some denim and Dollar Tree rope. In this tutorial, I’ll show you how to modify a gnome pattern to account for a non-stretchy fabric.

RELATED READING:
What You'll Find On This Page
Treasure Gnome Pattern with Hook Hat
Here at Ruffles and Rain Boots, I’ve been working through my extensive fabric hoard collection. When I received a reader’s question regarding altering a pattern for a fabric with zero stretch, this little summer gnome was born.
As an Amazon Associate, I could earn from qualifying purchases. There could be affiliate links within this article.
What You Will Need for This Gnome Project
Below are the materials I used for this cute summer gnome. You can find helpful links below – be sure to check out those acrylic pattern pieces (they make everything so much easier).
- Treasure Gnome Pattern
- Treasure Gnome Pattern Acrylic Pattern Pieces, optional
- Fleece
- Non-Stretchy Fabric (I used a denim shirt from the thrift store)
- Faux Fur
- Gnome Nose (I used a 3/4 inch wood ball)
- Weight (I used Poly Pellets)
- Poly-Fil Stuffing
- Hot Glue Gun and Glue Sticks and /or Sewing Machine
- Dollar Tree Nautical Rope (available in the summer “Shore Living” collection)
- Pins, optional
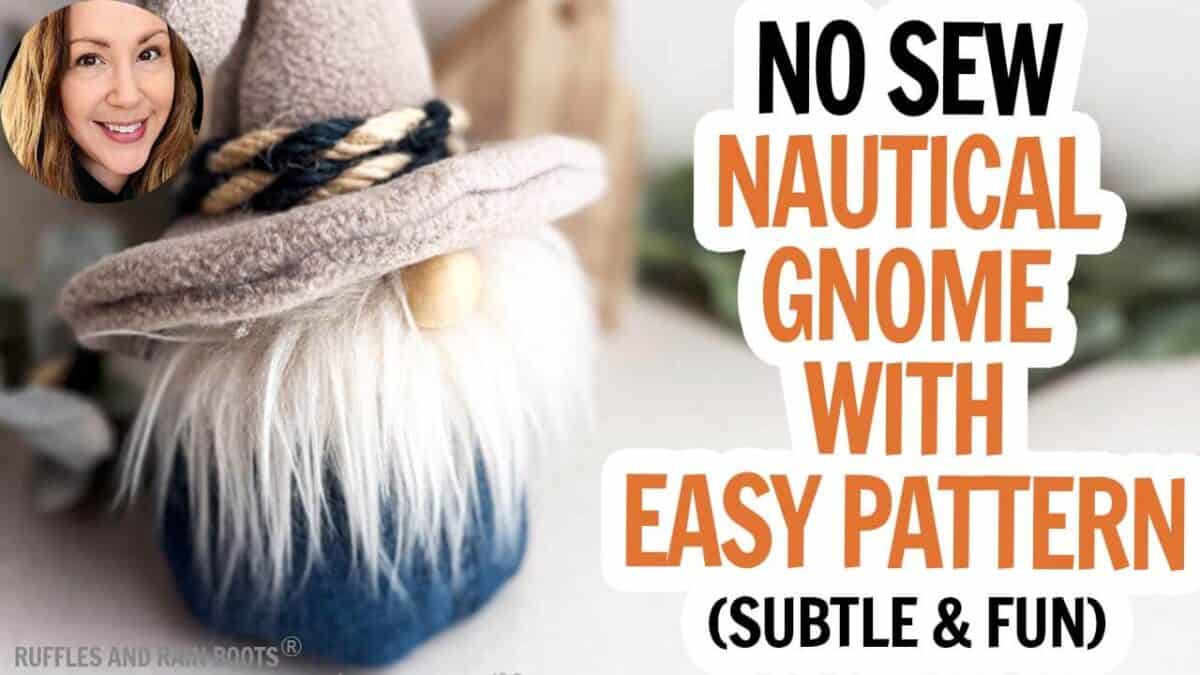
Watch This Nautical Gnome Video Tutorial
If you’re a visual learner, be sure to check out this summer nautical gnome video tutorial. While you’re there, subscribe – it’s a lot of fun to watch these and other projects come together.
How to Make an Easy Gnome for Summer Decor
First, print off the pattern or use the acrylic pieces to cut each of the templates. You’ll need the brim, hook hat, body, and base pieces.
For the BASE of the body, add 1/8 to 1/4 inch around it before cutting. This will allow the bottom of the gnome to be filled with weight and stuffing and form a rounded base for a whimsical, soft appearance.

Next, sew or glue the pieces right sides together for the brim, hat, and body. Note that if you’re using a sewing machine, you can also add a top stitch to the outer edge of the brim for a very fun look.
When attaching the base to the body, make sure the right side is facing in and pin the base on. Note that if done correctly, there will be no puckering or gathering. Sew or glue in place.
Turn everything right sides out, add weight and stuffing and close up the body. Note that the hook of the hat should be well-stuffed to avoid any creasing or bending.

Close the opening of the body, pull on the hat and brim, and glue in place.
Cut a piece of faux fur that is the width of the stuffed body and your desired height. This one was a 1/2 inch drop cut to a V-shaped height of 1 inch in the center. Glue it to the body just under the brim of the hat.
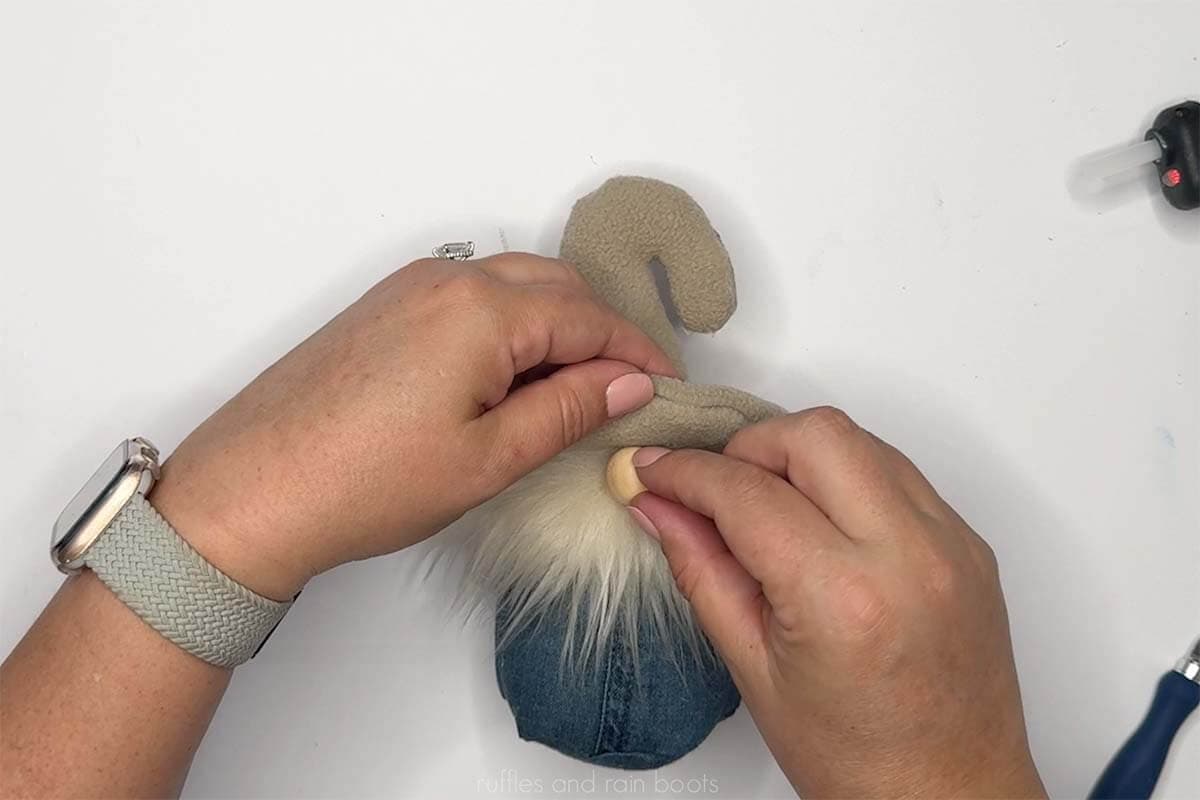
Glue on the nose, cut the brim’s positioning pieces, and loop on the nautical rope. I used glue to secure it in place and burned the ends to avoid fraying.
More Summer Gnome Projects You Might Like
- Beach Gnome – This guy is all decked out with a beach hat, board shorts, and even flip flops!
- Easy Pom Pom Summer Gnome – If you want a quick project, make a pom pom gnome using pre-made feet with flip flops.
- Dollar Tree Beach Gnome – Grab an ice cream sign from the dollar store and turn it into an adorable summer decor idea!
Please Save or Share This DIY Gnome
Your shares are how this site grows and I am sincerely grateful. Please save this to a summer projects pin board or share it with a crafty group on social media.
Meet the Creator
Hi there, I’m Sarah Nenni-Daher. I’m a crafty gal and always have at least 14 projects going at once. I am a crafter, designer, DIYer, and pattern maker. I share my creations here and in the Ruffles and Rain Boots® Shop.
Here at Ruffles and Rain Boots®, you’ll find DIY gnomes, crafts, gifts, cupcakes, laser crafts, and so much more. I love sharing video tutorials over on YouTube and chatting with other crafters in my Facebook groups. We’d love to have you!