
Clay Gnome Jar Topper – An Easy, Fun DIY or Gift
This clay gnome jar topper can be made with a craft store staple: air dry clay. It’s a fun way to get creative without requiring any fancy tools.
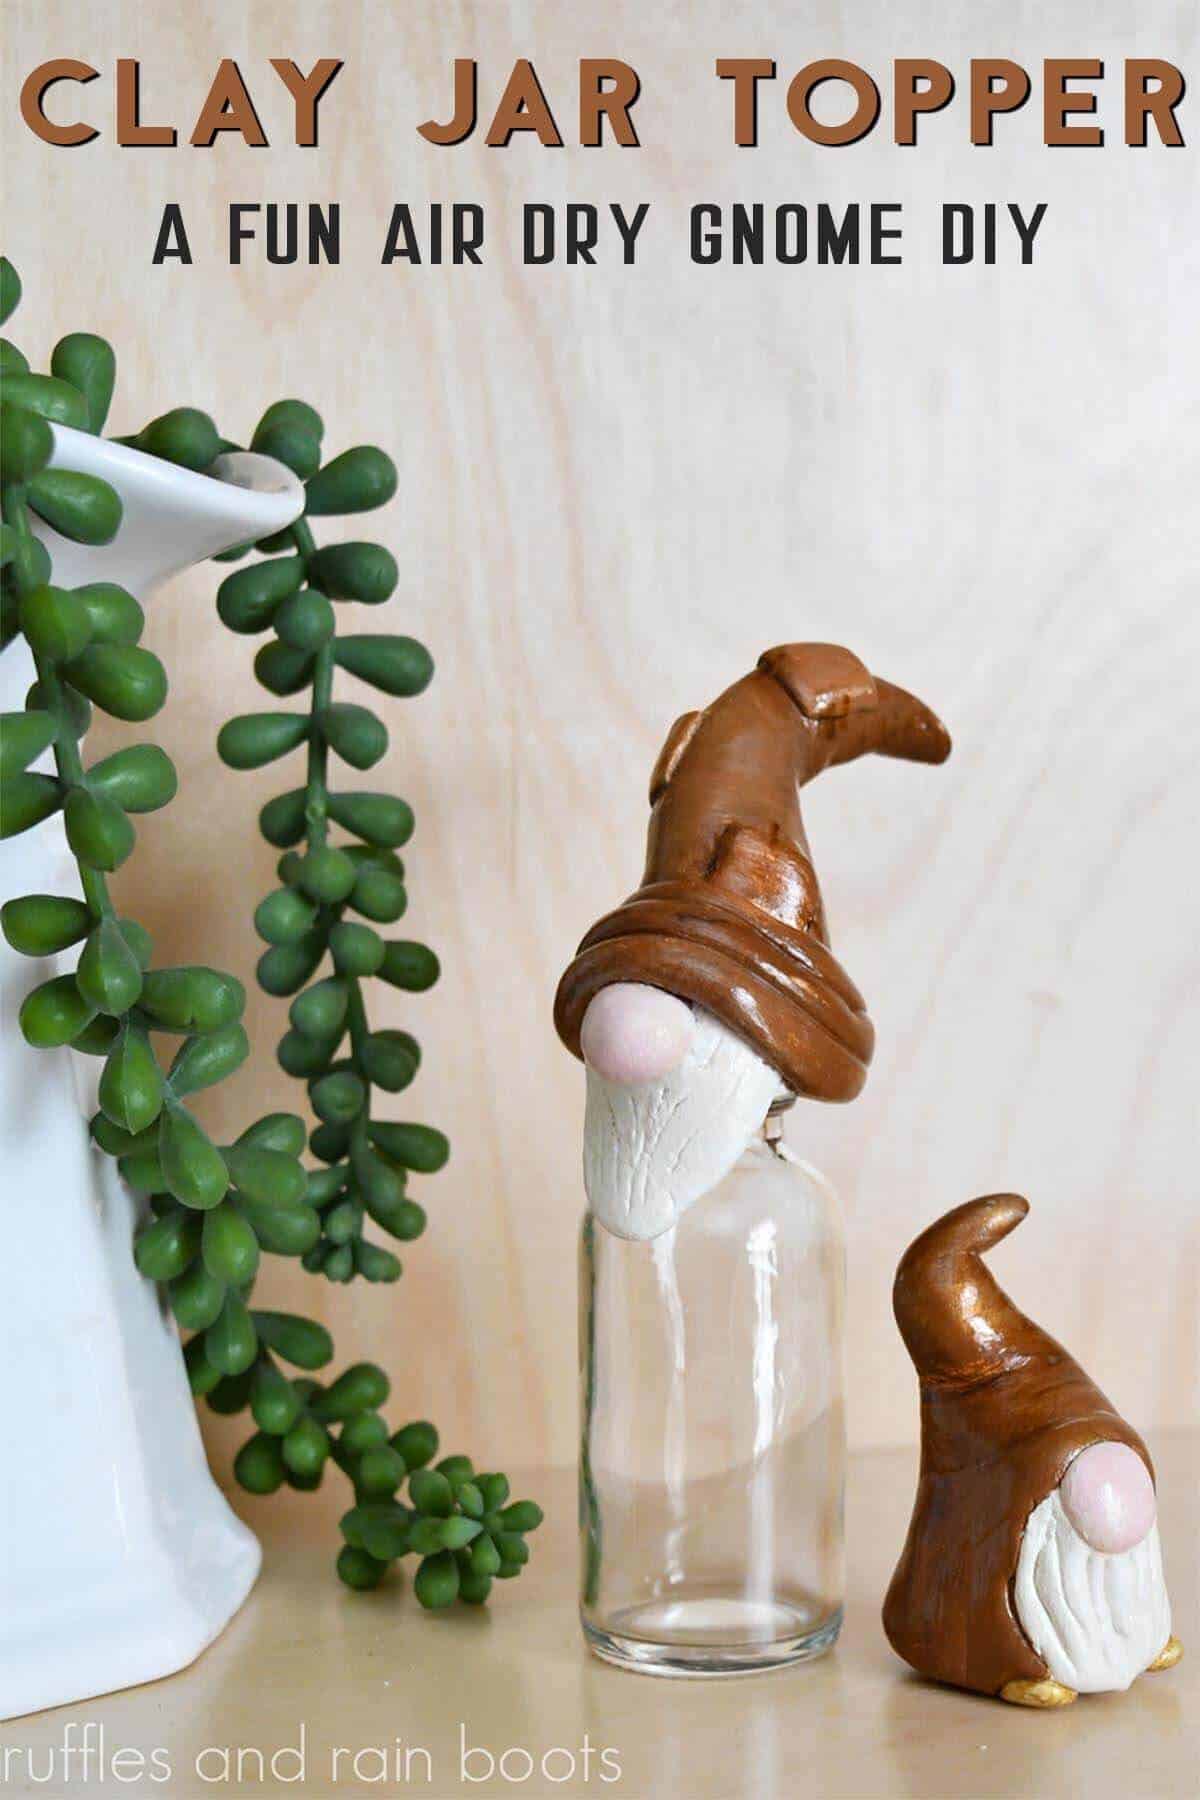
For this DIY gnome craft, you’ll need clay, a jar, aluminum foil, and some paint. Follow along with the written tutorial or the full video tutorial to walk you through each step.
RELATED READING: Polymer Clay Gnome Tutorial: Big Foot Gnomes
Air Dry Clay Gnome Tutorial for a Stash Jar
Here at Ruffles and Rain Boots, I despise wasting craft supplies. It doesn’t matter if I’ve held onto a tiny little heart button for 6 years, I absolutely WILL find a use for it. I had a bit of air dry clay leftover from another craft and my waste-not mentality kicked into gear.
Months ago, someone gifted me a set of small jars and they’ve been staring at me ever since. This week, I sketched out an idea and combined these two supplies to make this fun gnome craft idea in about an hour. Let’s get started.
No Time to Make This Now? Save or Share for Later
If you’re just scrolling in order to procrastinate washing the dishes or clean your craft room, I get it. Save this to a DIY pin board or share it on Facebook. It will make it easier to find again later.
As an Amazon Associate, I could earn from qualifying purchases. There could be affiliate links within this article.
Tips for Learning How to Make a Clay Gnome Topper
- Build the foil base just shy of the finished desired size. The hat base foil should extend over the side of the lid.
- Make sure the foil is sized to the bottom to fit the jar lid without interference.
- Secure those foil pieces with glue to the lid AND to each other.
- Air dry clay is cold-feeling, almost damp but take care not to add too much moisture. I only used it when connecting two pieces of clay or to smooth out once the rough shapes were formed.
- The best part of this tutorial is that you do not need a fancy clay tool: a pair of scissors and a craft knife will be more than enough.
- Create score lines on both the item being attached AND the piece you are attaching it on – it will help the clay grip while you’re blending.
- Watch the full video tutorial to see how I created the paint for the hat. The three hat colors were blended using white and brown – that’s it. Doing so really brings the color palette together.
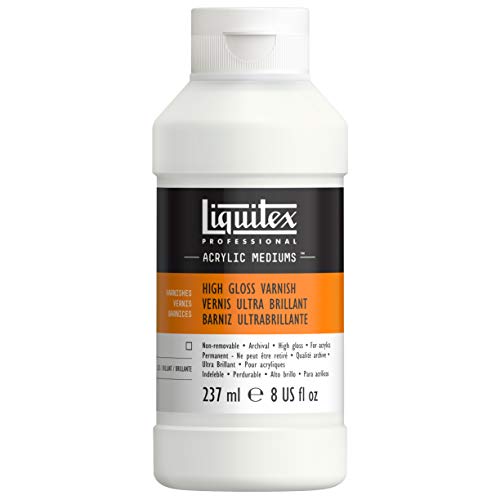
- Sealing clay is optional, however, on something like this which will be used and handled, I recommend it. You can use a matte or glossy ModPodge®, but for this project, I chose this varnish. It’s my go-to for clay, especially when I want to add shine.
How to Make an Air Dry Clay Gnome Topper
Below are the written instructions. Read through them and le tme know if you have any questions.
I do urge everyone to watch this short gnome jar topper video tutorial here on YouTube. You will get to see how the pieces join and how the paint palette is developed.
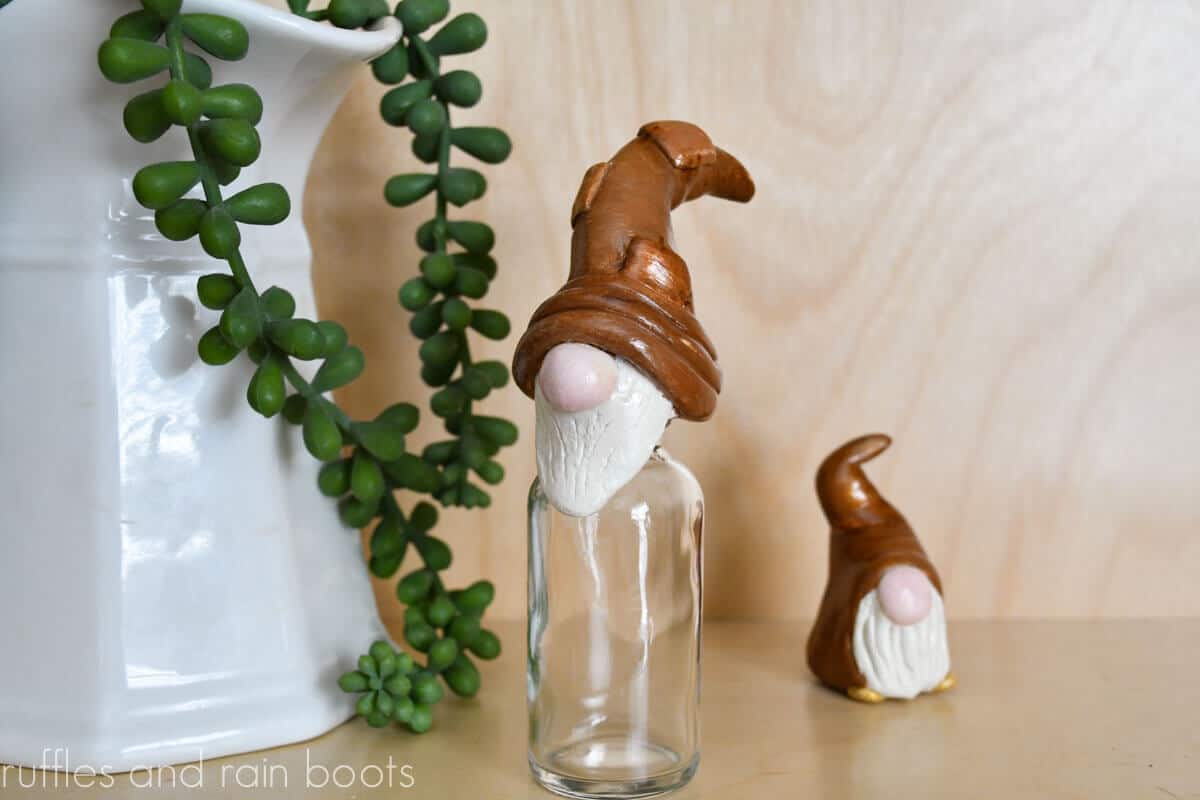
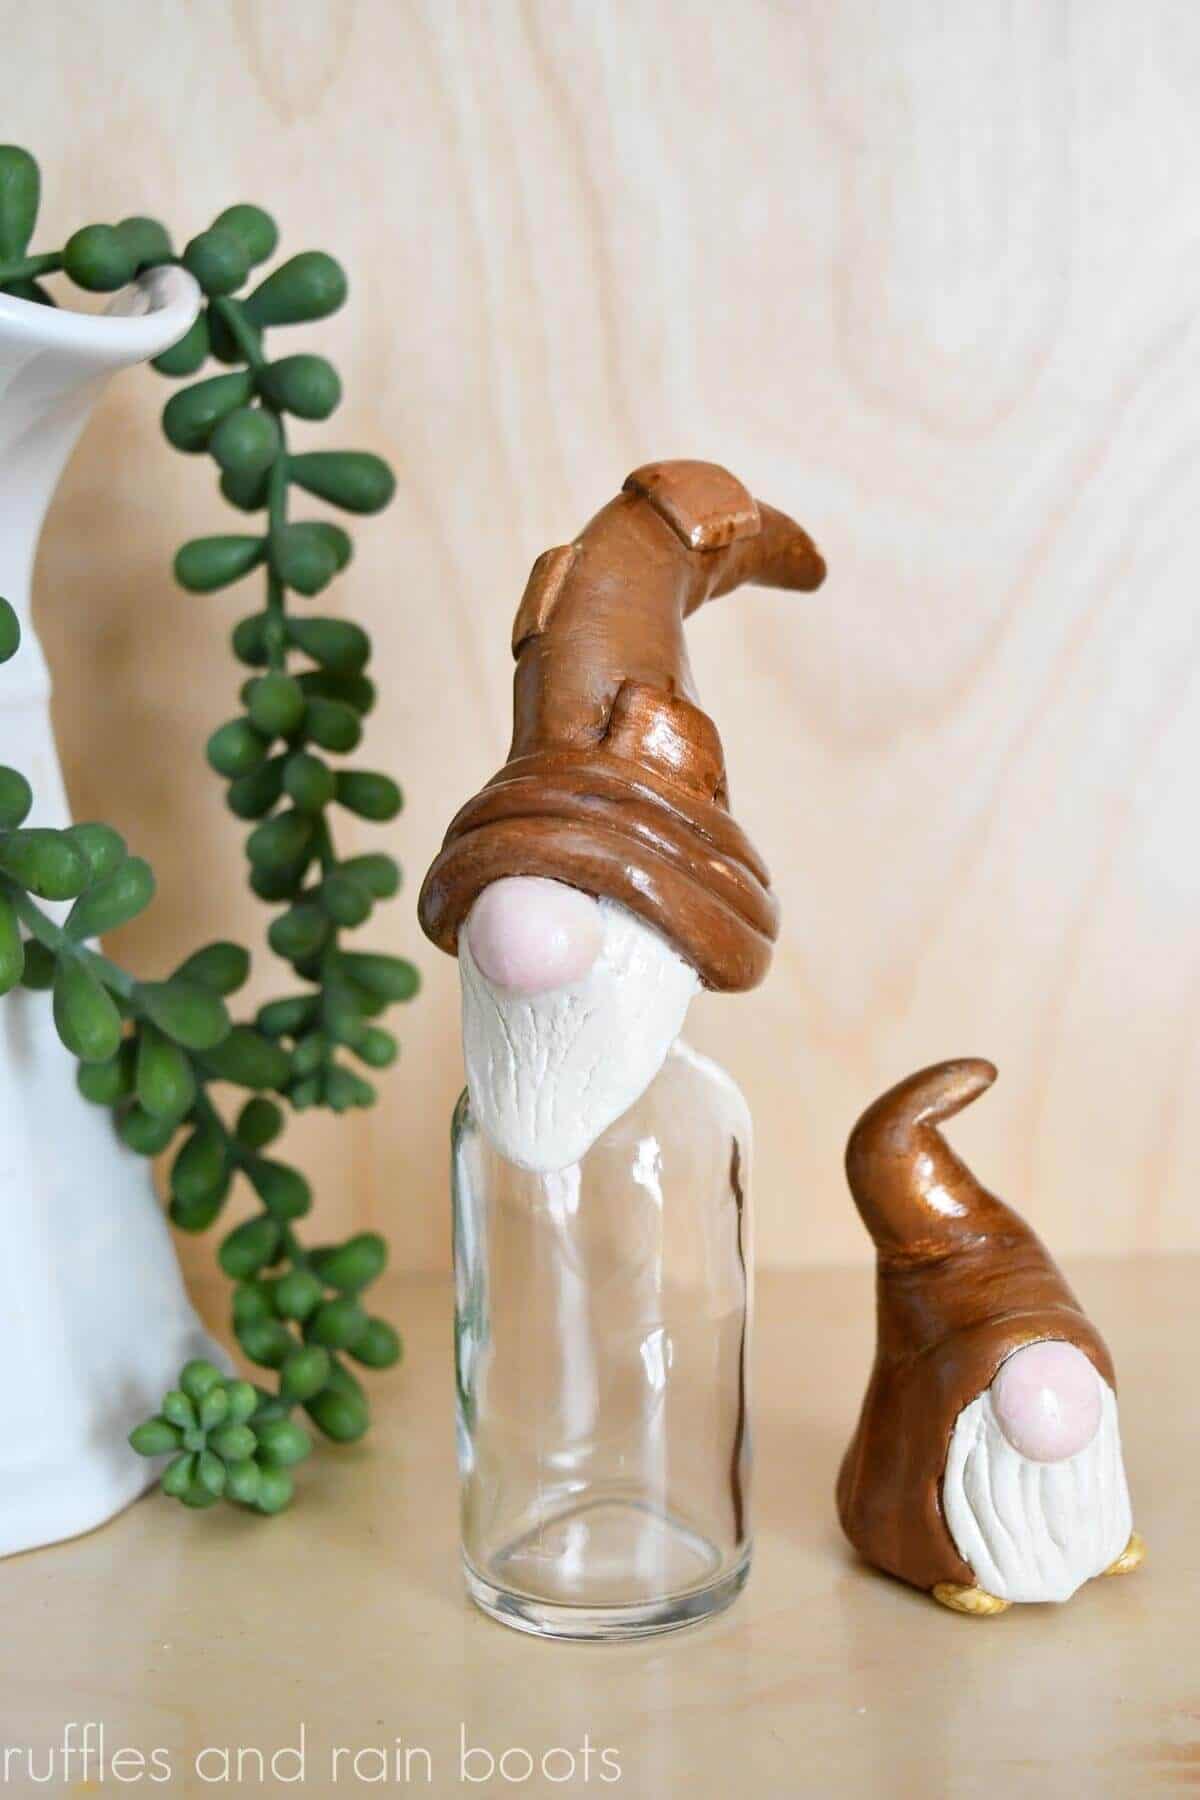
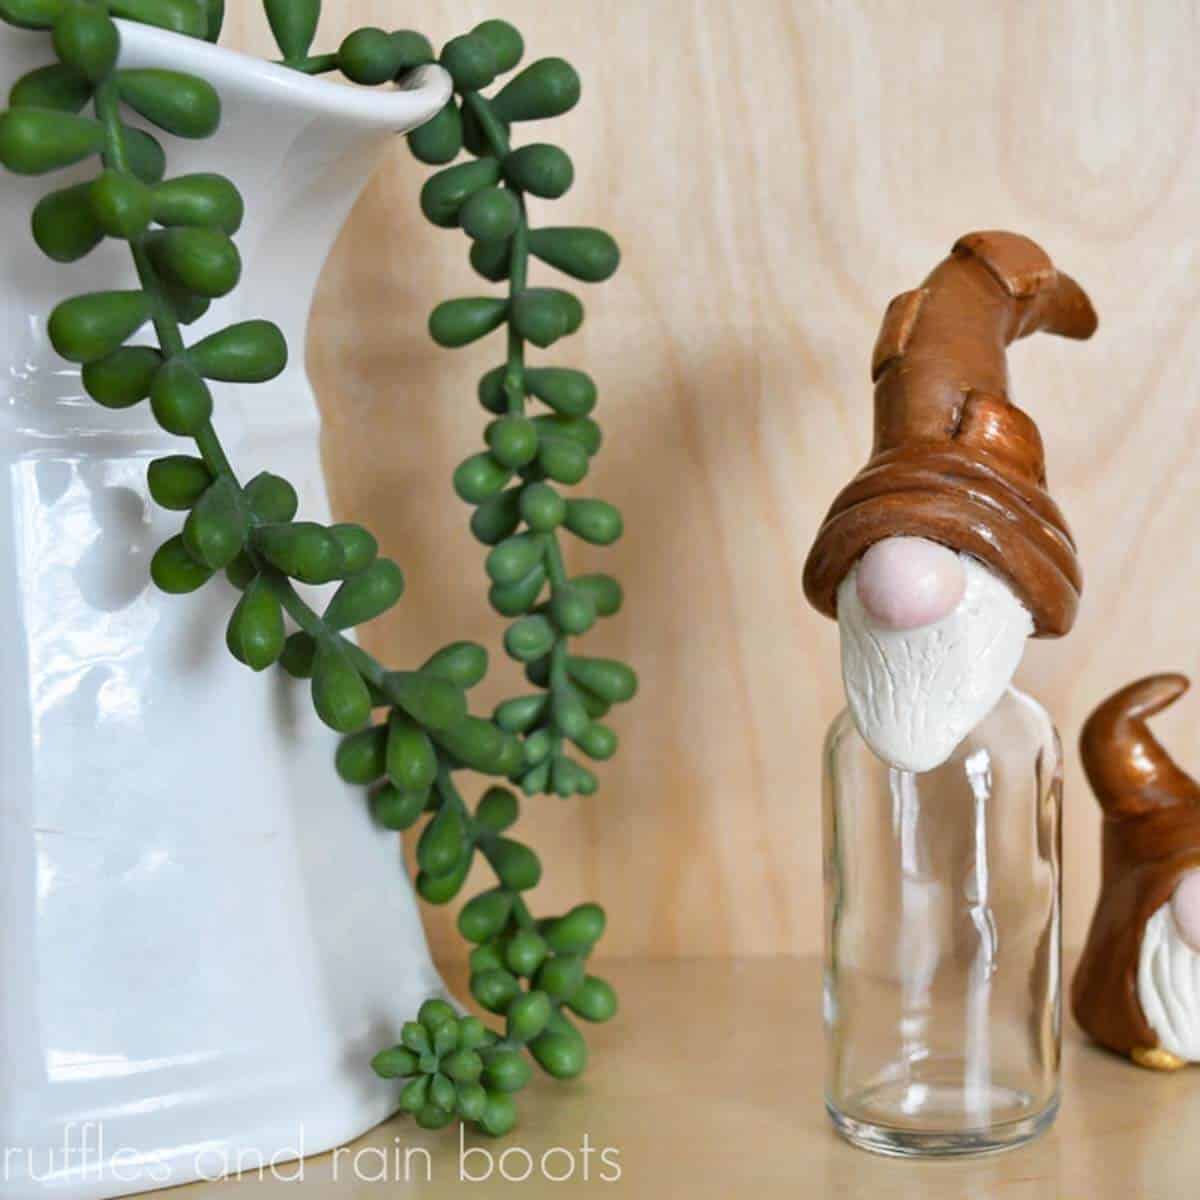
Air Dry Clay Gnome Jar Topper
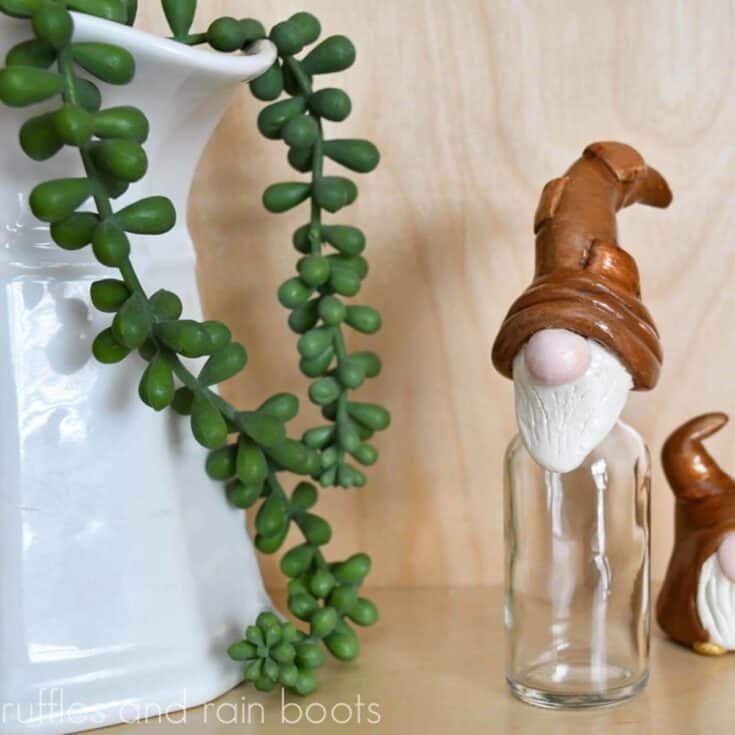
This air dry clay gnome jar topper is a fun way to add a personal touch to a recycled jar. Create it only on the lid or the entire jar - your choice! Read below for the basic steps but be sure to watch the clay gnome video tutorial for detailed instruction.
Materials
- Jar with a Lid
- Aluminium Foil
- Air Dry Clay (I Used DAS)
- Paint (Brown, White, and Optional Metallics)
Tools
- Glue Gun and Hot Glue Sticks
- Scissors
- Cup of Water
- Paintbrushes
- Optional, Varnish (this is my favorite)
Instructions
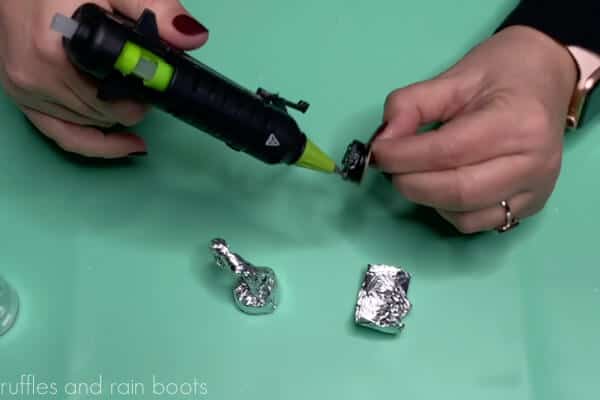
- Work a piece of aluminum foil into a hat shape on the jar lid, securing the foil to the lid with hot glue. If needed, add pieces of foil to widen sections and secure with glue.

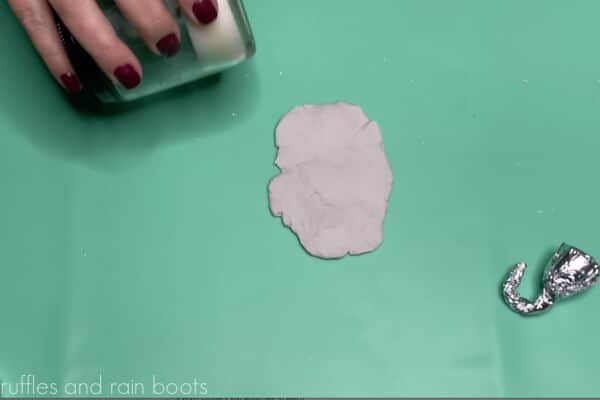
- Press and roll out (can use the jar) a chunk of air dry clay. Keep it thick enough to cover the foil and give you blending leeway.
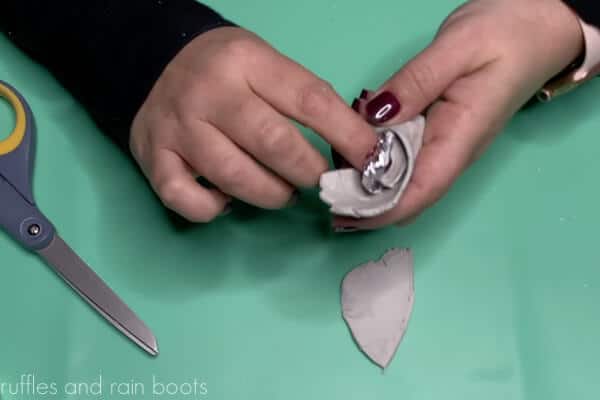
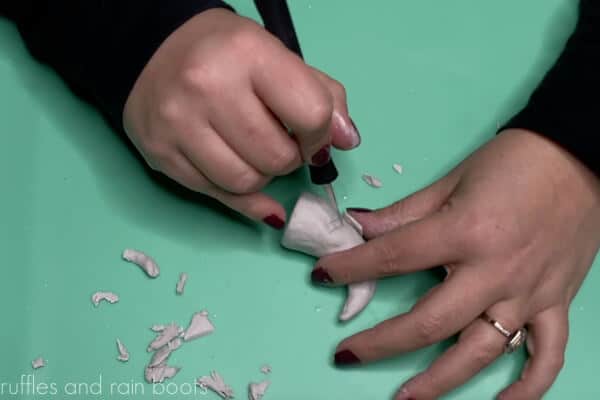
- Wrap it around the foil form and press the clay into the foil, using scissors to cut away excess clay.
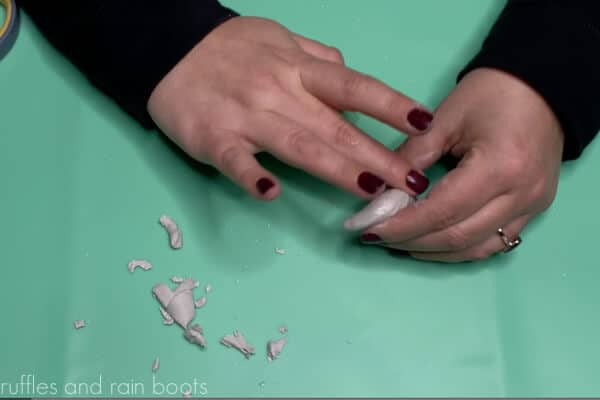
- Continue shaping the clay into a hat form and smooth out sections with a very small amount of water on the tip of your finger.
- Add clay details to the hat (I chose patches and a few chunky brim layers), a nose, and a simple beard shape - build all of this on the jar lid. When attaching, follow these steps: 1) score the clay piece, 2) score the clay you are attaching to the piece, and 3) use a small amount of water when pressing and blending the two together.
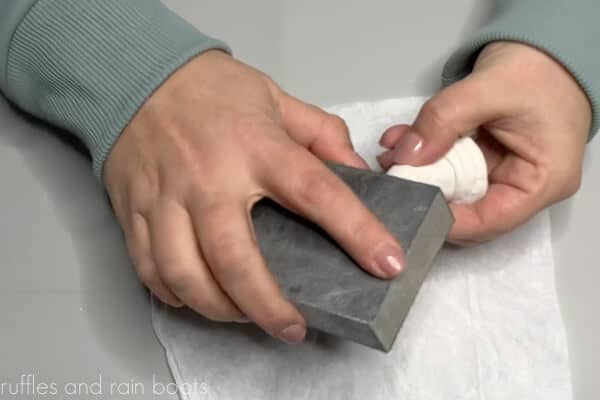
- Let the piece dry for a couple of days then lightly sand and wipe dry.
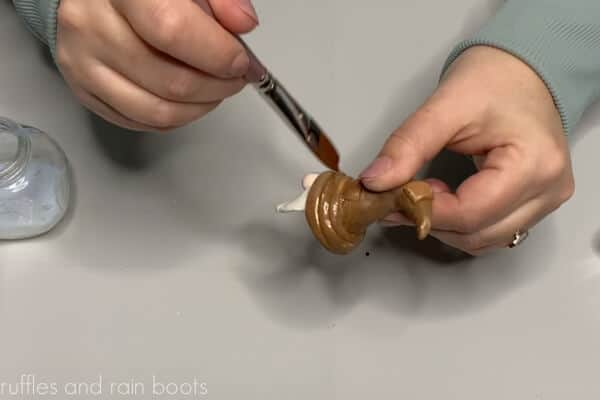
- Paint, as desired. I chose to use metallics and give tips on painting texture and dimension in the full video tutorial if you would like to watch that.
- Seal with Liquitex varnish ModPodge to seal, if desired.

Notes
- Build the hat base with foil just shy of your desired size.
- Create a palette of paint using the same colors for dimension and shading. Watch the video to see how this was done.
- Use a low heat gun to dry the paint before applying varnish.
Recommended Products
As an Amazon Associate and member of other affiliate programs, I earn from qualifying purchases.

More Clay Gnomes You Might Like
- Clay Gnomes with Big Feet – This easy tutorial walks you through creating these adorable gnomes made with clay.
- Simple Clay Gnome Tutorial – These cuties are quick and easy to make and are designed for a beginner polymer clay project.
- No Sew Gnome with Clay Feet – A benefit to making a DIY gnome this way is that the weight of the clay feet help make this guy a solid display piece (and they’re so cute)!
Please Save or Share This Gnome DIY
Your shares are how this site grows and I am sincerely grateful. Please save this to a DIY pin board or share it with a crafty group on Facebook.
Meet the Creator
Hi there, I’m Sarah Nenni-Daher. I’m a crafty gal and always have at least 14 projects going at once. I am a crafter, designer, DIYer, and pattern maker. I share my creations here and in the Ruffles and Rain Boots® Shop.
Here at Ruffles and Rain Boots®, you’ll find DIY gnomes, crafts, gifts, cupcakes, laser crafts, and so much more. I love sharing video tutorials over on YouTube and chatting with other crafters in my Facebook groups. We’d love to have you!