
Adorable Woodland Deer Ornament – Wood Slice Craft
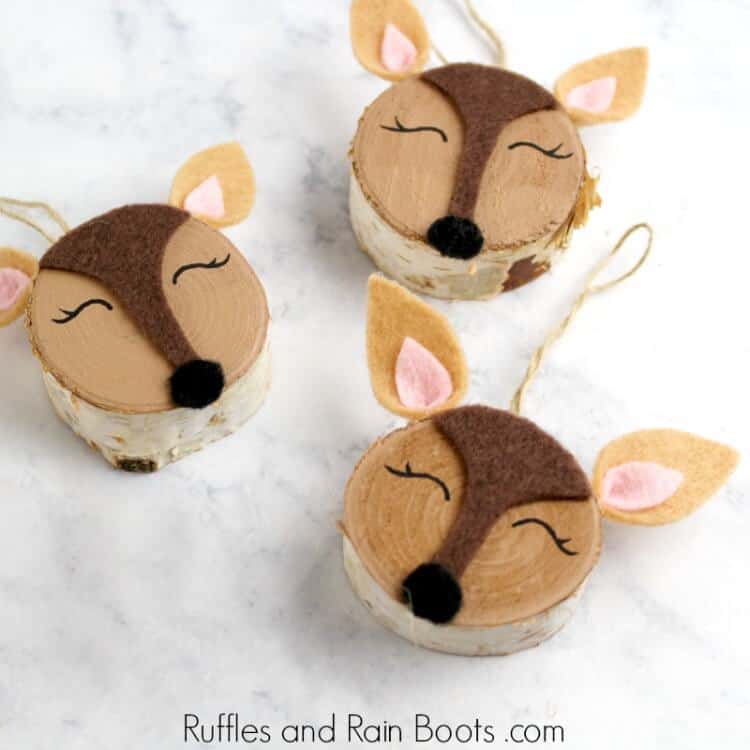
This adorable woodland deer ornament is made from wood slice rounds, a bit of felt, and a little paint. Let’s make this fun and quick Christmas craft.

Adorable Woodland Deer Ornament
Here at Ruffles and Rain Boots, we love to make easy Christmas crafts and these woodland deer ornaments are just that! We used basic craft supplies and took about 20 minutes to put these together.
The kids will LOVE to help, so pin this fun holiday craft to your DIY ornaments ideas board on Pinterest. This ornament tutorial would be perfect for a rainy or snowy afternoon craft before dinner.
RELATED READING: DIY Grinch Ornaments – You Have to See These!

Supplies for This Cute Wood Slice Ornament
This is a simple Christmas ornament you can make with the kids. Young ones will need help with the ears.

- Wood slice and twine or a pre-strung wood slice round ornament
- Acrylic paint in light brown
- Felt in dark brown, pink, and black and a foam paintbrush
- Black paint pen or marker
- Glue and scissors
- Optional, ModPodge to seal and a foam brush
How to Make a Woodland Deer Ornament
Wood slices take DIY Christmas ornaments to an entirely new level – they just make it so easy for all ages to have fun crafting for the holidays. Tip: be sure to trace each wood slice because each felt piece will fit differently.
If you are creating a playlist on YouTube for Christmas crafts, our woodland deer ornament using a wood slice is here.

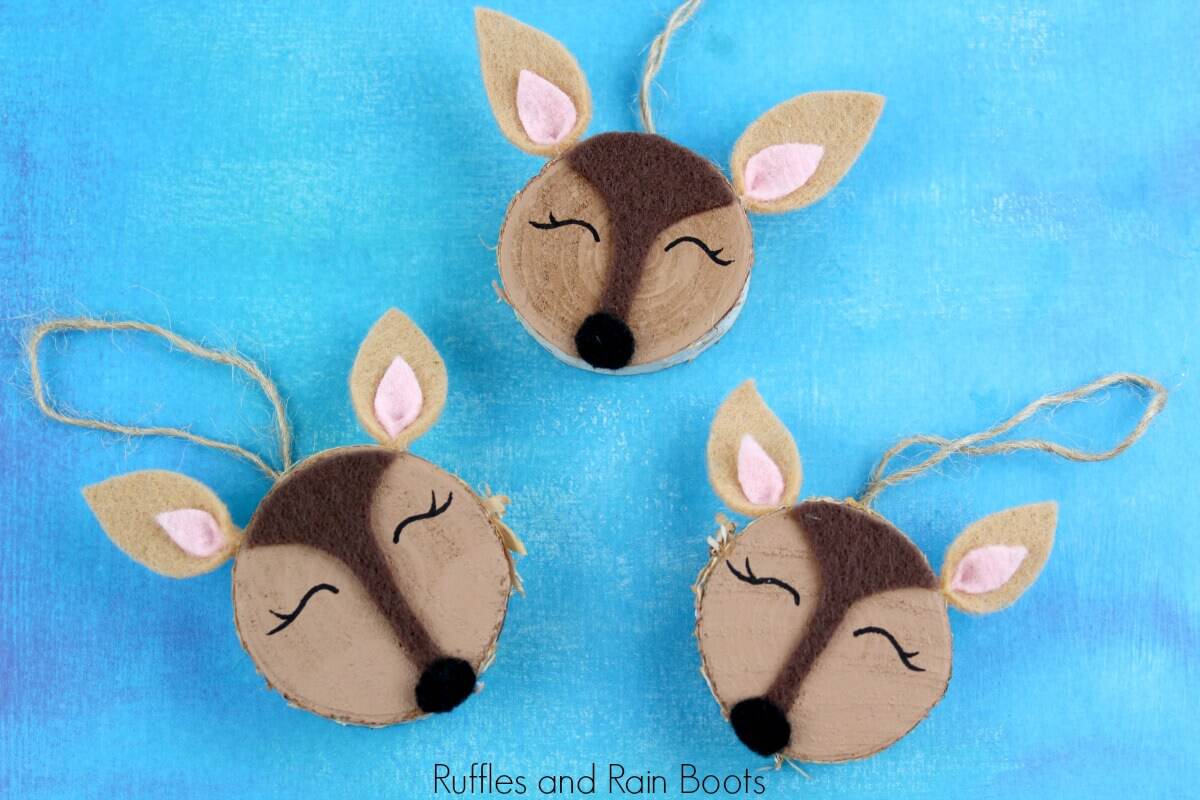
Woodland Deer Ornament

This adorable woodland deer ornament is made from wood slice rounds, a bit of felt, and a little paint. Let’s make this fun and quick Christmas craft.
Materials
- Wood slice and twine or a pre-strung wood slice round ornament
- Acrylic paint in light brown
- Felt in dark brown, pink, and black and a foam paintbrush
- Black paint pen or marker
Tools
- Glue and scissors
- Optional, ModPodge to seal and a foam brush
Instructions
- Trace the wood slice onto a piece of dark brown felt and cut out the circle. Trim off the sides of the circle (see images) so that it resembles the face shape shown.
- Prepare the wood slice by painting it a light brown. It might need two coats. Let dry.
- While the paint is drying, cut out a small circle for the nose. For the ears, cut two light brown triangle shapes and two smaller pink triangle shapes. Glue the pink triangles to the brown and let dry. Then, pinch the bottom of the ear together and glue (older kids can sew).
- Once the paint has dried, glue the face shape onto the wood slice, lining it up with the top. Glue on the nose and ears.
- Use a paint pen or marker to create a closed eye (with or without eyelashes). Once dry, seal the adorable ornament with ModPodge to prevent the paint from chipping.
- Glue on a hanging string, if needed.
Notes
For more ornament ideas, visit Ruffles and Rain Boots.
RELATED READING: DIY Hand Lettered Wood Slice Ornaments – No Skill Needed
Please Save This to Pinterest or Share on Facebook
Your shares are how this site grows and I am sincerely grateful.

Meet the Creator
Hi there, I’m Sarah Nenni-Daher. I’m a crafty gal and always have at least 14 projects going at once. I am a crafter, designer, DIYer, and pattern maker. I share my creations here and in the Ruffles and Rain Boots® Shop.
Here at Ruffles and Rain Boots®, you’ll find DIY gnomes, crafts, gifts, cupcakes, laser crafts, and so much more. I love sharing video tutorials over on YouTube and chatting with other crafters in my Facebook groups. We’d love to have you!