
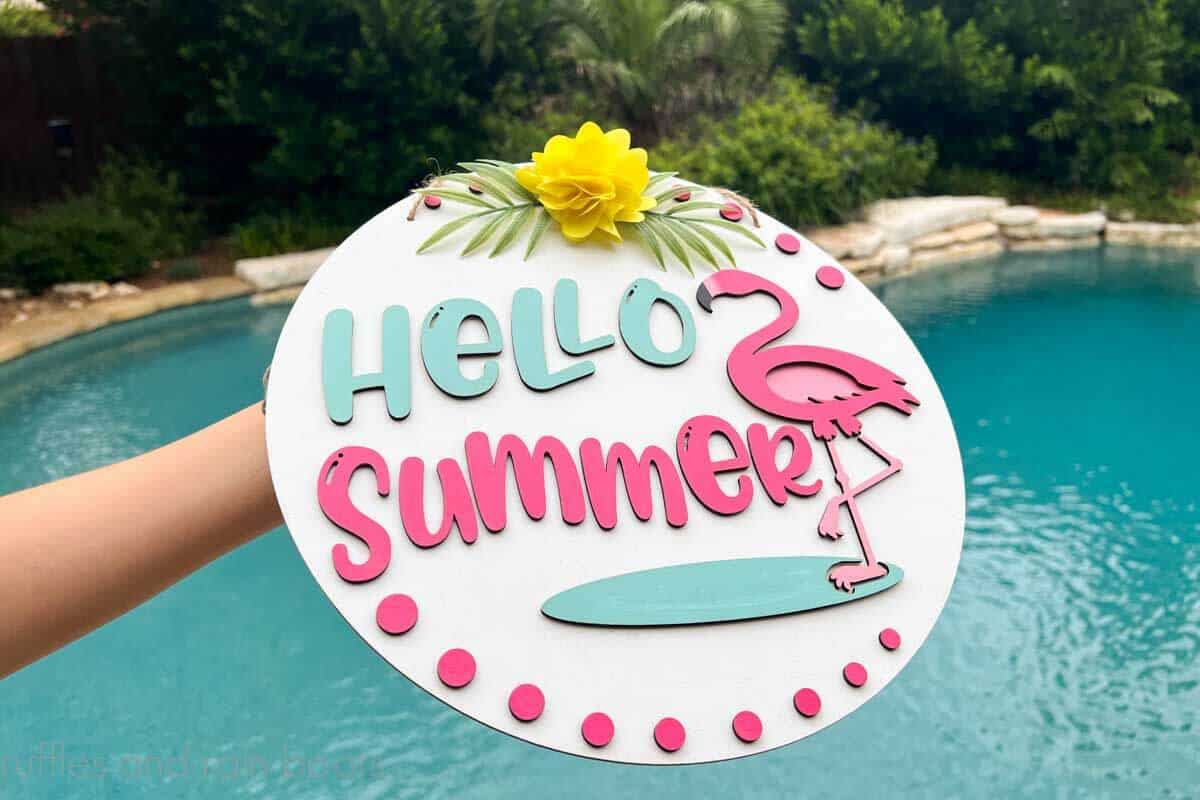
DIY Laser Cut Door Sign and Free Flamingo SVG
If you want to create a laser cut door sign with Dollar Tree supplies, you’re in the right place. I have been tinkering around and have found that the low-priced materials can produce some fun crafts while I practice.
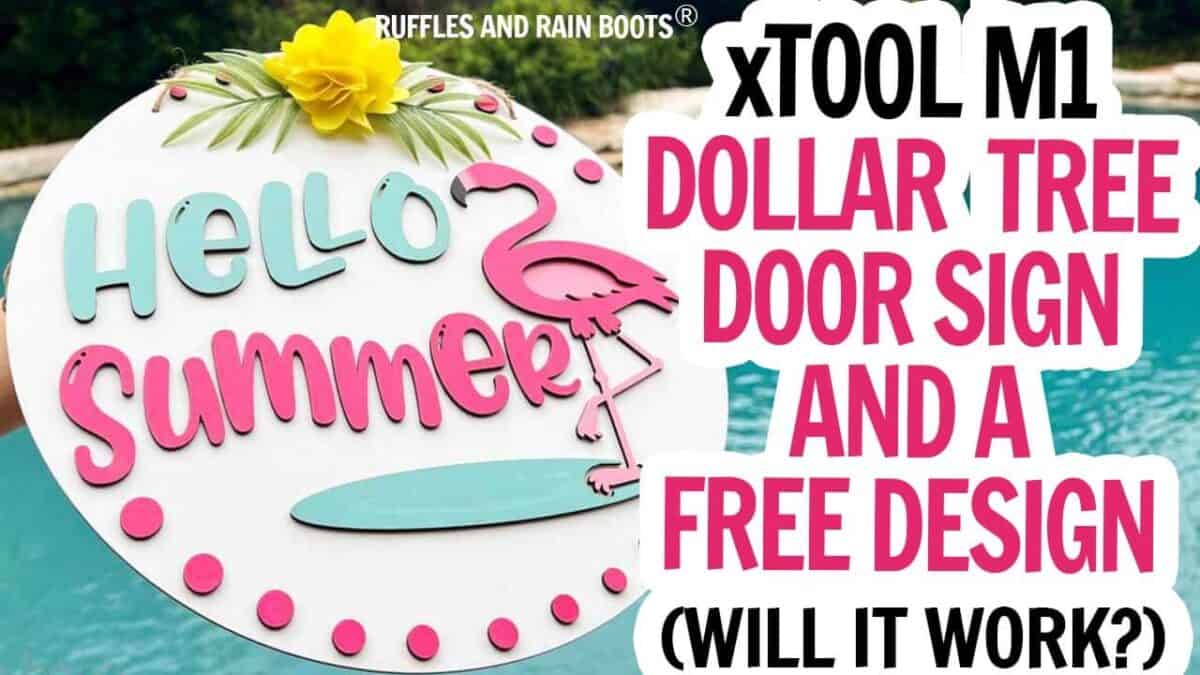
While I wouldn’t sell the thin wood door round produced by this exercise using Dollar Tree materials, it’s a great xTool M1 project for beginners. Anyone new to laser cutting, in fact, will benefit from a few tips and tricks while not spending a ton of money.
RELATED READING: Free Christmas SVG Designs for Holiday Crafts
What You'll Find On This Page
Free Hello Summer SVG for Laser Cutting Crafts
Here at Ruffles and Rain Boots, I have been experimenting with my M1 laser and blade cutting machine (this is the one I have). If you’re unfamiliar with this crafting tool, you can read more about it here in my xTool M1 for beginners – an introduction and xTool M1 beginner projects.
I’ve been a crafter for a very long time but laser cutters and engravers are new to me. It’s had me take a look at how I build all of my free SVG designs, as well. I figure with a few adjustments and proper testing, I can open the designs up to laser crafters with minimal changes.
RELATED READING: 31 Days of Free Christmas SVG Designs (Use in Lasers)!
As an Amazon Associate, I could earn from qualifying purchases. There could be affiliate links within this article.
RELATED READING: Glowforge Aura vs xTool M1 – The Best Laser for Crafters
Deciding on a Laser or Interested in Starting a Laser Business?
I own three types of lasers right now: CO2, diode, and fiber (infrared). Below are summaries of each and suggestions on materials. If you have questions, please ask! Not all lasers are right for those looking to start a business or side hustle. If that’s you, choose the P2 or the S1.
- xTool P Series – A fully-enclosed CO2 laser, perfect for cutting acrylic and wood. This is an unrestricted laser when it comes to acrylic, wood, slate, etc. and it’s my top choice.
- xTool S1 – The option I have is a 40 watt diode laser which cuts some acrylic, wood and does amazing engravings. This laser has some acrylic restrictions (no clear, mirror, translucent; primarily opaque) but powers through wood.
- xTool M1 ULTRA – The updated version of the ground-breaking xTool M1 shows up to the party with a printer (can print on wood), a laser, a set of blades, foil, and embossing, as well as a pen tool. Great for crafters!
- xTool F2 – This dual laser is portable! It’s the best-selling, landmark setting laser that contains a diode and an infrared laser. It’s perfect to take to shows, markets, and events.
- WeCreat Vista – This is a fun tool to have if you’d like to work primarily with tumblers or wood. The patented FlipLaser design turns the laser head 90 degrees, allowing you a great tumbler engraving experience.
xTool Project Idea – Door Sign Video Tutorial
If you’re a visual learner, I created a step by step tutorial for you. Included in the tutorial is the set up inside the software for this project, my assembly, and I’ll share a mistake or two so you can avoid them.
Be sure to watch the full wood door sign with the M1 laser video tutorial. Use the comments here or on YouTube to ask any questions (or give suggestions)!
Tips for Making a Successful Score and Laser Cut Project
Call this a ‘lessons learned’ or ‘things I wish someone would have told me’ section, but here are my key takeaways. As always, don’t leave the laser while cutting and always take safety precautions.
- choose a non-warped Dollar Tree rounds
- use a 1/2 thick round for the base (thicker will not warp) if creating to place outside
- if you have a rough section on the round, use light sandpaper over that before cutting or scoring
- be sure to cut a wing if you want to cut a wing piece AND a flamingo (so the wing is raised off the flamingo); this is provided in the XCS instant download file but you have to create it for the SVG file
Supplies Needed for a Round Sign with the M1 Laser
Although you can get quality wood door signs (at least 1/2 inch thick) from most home improvement and craft stores, I decided to try it with what I had on hand. And friends, I have a mini Dollar Tree in my craft studio so I thought it would be good to learn my laser.
These 11.5 inch wood rounds are thin but plentiful around here, so that was my starting point. I’d run out of 3mm basswood and my xTool plywood sampler wasn’t in yet, so I knew this would be an inexpensive test. Here’s what I used:
- 2 wood rounds with twine hangers (or one 1/2 inch thick wood round + plywood)
- xTool M1 laser and engraving machine and triangle prisms
- a faux flower and tropical leaves
- paint, sealant, and brushes
- wood glue and hot glue (optional nailer for thicker door sign base)
How to Make a Summer Door Sign with a Laser Cutter
Because this was my first time creating something like this with a desktop laser, I wanted two different actions: score one wood round and cut the second into pieces. I needed to learn how to do this in the xTool Creative Space Software. Skip to the file below if you know the steps to do this.
Download the free hello summer SVG or XCS file. Open the XCS software, select File > Open Project (if using XCS) or File > Import Image if using the SVG.
Load the baseplate and add the prism risers. Remove the hang tag from the round and place on the risers, evenly distributed. Note: more risers is usually best and you might need to sand the front of the round if it is rough.
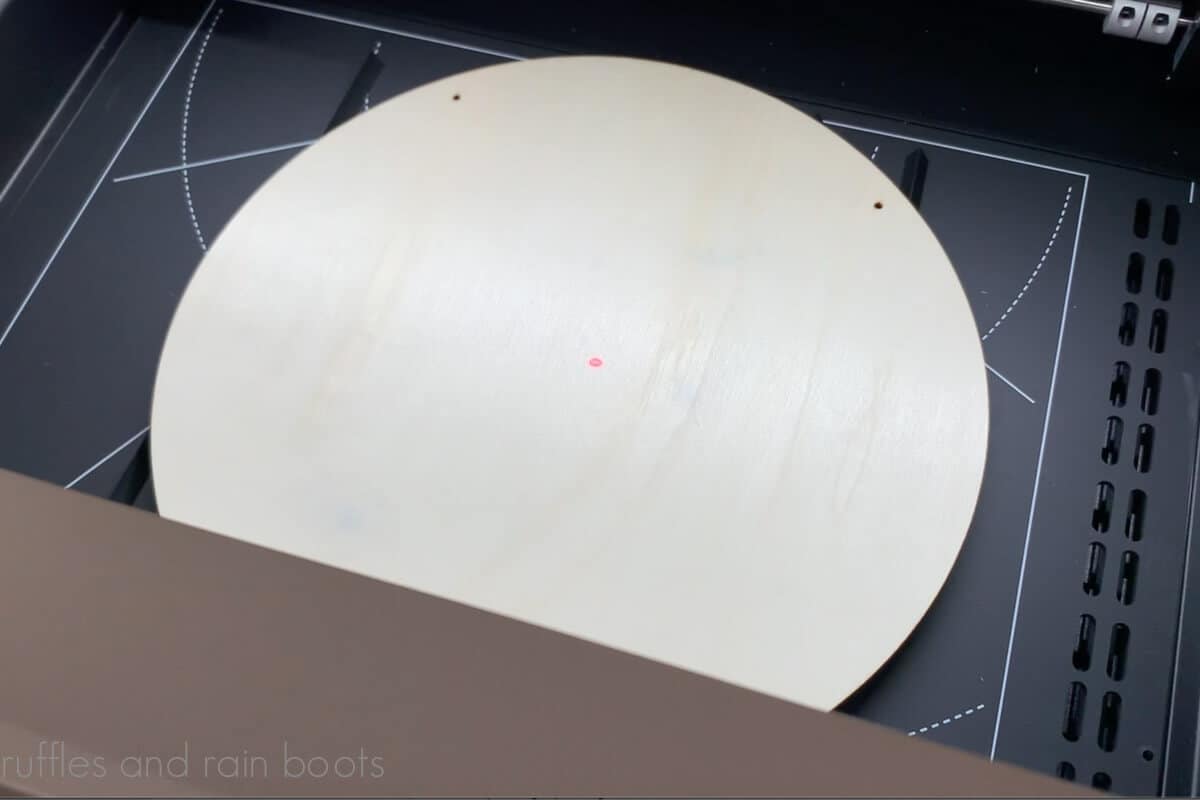
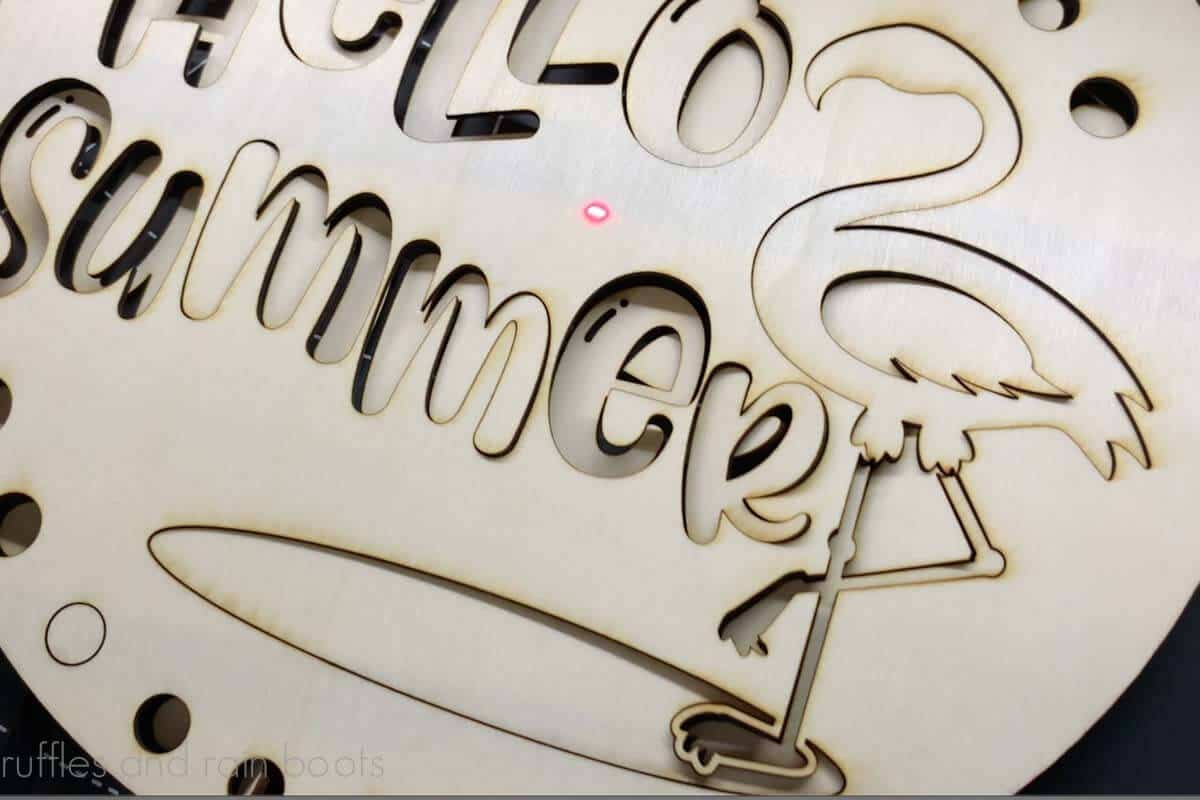
Refresh the workspace and move the design into place. I deleted the cut for the outer circle because I was using a wood round and set everything to score by selecting all and choosing score from the Processing Type menu at the right. My settings on the xTool M1 machine were laser flat > 3mm basswood and I used auto-measure on this thin wood.
All of the power, speed, and lines settings were reference (default). NOTE: increase the power to the score for a deeper cut, frame, and process the action.

Remove the scored wood round and load the second round. Refresh the image, position into place, auto-measure, and set everything on the workspace to cut by selecting all components and choosing cut from the Processing Type menu at the right.

Use the defaults for cutting. The position doesn’t matter for this set of cuts, but keep everything the same size. Frame the work and cut out the pieces.
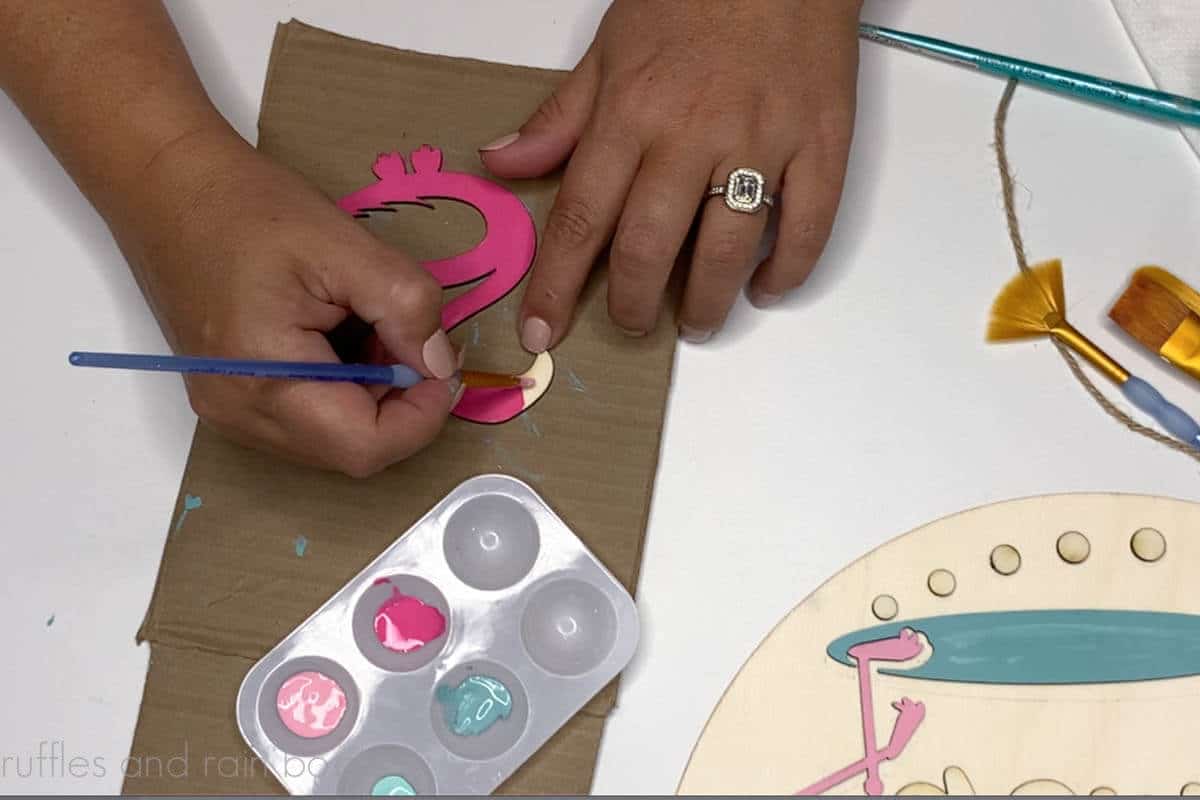
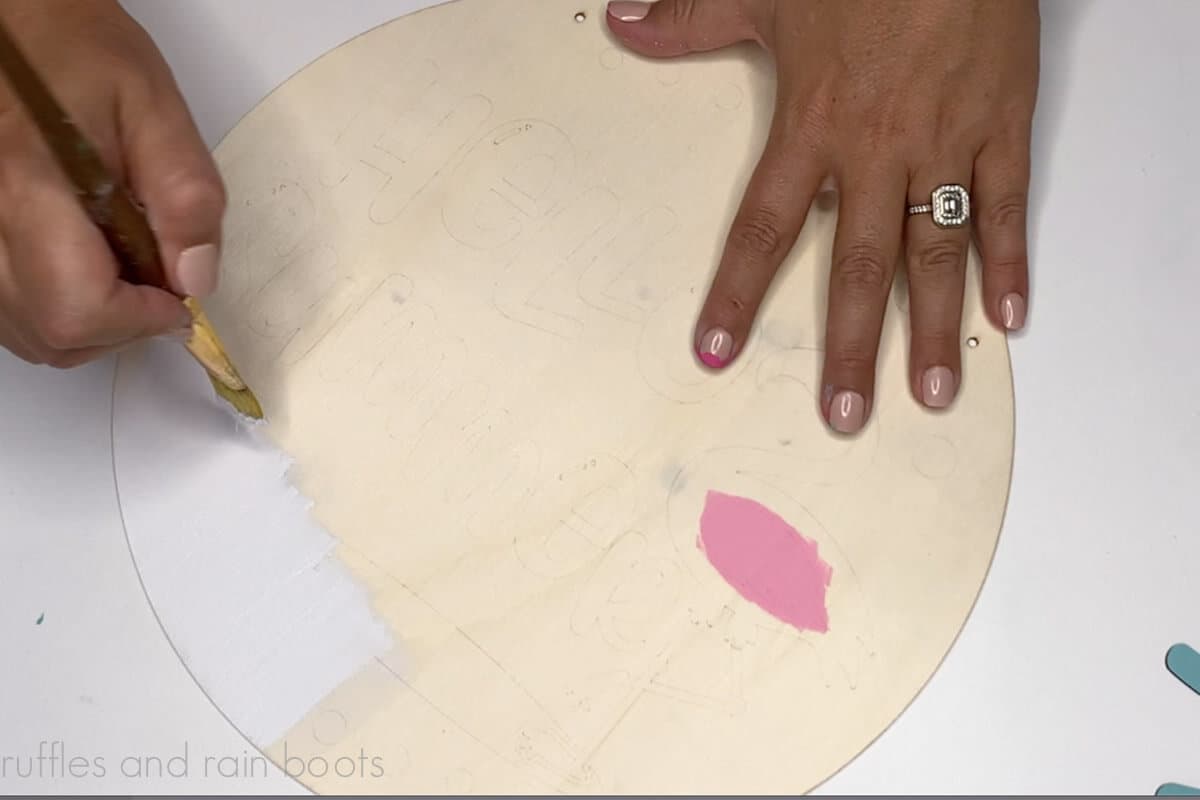
Remove all pieces and paint them. Paint the wood round, as well. You can seal each piece (as I did), but honestly I would not repeat this. I would seal the completed sign only.
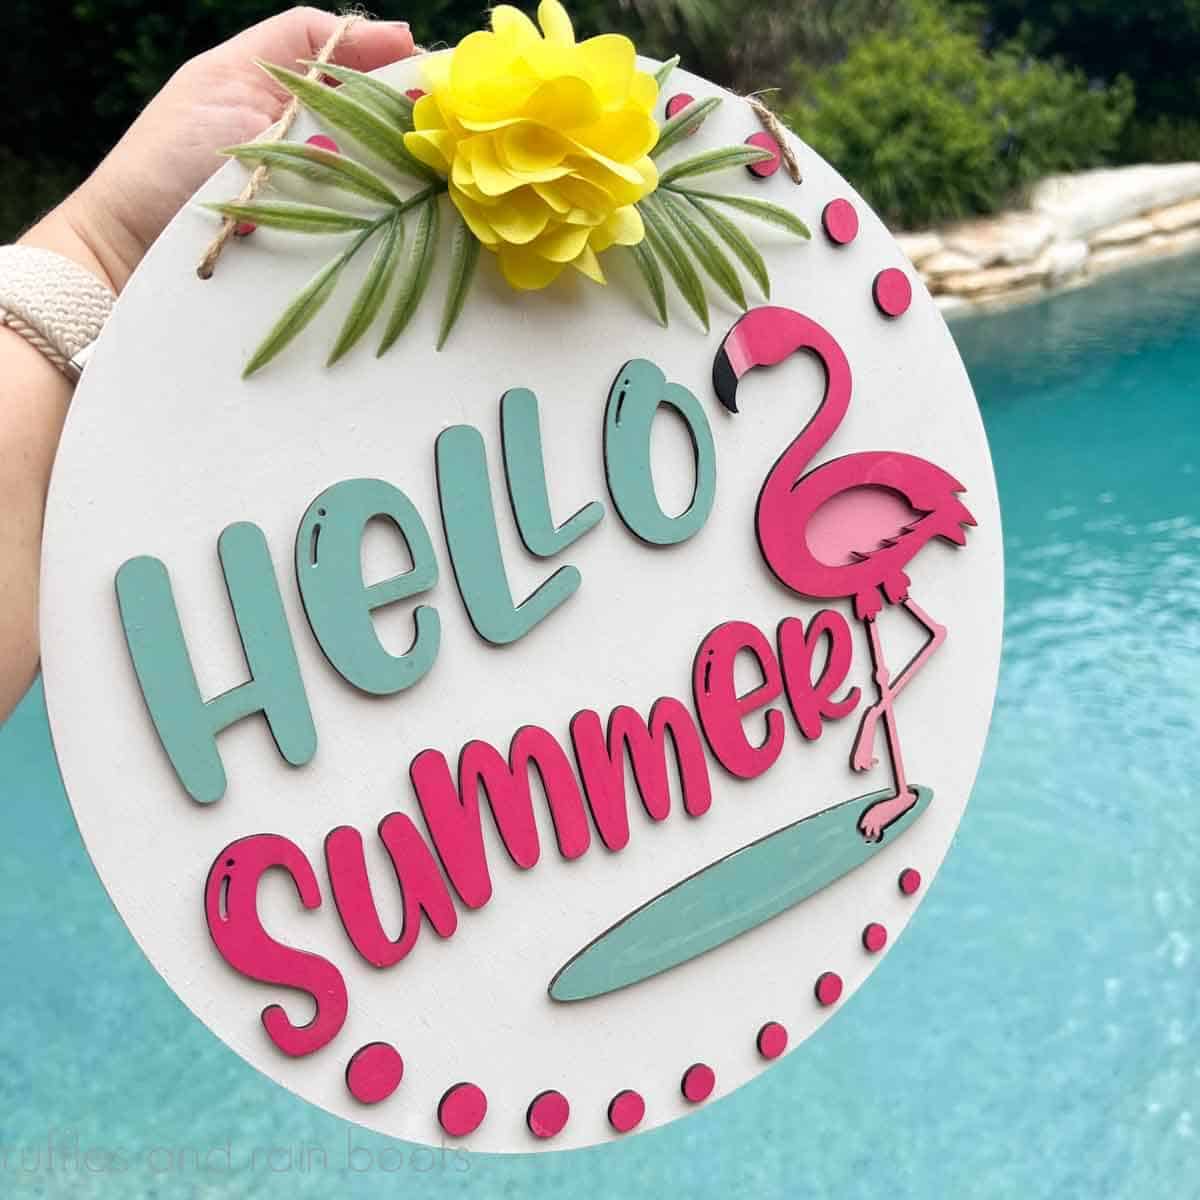
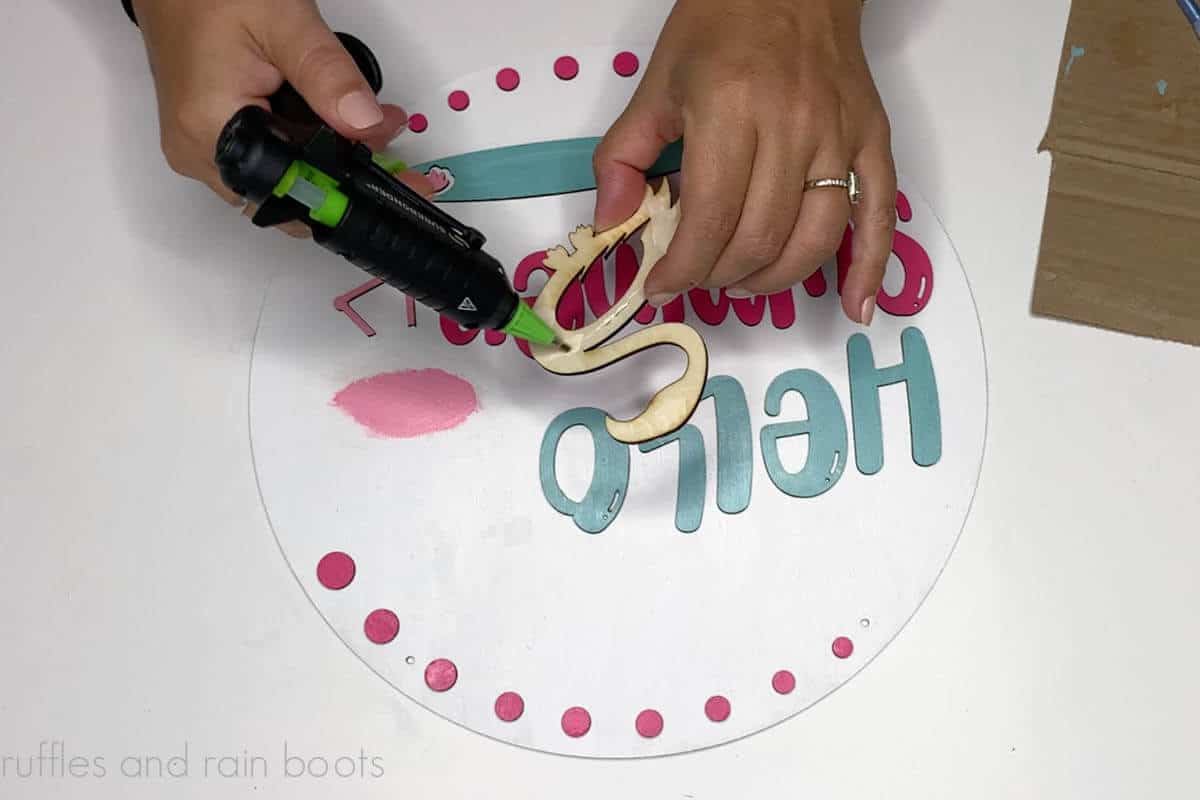
Line up all of the pieces with the wood round’s scored pattern. My note above about increasing the score depth is the only thing I would do differently in this project.

Glue or staple all pieces into place and seal to avoid scratches or paint transfer. I used both wood glue and hot glue in tandem without mixing the glues.
Seal the door hanger with a spray sealant, front and back, and let dry per the instructions. Add on the hanger, any details like greenery or a bow, and the door sign is done.
Please Save or Share This xTool M1 Project Idea
Have you joined the Laser Group on Facebook yet? It’s a welcoming, friendly, and open space to get ideas, ask questions, and learn from our peers.
Your shares are. howthis site grows and I am sincerely grateful. Please use the sharing buttons to save this to a laser cutting projects pin board or share it to Facebook.

Free XCS File – Hello Summer Flamingo Design
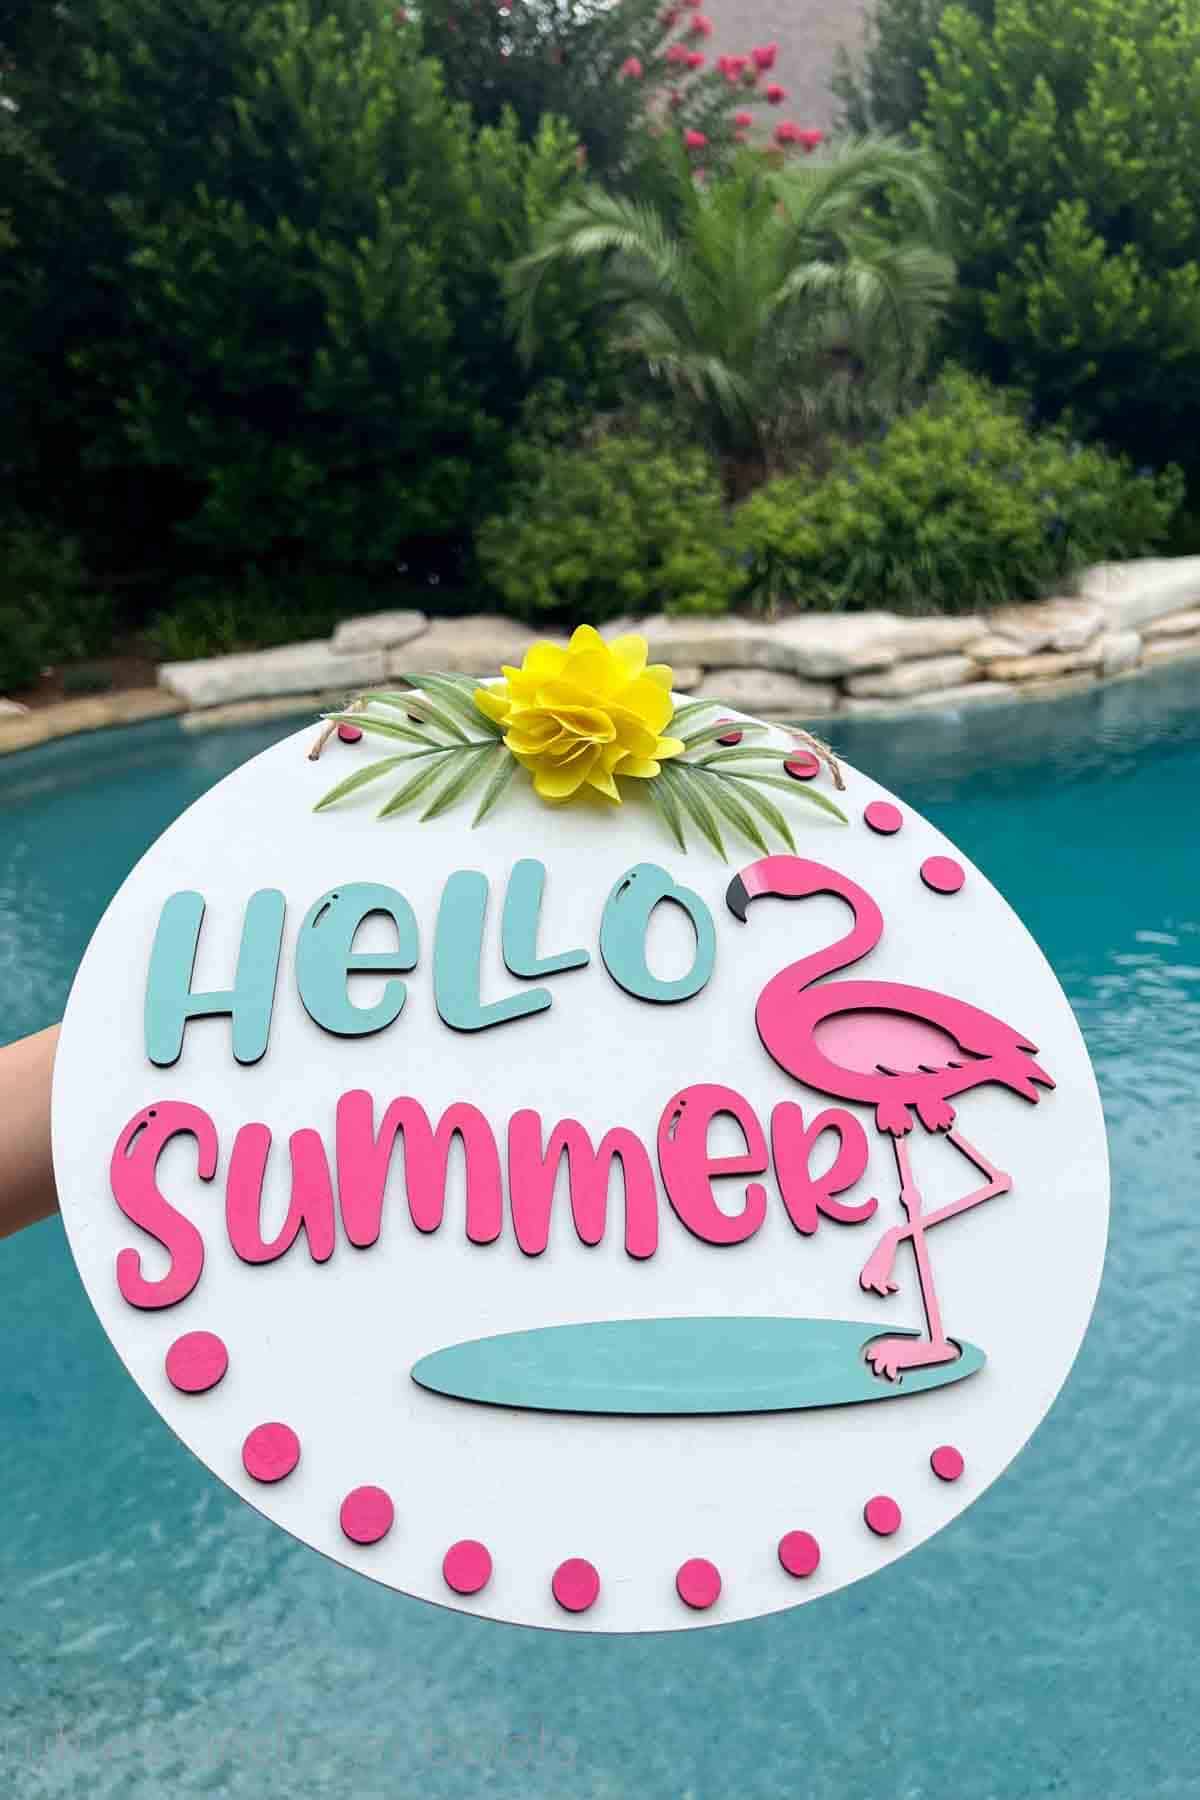
For this project, I took my popular flamingo SVG and added her to a new scene for a free summer door sign SVG. You do not have to use the same materials I did – the project will work with sale-ready woods (not dollar store quality or thickness). :)
In the design, I’ve included details like a set of ascending / descending rounds that allow for framing in case you’re not a fan of greenery or bows. Choose to cut or hide these components in your work.
Please note: I am sharing the XCS and the summer door sign SVG digital download with my generous commercial use license. You cannot sell these files, share these files (share this page only), put these files onto forums or into groups, or use these files in new digital designs.
Download the free flamingo SVG and XCS files here. If using commercially, keep the commercial use license included in the bundle.
Meet the Creator
Hi there, I’m Sarah Nenni-Daher. I’m a crafty gal and always have at least 14 projects going at once. I am a crafter, designer, DIYer, and pattern maker. I share my creations here and in the Ruffles and Rain Boots® Shop.
Here at Ruffles and Rain Boots®, you’ll find DIY gnomes, crafts, gifts, cupcakes, laser crafts, and so much more. I love sharing video tutorials over on YouTube and chatting with other crafters in my Facebook groups. We’d love to have you!