
DIY Farmhouse Tiered Tray
Make this DIY farmhouse tiered tray to highlight keepsakes, add decor elements, and welcome guests. This tutorial makes a sturdy tray by using a trick to avoid wobbles.
You’ll need a few basic craft supplies, two trays, and something to raise up the bottom. I’ve also included designer tips for styling tiered trays easily.
What You'll Find On This Page
DIY Farmhouse Tiered Tray
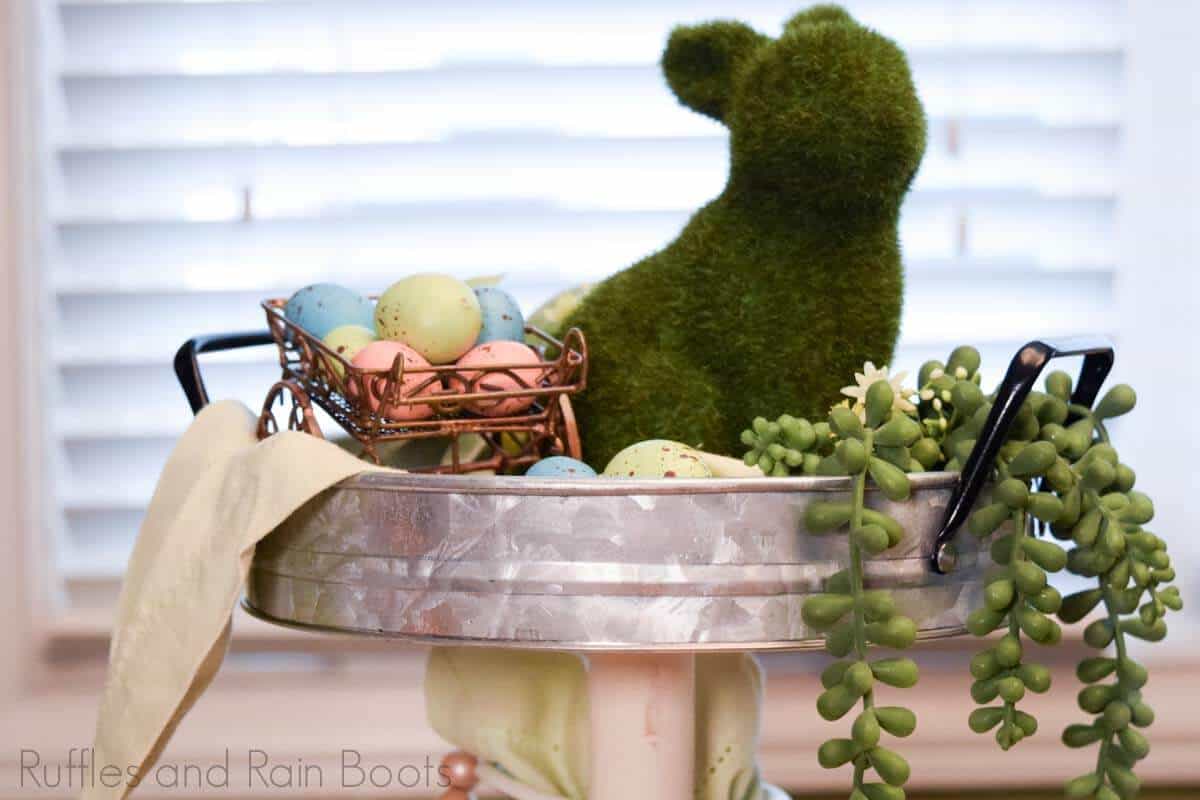
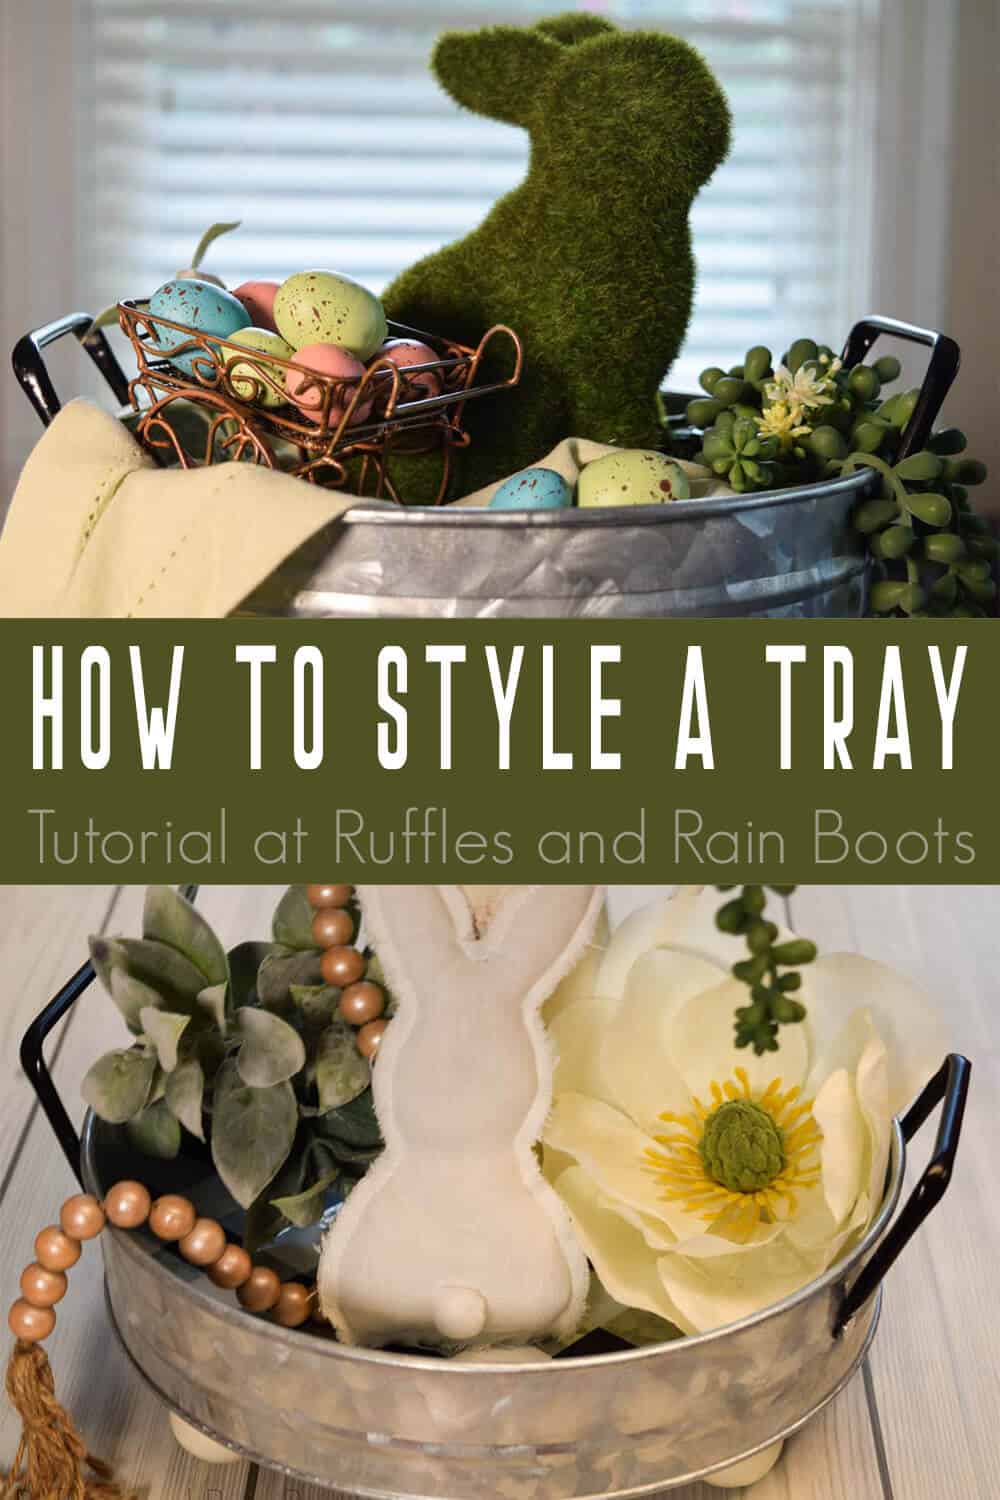
Friends, I love decorating for the holidays and created this farmhouse tiered tray for the counter. I love displaying my easy DIY farmhouse gnomes on it but have styled this one as an Easter farmhouse tiered tray.
This is a ridiculously quick farmhouse project. I gathered a couple of materials, shopped my stash, and picked up two pieces. That’s it! Let’s get started.
No Time to Make This? Pin It for Later
If you’re just scrolling before bed (I do it, too), pin this and come back to it when you’re ready to get your DIY on.
Partner links in this article mean, at no additional cost to you, we could receive compensation for our recommendations. You can read our full disclosure policy.
Tips for Making a Tiered Tray
As I mentioned above, this is one of the quickest crafts you can do and technically, you don’t even need to get out a drill. Instead of a drill and screws, just use something very strong like E600 – do NOT use hot glue as it’s not strong enough to hold.
- I get my favorite farmhouse pieces here (if you don’t have one in your town, you can get them sent to you).
- Try to find materials with a lip. No one wants to style their gorgeous tray and have it all come tumbling down with a single bump.
- Use something large to add stability to your tray. I dislike wobbly things.
- Be sure to shop your stash when styling. It’s so much fun to use pieces you have in your craft cabinet… Mine is like a black hole.

How Do I Make a Tiered Tray?
Gather your supplies and let’s get started. The written tutorial is below and if you’re creating a farmhouse crafts playlist on YouTube, here is our DIY farmhouse tiered tray video tutorial.
DIY Farmhouse Tiered Tray
We are using basic craft elements to make a sturdy tiered tray. It can be styled easily for holidays or everyday decor.
Materials
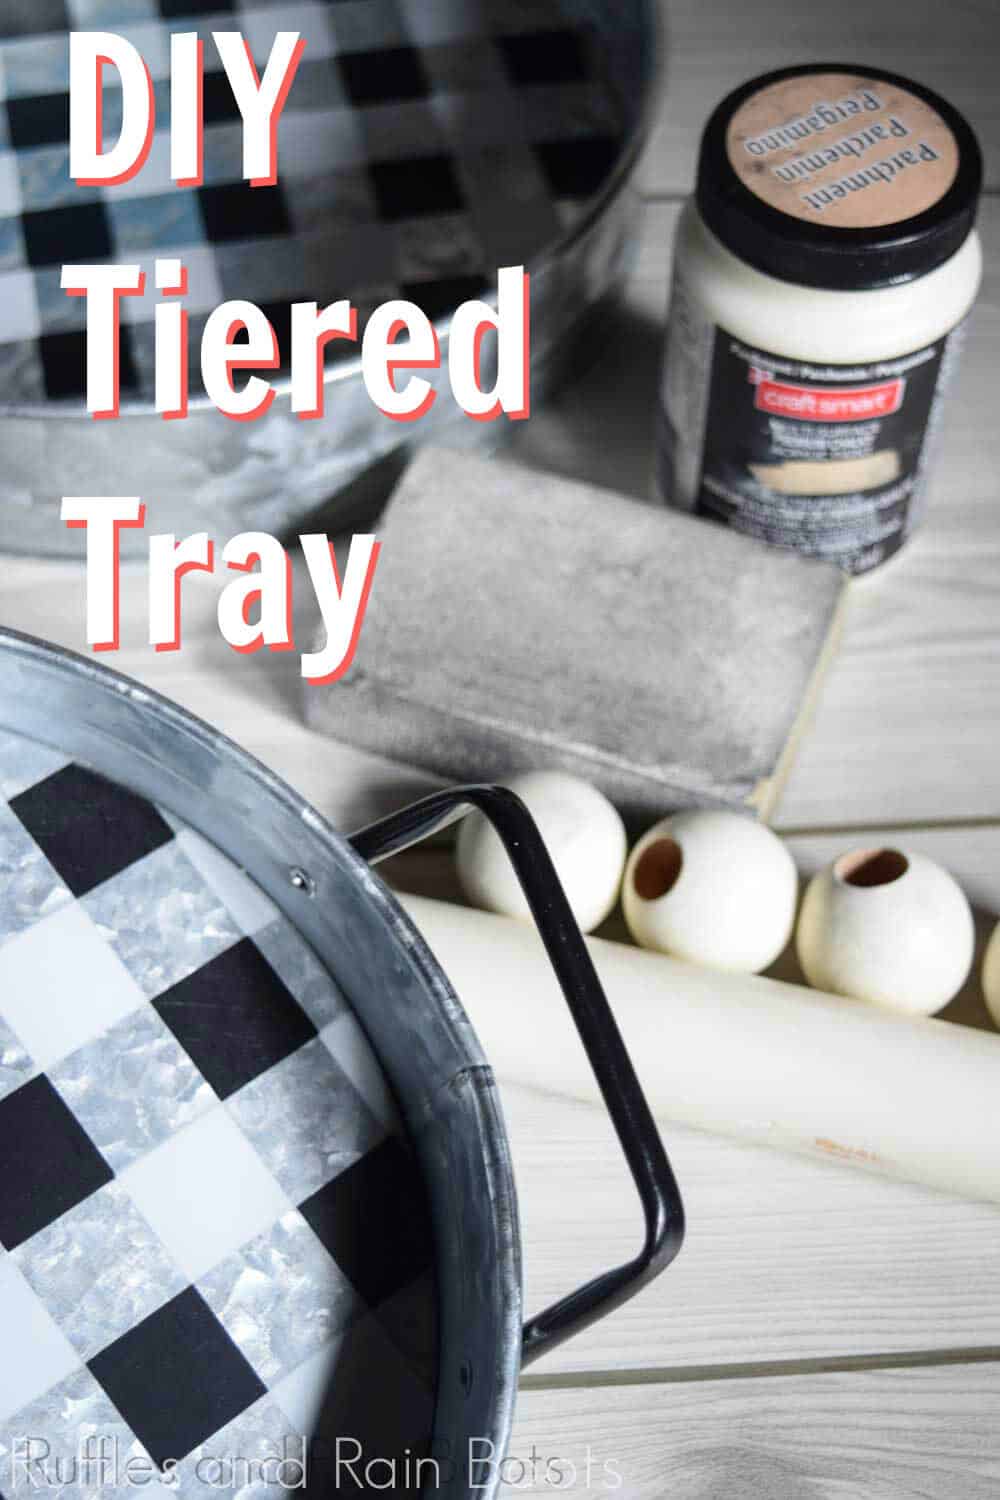
- 2 trays in different sizes (wood or galvanized metal)
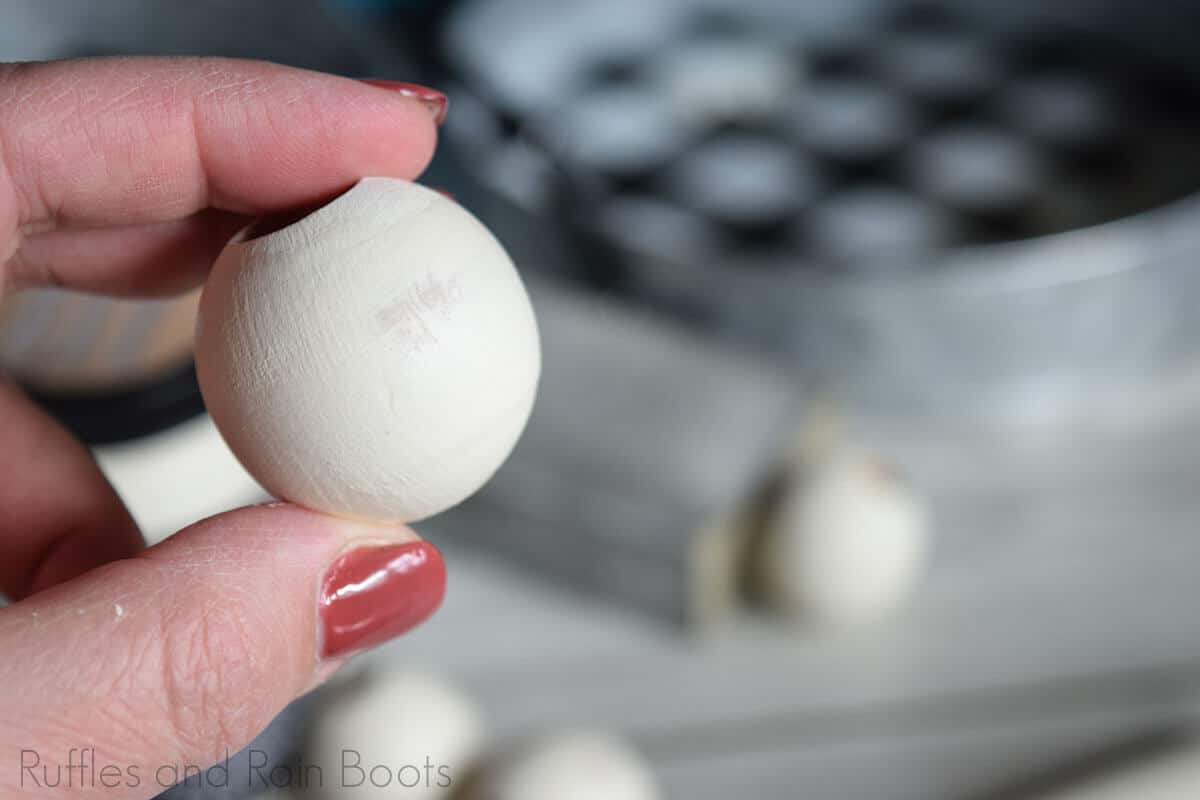
- 4, 1-inch beads (or any large wooden beads)
- 1 1/8th-inch dowel
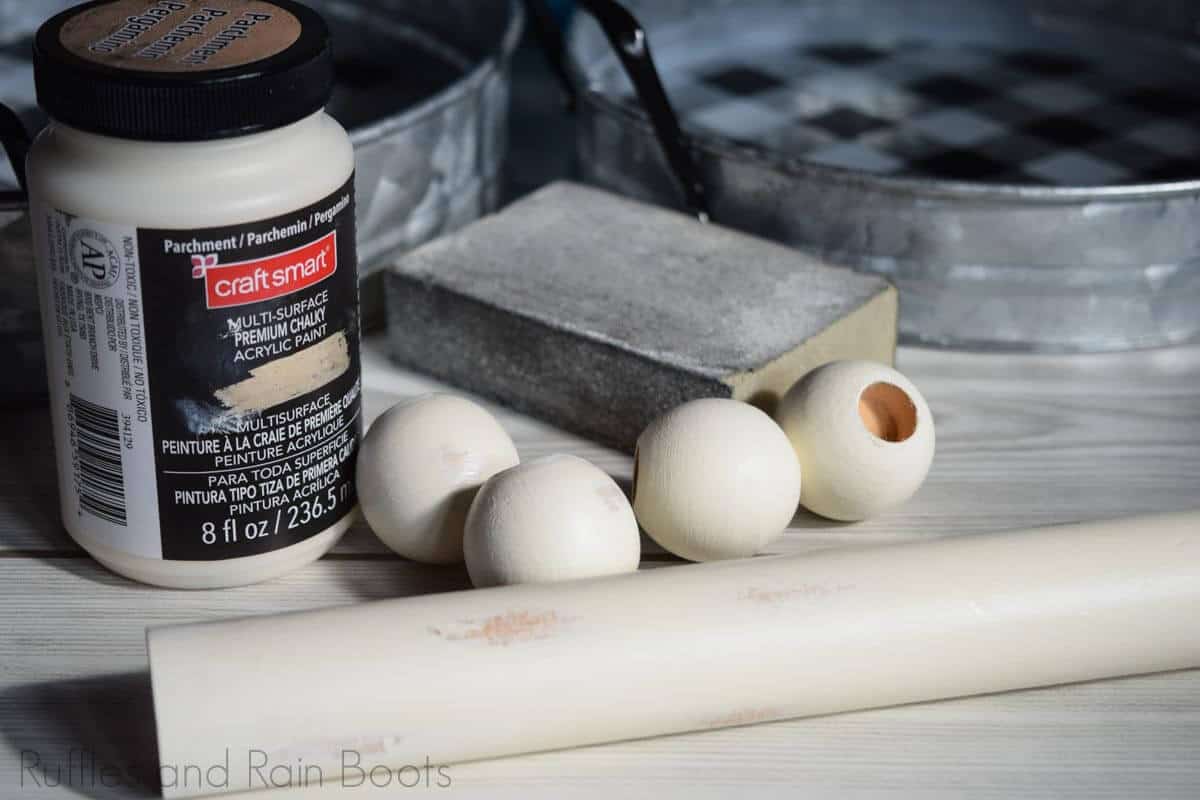
- chalk paint in parchment (off white)
- screws (cabinet or counter sunk)
- thin wood plaques or scrap wood
- ModPodge in matte finish
Tools
- sandpaper
- foam brush
- drill
- saw (not needed if dowel is precut)
Instructions
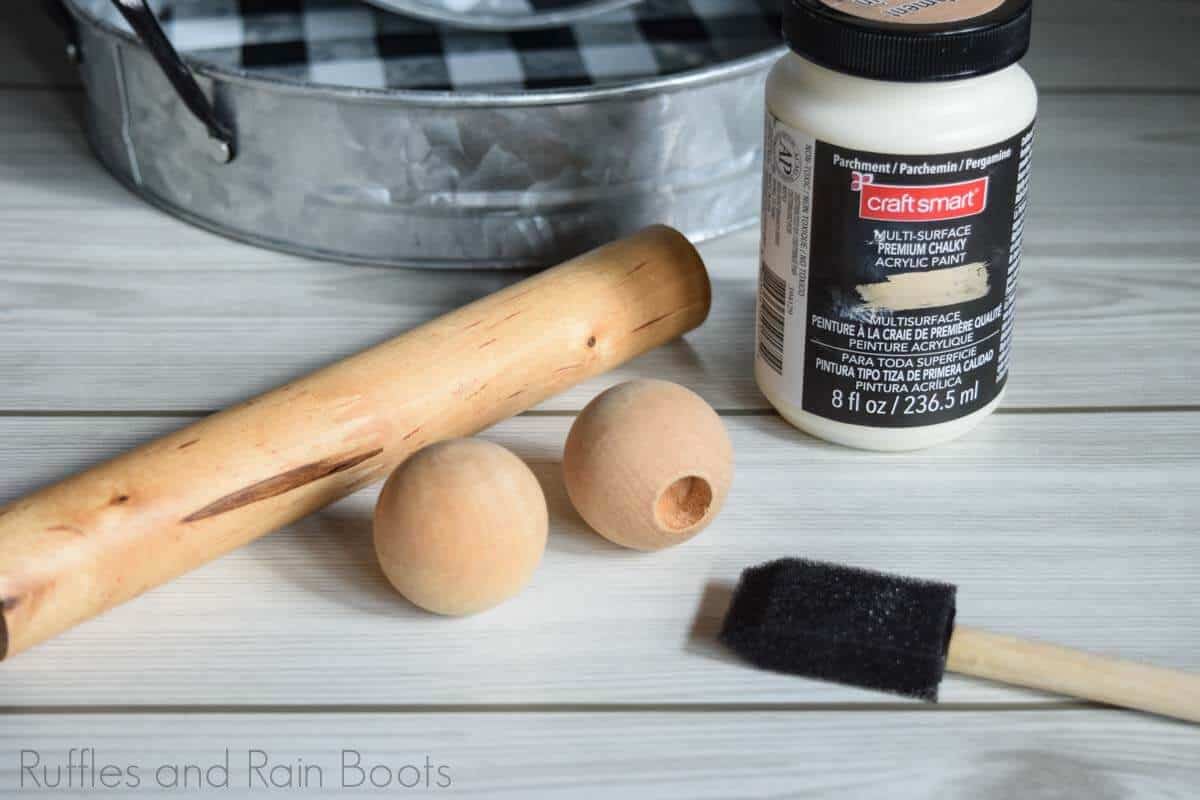
- Cut the dowel to your desired height. I waffled between 8 and 10 inches so I split the difference and cut mine at 9 inches. Gather all of your supplies.

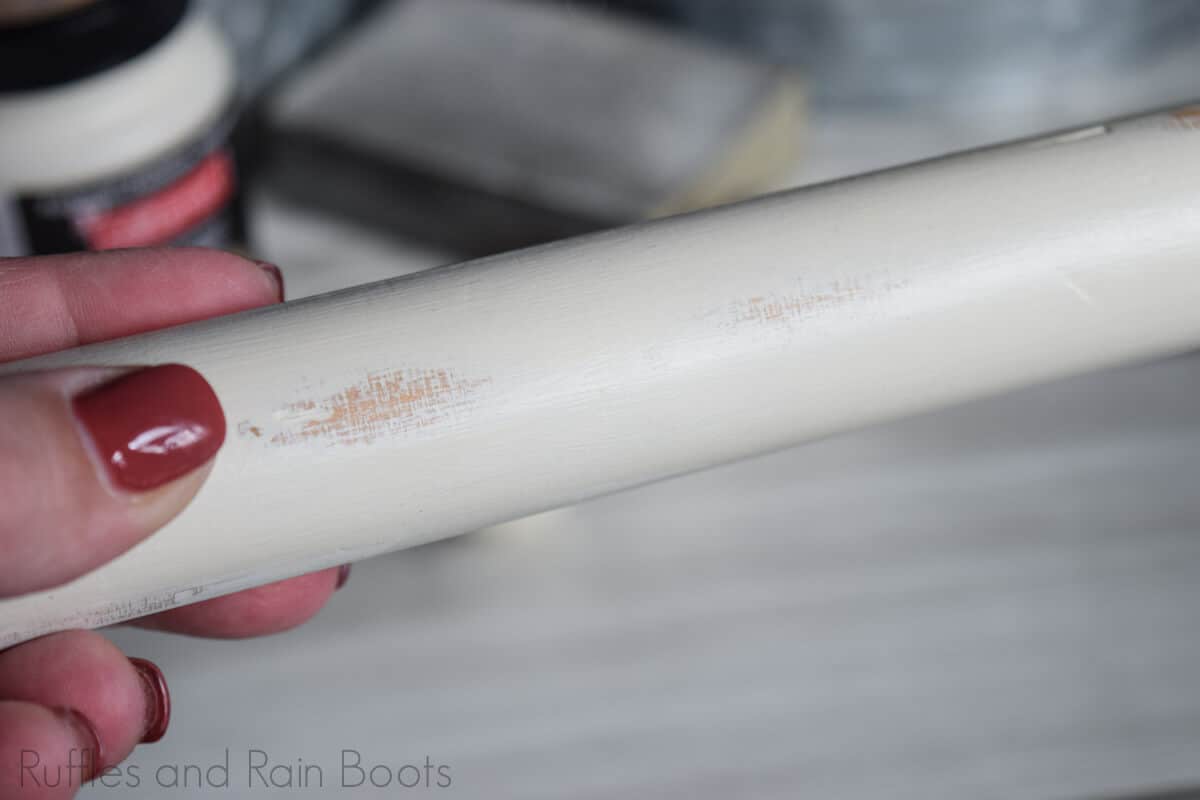
- Paint the dowel and 4 beads with a foam brush and chalk paint. Let dry and repeat another coat.
- Once the paint is dry, sand a few spots down to add a worn look to the painted wood. Remember to sand with the grain. Wipe off dust. .
- Apply a coat of ModPodge to seal the paint and let dry.
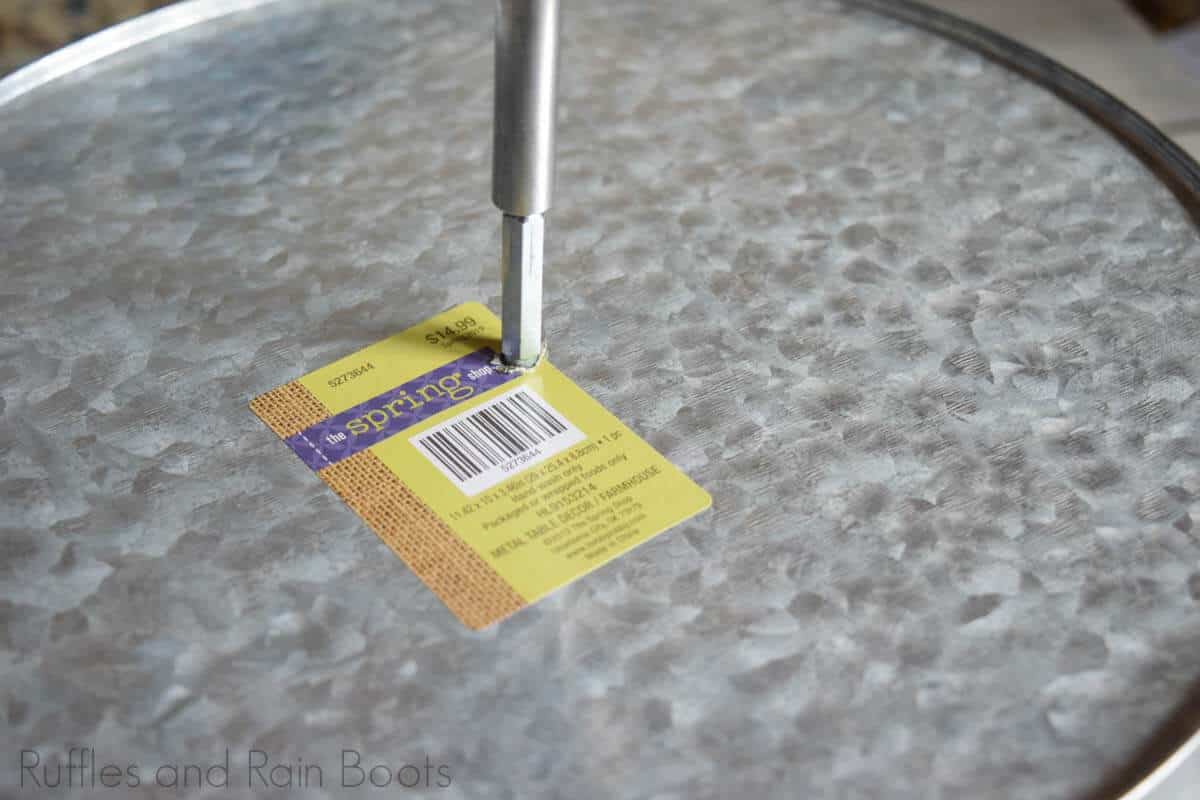
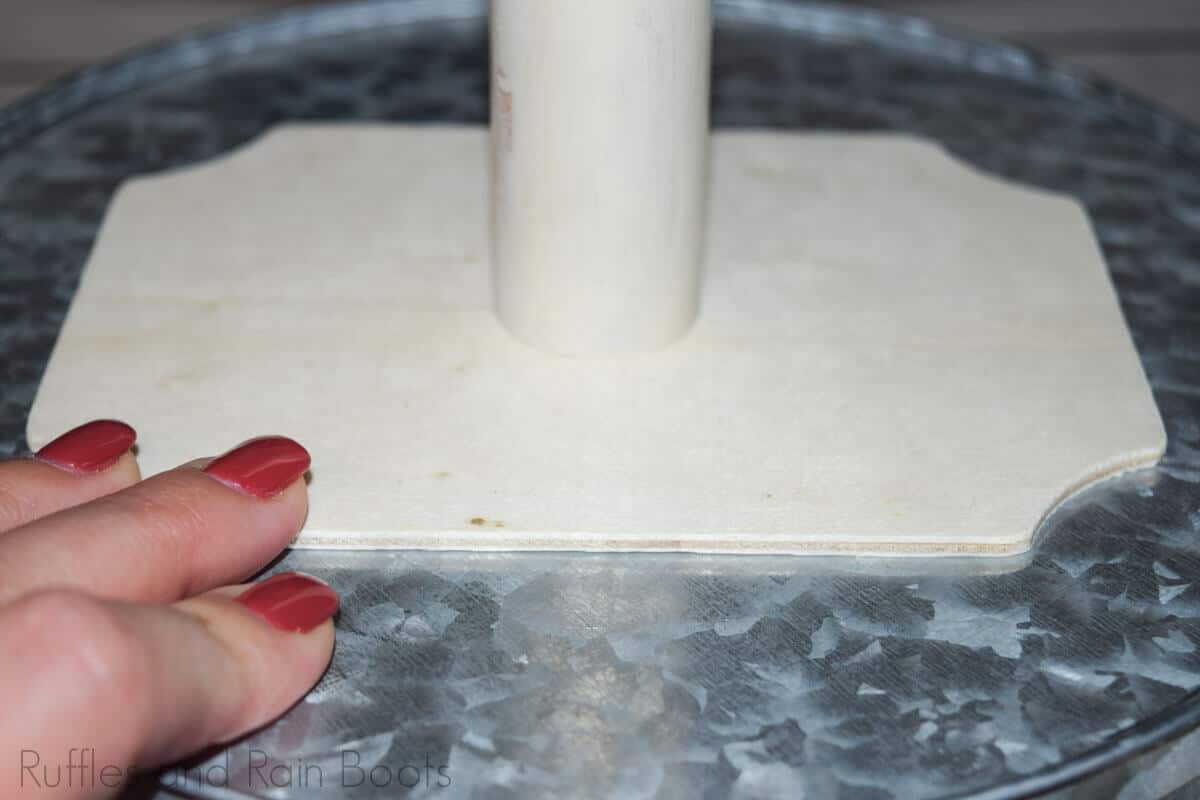
- Use a drill to make a hole in the tins for the screws. Add the small wood plaque and then screw the pieces together. Before adding the feet, screw them into the bottom plaque. .
- Style as directed below and your DIY farmhouse tiered tray is done!

 .
. 
 .
. 
Notes
For more fun crafts and decor ideas, visit Ruffles and Rain Boots .com
How Do I Style a Farmhouse Tiered Tray?
There’s no right or wrong way to style one of these. Start playing around with elements so you can decide what YOU like.
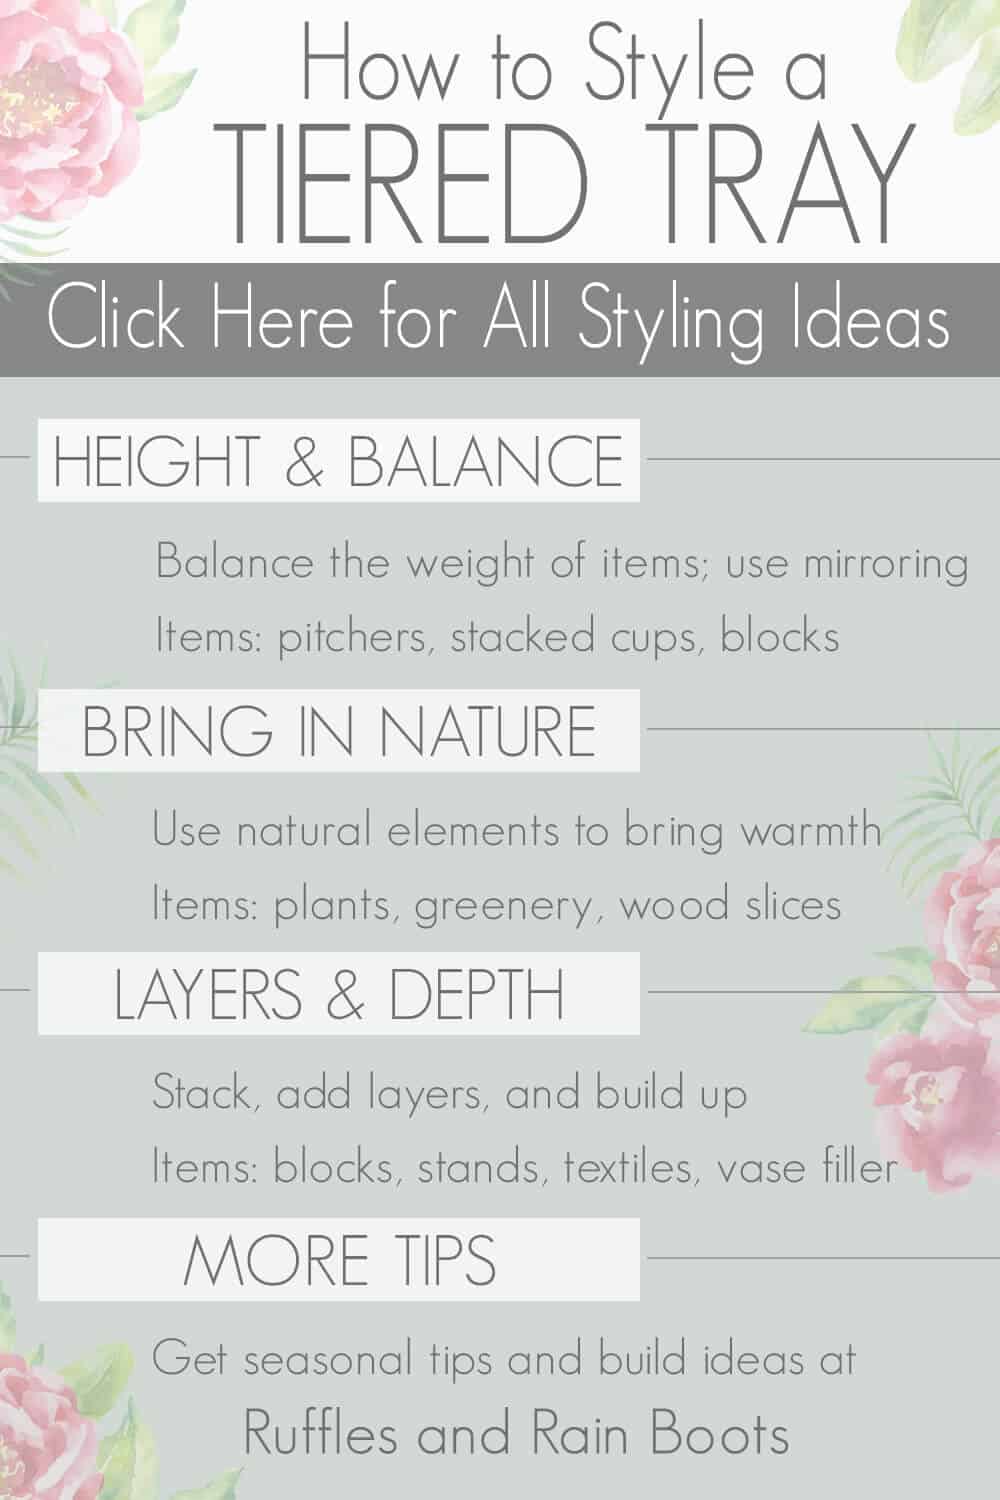
Balance a Tray’s Elements
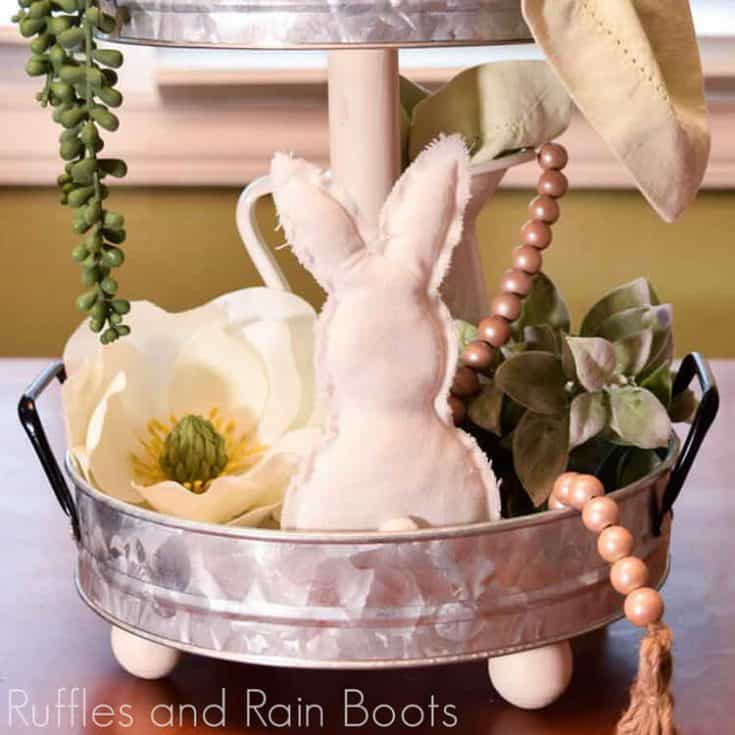
I like to balance the styling, so that means if I have something tall on the top, I balance it out on the bottom with something tall. If something hangs over the top tray, I mirror that with the bottom.
Layer to Add Height and Depth
Another of my favorite tips is to layer. I use cupcake stands, wood rounds, and birch pillars A LOT but don’t be afraid to use whatever you have. A few more ideas are napkins or placemats, vase filler, and cupcake stands.
Keep Natural Elements Natural
My final tip on how to balanced and style a tiered tray is to keep things natural. Don’t turn a bird’s nest on its side – it doesn’t look right. Use layering to highlight something which is small or gets hidden by the edges of the tray.
Tiered Tray Decorating Ideas
If you don’t know what to include on your tiered tray, don’t worry. Below are a few of the elements you probably have on hand which are perfect for decorating a tiered tray.
- Greenery, florals, and succulents. This is my favorite way to start a tray and I used both faux and live plants.
- Galvanized ANYTHING. A small galvanized piece on a wood tray looks as styled as a small wood piece on a galvanized tray. I get a lot of good ideas for galvanized pieces on Amazon but check the craft stores and big box retailers, too.
- Mini plant pots. From the dollar section or an artist like Rae Dunn, mini pots are perfect for tiered trays. Add air plants on rocks, herbs in a bit of soil, or faux greenery or succulents.
- Mason jars. Because really – is it even farmhouse if there isn’t a jar on the thing? ;)
- Gnomes! If you’ve never been to Ruffles and Rain Boots before, check out my farmhouse sock gnome tutorial. It’s no-sew and adorable gnome perfection!
- Pitchers, jugs, and cups. I love adding height with small pitchers and jugs. With removable vinyl, you can use the same pieces and change them for holidays, seasons, or events!
- Holiday accents. Look for smaller pieces to insert into the nooks of your tray and be sure to mix mediums. Grab pieces of various heights and build a scene for each tray.
- Moss balls and other decorative balls. Stack them or use them to build up the center of a tray.
- Farmhouse wooden beads. You can see the pearlized set I’ve used here on this farmhouse tray for Easter, but any set will do. If you have the larger bead strands (1-1.5 inch beads), consider using them on the bottom tier only.
- Natural elements. Play with various wooden pieces, stones, driftwood, and other natural elements. Bringing nature inside is always a good idea and I love to make or buy wood blocks for this.
- Textiles and linen. From cloth napkins to burlap, bring in textiles or linen pieces to be used to fill spaces, lift pieces above the brim, or add pops of color.
- Color palette. I like to stay within a broad palette, meaning I care less about the colors than the tone. If I plan a muted tray, I stick with those colors and parchment or off white and don’t add any brights (even white).
Please Save This to Pinterest
I hope this was a helpful DIY for you! Your shares are how this site grows and I am sincerely grateful. Please save this to your favorite Pinterest board or share it with friends on Facebook.

I’ve tried the link to other galvanized pieces 10-12 times, can’t get past the Flex ad.
Thanks for all the gnome ideas, you are very creative!
Ugh, so sorry, Bunny. I picked up the trays at the Hobby Lobby but it looks like they are no longer available. It looks like Amazon has a few to choose from.
Hi! Wondering where you got the galvanized trays – your link doesn’t work.
I picked up the galvanized trays at a craft store (Hobby Lobby) but there are some on Amazon.
I went to the link where you got your pans but it is no longer valid. :( But thank you for this tutorial as always your hard work is always appreciated. :) Follow you here and Face Book and a gnome fan.
I just found this and I absolutely love it,
I can’t wait to make and decorate my tiered tray, I’m so excited !!Thank you for all your information.❤️❤️