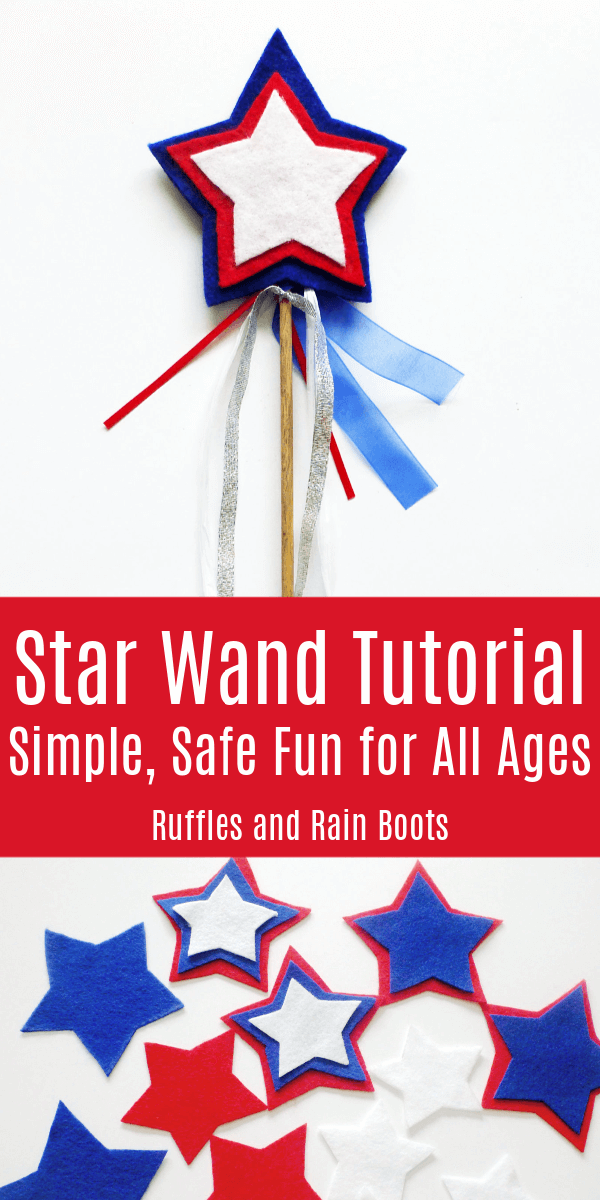
Easy Star Wand Tutorial
Follow along with this simple star wand tutorial and the kids will have the best 4th of July (Independence Day) or Memorial Day. You only need felt to get started, so let’s get started with one of the most simple kid’s crafts you can make.
These simple wands are so fun and our little girl loves them! We have made a few and also have some we’ve purchased, but each and every one of them get played with – sometimes all at once.
If you’re looking for an Independence Day craft for this July 4th, you might want to consider putting a few of these together. This was a very easy and quick craft, done on the back porch while my daughter played with her sand table.
There are affiliate links in this article which means, at no additional cost to you, we could receive compensation for our recommendations. You can read our full disclosure policy.
What You'll Find On This Page
Easy Play Wands
Wands made from craft felt, embellished with rhinestones, ribbons or tulle, are a quick craft that the kiddos get a lot of joy out of. I’ve made a few wands for the little one and can safely say, I’ve found the absolute best craft glue for felt in order to hold those suckers together for life!
Here’s the little one testing glues with me. The ones I’ve tried for our wands are: E-6000, a felt glue from the craft store (no brand name), and a couple of the Aleene’s: fabric glue and the original tacky glue.
This article contains a link to an advertising partner which means I could receive compensation for my recommendations.

The winner – by a landslide – is this one, hands down! Once dry, the felt does not move, separate, or flake away. I use it to secure the dowel to her wands, as well, and it holds it without fail.
Supplies to Make a Star Wand
 You probably have all of these supplies already on hand, but if you need to make a run to the craft store it will be an inexpensive trip.
- red, white, and blue craft felt ($0.30 sheet at JoAnn’s)
- ribbons, if desired
- dowel (1/4 inch by 12 inches works great, but I’ve used the 3/16 inch x 12 inch for lighter wands)
- the best craft glue for felt!
- triple star wand template
- scissors, and chalk or pencil
Cut and Glue the Pieces
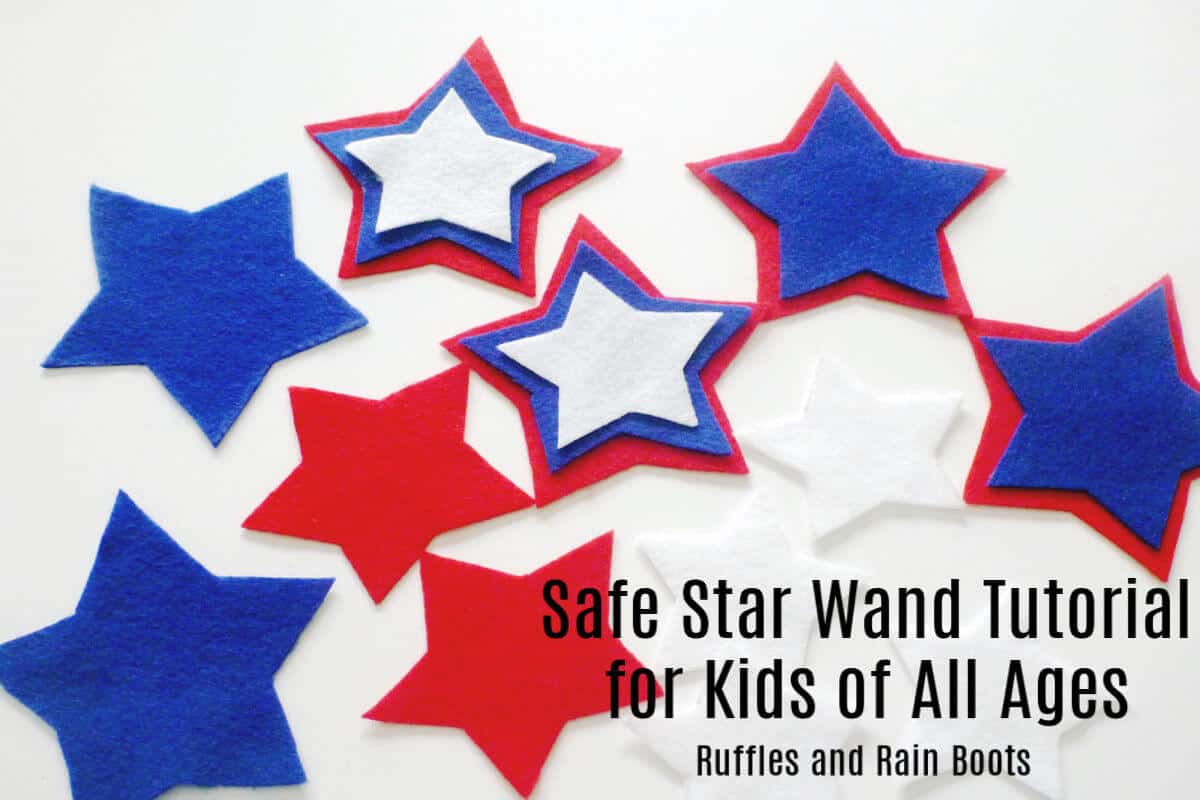
If you have older kids, they could trace and cut the felt pieces, but Elise is only 2.5 years old, so I did it. She did match up all the stars in the ‘mass production’ of a few of these wands for a July 4th playdate.
Use the template and some chalk to trace two each of the small, medium and large stars.

Glue the small stars to the medium stars and let dry a bit (about 5 minutes to prevent shifting). Then, affix the medium star to the large star. You’re more than halfway done with this simple star wand tutorial. Feels good, right?

I put quite a bit of glue on the large stars to affix them to the dowels and to each other (photo below), but I used the glue sparingly on the medium and smaller stars. I mostly outlined the points and angles of the stars and they are stuck on there very well, even a month later.
When assembling, be sure to extend the dowel about 3 inches onto the large star. I put some glue down and then rolled the dowel in it. Before attaching the other large star, I put some glue on the dowel that would be against it.

Embellish Your July 4th Star Wand
We kept the embellishing simple with these, and just added some ribbons tied at the bottom. Honestly, that’s only because I was doing 4 of these at one time (for the play date), but there are so many fun embellishments you could add.
To add the ribbon, I tied it in a double knot as close to the where the dowel met the felt and pushed the tied ribbon up under the felt. I don’t think they’d go anywhere without this step, but I thought I’d err on the side of caution.
I’m not sure how long these took to dry, because we got distracted dancing to the FROZEN soundtrack. Once I got a chance to stop twirling, I trimmed up the stars after they’d shifted a bit from the dowel placement.

After some quick trimming, you’re done! These are going to be part of the fun during our Independence Day play date, but these are a hit any time of year. Think of all of the fun color combinations your kiddos could come up with!
Star Wand Tutorial

Follow along with this simple star wand tutorial and the kids will have the best 4th of July (Independence Day) or Memorial Day.
Materials
- red, white, and blue craft felt ($0.30 sheet at JoAnn’s)
- ribbons, if desired
- dowel (1/4 inch by 12 inches works great, but I’ve used the 3/16 inch x 12 inch for lighter wands)
- the best craft glue for felt!
- triple star wand template
Tools
- scissors, and chalk or pencil
Instructions
- Use the template and some chalk to trace two each of the small, medium and large stars.
- Glue the small stars to the medium stars and let dry a bit (about 5 minutes to prevent shifting). Then, affix the medium star to the large star.
- When assembling, be sure to extend the dowel about 3 inches onto the large star. I put some glue down and then rolled the dowel in it. Before attaching the other large star, I put some glue on the dowel that would be against it.
Embellish Your July 4th Star Wand
We kept the embellishing simple with these, and just added some ribbons tied at the bottom.
To add the ribbon, I tied it in a double knot as close to the where the dowel met the felt and pushed the tied ribbon up under the felt. I don’t think they’d go anywhere without this step, but I thought I’d err on the side of caution.
Endless Fun with This STar Wand Tutorial
To get your creative juices flowing, we used this same method to create a few other wands. I can’t find one of the butterfly wands we made earlier this year – or maybe it was last year, who knows? I think it’s in one of the toy rotation bins and to be honest: I’m hoping (and maybe saying a prayer or two) that Elise naps today, so I’m not going into her room to rummage through the boxes looking for a wand.

Our FROZEN princess wand has a snowflake for Elsa on one side and a flower for Anna on the other. It’s finished with a piece of white tulle I gathered at one end and sewed to the felt before gluing on the snowflake. Not knowing how well the glue would hold this together with the tulle in the middle, I did a quick stitch along the outside edge.
I know that this is most definitely not the most visually appealing wand out there, which is why this will be the only place on the Internet this thing gets shown. It was made very quickly with the little one repeating, “is it ready for playing with? about a 100 times.
Please Share This Fun Craft!