Shooting Stars: A Toss Game Loved by All

What You'll Find On This Page
Shooting Stars: A Toss Game Loved by All
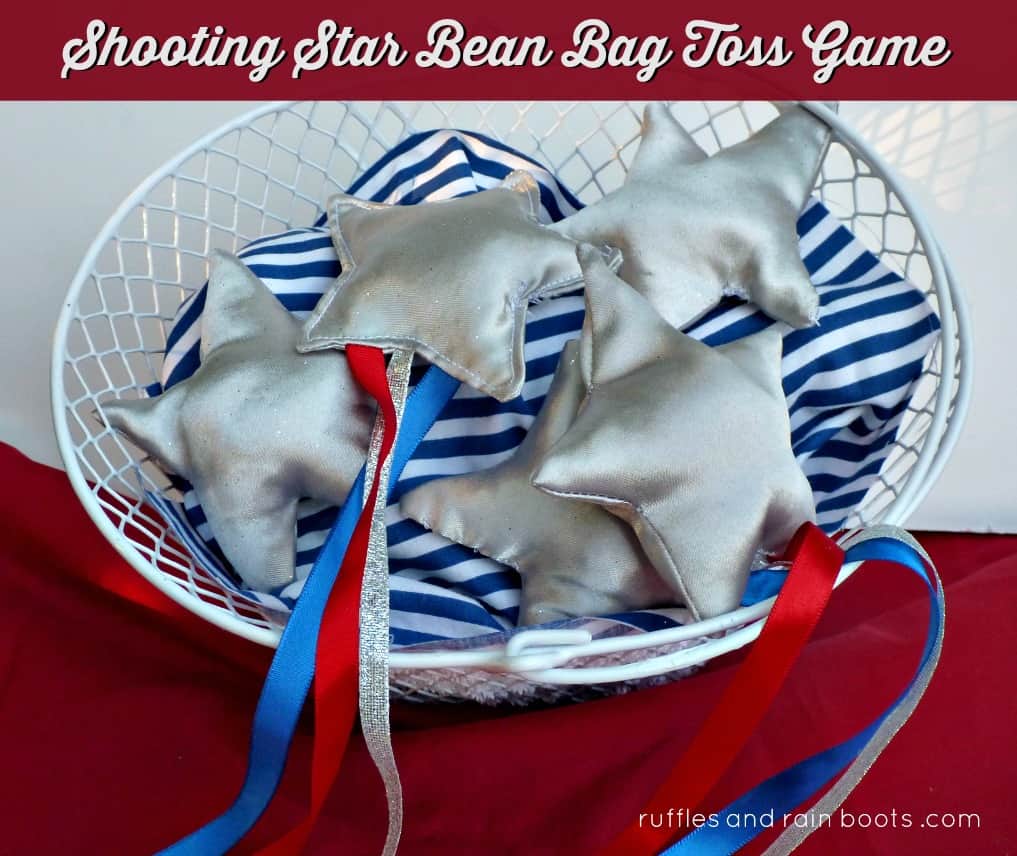
As I was trying to think of things for our next theme learning day on space, I came up with a fun little toss game to help our daughter work off some of that extra energy.
While coming up with the game, I thought we could also use it for the patriotic holidays. I’m planning an Independence Day play date and thought this would make a great game for all of the little ones.
We’ve only had these for a week, and Elise has played with them at least three times a day! I’d say that this one is enough of a success that I thought I’d share it with you all.
Hand-Eye Coordination Games and Gross Motor Skills
Elise, at 2.5 years old, is getting more energy by the day, it seems. We go on walks, play at the park, and run around the house and she still has a ton of energy at the end of the day, even when she doesn’t nap!
This toss game is great because she gets to work on hand-eye coordination, as well as run around a bit more while she retrieves the stars. I consider that a win-win.
Supplies for DIY Toss Game
- I had a quarter of a yard of a shiny, silver, glittery satin fabric. I only made 5 stars, but you can get quite a bit more from that amount of fabric.
- Ribbons – I used satin ribbon scraps and a shiny, silver one
- Stuffing material – I used rice because it could get into the points of the stars
- Star template (can use my free printable or another)
- Sewing machine and sewing supplies
 |
| Just a few simple supplies to create a great toss game! |
I used my large star from the three star wand template, but you can use any shape of star. For reference, using this star (and adding the 1/4 inch seam allowance) yields a 4-inch bean bag.
Cut Fabric and Pin
First, I ironed the satin fabric and pinned it right-sides together so that I would only have to cut half as many times.
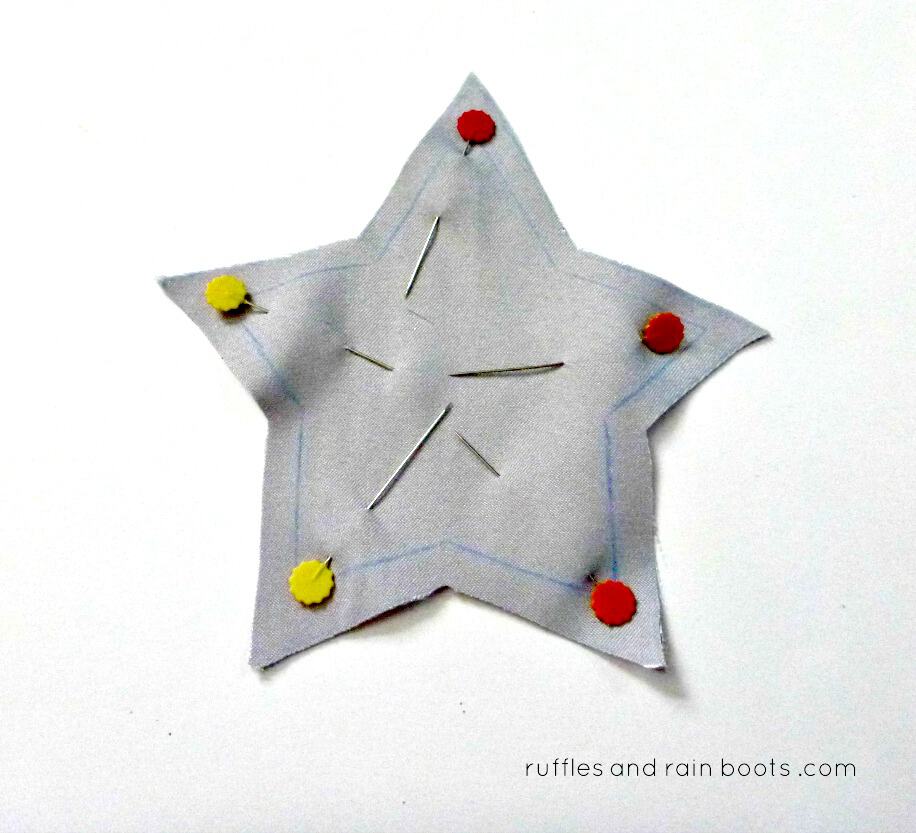
I outlined the star template and then added another quarter of an inch (or so), to account for a seam allowance. I pinned inside the star to minimize any fabric movement and then started cutting.
 |
| I used a lot of pins to make these star bean bags. |
After cutting, I added some ribbon scraps, pinning them carefully. I use a TON of pins because I hate re-cutting fabric. Maybe I can earn the title, “The Laziest Crafter” one day?
 |
| Add ribbons to create a shooting star. |
You can choose to make all of the bean bags ‘shooting stars,’ but because I was using scraps, I ran out of the red and blue ribbons after two stars. I thought about using just the silver ribbon – or making a trip to the craft store – but I just wanted these done. Obviously, the stars come together faster when you don’t have to pin the ribbons.
Sew the Stars for a Bean Bag Toss Game
I popped all of the stars over to the sewing machine and stitched them up, taking care to reinforce the points and angles of the star. I left about an inch on one side to flip the fabric and fill it (my turn opening).
After sewing all but the turn opening, I cut the fabric on all points to help it lie correctly once turned.
 |
| Don’t forget to snip the angles and points before you turn. |
Fill and Close Bean Bags (or Corn Hole Bags)
Fill up the stars with rice, lentils, or any other small fill. I tried using beans but they wouldn’t get all the way into the points of the star, so that’s why I’d recommend something small as the filler like rice.
Hand sew the opening closed using a ladder stitch and you’re ready to take them to the backyard for a fun game of toss. Elise and I have used all manner of receptacles: baskets, buckets, storage bins, and even each other’s hands.
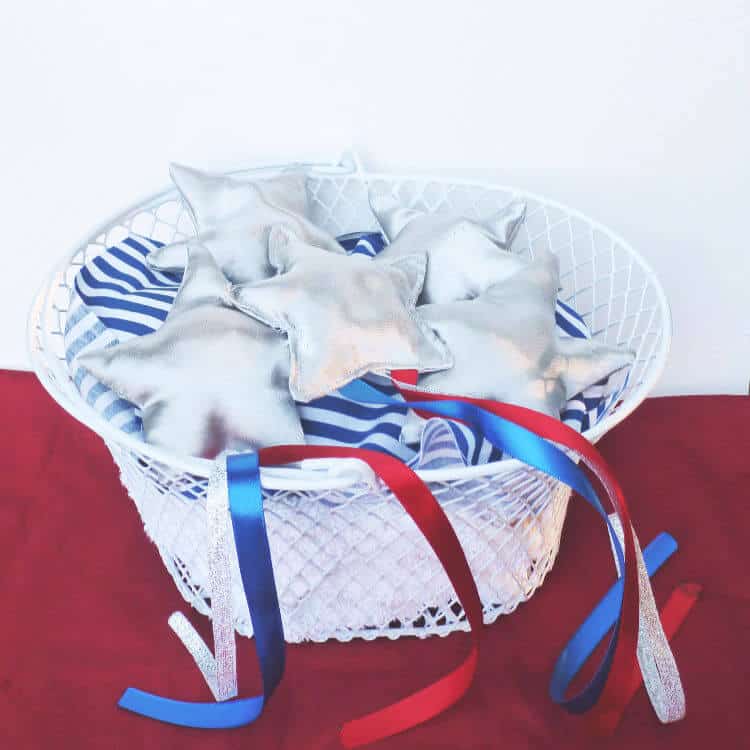
I just realized we need to make new boards for backyard corn hole and these would make amazing corn hole bags! The streamers on the back of the bags make it very festive.
Shooting Stars: A Toss Game Loved by All

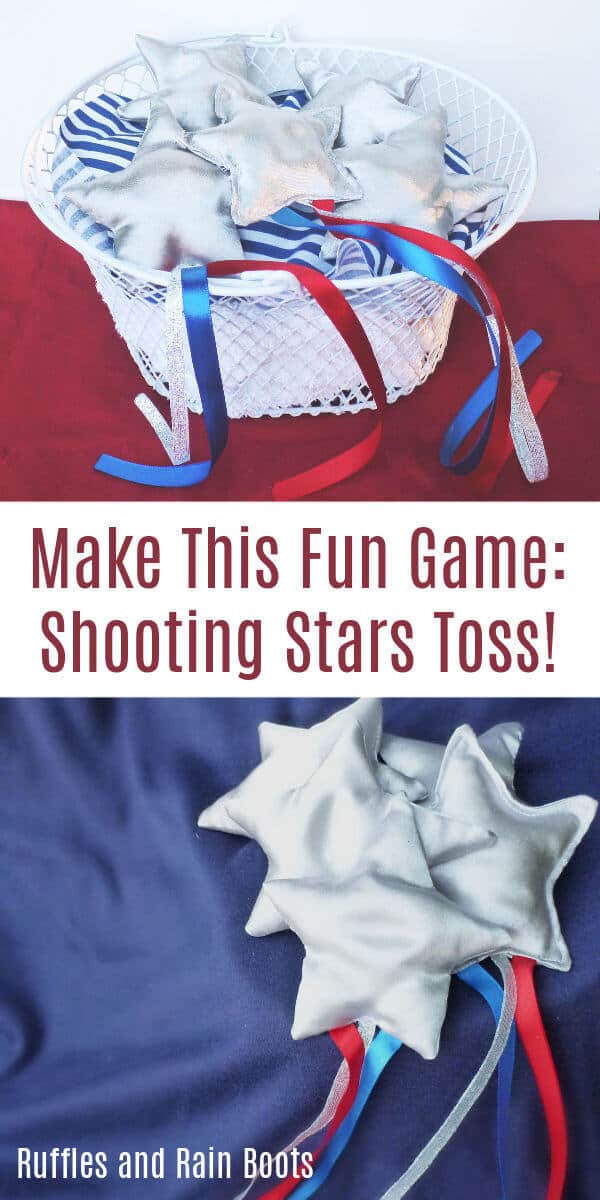
This bean bag toss game is so much fun!
Materials
- I had a quarter of a yard of a shiny, silver, glittery satin fabric. I only made 5 stars, but you can get quite a bit more from that amount of fabric.
- Ribbons – I used satin ribbon scraps and a shiny, silver one
- Stuffing material – I used rice because it could get into the points of the stars
- Star template (can use my free printable or another)
- Sewing machine and sewing supplies
Instructions
Cut Fabric and Pin
- First, I ironed the satin fabric and pinned it right-sides together so that I would only have to cut half as many times.
- I outlined the star template and then added another quarter of an inch (or so), to account for a seam allowance. I pinned inside the star to minimize any fabric movement and then started cutting.
- After cutting, I added some ribbon scraps, pinning them carefully. I use a TON of pins because I hate re-cutting fabric. Maybe I can earn the title, “The Laziest Crafter” one day?
- You can choose to make all of the bean bags ‘shooting stars,’ but because I was using scraps, I ran out of the red and blue ribbons after two stars. I thought about using just the silver ribbon – or making a trip to the craft store – but I just wanted these done. Obviously, the stars come together faster when you don’t have to pin the ribbons.
Sew the Stars for a Bean Bag Toss Game
- I popped all of the stars over to the sewing machine and stitched them up, taking care to reinforce the points and angles of the star. I left about an inch on one side to flip the fabric and fill it (my turn opening).
- After sewing all but the turn opening, I cut the fabric on all points to help it lie correctly once turned.
Fill and Close Bean Bags (or Corn Hole Bags)
- Fill up the stars with rice, lentils, or any other small fill. I tried using beans but they wouldn’t get all the way into the points of the star, so that’s why I’d recommend something small as the filler like rice.
- Hand sew the opening closed using a ladder stitch and you’re ready to take them to the backyard for a fun game of toss. Elise and I have used all manner of receptacles: baskets, buckets, storage bins, and even each other’s hands.

Over to You
You’re done with this simple tutorial! Have a backyard get-together and let the kids (and the adults) have a bit of fun tossing these little cuties around!
Thanks for sharing some time with us today. We would love it if you shared this with your friends and followers on Facebook or Pinterest.


