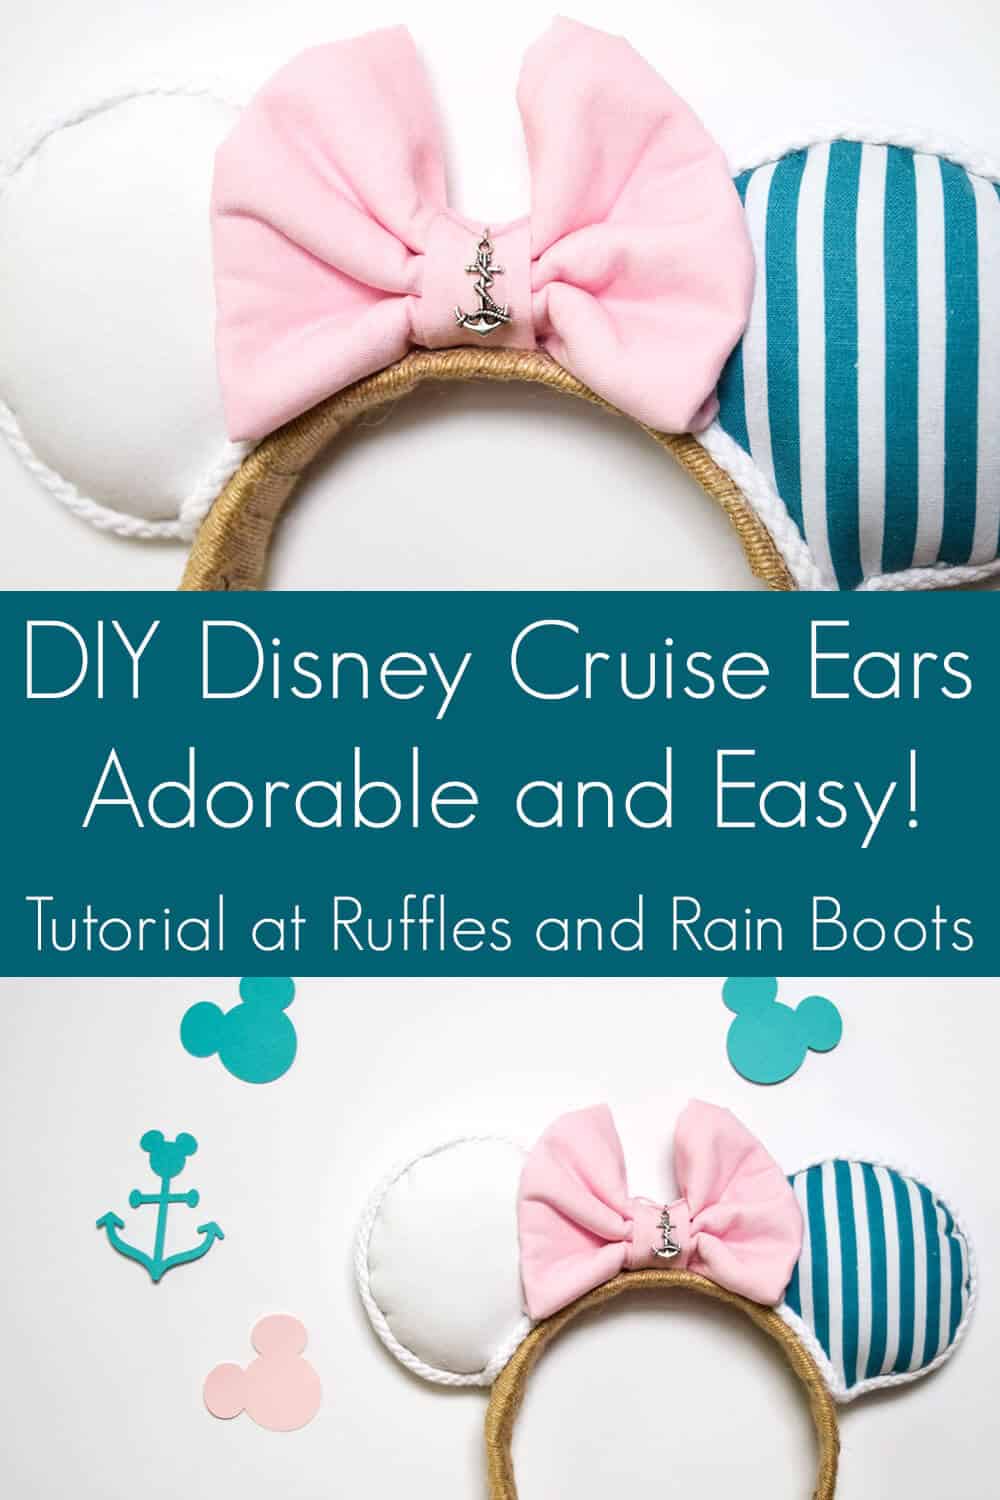
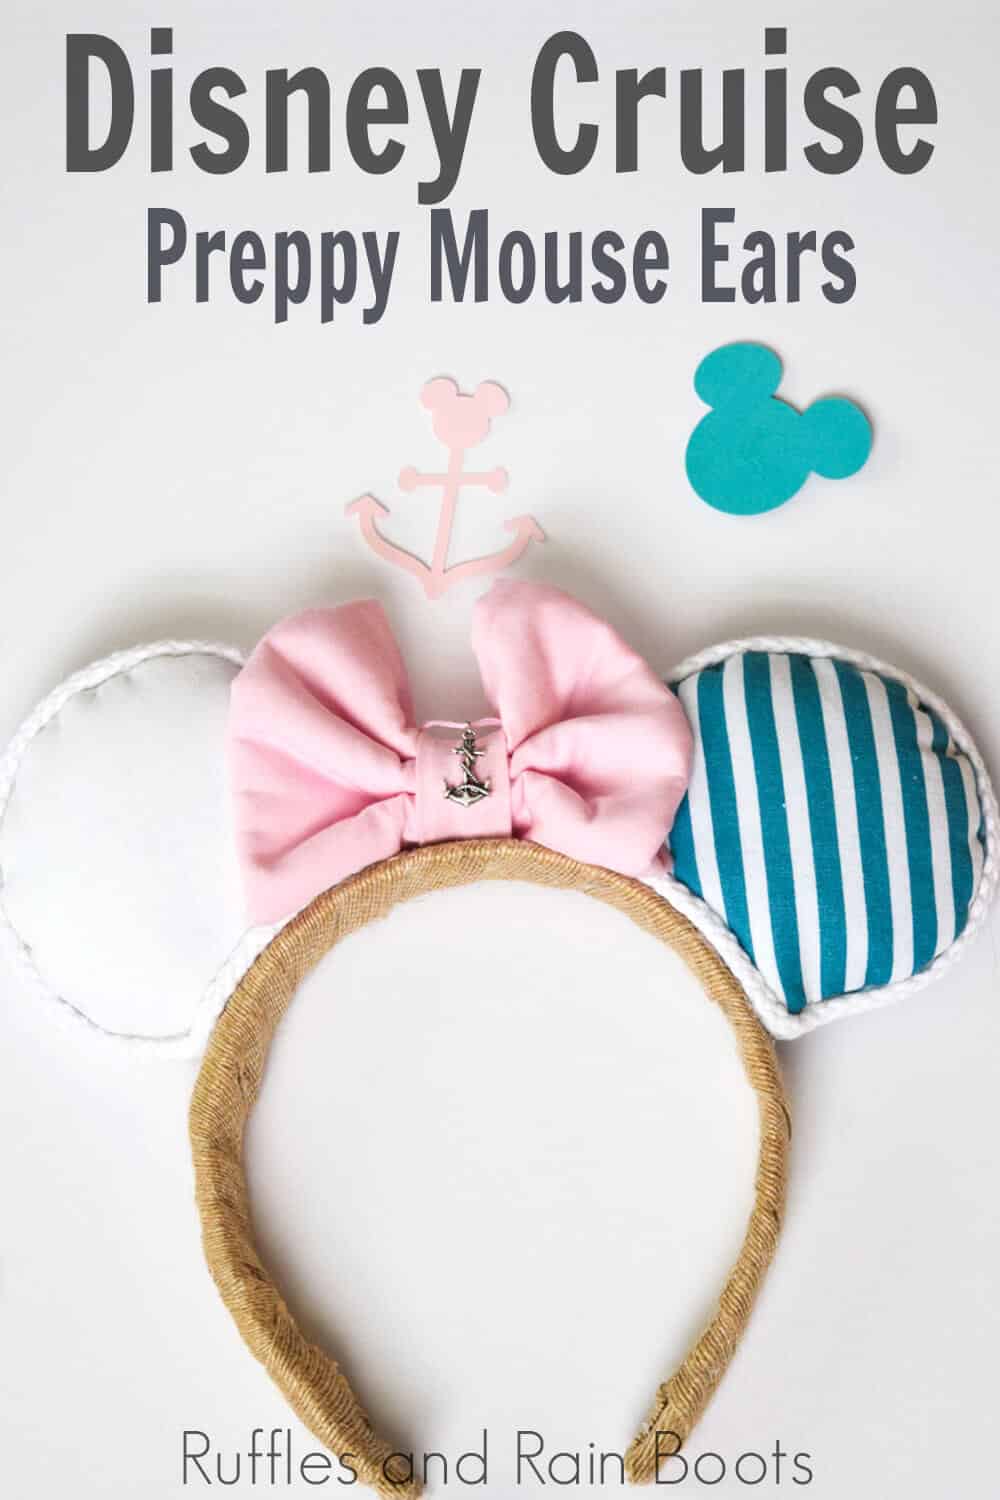
Preppy Disney Cruise Mickey Ears
These adorable preppy cruise Mickey ears are perfect for your next Disney cruise. After making so many ears, this is one of the easiest to make DIY mouse ears.
What You'll Find On This Page
Preppy Cruise Mickey Ears with a Fun Nautical Charm
Here at Ruffles and Rain Boots, I’ve made quite a few DIY Mickey and Minnie Mouse ears. From Mouse hats to headbands, I’m learning how to make sturdy sets that can withstand Disney fans of all ages.
Most tutorial rely on foam core board to hold them up. Now, there’s nothing WRONG with this (I use this in many of my homemade Mickey and Minnie ears, but I was worried about what happens when it rains?
Because those showers DEFINITELY happen both on the cruises and at the parks. I mean, they sell parkas for a reason!
Because of this concern heading into our upcoming trip to Walt Disney World, I started looking for lightweight alternatives to use as mouse ear forms and I’m so happy I did! Let’s get started.
RELATED READING: Free Disney Cruise SVG Files for Cricut and Silhouette
Save or Share
Not going on your Disney cruise for a while? Save this to your favorite Disney planning pin board or share to your favorite Disney cruise Facebook group. I’m probably in it. ;)
As an Amazon Associate, I could earn from qualifying purchases. There could be affiliate links within this article.
Tips for Making Disney Cruise Ears
I’ve made quite a few DIY mouse ear headbands and will tell you these are very quick to make. They qualify as a beginner’s sewing project (because you just have to sew along a traced line).
That said, you can absolutely hot glue these! Before you begin, make sure you’re using a detail tip glue gun (this is mine from Surebonder and I love it). Additionally, if you have fabric hot glue on hand you can use it but you do not need it to make these.
- I picked up all of the fabric and ribbon trim used for these easy Mickey Mouse ears at a craft store (Joann’s).
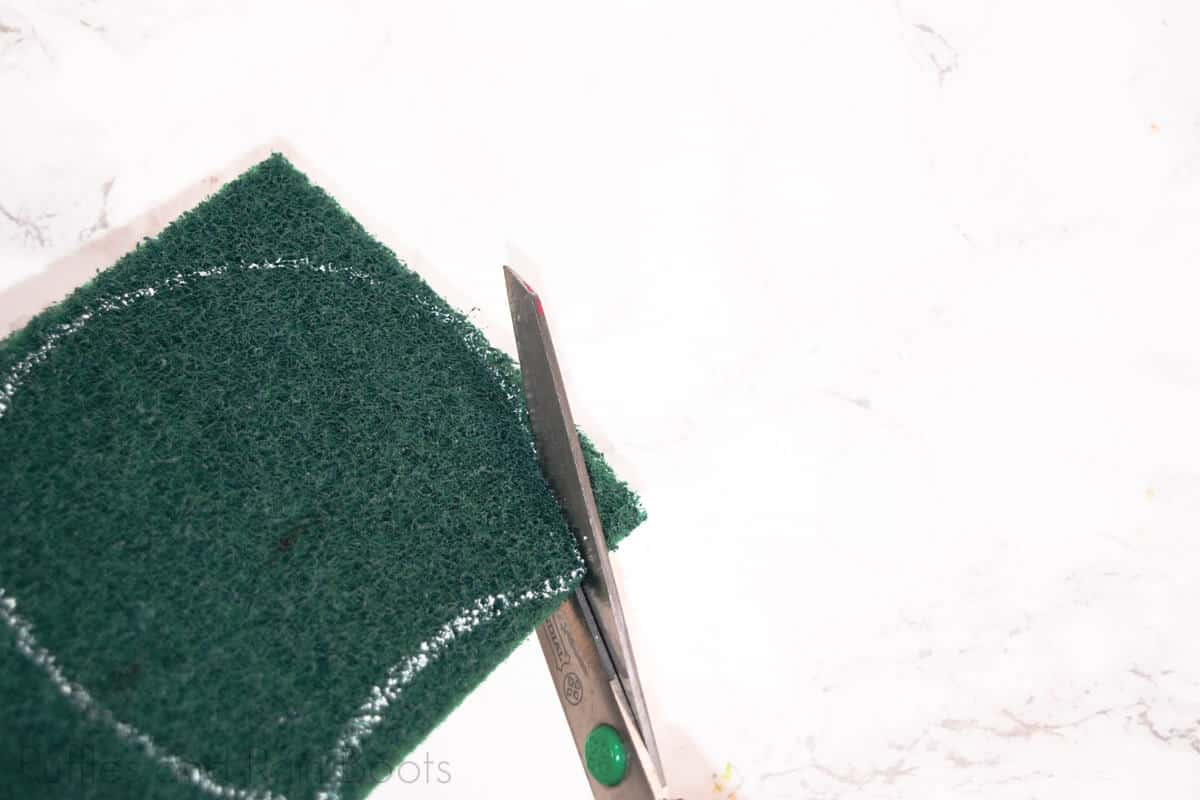
- Don’t raid your nice cleaning supplies. Instead, go to the Dollar Tree for the green scrubby pads. That way you can see if you like this method before spending a lot of money.
- You can use “fat quarters” sold in folded squares at craft stores. You will need to iron them well before attaching the interfacing but there is no need to wash the fabric before sewing or using your hot glue gun to make these..
- Iron-on interfacing isn’t necessary (you can use the sew-on kind) but I find it easier to work with.
- Your headband should be a minimum of one to one and a half inches wide to be most comfortable and have your ears stay in place. If you have the plastic or fabric headbands with hair grippers, those work best. If you don’t, you can try adding a bit of hot glue (dots or lines) to grip the hair.
- Don’t over stuff the ear but try to make sure you get it a little better than I did on this one ear (picture below). You see those puckers? Sometimes a little stuffing can fix those right up.
How Do I Make These Preppy Cruise Mickey Ears?
I’m so glad you asked! Below is our written tutorial, but I urge you to watch the full DIY preppy cruise Mickey ears video tutorial here on YouTube. When you start making your own Minnie Mouse ear headband projects, it goes slowly but once you figure out the curves, it’s a breeze.
Preppy Cruise Mickey Ears

These adorable preppy-style cruise Mickey ears are the perfect DIY if you're heading out on the water. They are lightweight and will bring oohs and ahhs from fellow passengers.
Materials
- 1/4 yard white cotton fabric
- 1/4 yard teal and white stripe cotton fabric
- 1/8 yard pink cotton fabric
- iron-on interfacing
- rope ribbon (thin for the trim)
- a burlap looking ribbon for the headband (it is smooth and soft)
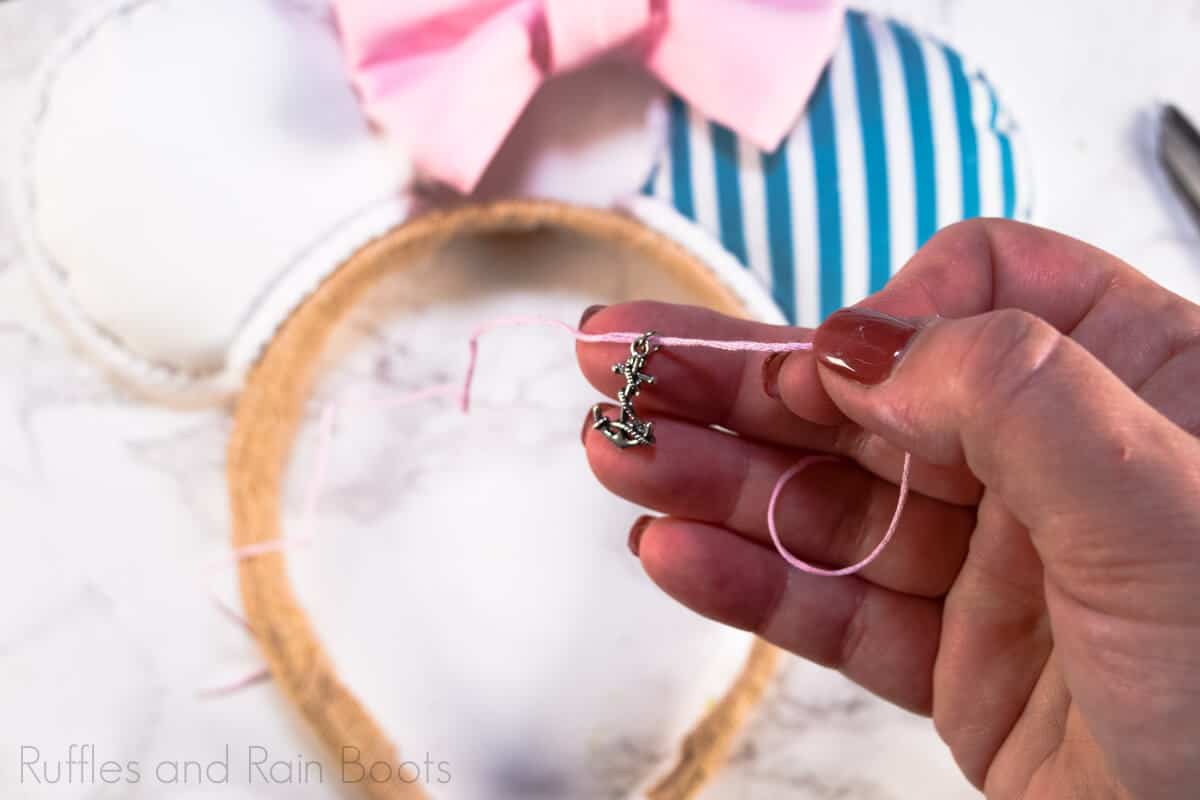
- nautical charm and thin string or embroidery thread to tie it on
- scrub pads
- polyfill (for stuffing the ears)
- white 1-inch wide plastic headband
Tools
- hot glue gun and glue sticks
- scissors
- sewing machine (can hand sew)
- pencil
Instructions
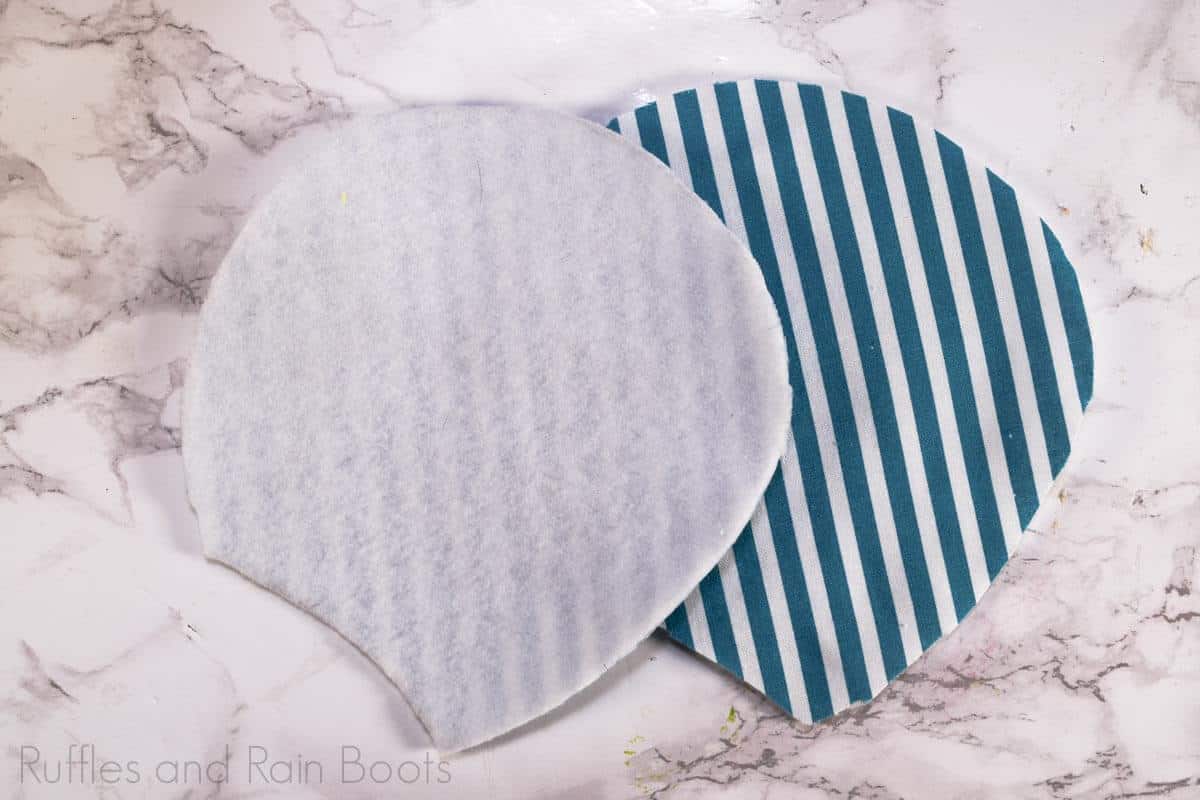
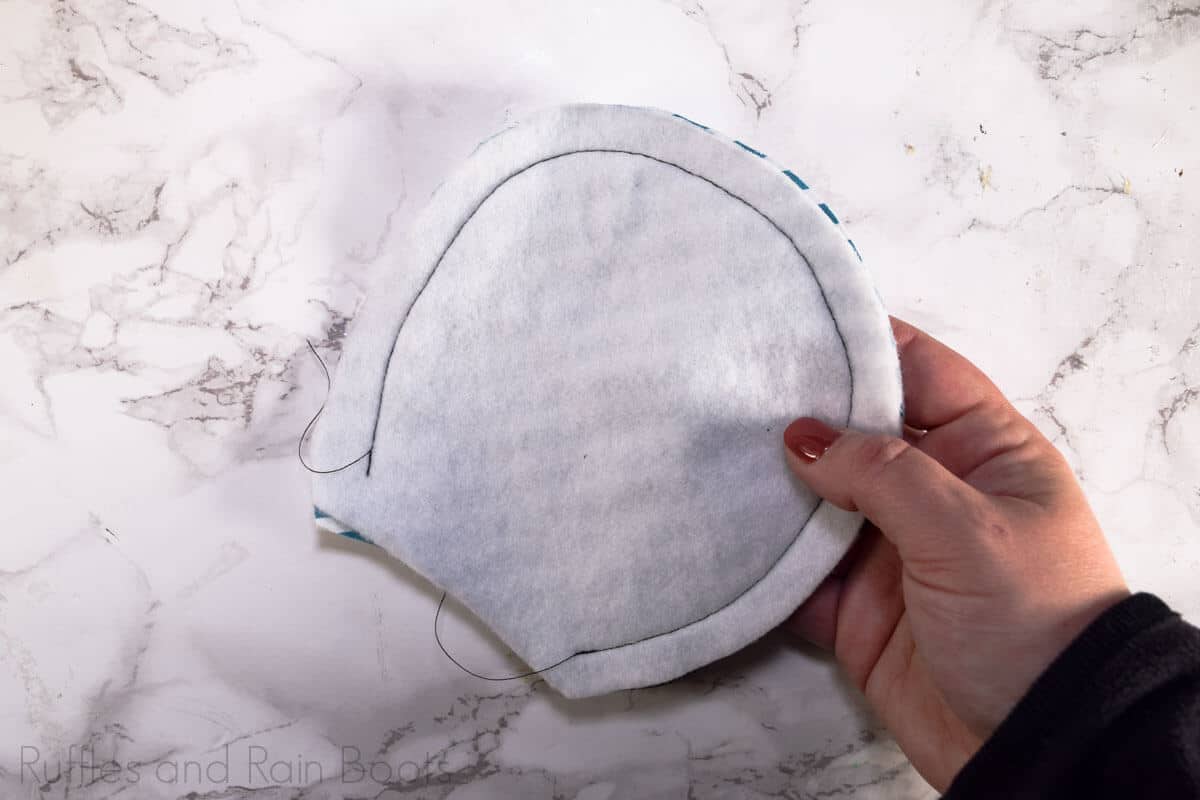
- Outline the outer ear fabric template on the back of your fabrics in a light pencil. Use an iron to secure interfacing to fabric and trace the inner ear template using a light pencil stroke (this is your sew line).

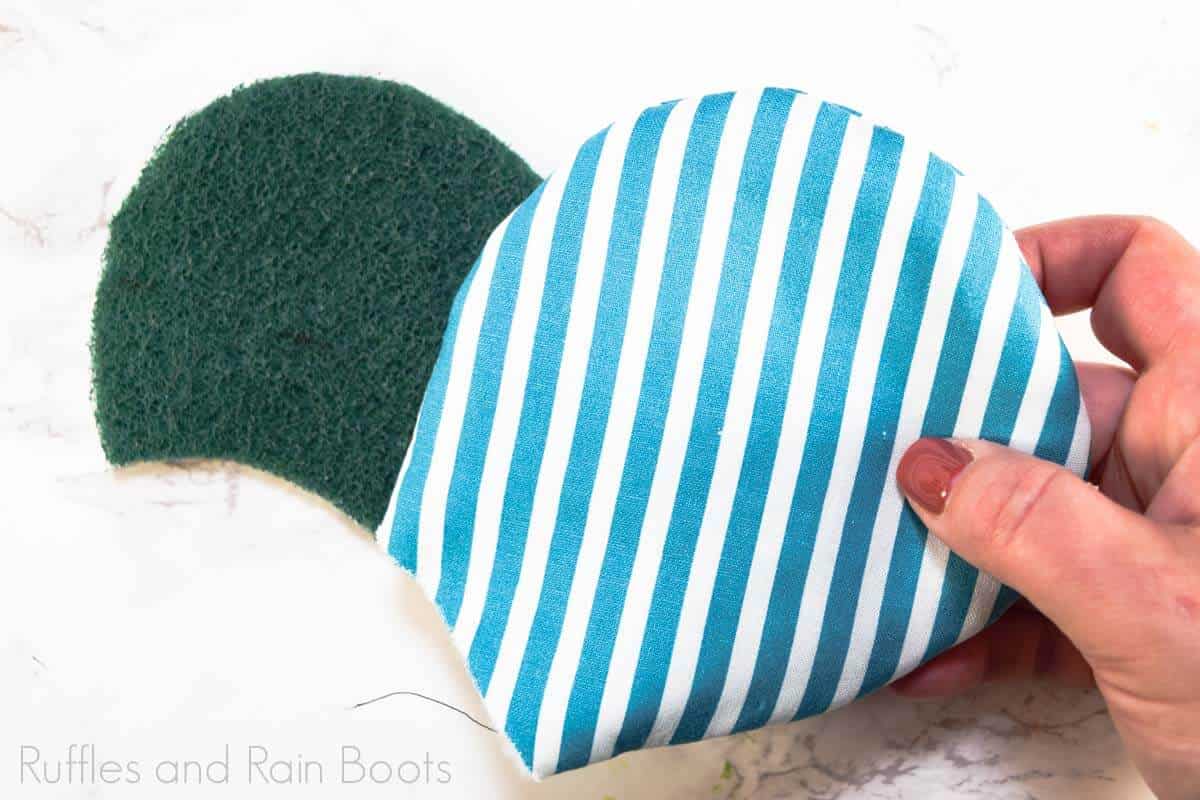
- Cut all fabric (2 each fabric for ears WITH interfacing attached and 2 forms (I used scrub pads).
- Sew along the line, leaving the bottoms of the ears open.
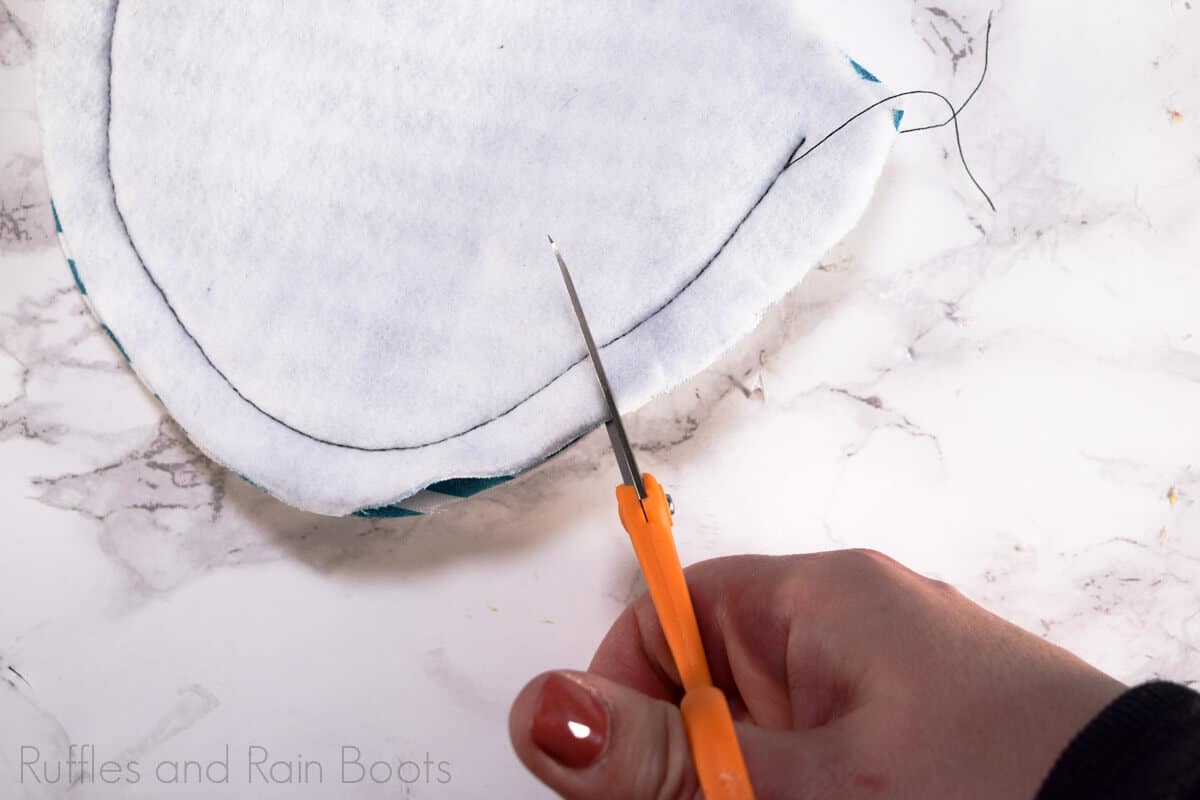
- Snip the seam allowance from the outside edge to just near the sewing line all around the ear. Turn right-sides out.
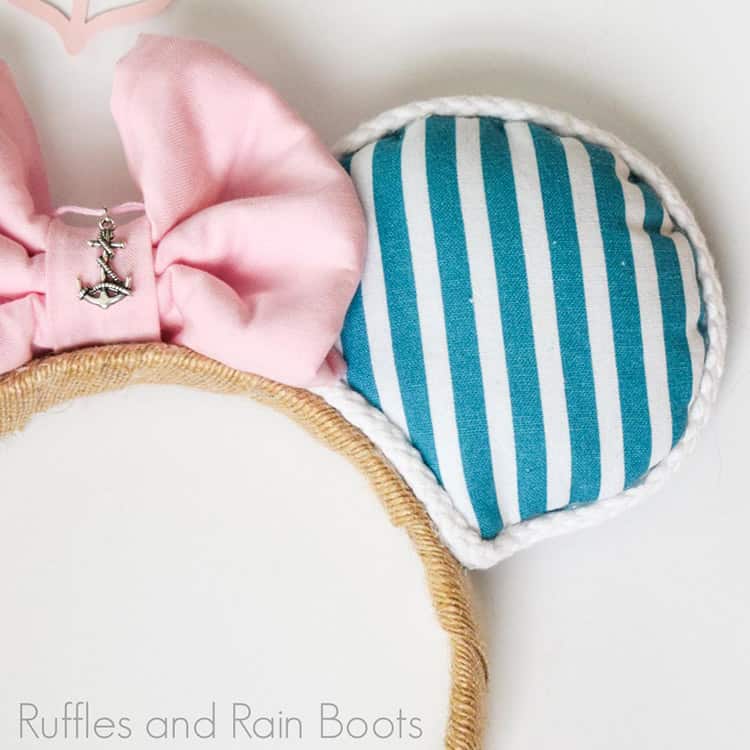
- Push the scrub pad into the ear pouch and stuff with polyfill until desired thickness is reached.
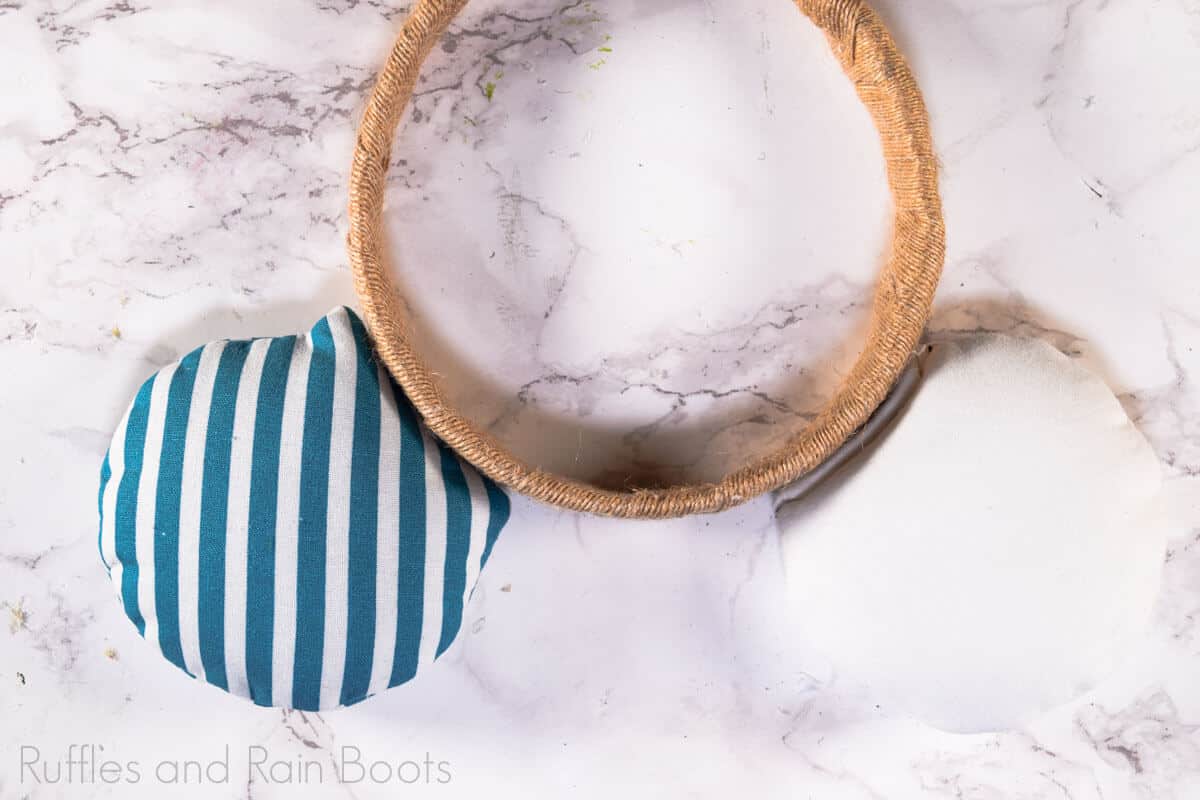
- Snip two small pieces of ribbon and cover the bottom of the plastic headband by securing them with hot glue. Wrap the entire headband in the ribbon and glue to secure.
- Fold the bottom fabric flaps onto themselves, tucking one edge up into the ear and securing with glue. Lay down the other and create a nice, flat surface. Repeat with the other ear and secure them to the headband with hot glue. It will not show through because you have created a large surface area.
- Measure a piece of rope ribbon for the ear trim and secure one end with scotch tape before cutting it. That way, the rope doesn't fray. Attach the end to just behind the ear and secure it in place. Bring the rope around the bottom front of the ear (along the headband) and then around the ear along the seam. Secure the end behind the ear. Repeat for the other Mickey ear.
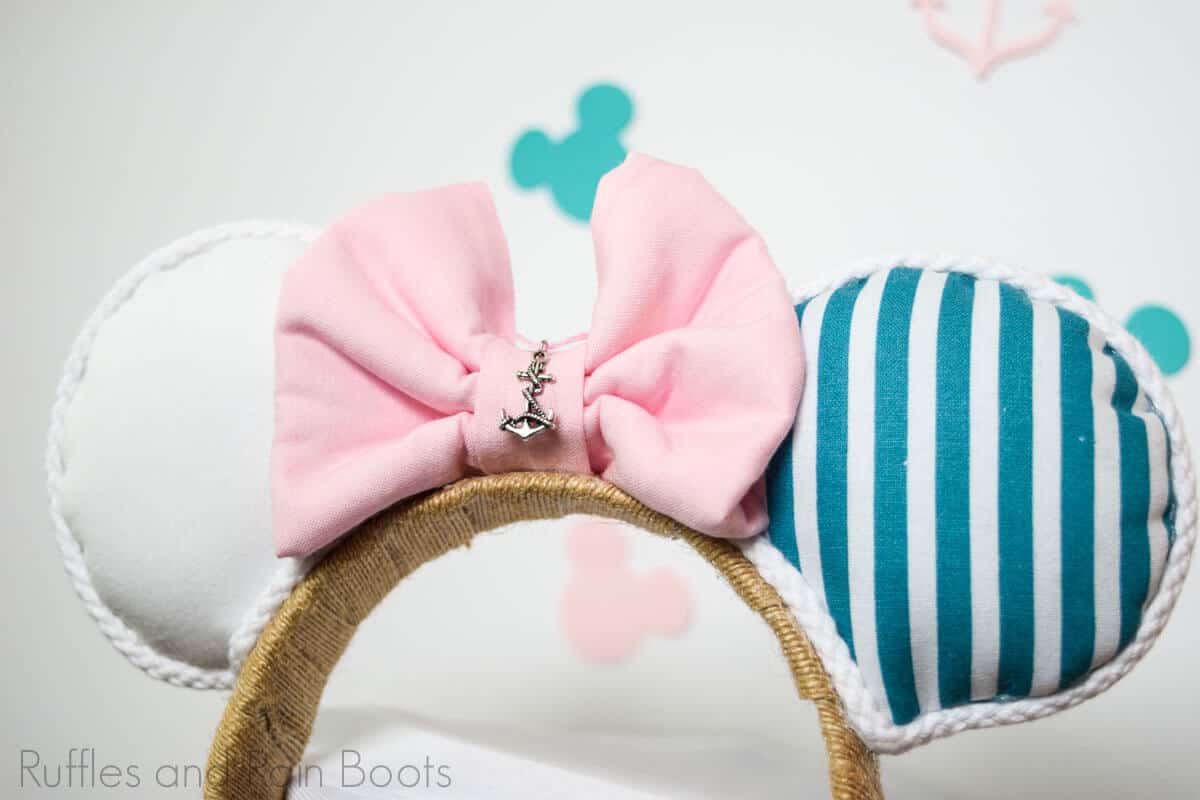
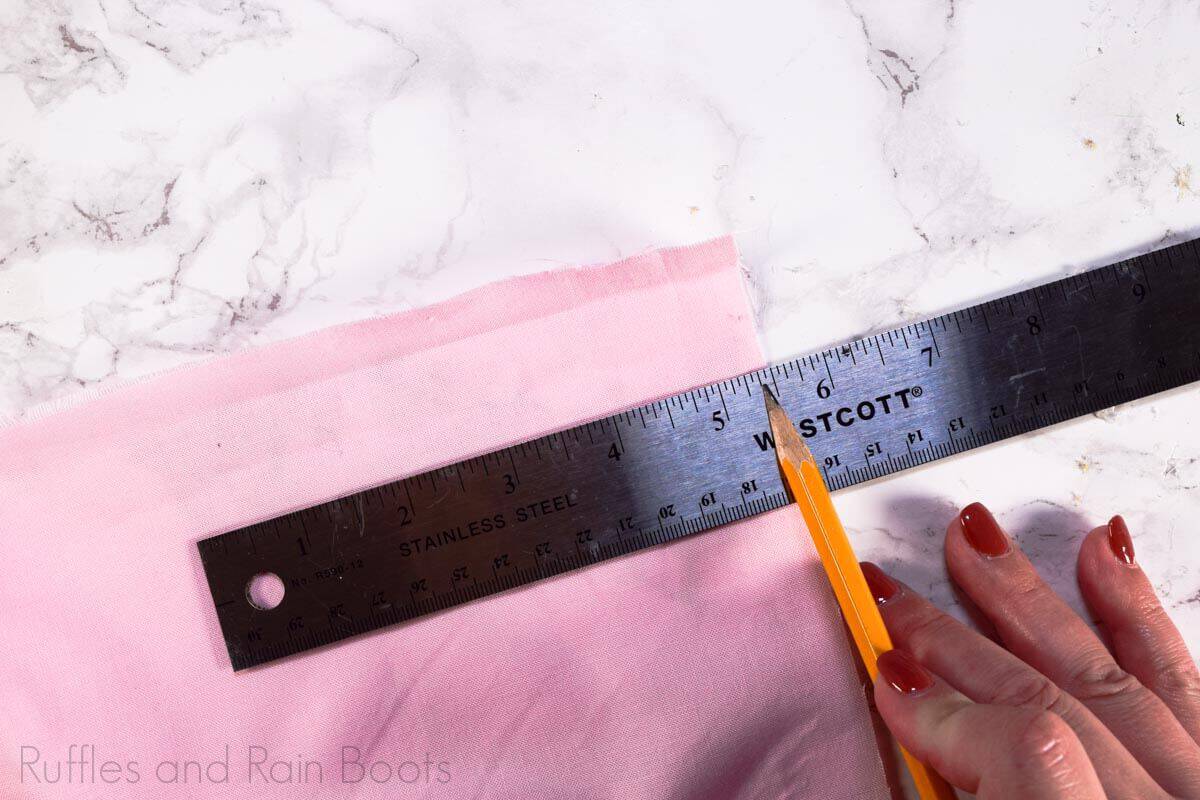
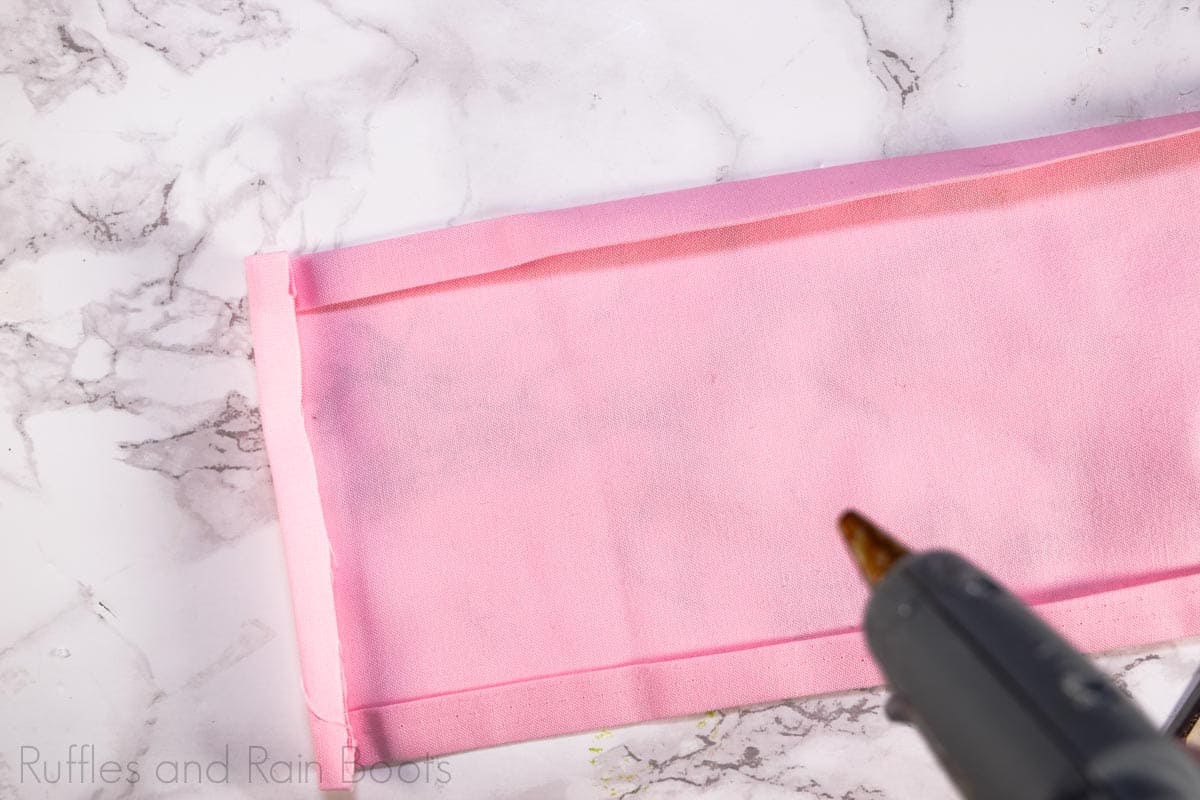
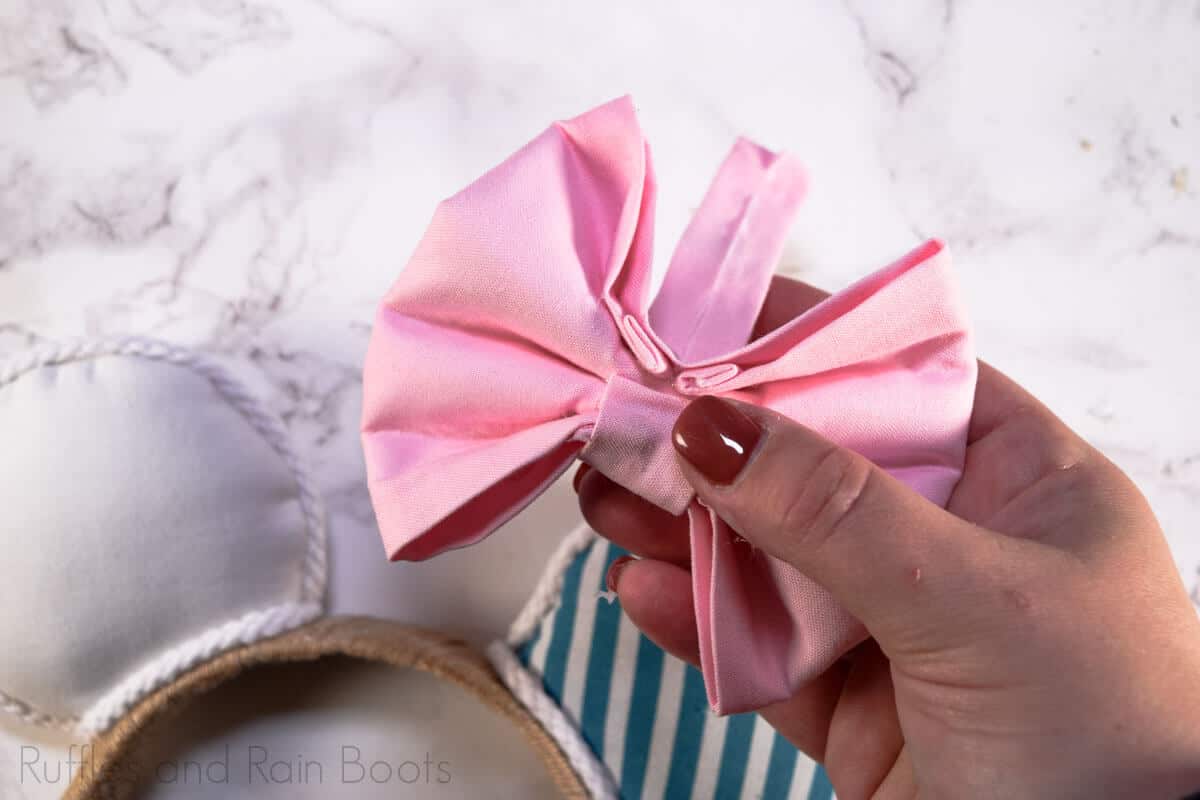
- Cut the fabric for the bow (10.5-inch by 7-inch for the large piece and 5-inch by 2-inch for the small). "Hem" the pieces using hot glue (see the full video tutorial if you've never done this).
- Make the Minnie Mouse bow by accordion-folding the fabric in towards the center. Secure with hot glue in the creases. Attach one end of the center fabric.
- Thread the charm onto the embroidery thread and gently tie (double knot) into place without scrunching the fabric. Secure the thread with hot glue and then secure the center piece of the bow to the back.
- Position the bow on the headband (not along the edge, but along the top, flat part) between the ears. Secure with hot glue and your cruise Mickey ears are done!
Notes
For more amazing DIY Mickey and Minnie Mouse ears, visit Ruffles and Rain Boots.
Creativity, Delivered
If you love to DIY your Disney fun, sign up for the Ruffles and Rain Boots weekly newsletter. It’s full of creative inspiration, freebies, and all kinds of Disney goodness.
Please Share or Save
Your shares are how this site grows and I am sincerely grateful. If you liked these Mickey ears for a cruise, please share them on Facebook or save them to a Disney crafts pin board.