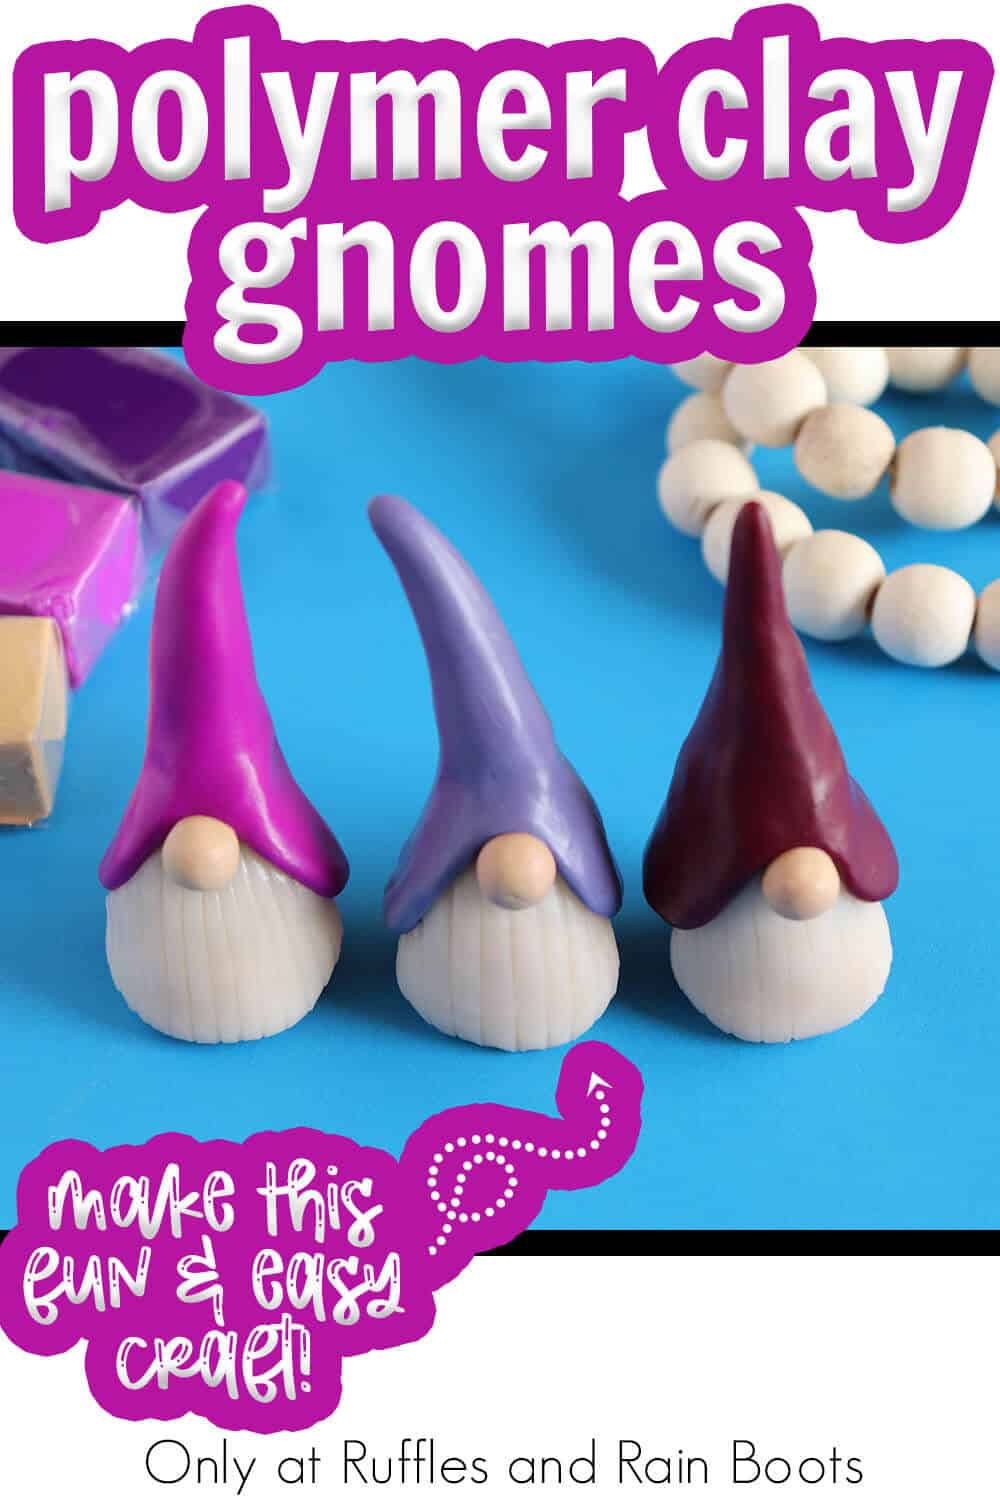
These Adorable Polymer Clay Gnomes are a Fun Polymer Clay Craft!
Sometimes, you just have to craft on a whim, like making these polymer clay gnomes – one of my favorite polymer clay craft ideas!
Polymer Clay Gnomes
Here at Ruffles and Rain Boots, we love making random and fun crafts that are out of the norm sometimes. So, when I came across this fun bright and colorful clay, I decided I just had to try a few fun polymer clay crafts, the first of which are these SUPER CUTE polymer clay gnomes!
RELATED READING: DIY CLAY POT GNOME STATUE
Such an easy craft, I’m almost disappointed in myself that I didn’t do these before. But they’re perfect for a quick afternoon craft to let the stress melt away. If you’re ready to break out some clay and make your own clay cuties, let’s get started.
Get Secret Gnomes, Tips, & Freebies Delivered!
What is the best pattern to use when you don’t want to sew? Do you know the secrets to a properly-proportioned gnome? Do you know where to get the best-priced fur?
Get all of this (and exclusive content just for you) delivered right to your inbox with the gnome-making series, free of charge. Sign up to get the once-weekly newsletter (and a jaw-dropping special offer)!

No Time to Make This Now? Pin it for Later
You’re busy, I get it. Pin this to your favorite polymer clay crafts board on Pinterest and it’ll be here when you’re ready.
As an Amazon Associate, I can earn from qualifying purchases.
Tips to Make This Polymer Clay Craft
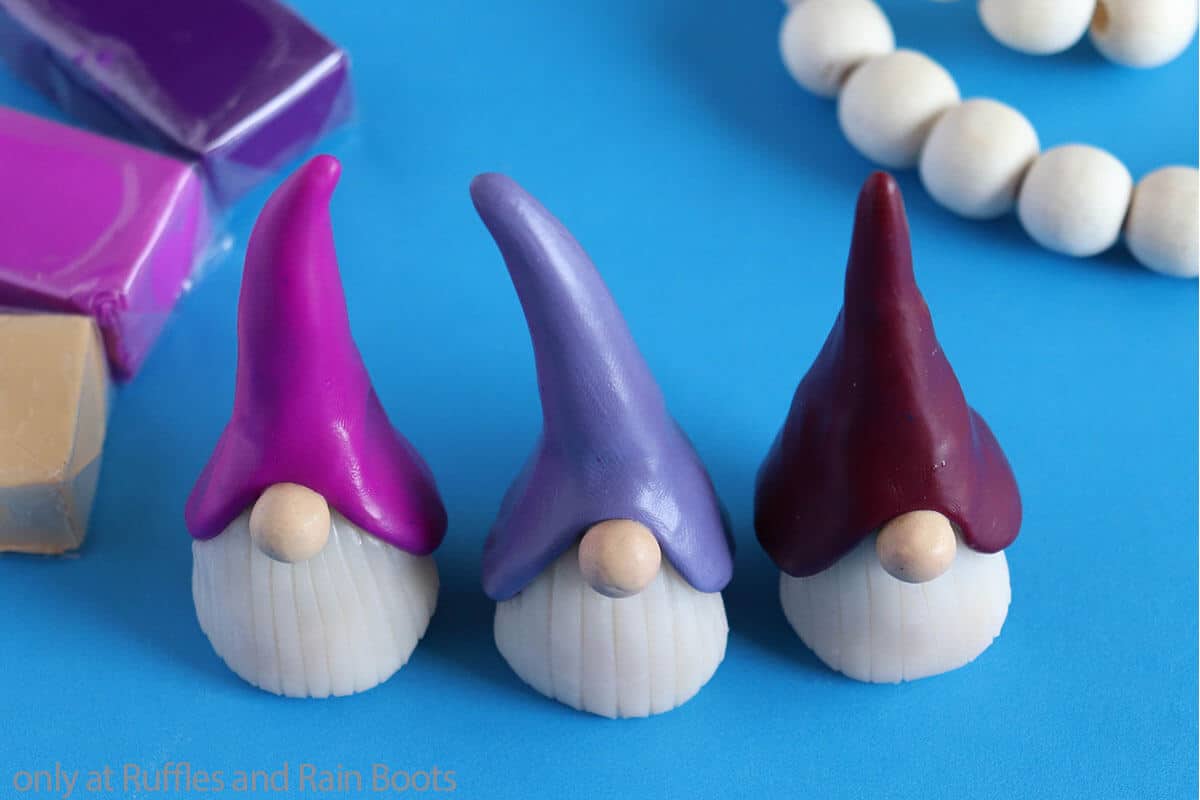
- Start by grabbing some fun, colorful polymer clay options like this sampler pack here. You can use any polymer clay with this tutorial, sure, but I like this brand because it’s easy to work, consistent and the colors remain bright after they’re baked.
- Make sure your work surface is VERY clean. Let me repeat for anyone who doesn’t understand: Make SURE your work surface is VERY clean. Particularly when working with the white, if you have any lint or dust on your work surface, it’s going to transfer to the clay and look dirty. So, skip that mess and wipe your work surface with a lint-free wipe, roll it with a lint-roller and keep it clean.
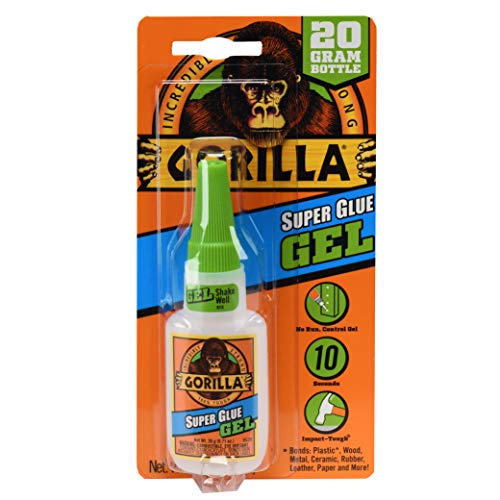
- If you want to make these adorable gnomes into a fridge magnet or thumbtack, you can glue the gnomes to whatever you might want to add onto their backs. I recommend using a strong super glue like this because it’s less likely to react with the clay long-term and release from whatever you’re gluing it onto.
How Do I Make Polymer Clay Gnomes?
I’m so glad you asked. Below is our written tutorial.
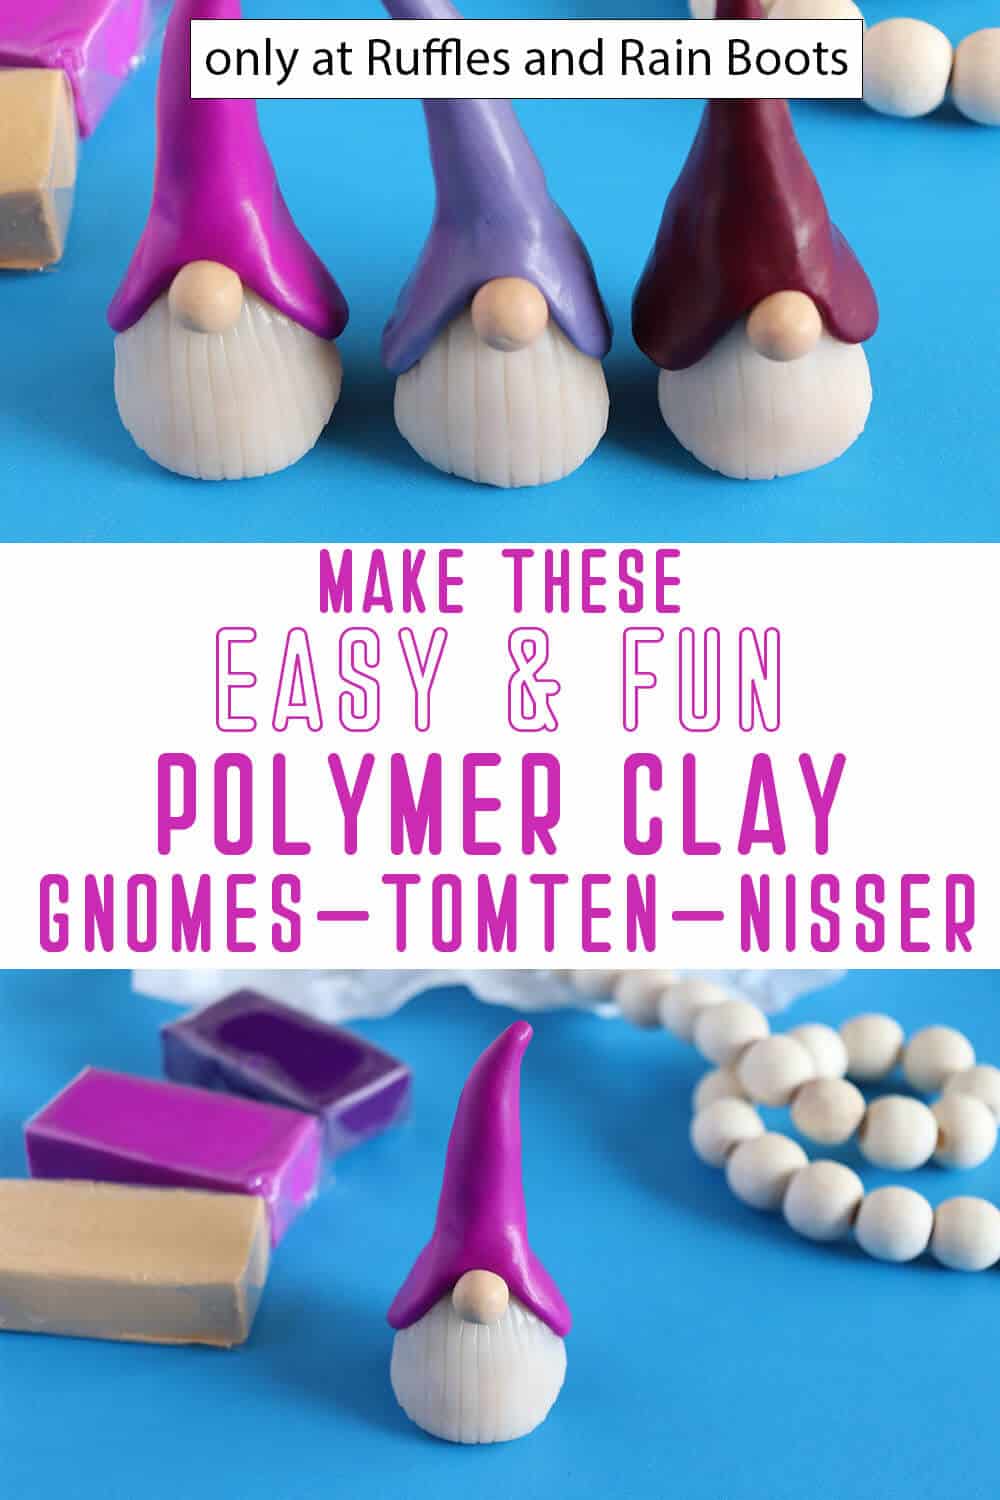
Polymer Clay Gnomes

These easy and fun polymer clay gnomes are so simple, I just can't stop staring at them and coming up with new ideas for uses for them!
Materials
- Polymer clay
Tools
- Parchment paper
- Baking sheet
- Modge podge
- Paint brush
- Clay cutting and piercing tools, optional (you can use a toothpick, razor blade, craft knife, or anything really)
Instructions
- Preheat your oven to the temperature noted on your clay package directions and line your baking sheet with the parchment paper and set aside.
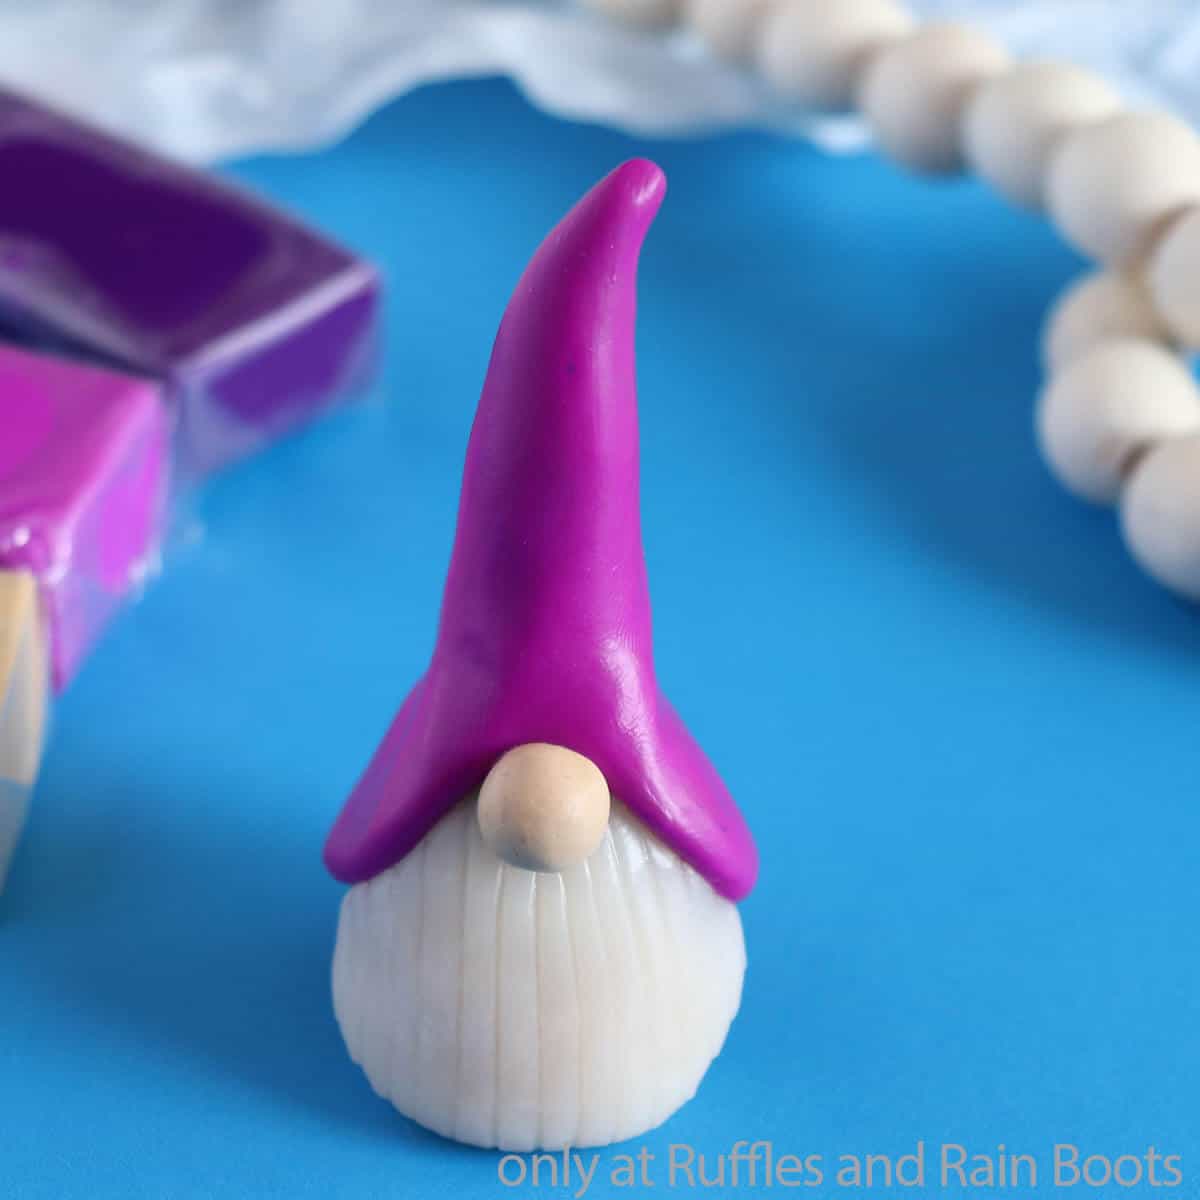
- Roll out 3 grey balls about 6cm in diameter for the gnome bodies, 3 brightly colored balls about 5 cm in diameter the hats, 3 white clay balls about 4 cm in diameter for the beards, and 3 tan balls about 1 cm in diameter for the noses.
- Work each of the grey balls into "chubby" tapered cones with rounded bottoms and tops.
- Work each of the brightly colored balls into tapered skinny cones, then work the inside to be hollowed on the bottom to fit the hat on the top 1/4 of the grey body.
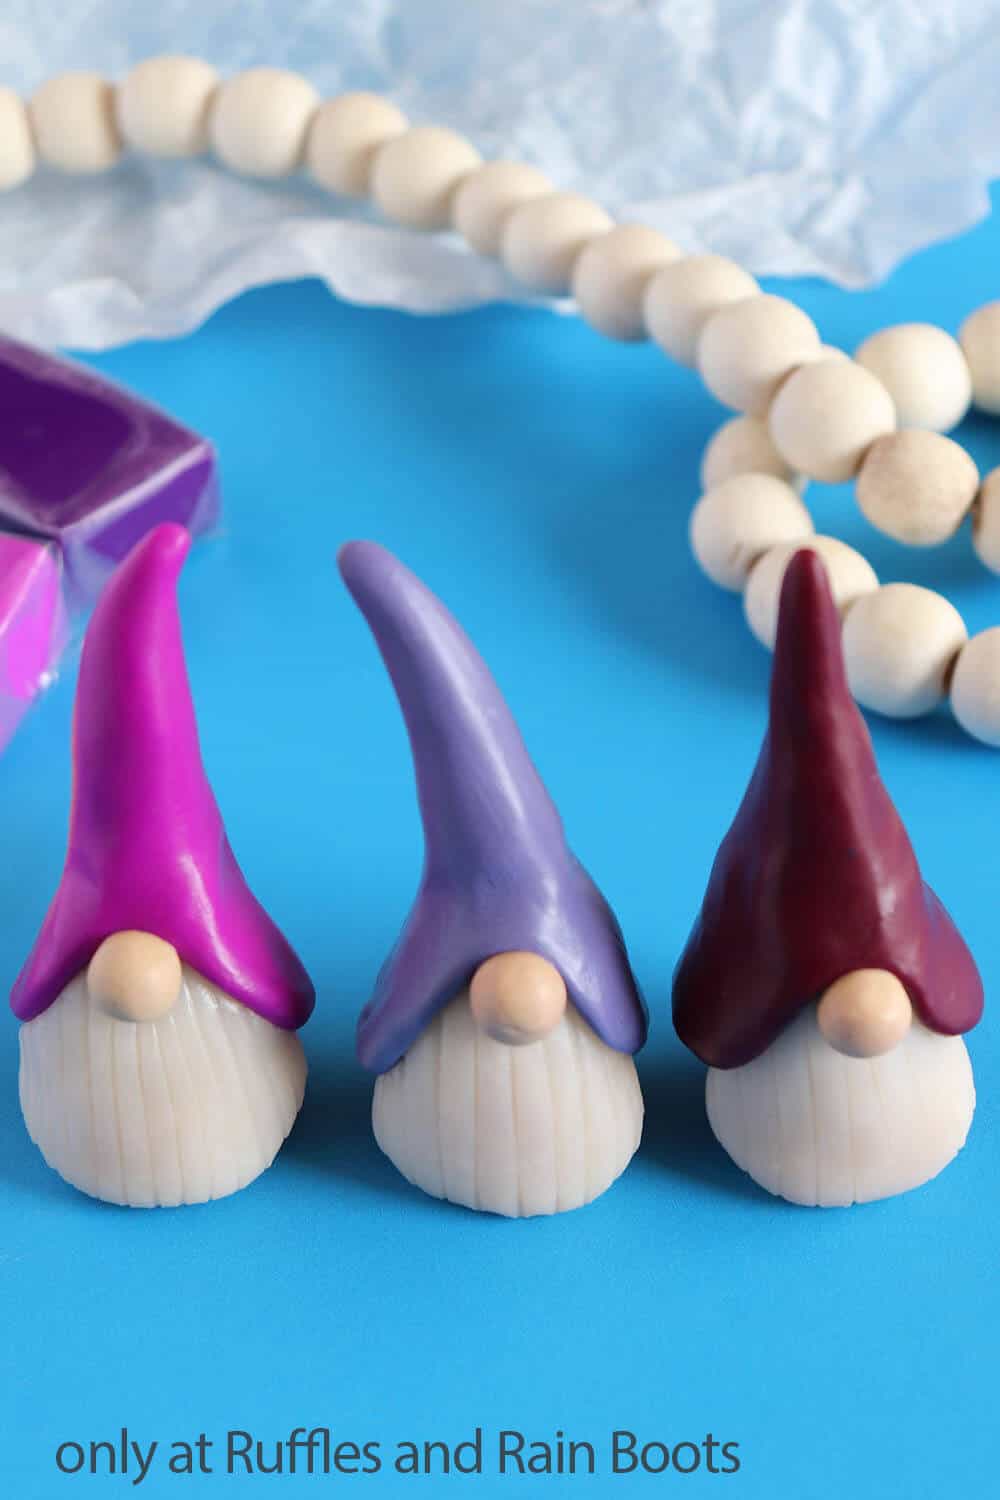
- Work each of the the white clay balls into flat triangle shapes with widely rounded corners to form beards. Press each of these beard shapes to the bottom front of each of the gnome bodies, then tuck the hat down over the bodies and top of the beards.
- Place the tan balls (the noses) onto the center of the beard, tucked under the edge of the hat.
- Add score lines vertically into the beard shape using a clay tool or toothpick.
- Place your gnomes on the parchment paper-lined baking sheet and place in the oven to bake per the package directions.
- When the clay is cooled completely, seal each of the gnomes with modge podge. Let this dry completely then enjoy!


Notes
For more fun polymer clay crafts, visit Ruffles and Rain Boots!
Recommended Products
As an Amazon Associate and member of other affiliate programs, I earn from qualifying purchases.

More Easy Clay Gnome Crafts You Might Like
- Gnome Mug Topper – Insanely cute and perfect if you like to display your coffee mugs, this easy and fun gnome mug topper is a great craft!
- Mini Gnome From Silicone Clay – Who knew you could make clay from silicone?! And that means you get a fun, quick gnome craft that’s really unique and a little bit squishy.
- Mushroom Gnome Craft – Take a little bitty ceramic mushroom, add a booty and a beard – then all you need is a nose and a funny surprise!
Please Save This to Pinterest
Your shares are how this site grows and I am sincerely grateful. Know a friend who’d like this? Please share it on Facebook or save it to your favorite DIY gnomes board on Pinterest.