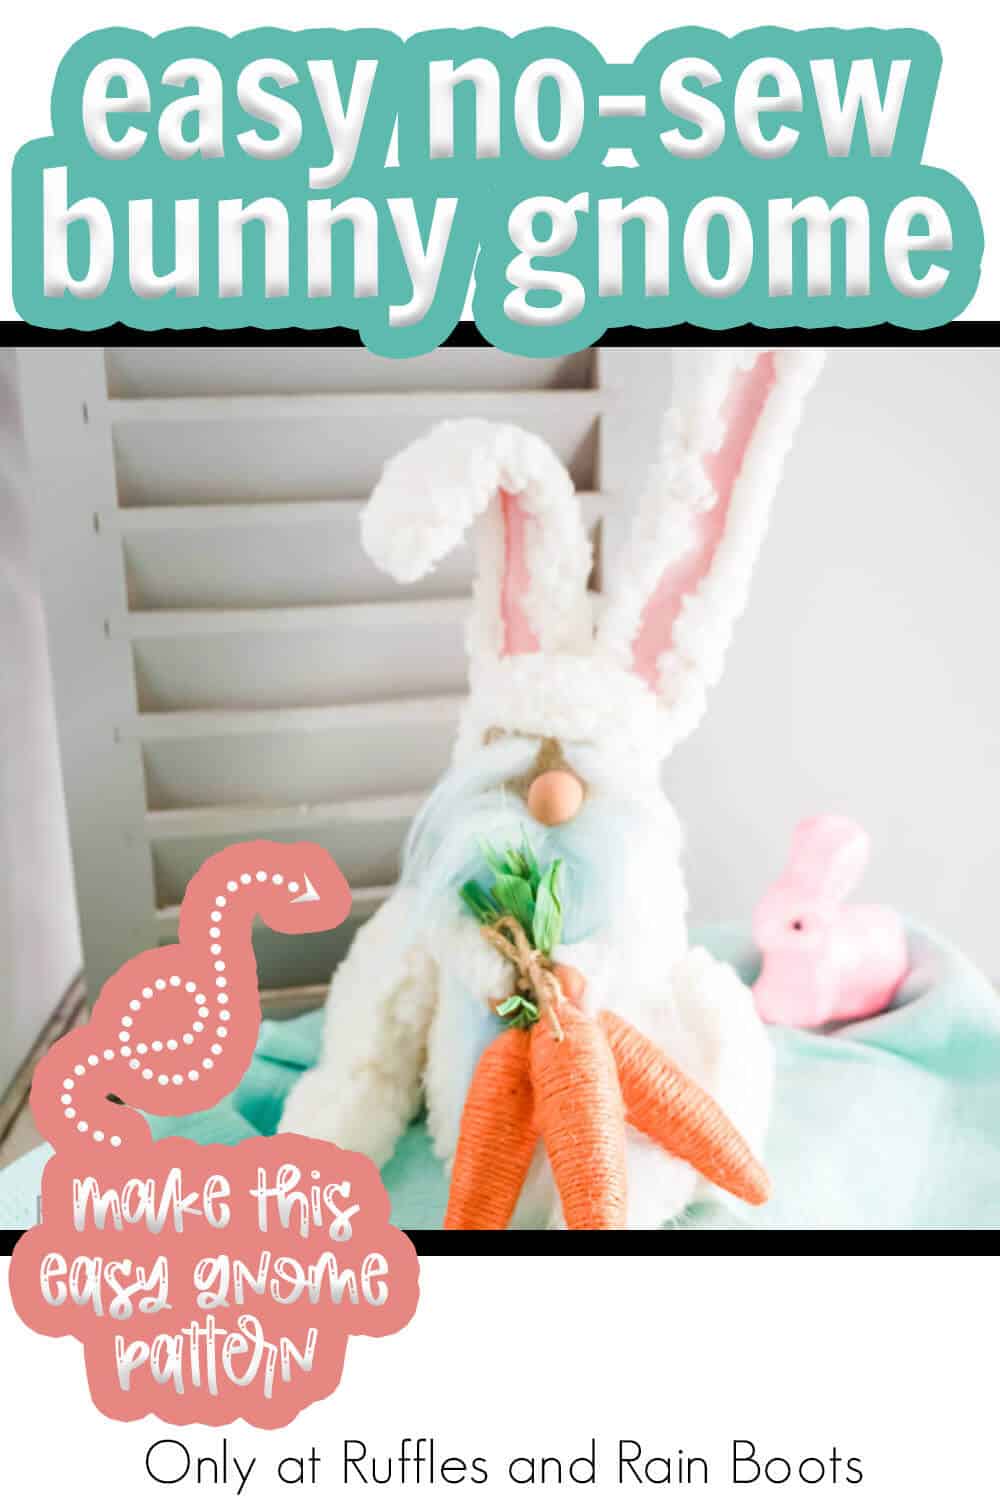
Easy No-Sew Bunny Gnome – A Cute Easter Gnome
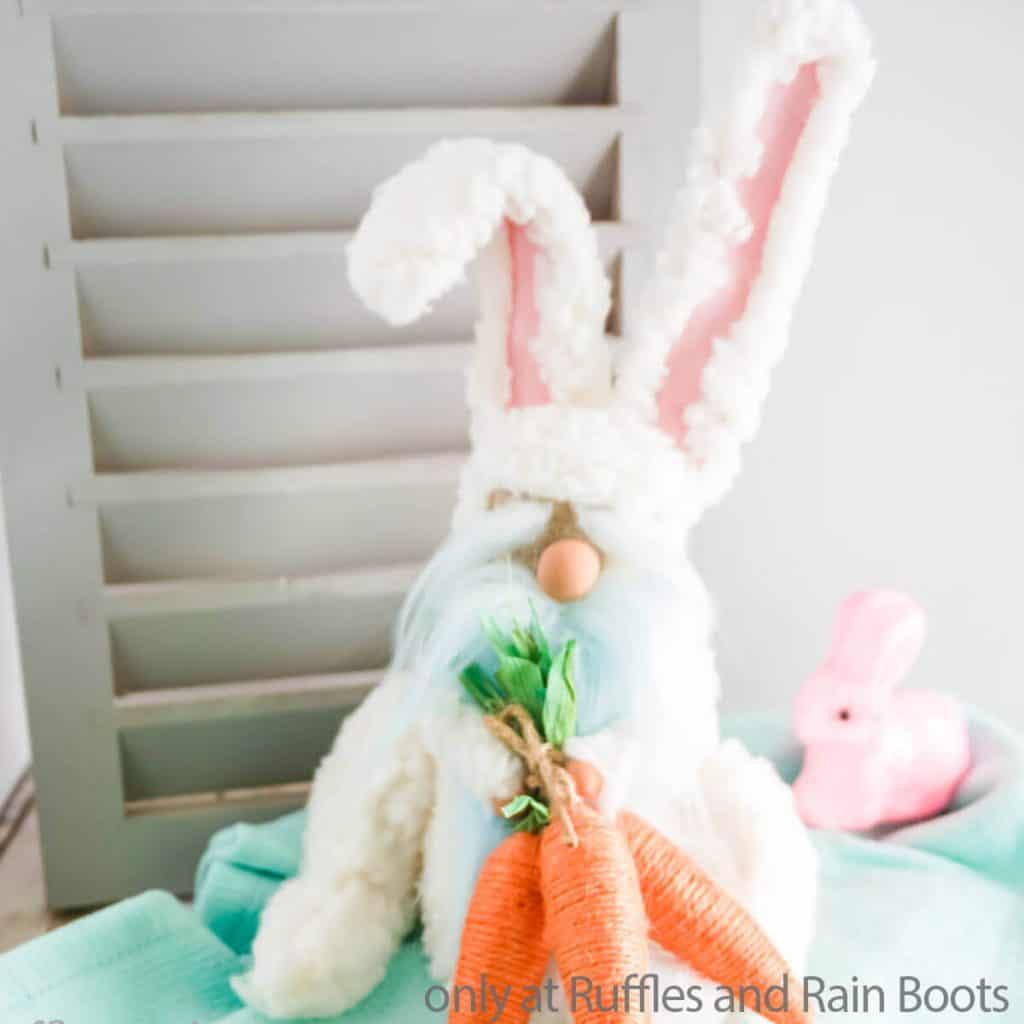
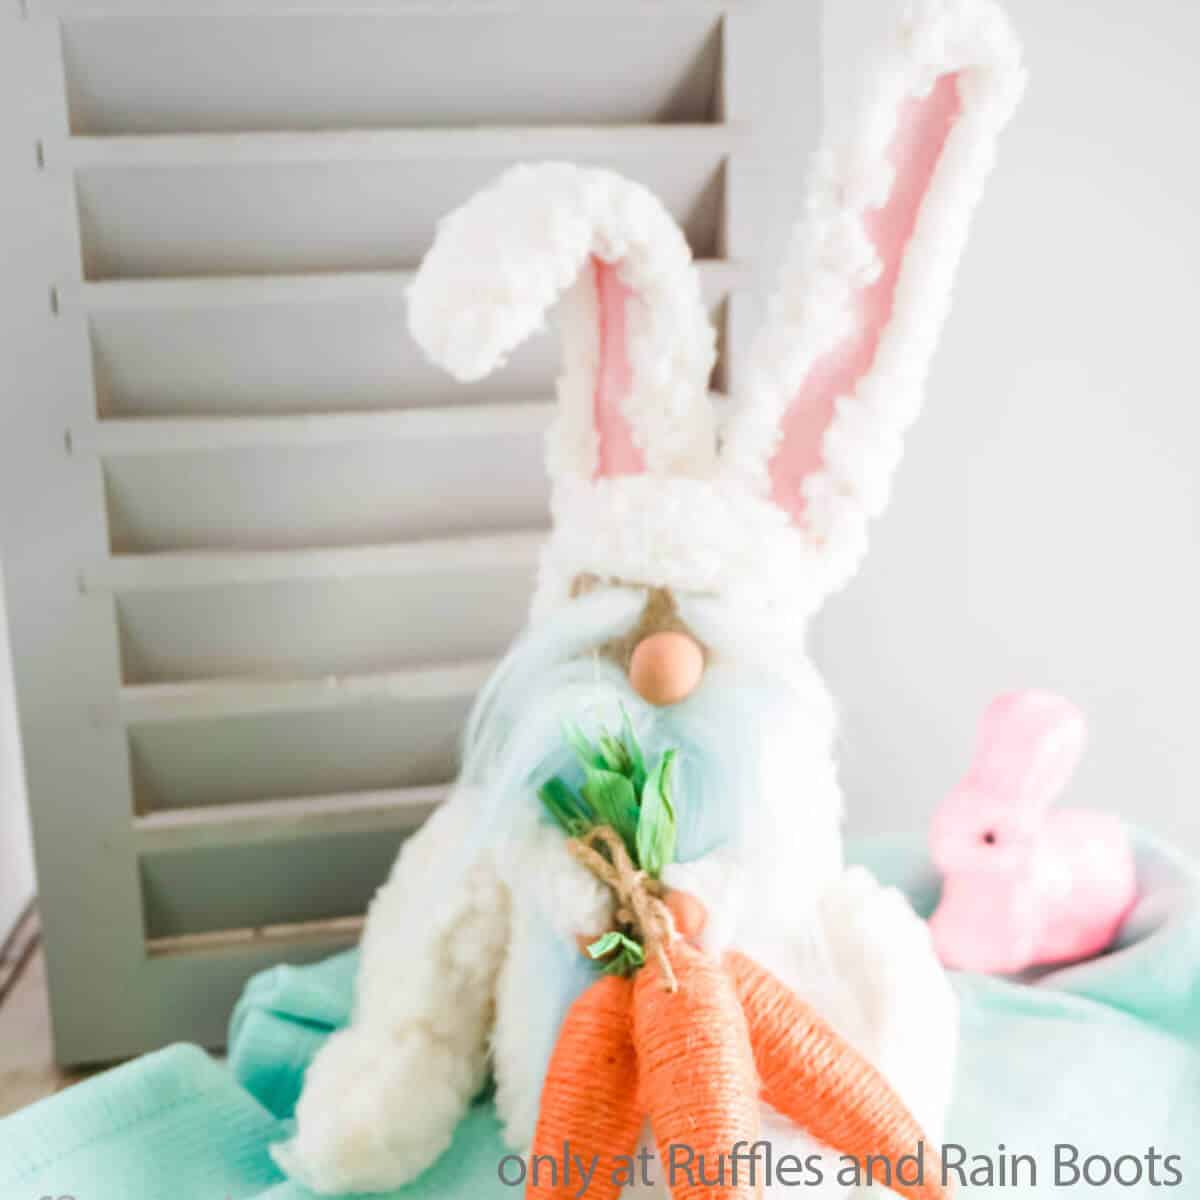
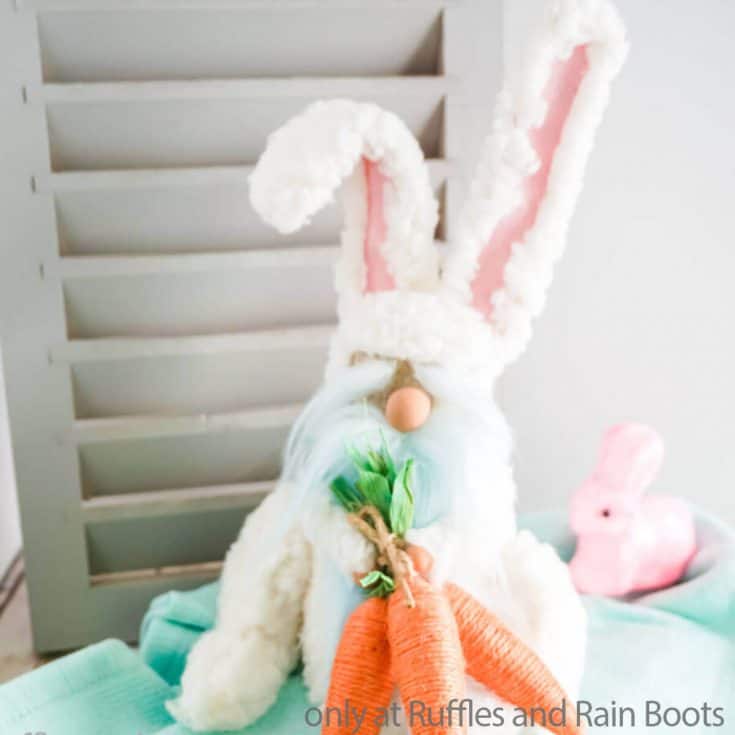
One of the most adorable ways to bring Easter to your decor is this no-sew bunny gnome. The best part is that it’s a pattern already sized and done for you with this free bunny add-on.
You will wow everyone with this little Easter gnome in a bunny suit. Just give him something sweet to hold, and he’s ready for the holiday. Browse our popular Easter gnomes DIY projects.
What You'll Find On This Page
No-Sew Bunny Gnome
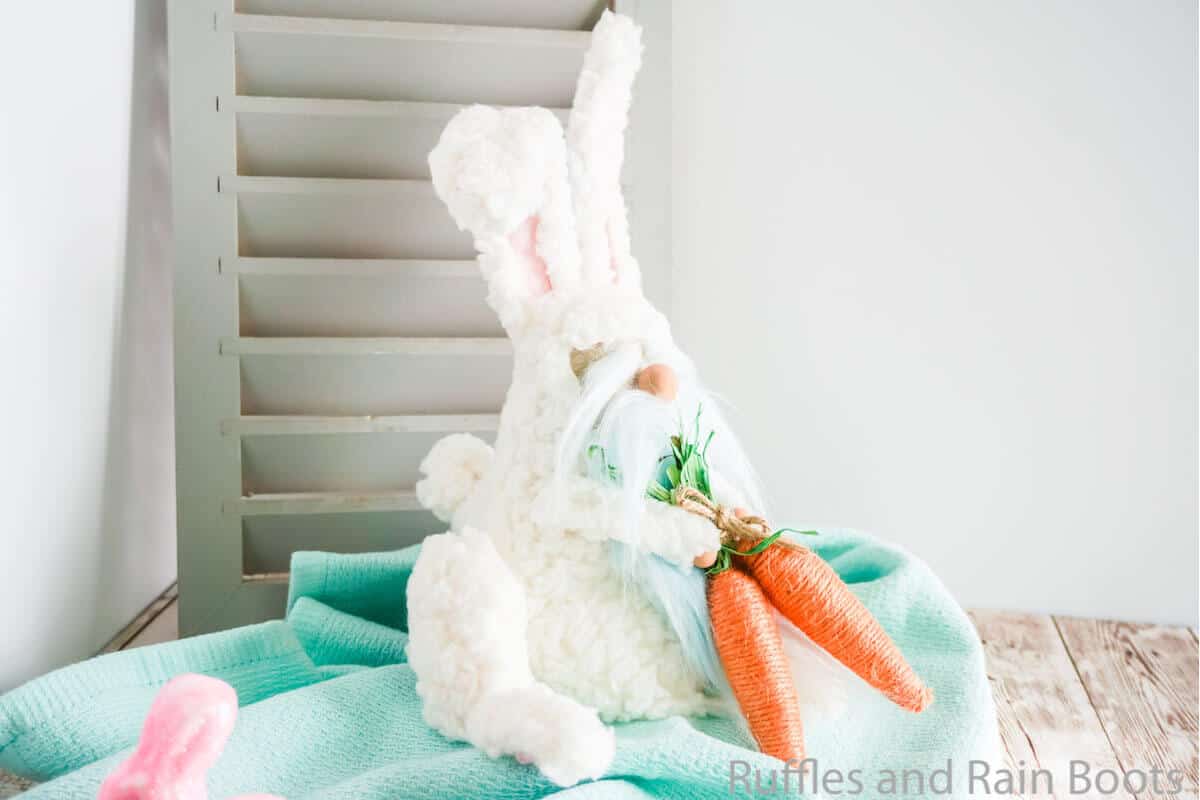
Here at Ruffles and Rain Boots, I adore bunnies (and gnomes, of course). But I had a request from a reader to COMBINE the two into, “a gnome wearing a bunny suit.” How did I do? I think the results are hilarious and adorable.
RELATED READING: EASY SEWN GNOME PATTERN FOR A BUNNY GNOME
Get Secret Gnomes, Tips, & Freebies Delivered!
What is the best pattern to use when you don’t want to sew? Do you know the secrets to a properly-proportioned gnome? Do you know where to get the best-priced fur?
Get all of this (and exclusive content just for you) delivered right to your inbox with the gnome-making series, free of charge. Sign up to get the once-weekly newsletter (and a jaw-dropping special offer)!

This tomte is so sweet and cute with his big, long eyebrows and pouty face. If you’re ready to make a no-sew Easter bunny gnome you’ll love, let’s get started.
No Time to Make This Now? Save or Share it for Later
Need to gather up some supplies (like that fabulous fleece)? Save this to a gnome ideas pin board or share it to a crafty group on Facebook. It will be easy to find when you’re ready to make it.
As an Amazon Associate, I can earn from qualifying purchases. There could be affiliate links within this article.
Tips to Make a No-Sew Easter Bunny Gnome
- Click here to get the easy no-sew gnome pattern for the body shape (you’ll want it to make other adorable gnomes, too) AND click here to get the FREE altered gnome pattern elements for the bunny gnome. You will need BOTH pattern sets to make this gnome.
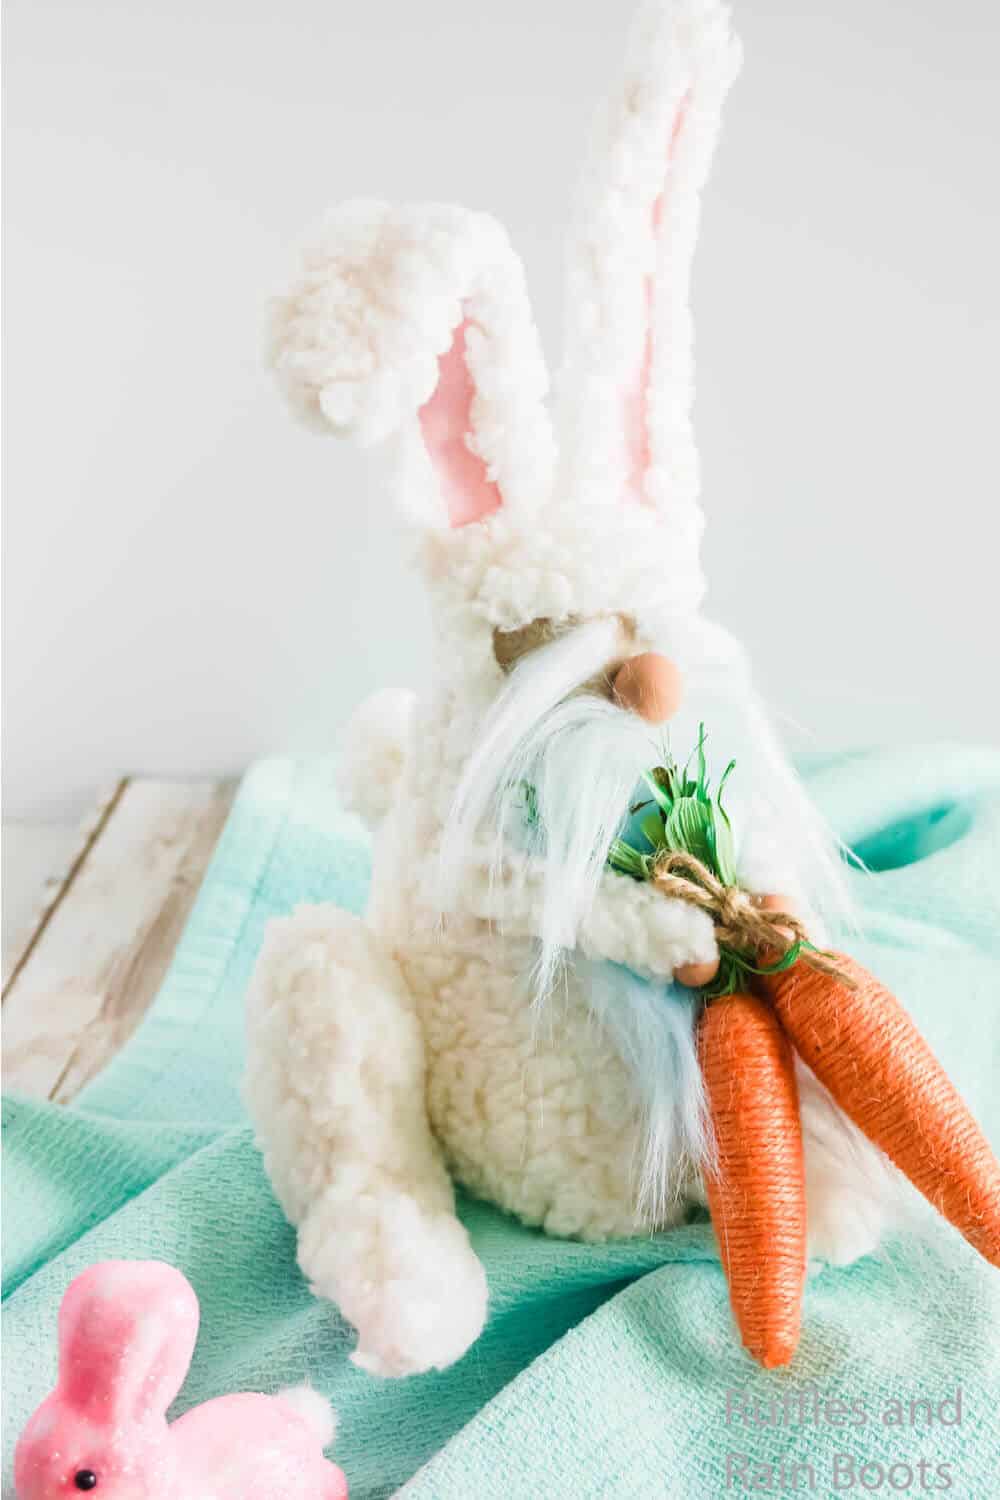
- Don’t you just love the blue beard and eyebrows on this tomten?! I can’t get over that pale blue. Just perfect for Easter. I hand painted my white craft fur to make that particular color. A pastel blue dream from watercolors! If you want to check out some more options for coloring fur to make awesome beard colors, check out this video tutorial I made here.
- I picked up these little twine-wrapped carrots at the Dollar Tree, but if you can’t find any, just wrap a small carrot-shaped piece of foil with a thin twine and paint it orange. Add a little green tissue paper and you’re in business! Might be just as easy to grab the little carrots here, but craft ’em if you want.
Get the Gnome Pattern
Click below to get the gnome pattern and be grab the free rabbit add-on pattern, too!
How Do I Make this No-Sew Bunny Gnome?
I’m so glad you asked. Below is our written tutorial. If you’re making a DIY gnome tutorials playlist on YouTube, here is our no-sew bunny gnome pattern video tutorial.
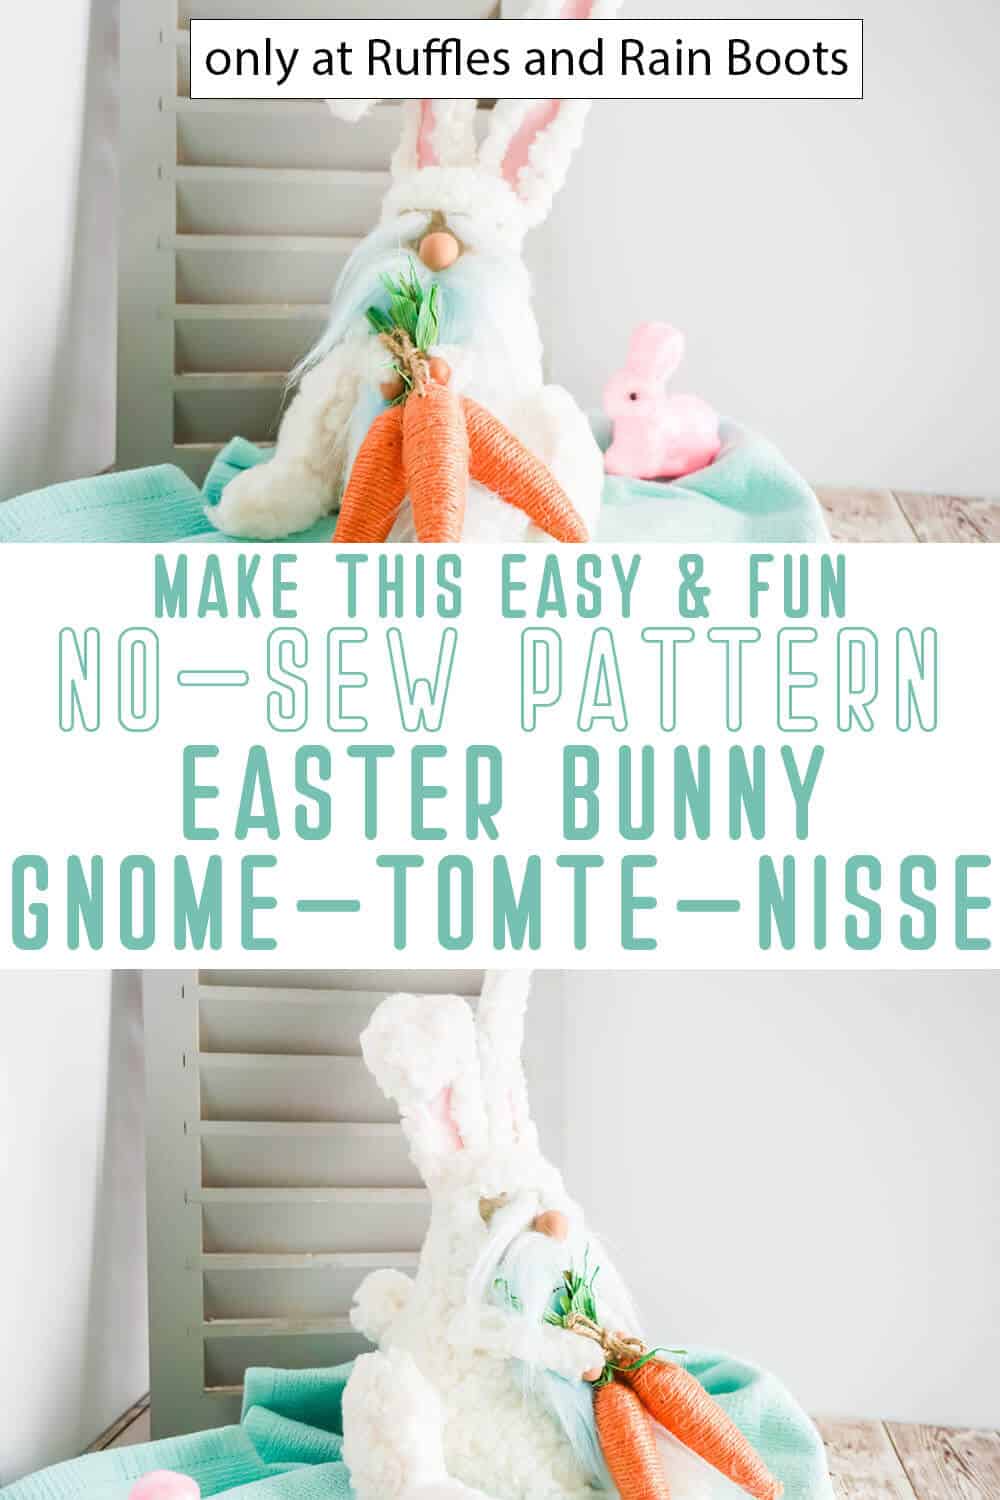
Easy No-Sew Bunny Gnome Pattern
For a fun and easy way to add a little farmhouse charm to your Easter decor, this easy no-sew bunny gnome pattern is sure to be a fast and adorable way to do just that!
Materials
- Basic Gnome Pattern
- Easter Gnome Add-On Pattern Elements
- 1/4 yard Lambswool Fabric
- Scraps Pink and Beige Craft Felt
- 2 6-inch lengths Floral Wire
- Polymer Clay in light brown and white
- White Craft Fur
- Poly-Beads
- Small Amount of Poly-Fill
- 3 Farmhouse Carrots
- Twine
Tools
- Hot Glue Gun and Glue
- Oven
- Craft Knife
- Scissors
- Watercolor in Blue
- Paintbrush
- Comb
Instructions
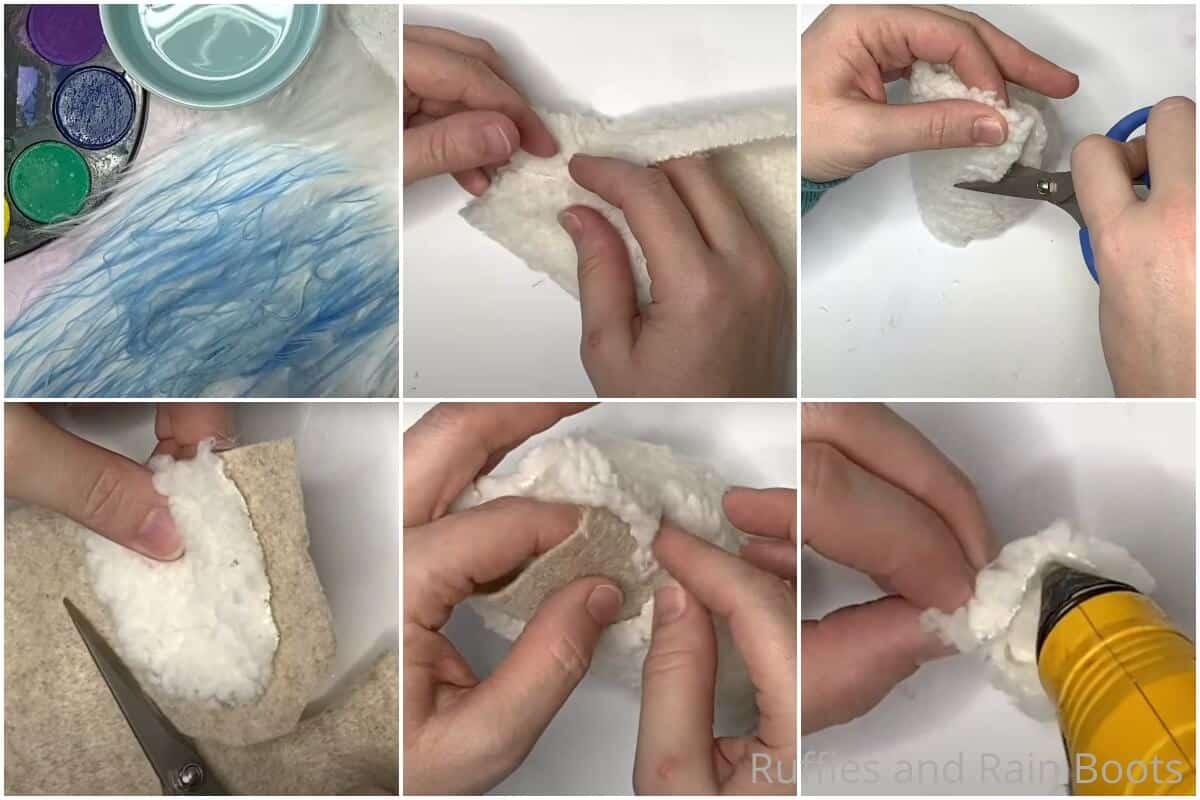
- Paint the white faux fur blue using the blue watercolor. Allow the beard to dry completely, then brush-out gently.
- Make your gnome nose and hands by combining a portion of light brown and white polymer clay until you have the color you want. Roll a quarter-sized portion of this clay into a neat ball. This is the nose. Set aside. Roll two nickel-sized portions of this clay into two neat balls. These are the hands. Bake the nose and hands per the clay package's directions. Allow them to cool fully.
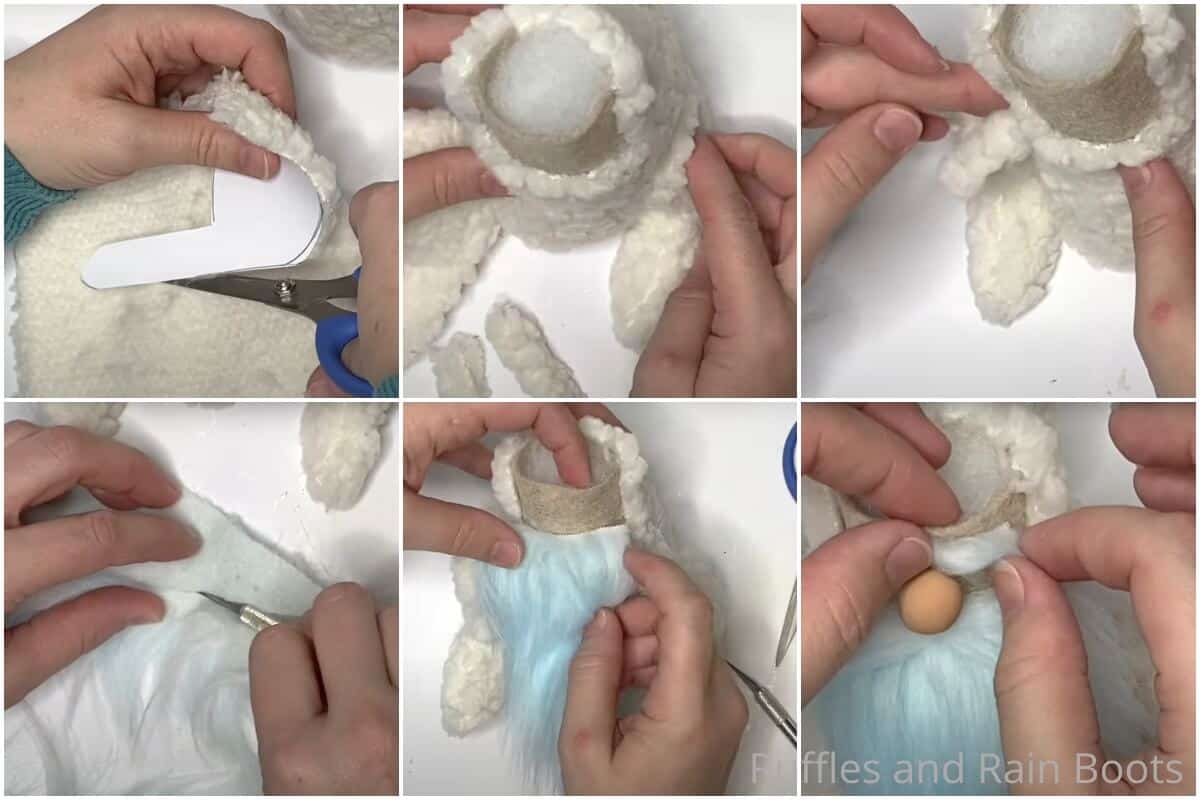
- Cut out the large gnome body shape, two bottom-of-foot shapes, four leg shapes (take care to flip two so they match-up), one gnome head shape, two outer ear shapes, and two arm shapes out of the lambswool fabric. Cut out two inner ear shapes and two sets of toe shapes from the pink felt. Cut out one face shape from the beige felt.
- Fold the gnome body shape in half wrong-side to wrong-side and hot glue the two edges together. Fold the flap of the gnome body shape over and close the bottom of the gnome with hot glue. Allow glue to dry fully.
- Fill the gnome body with the Poly-Beads. With the body stable, cut out a "u" shape from the front top of the gnome body, slightly smaller than the "u" shape face cutout in the pattern pieces. Follow immediately by hot gluing the beige felt face cutout inside the body, covering the "u" cutout on the body.
- Tuck a small portion of Poly-Fill into the top of the gnome body to hold the Poly-Beads inside and fill-out the body completely.
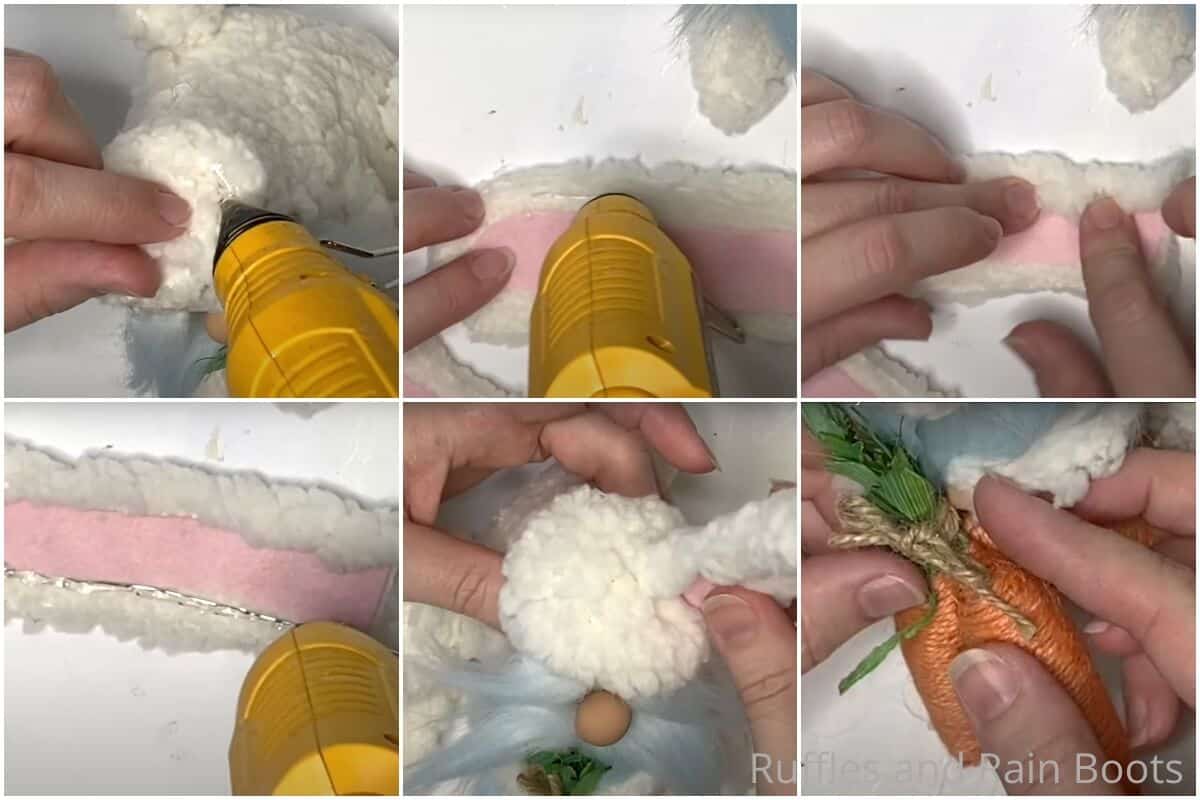
- Cut a small circle of lambswool about 1 inch in diameter. Place a very small amount of Poly-Fill in the center, then bunch the edges together and hot glue them in place, making a bunny tail. Hot glue this to the bottom of the gnome on the back side.

- To make the bunny legs, place two leg cutouts together, wrong-side to wrong-side. Hot glue the leg tops together, but leave the bottom open. Add a small amount of Poly-Fill into the leg, then fit the bunny leg bottom onto the base of the joined feet, tucking it between the two joined feet and creating a flat bottom of the leg. Hot glue this in place. Glue the toe beans onto the bottom of the foot, toward the front.
- Place a line of hot glue down one long side of the arms and then fold the fabric in half wrong-side to wrong-side to make a thin arm. Repeat.
- Glue a leg on each side of the gnome's body, Make sure the legs point forward and touch the ground. Glue an arm about two inches above each leg.
- Cut out the beard shape from the blue fur by turning the fur over and cutting only the fabric with the craft knife. Hot glue the beard to the body, just at the bottom of the beige felt face. Cut out a 1/2-inch wide, 1-inch long rectangle of the blue fur and hot glue it in half. Split the fur in the center and brush it out to each side, then hot glue this to the top of the beard for a mustache.
- Hot glue the nose in place just above the mustache. Hot glue the hands in place on the ends of the arms.
- Cut out two 1/4-inch wide, 1/2-inch long rectangles of the blue fur and hot glue each of them in half. Brush the fur out to one side, then hot glue this to the top of the beige felt face, above the nose on either side of the face. This will be the eyebrows.
- Place the head shape on top of the gnome's head, hot gluing it in place, then trimming it to make the transition from body to head appear seamless.
- Make the bunny ears by gluing the pink felt inner ear shape to the center of the wrong-side of the outer ear shape. Fold one side of the outer ear shape over onto the edge of the inner ear shape, hot gluing it in place. Lay the floral wire along the other side of the inner ear piece and hot glue it in place - making sure that the extra wire length is exposed past the bottom of the ear shapes. Finally, fold this side of the outer ear shape over onto the edge of the inner ear shape to hide the wire and finish the ears. Repeat for the second ear.
- Slide the exposed wire from the ears into the top of the gnome's head and hot glue the ears in place.
- Bundle the carrots together with a bit of twine and hot glue them in place in the bunny's hands and enjoy!
Notes
This gnome stands 9 1/2 to 10 inches.
For more fun no-sew patterns for gnomes, visit Ruffles and Rain Boots (we have lots...).
Recommended Products
As an Amazon Associate and member of other affiliate programs, I earn from qualifying purchases.


More Easter Gnome Patterns You Might Like
- Easter Gnomes to Make – These popular gnomes for Easter will get you creating with inspiration, techniques, and gnome patterns.
- Seasonal Gnome Sign – I love the little Easter gnomes that I made for this seasonal gnome sign – it’s just such a fantastically simple craft that makes a great wall art sign!
- Easter Gnome Bottle Topper – Whether you’re bringing a bottle of wine or juice, this cutie is quick and easy (done in 10 minutes with NO sewing).
- Easter Gnome Bunny with a Carrot Hat – You can’t go wrong with a carrot hat and bunny ears on a tiny gnome that’s so adorable, you just want to boop him!
Please Share or Save This
Your shares are how this site grows and I am sincerely grateful. Know a friend who’d like this? Please save it to an Easter ideas pin board or share it on Facebook.