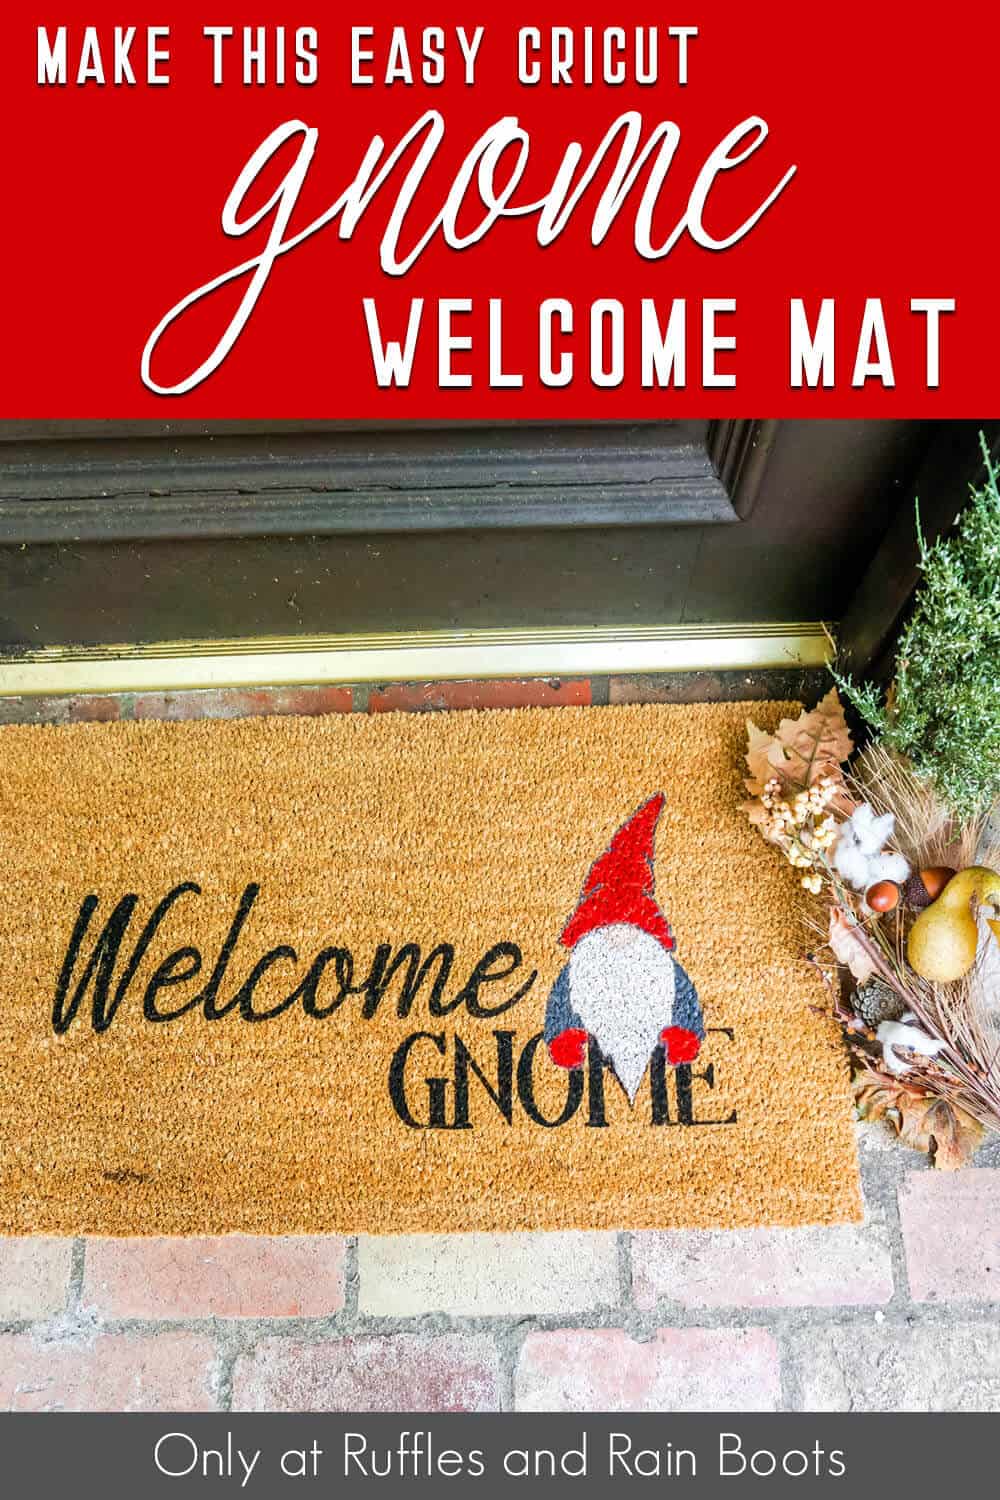
Gnome Doormat How to Make a Doormat with Cricut
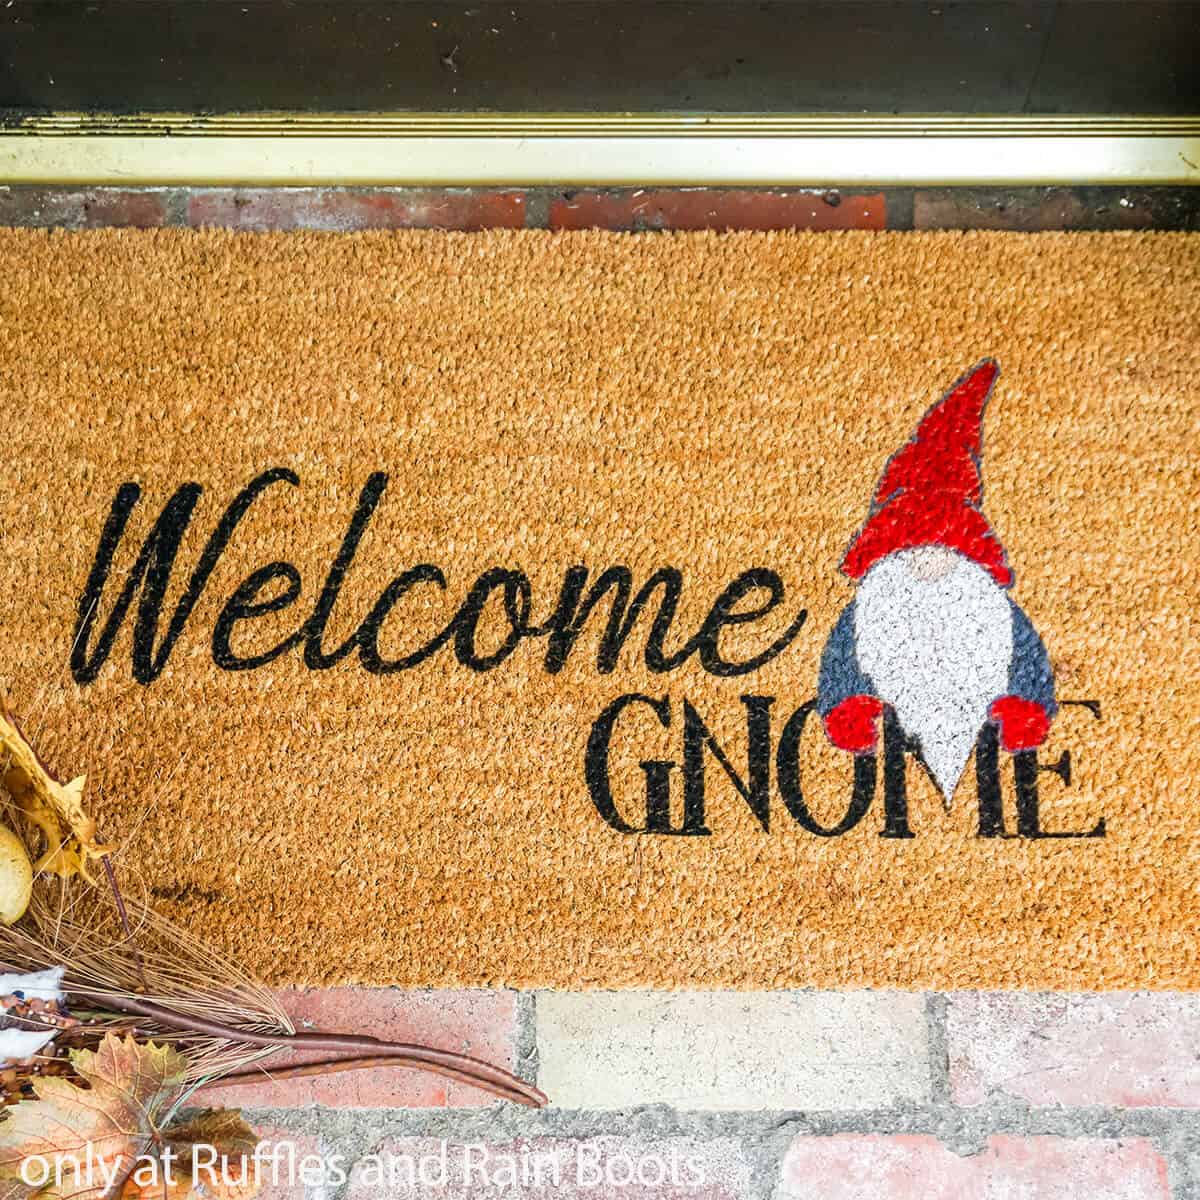
Learning how to make a doormat with Cricut was absolutely worth it to have a gnome greet me at the door! You will love that you can use your cutting machine, but even more: this actually lasts!
What You'll Find On This Page
How to Paint a DIY Doormat for the Front Door
Here at Ruffles and Rain Boots, I am a bit of a gnome fan. I like to make gnome crafts all the time and I never get enough (if it isn’t painfully obvious that I have an entire YouTube channel dedicated to them…). Something whimsical about these little folks make it just such a pleasure to see them.
I also really love learning new crafting techniques and putting them into practice. Putting together this Cricut doormat tutorial was fun, as was figuring out the best sealants to use to preserve it.
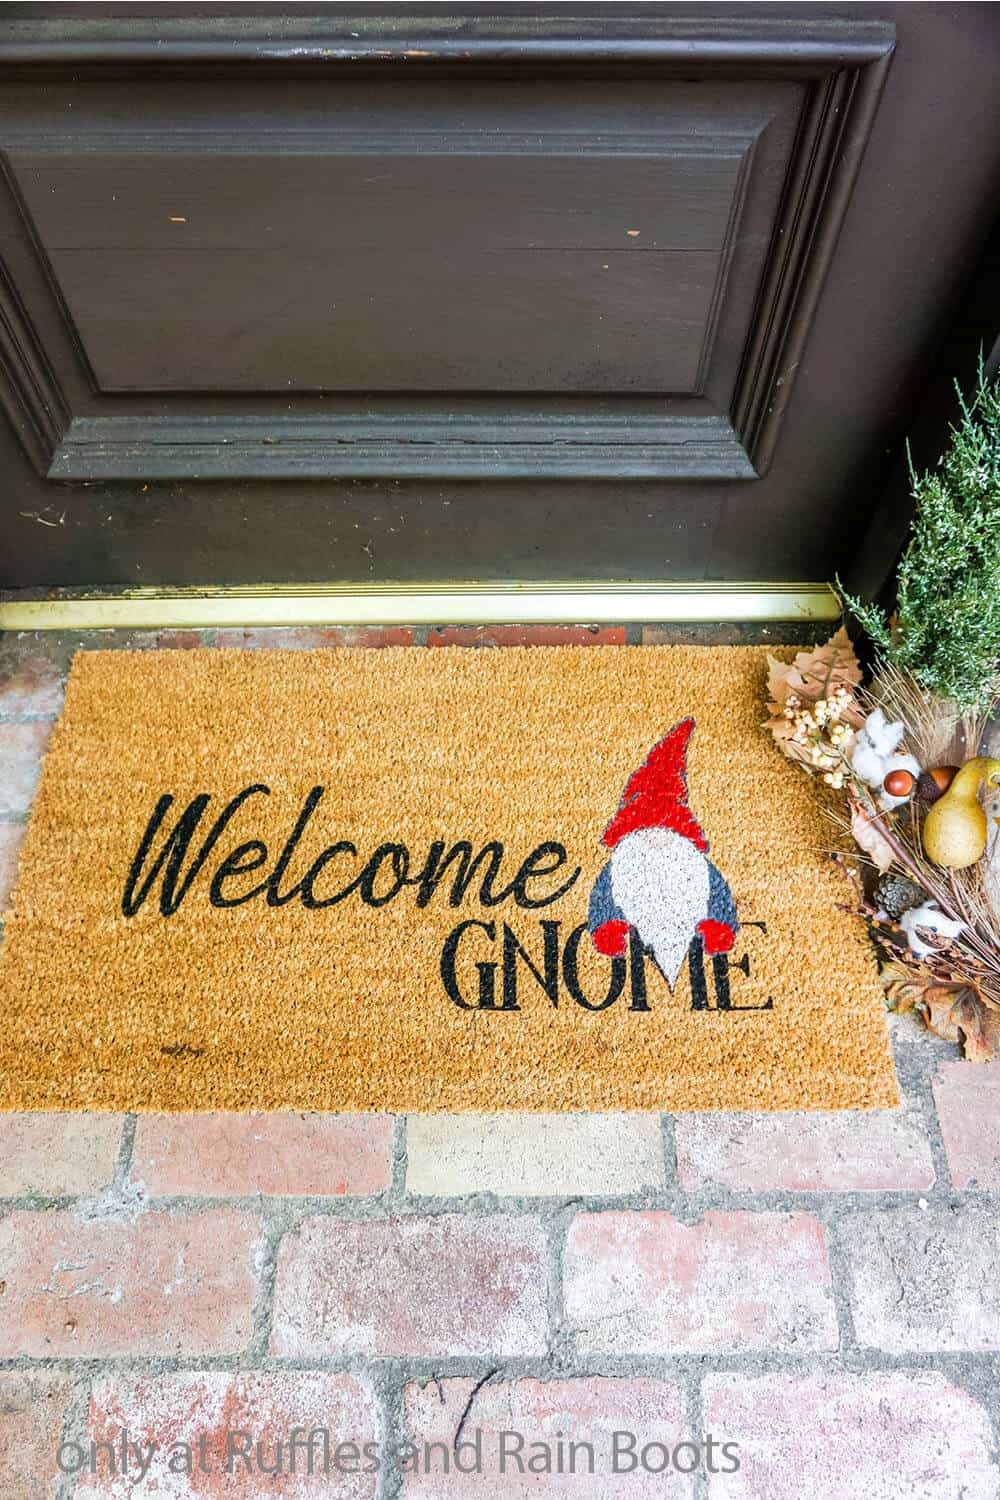
If you’re feeling like this cutie pie – or anything else – needs to be on your porch, let’s get started.

Get Exclusive Free SVGs, Discounts, and More!
I’m giving away free SVG files to help you create for friends, family, and your home. Get all of these (and more) along with the weekly newsletter.
RELATED READING: GNOME NAPKIN RING TUTORIAL
No Time to Make This Now? Pin it for Later
You’re busy, I get it. Pin this to your favorite Cricut crafts pin board or share it on Facebook. Speaking of Facebook, join the Facebook here – we are a fun, kind bunch of crafters.
As an Amazon Associate, I can earn from qualifying purchases. There are affiliate links within this article.
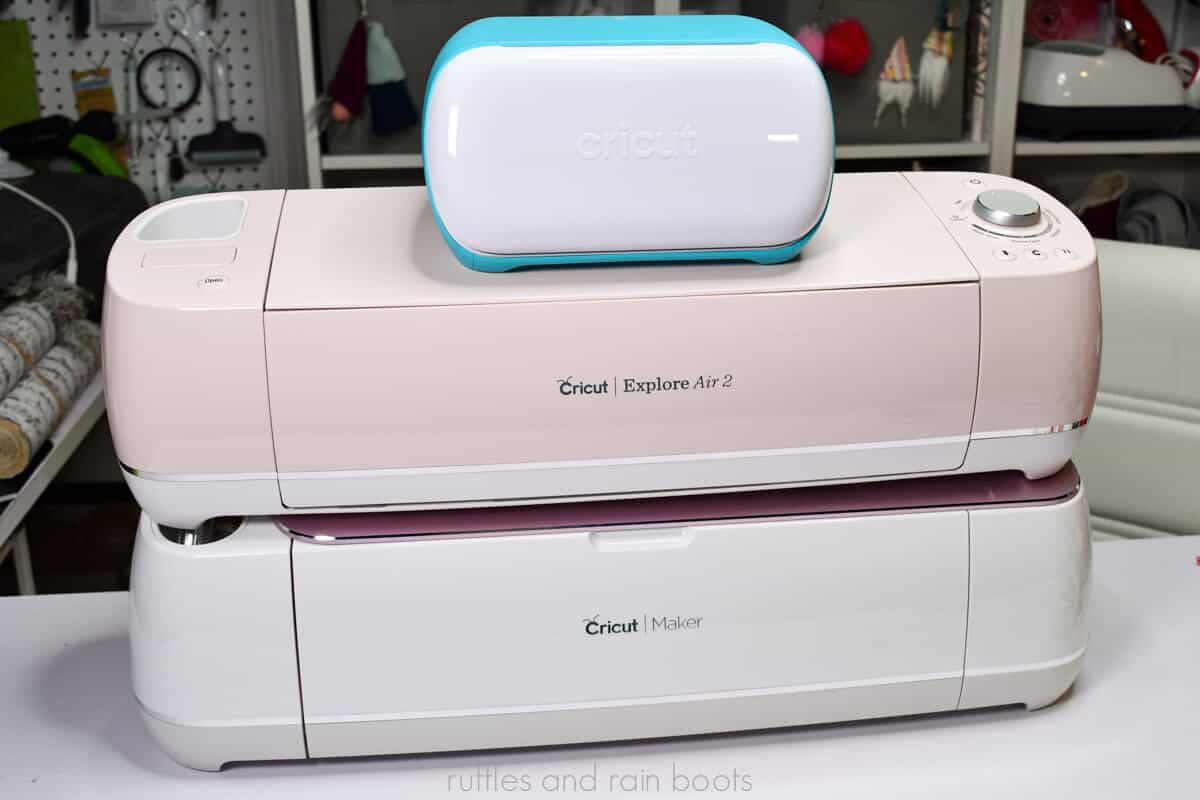
What Cricut Machine Can I Use to Cut Stencils?
I get asked this question quite often so I thought I would put the answer here before we start on the tutorial for the doormat. The answer is: you can use most machines and vinyl to make a stencil.
Obviously the Maker will cut almost anything you shove into it, so you’re good if you have one. The Explore Air 2 will cut vinyl like butter so proceed if you have that.
If you have the Cricut Joy, cutting a stencil is doable but might be a little tedious. I would use the mat, not the rolls to cut a stencil for a doormat because you need it to be sizable enough to be easily seen. This means you might have to cut tall pieces on the mat vertically which would result in more cuts.
My Tips to How to Make a Doormat with Cricut
- Start by getting the welcome gnome cut file set here. You can use this for more than just a door mat. It would make an adorable sign, too.
- Making a Cricut stencil is pretty easy – you can use Cricut stencil vinyl (it’s a light blue product), but honestly removable works really well, too.
- While this tutorial focuses on how to make a doormat with Cricut, you do not have to use a Cricut machine to make a stencil. You can print this file and cut the template out of vinyl by hand. I recommend an Exacto knife.
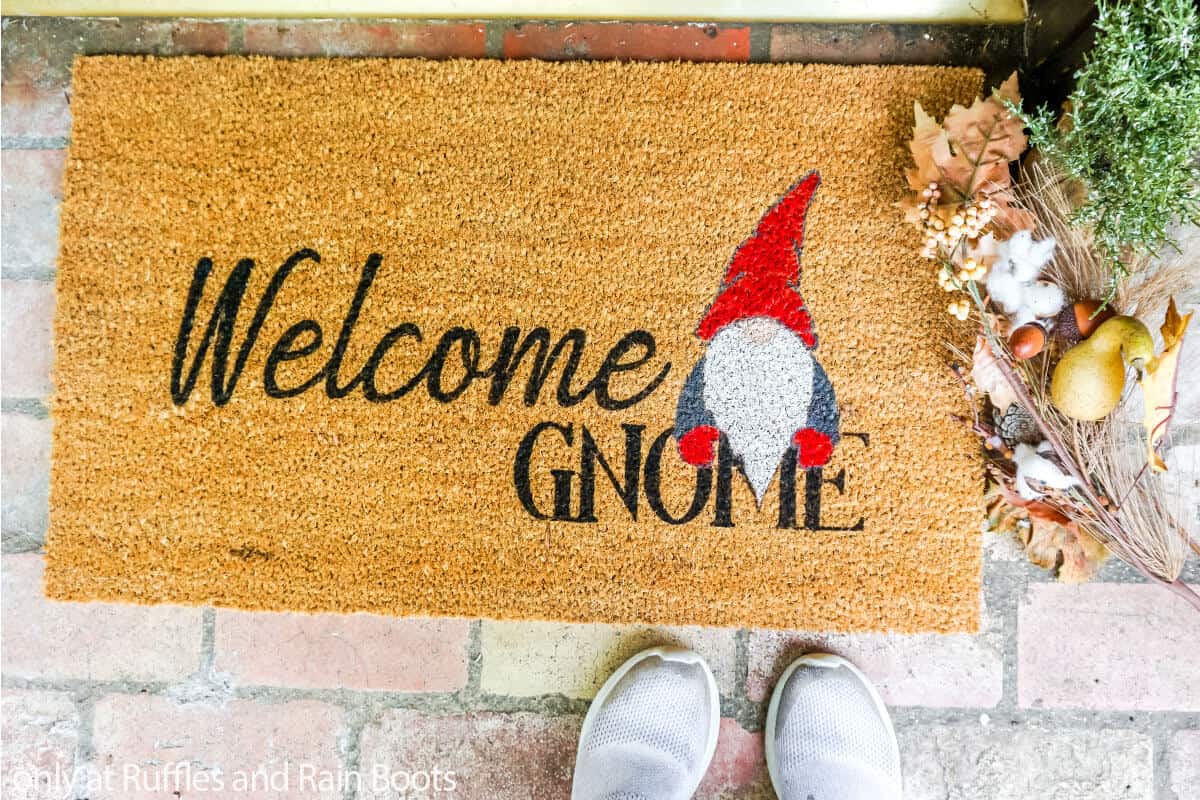
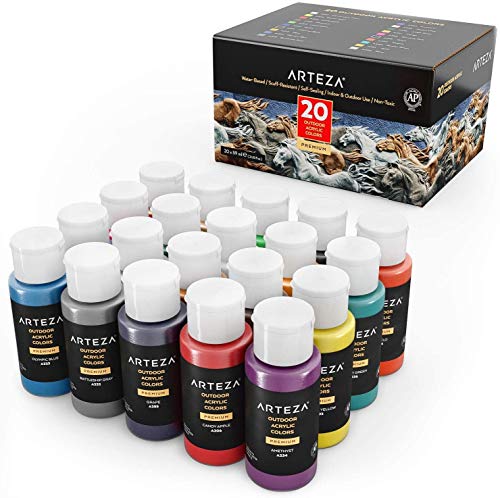
- While I’ve seen tutorials for using Flex Seal or other outdoor spray paint for making doormats, I personally didn’t find the idea appealing. What I did like was making a multi-color doormat with outdoor acrylic paints like these. Use a stiff brush and multiple coats (just like when you’re painting anything else), and you can get some really bright, vibrant colors.
- When you’re painting, use a stiff brush (I know I said that, but it’s worth reiterating) and go between the bristles of the coir doormat. Just putting the paint on top of the bristles might look fine in the moment you paint it, but if you get the color deep into the mat, you’re going to be so much more happy with how long the artwork lasts. I have had this doormat at the door and in-use for a couple of months now (I wanted to make sure the color wouldn’t fade before I shared the tutorial) and it is showing NO wear. Quite lovely for a fun craft I did one afternoon on a lark!
- Clear sealant should be used on this project, just to make sure it stays nice. My preference are spray sealants like this one and this one.
How Do I Make this Gnome Doormat?
I’m so glad you asked. Below is our written tutorial. If you’re making a Cricut crafts playlist on YouTube, here is our how to make a doormat with Cricut video tutorial.
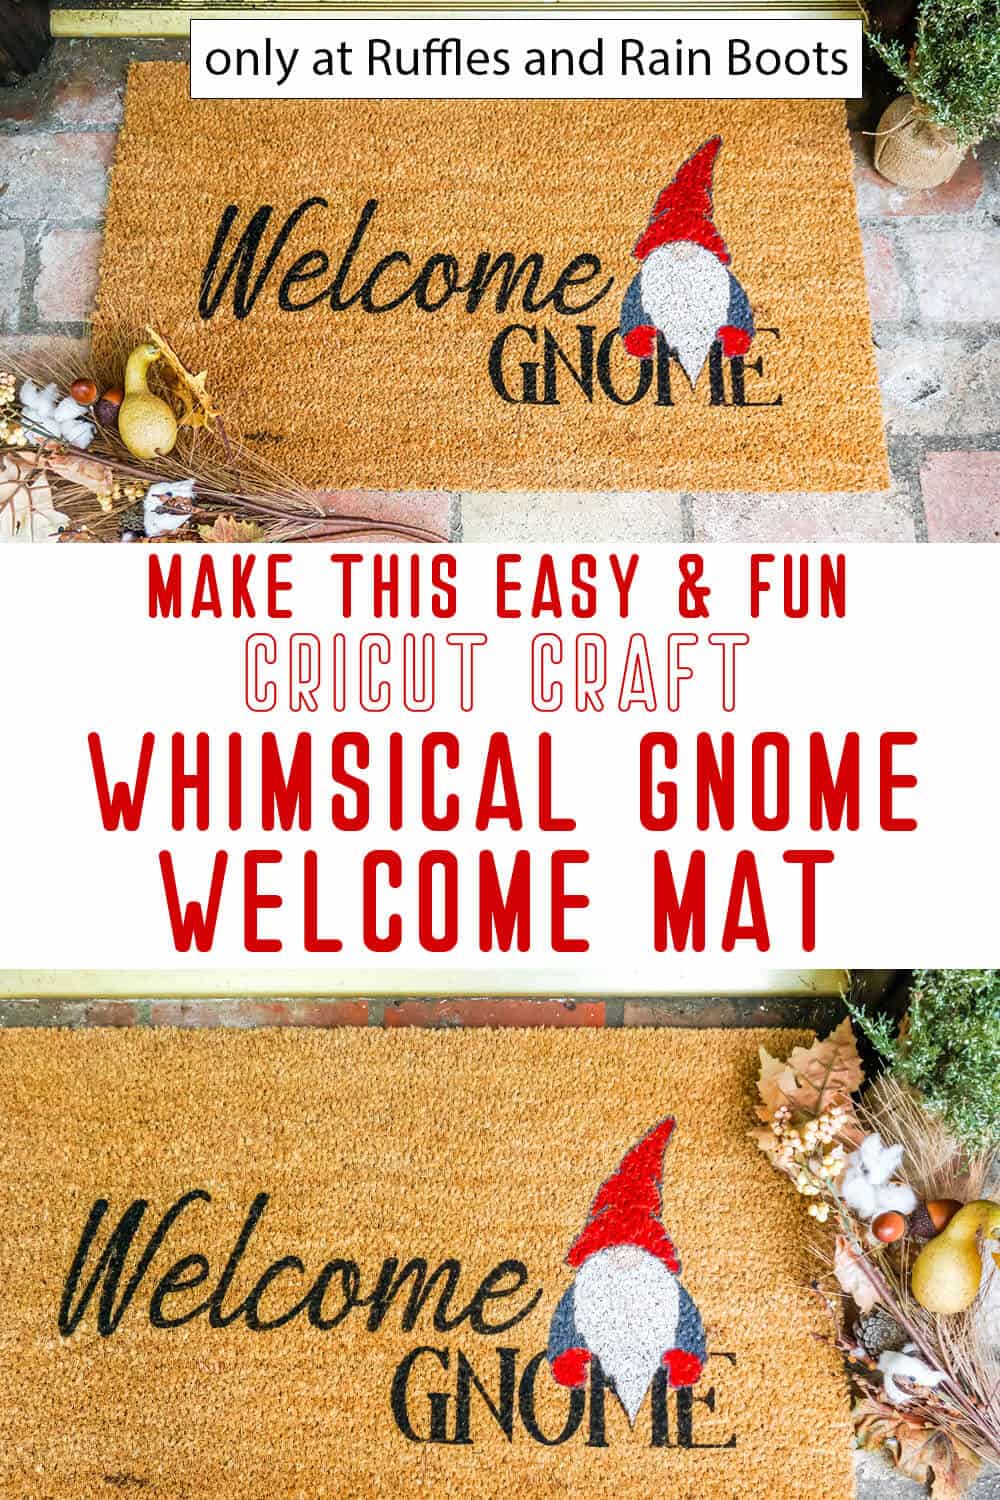
Gnome Doormat How to Make a Doormat with Cricut

This is the best way to make a DIY gnome doormat. So much fun and in minutes, you'll know how to make a doormat with Cricut, too.
Materials
Tools
- Masking Tape or Painters Tape
- Cricut Cutting Machine
- Fine Cutting Blade
- Light Grip Mat
- Transfer Tape
- Weeding Tools
- Permanent or Removable Vinyl
- Stiff Paint Brushes
Instructions
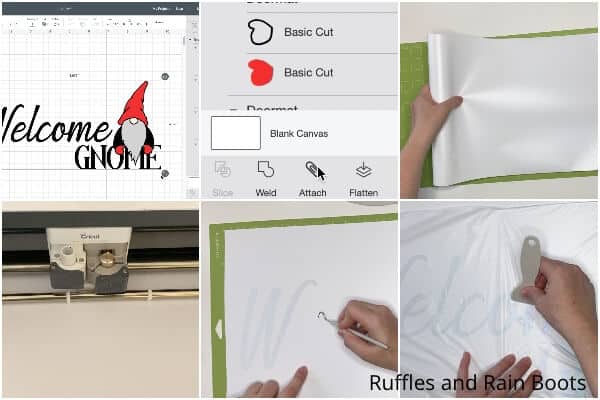
- Download the cut file and upload it to Cricut Design Space. Follow the prompts to resize the design to fit the size of your doormat.
- Select the entire design and click "attach" in the bottom right corner so that all of the elements will stay together on the mat so the weeding process is easier for you.
- Follow the prompts to cut the file from the vinyl and load the vinyl into the machine as directed.
- Remove the vinyl from the machine and weed the elements that you do not need in order to make a stencil for the lettering only. Leave all of the gnome elements in place.
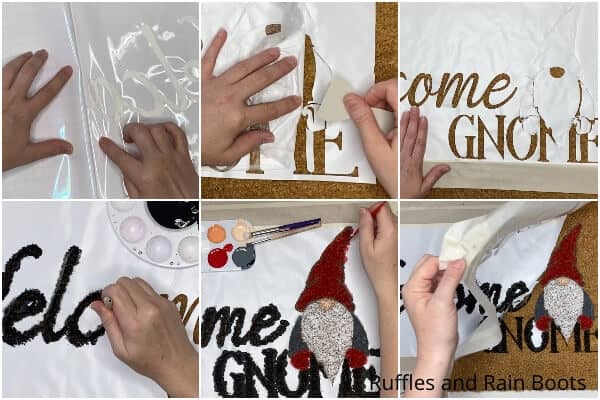
- Place the transfer tape across the weeded vinyl design and rub it down to affix the transfer tape to the vinyl design elements.

- Peel the transfer tape and attached vinyl off of the vinyl backing sheet. Then place the vinyl elements onto the doormat where desired.
- Gently press down the design (it will not stick well, but it will stick enough) and remove the transfer tape. In order to help get the vinyl to stay in place, just in case, tape down the edges of the vinyl onto the mat.
- With black paint, working in an up-and-down motion, getting the paint down into the bristles of the mat, paint the lettering for welcome gnome.
- Remove the innermost, light-colored section (I chose to start with the nose) and paint that portion, working outward and doing the lightest colors first before working with the darker colors.
- Remove the outermost gnome design elements (the outside outline) and paint the final element of the gnome, then go back over the entire design with a second coat of paint, if desired.
- Remove the vinyl stencil in its entirety while the paint is still damp. Allow the doormat to dry completely then put it on your porch because it's complete!
Notes
For more fun Cricut crafts, visit Ruffles and Rain Boots!
Recommended Products
As an Amazon Associate and member of other affiliate programs, I earn from qualifying purchases.

More Gnome Crafts You Might Like
- Gnome Stickers – If you’re a gnome-lover, making gnome stickers or decals has got to be “up there” on the list of fun things to do!
- Standing Scarecrow Gnome Pattern – Want to dig into a fun fall gnome craft with your Cricut? Make this easy standing scarecrow gnome and scare off all the crows!
- Needle Felting Gnome Art – Such a fun way to pass some time and make an adorable gnome wall art with’s so full of life and whimsy!
Please Save or Share This
Your shares are how this site grows and I am sincerely grateful. Know a friend who’d like this? Please share it to your favorite Facebook group or save it to your a crafting pin board.