Make This Easy DIY Heart Garland with Free Cut Files
This is the cutest and easiest DIY heart garland idea! Just grab the free Valentines cut files for Cricut and then you’re ready to make it!

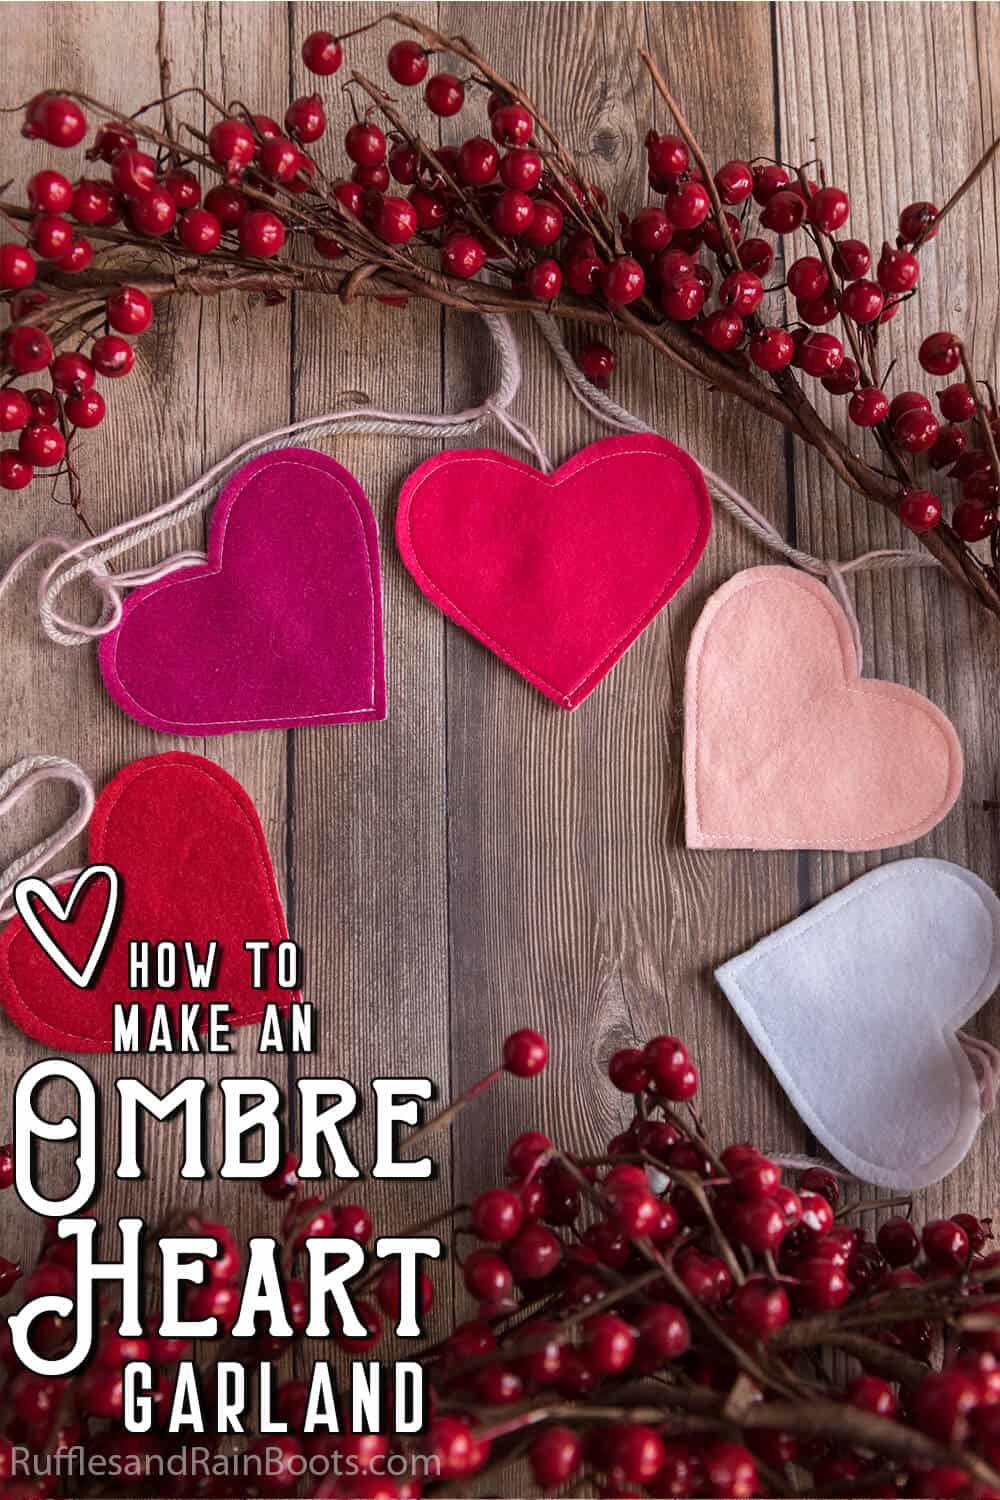
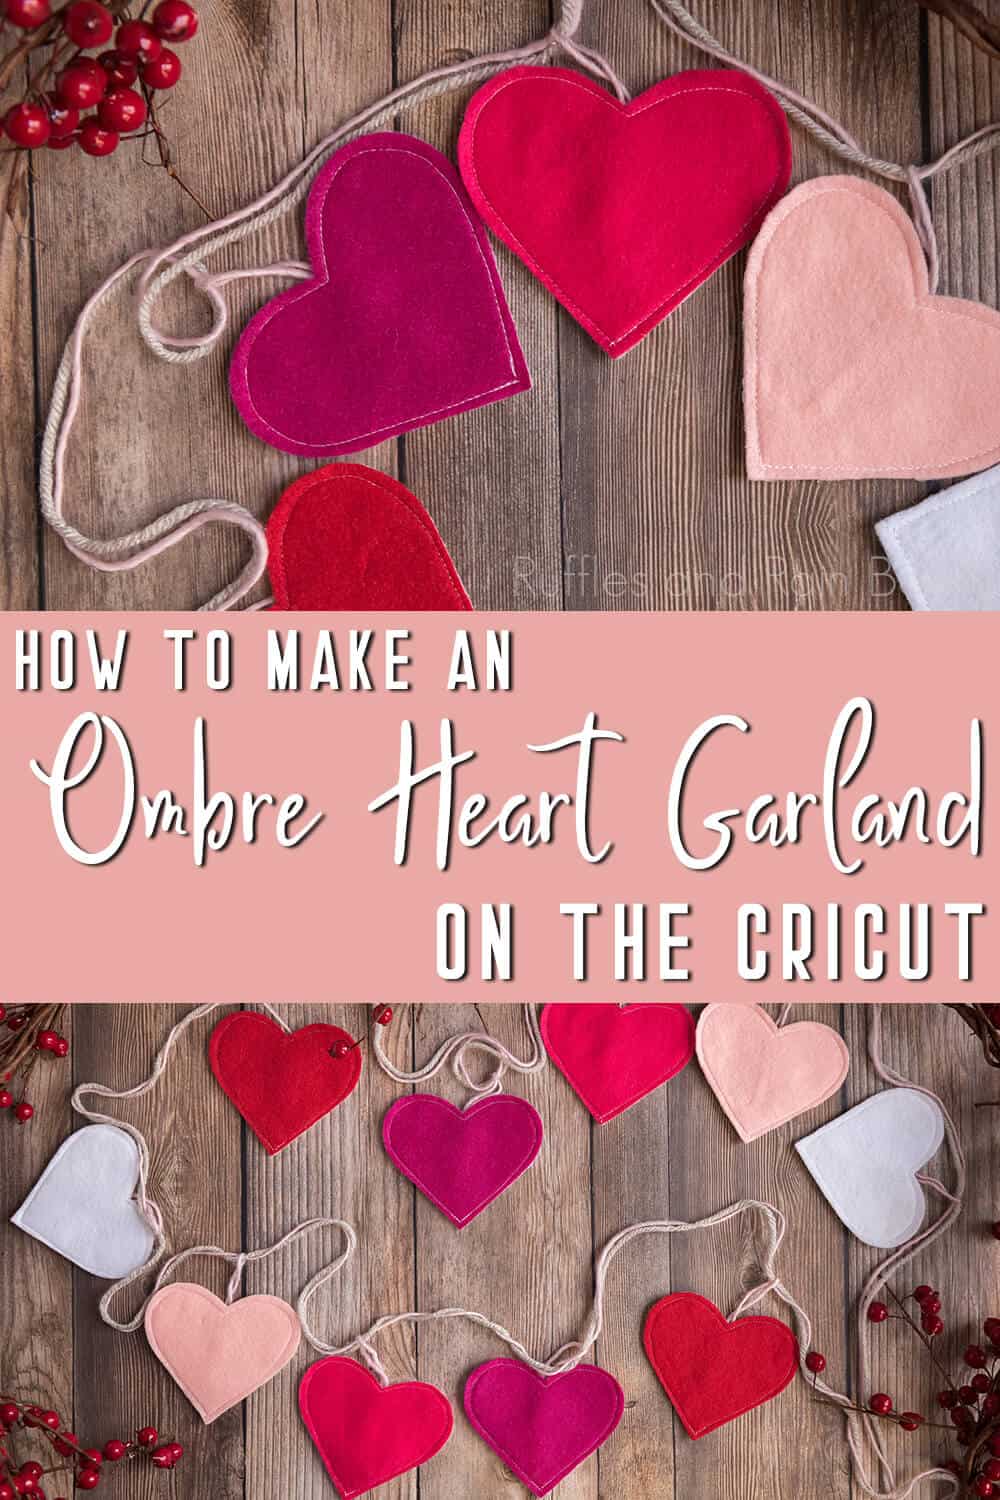
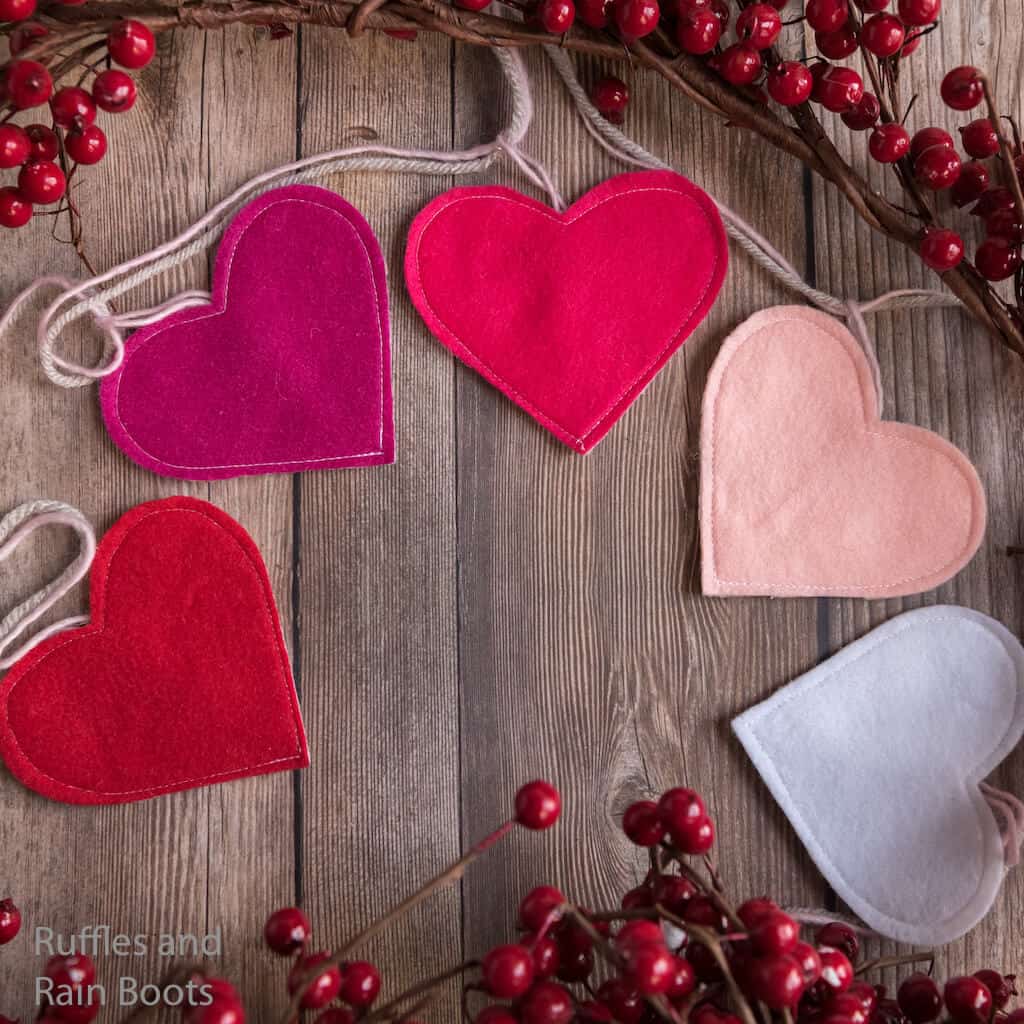
DIY Heart Garland
Here at Ruffles and Rain Boots, we love Valentines. It’s just such a wonderful day of celebrating the relationships you’ve built. And the kiddo loves pink, so it’s like a great day to celebrate pink, too. One thing the kiddo wanted was an ombre heart garland to decorate a bookshelf with for Valentines Day.
RELATED READING: DIY VALENTINES GNOME GARLAND
And, it was such a simple ask, I felt obliged to overthink it and now you have the opportunity to make your own beautiful heart garland for Valentines. If you’re ready to make a beautiful garland for your bookshelf (or whatever), let’s get started.

Get Exclusive Free SVGs, Discounts, and More!
I’m giving away free SVG files to help you create for friends, family, and your home. Get all of these (and more) along with the weekly newsletter.
No Time to Make This Now? Pin it for Later
You’re busy, I get it. Pin this to your favorite easy Valentines crafts board on Pinterest and it’ll be here for when you’re ready.
As an Amazon Associate, I can earn from qualifying purchases.
Sign up for the once-weekly Ruffles and Rain Boots newsletter and you’ll get everything – inspiration, notification of new SVG designs and more!
Tips to Make a Valentines garland
- Click here to get the free SVG to cut out the hearts with your Cricut or Silhouette. You can absolutely cut them out by hand, but you’re really going to have more fun if you cut them with the cutting machine.
- I recommend using the thicker craft felt. The thinner stuff is super nice for other projects, but because you want these hearts to have a lot of texture, the thicker felt is where it’s at.
- If you want to give the hearts even MORE texture, you can always tuck a little half-handful of polyfill into the heart before you sew it closed.
- Be sure to leave about 1 foot of string on each end so that you have plenty of space to tie the garland to whatever you’re tying it to.
- Do not feel restricted by reds and pinks! I know that’s what I did, but really, you can do a rainbow motif or farmhouse shades of buffalo check. This is all on you, baby!
How Do I Make this DIY HEART GARLAND?
I’m so glad you asked. Below is our written tutorial.
DIY Heart Garland

You don't get more beautiful (and easy) than this fun Valentines heart garland. Plus, these are free SVG files so you can have them cut and ready to go in just minutes!
Materials
- Yarn in 2 different colors
- Felt in 5 colors (ranging from dark to light for ombre effect)
- White Felt for the back of your project .
- White Thread • Sewing Machine • Aleene’s White Craft Glue •
Tools
- Cricut Maker Machine
- Cricut FabrictGrip Cutting Mat
- Weeding Tools
- Fabric Scissors
- Heat n Bond Lite
- Hot glue gun/ hot glue
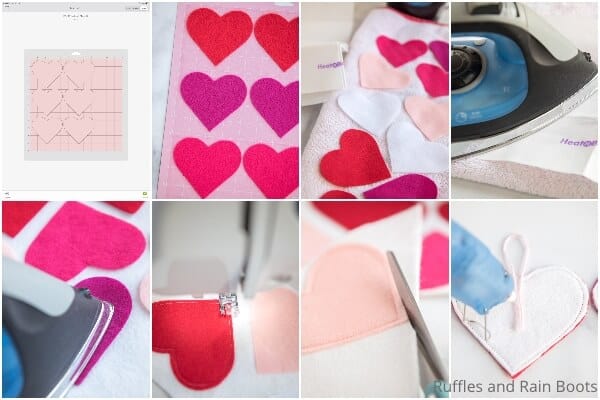
Instructions
- Open Cricut Design Space and click on "New Project”.
- Upload the heart cutout shape. Duplicate this shape for the number of heats you'd like to make.
- Ensure settings for the hearts are: (W 4, H 3.5).
- Cut the hearts out.
- Cut a 4 inch wide strip of each color of felt.
- Cut the heat n bond paper to fit the back of each piece of felt. Iron the heat n bond to the back of your strips of felt, per the directions on your package.
- Remove the backing paper and then cut the files, following the directions on the screen.
- Place your hearts onto the white felt.
- Make sure the heat n bonded side of the hearts are in contact with the white backing felt.
- Iron as directed on the packaging.
- Sew a single stitch along the outer edge of each heart.
- With scissors, trim the white felt backing material around the edge of the heart.
- For each heart, cut out a loop of thread or yarn about 3-4 inches long.
- Hot glue the yarn loop onto the back of each heart.
- Measure the width of the area you plan to hang your garland.
- Cut a long piece of yarn for hanging the hearts. For a little extra detail, cut an extra length of string and twist the two pieces together.
- Arrange the hearts from dark to light to form an ombre pattern on the table.
- Slip the yarn through each loop on the heart.
- Spread the hearts out evenly.
- Once you are happy with your heart placement, secure at the top of each loop with a small dab of hot glue to the long piece of yarn.
- Hang your heart garland and enjoy!

Notes
For more fun Valentines craft ideas, visit Ruffles and Rain Boots!
Would you like inspiration delivered right to you each week? Sign up for the once-weekly Ruffles and Rain Boots newsletter and you’ll get that and more! Get access to the exclusive libraries full of free SVGs, hand lettering practice, and so much more.
More Valentine Craft Ideas You Might Like
- Valentine Gnome Cut File Collection – This is the cutest little cut file I think I’ve ever made. Just so much adorableness happening there that I just can’t.
- Free Valentines Fonts, Cut Files, Graphics and More! – All of your digital crafting needs for Valentines celebrations, cards and everything.
- The Best Free Valentines Day Printables – All sorts of fun to be hand and there’s nothing to do but download and print.
Please Save This to Pinterest
Your shares are how this site grows and I am sincerely grateful. Know a friend who’d like this? Please share it on Facebook or save it to your favorite easy crafts board on Pinterest.