
How to Make a Grinch Gnome – Dollar Tree Gnome
Looking to add a little fun to your holiday party? It’s time to make this no sew Dollar Tree Grinch gnome!
These are everyone’s favorite DIY gnomes for holiday decorating. Any Christmas party you attend this year is going to be fun thanks to all of these Dollar tree crafts.
What You'll Find On This Page
DIY Grinch Dollar Tree Gnome
Here at Ruffles and Rain Boots, we absolutely love this story (and the movies). DIY Christmas decor is my thing. So, when I was at the Dollar Tree and found this fuzzy green pillow, I could not stop thinking about how perfect it would be for a DIY Grinch gnome!
RELATED READING: EASY DIY GRINCH GNOME ORNAMENT
Get Secret Gnomes, Tips, & Freebies Delivered!
What is the best pattern to use when you don’t want to sew? Do you know the secrets to a properly-proportioned gnome? Do you know where to get the best-priced fur?
Get all of this (and exclusive content just for you) delivered right to your inbox with the gnome-making series, free of charge. Sign up to get the once-weekly newsletter (and a jaw-dropping special offer)!

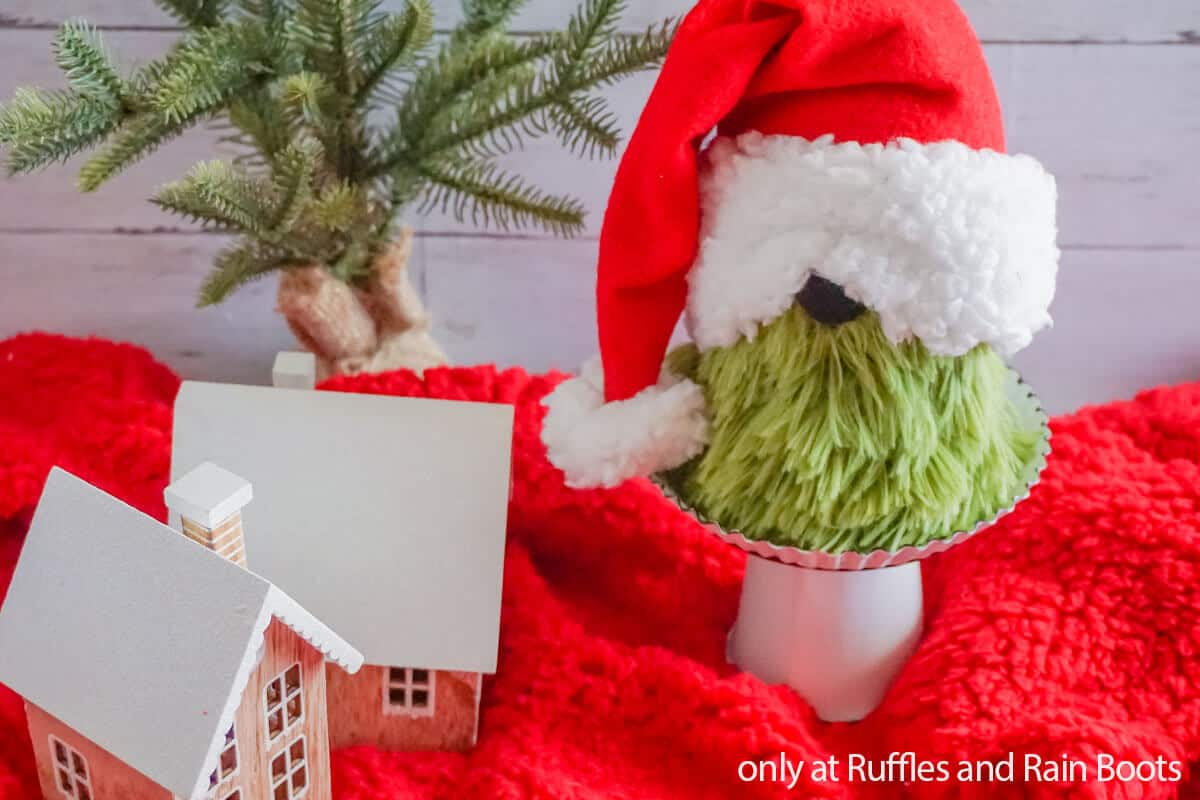
This Dollar Tree Grinch craft is one of those crafts that you can make in less than 10 minutes. It’s perfect for a Grinch tiered tray display or as a gift for someone who loves to decorate. If you’re ready to make a fast and fun DIY Christmas gnome, let’s get started.
No Time to Make This Now? Share or Save This
If you need to gather up some some supplies for this Dollar Tree Christmas craft, share this to Facebook or save it to your favorite holiday pin board to find it later. You can also join the Facebook group here and we’ll remind you where it is.

As an Amazon Associate, I can earn from qualifying purchases. There could be affiliate links within this article
Tips to Make This Grinch Sock Gnome
- I used Poly-fill beads that I did not get from Dollar Tree. I know, I cheated there but to be honest, I simply forgot I was trying to keep to the strict Dollar Tree rule. If you want to make this with ALL Dollar Tree items, you can replace the beads with some of the little rocks they have in the vase section.
- Hot glue is all you need to make this. However, if you would like to sew a gnome body, I have free gnome patterns in the Ruffles and Rain Boots shop here.
- Other dollar-store Christmas items can be used. I found a fun, fluffy green blanket at Dollar General that would work for this, as well.
- Why not put a Grinch on the Christmas tree? Use this same Dollar Tree pillow and make this easy Grinch gnome ornament.
- If you can’t find the fluffy, fuzzy pillow, don’t worry. You can make the Grinch with a green towel, a green sock, or even a slouchy hat from the Christmas section.
- I used scraps of lambswool fabric I had already but used the red felt from the Crafter’s Square section. For the trim, go to the automotive section at Dollar Tree, grab the white microfiber cloth or a duster from the cleaning section and use that for the trim.
- You do not have to make a Santa hat for your Grinch gnome. You can bring that pillow all the way up and over the body. To learn how: see how I made the Grinch’s trusty companion Max here.
How Do I Make this Grinch Dollar Tree Christmas Gnome?
I’m so glad you asked about this Grinch gnome DIY, below is the step-by-step written tutorial for this playful piece of holiday decor. If you are a visual learner, watch the full Dollar Tree Grinch sock gnome video tutorial here on the YouTube channel.
First, fill the sock with your poly beads to help weigh your gnome. Finish filling up to the ankle with cotton stuffing from the pillow, then tie a knot in the sock and secure it with hot glue. If your sock is sheer like mine was, fold it over to hide the polyfill and strengthen the sock shape.
Pinch up a small amount of the polyfill through the sock, making a ball, about 2/3 of the way up from the bottom of the sock to form a nose. With your rubber band, pinch off this nose shape to hold it in place permanently. You can also tie it with twine and then remove the rubber band if you are concerned about the rubber band dry-rotting eventually. Note that because my sock was sheer and I folded it over, I actually stuffed a bit of polyfill up into the two layers of sock that were folded over and made my nose that way.
Cut the fuzzy pillow covering into a large rectangle wide enough to cover the entire sock gnome body from top to bottom and all the way around. The material is NOT faux fur, so there are no tricks to cutting it, just use scissors and go to town.
Place the green fuzzy rectangle over the gnome as you desire it to sit, then cut a 1-inch slit in it where the nose will be. Pull the nose through the slit, then flip the fuzzy rectangle up and hot glue all around the nose to make sure the material won’t move.
Continue hot gluing the fuzzy rectangle all the way around the gnome’s body, trimming any excess.
Cut out a large triangle, about 17 inches long, of red felt that is wide enough to wrap around the gnome’s head, plus 1-2 inches.
Fold the triangle in half, forming a nice cone that fits over the gnome’s head, then hot glue the triangle into this cone shape and trim any excess felt.
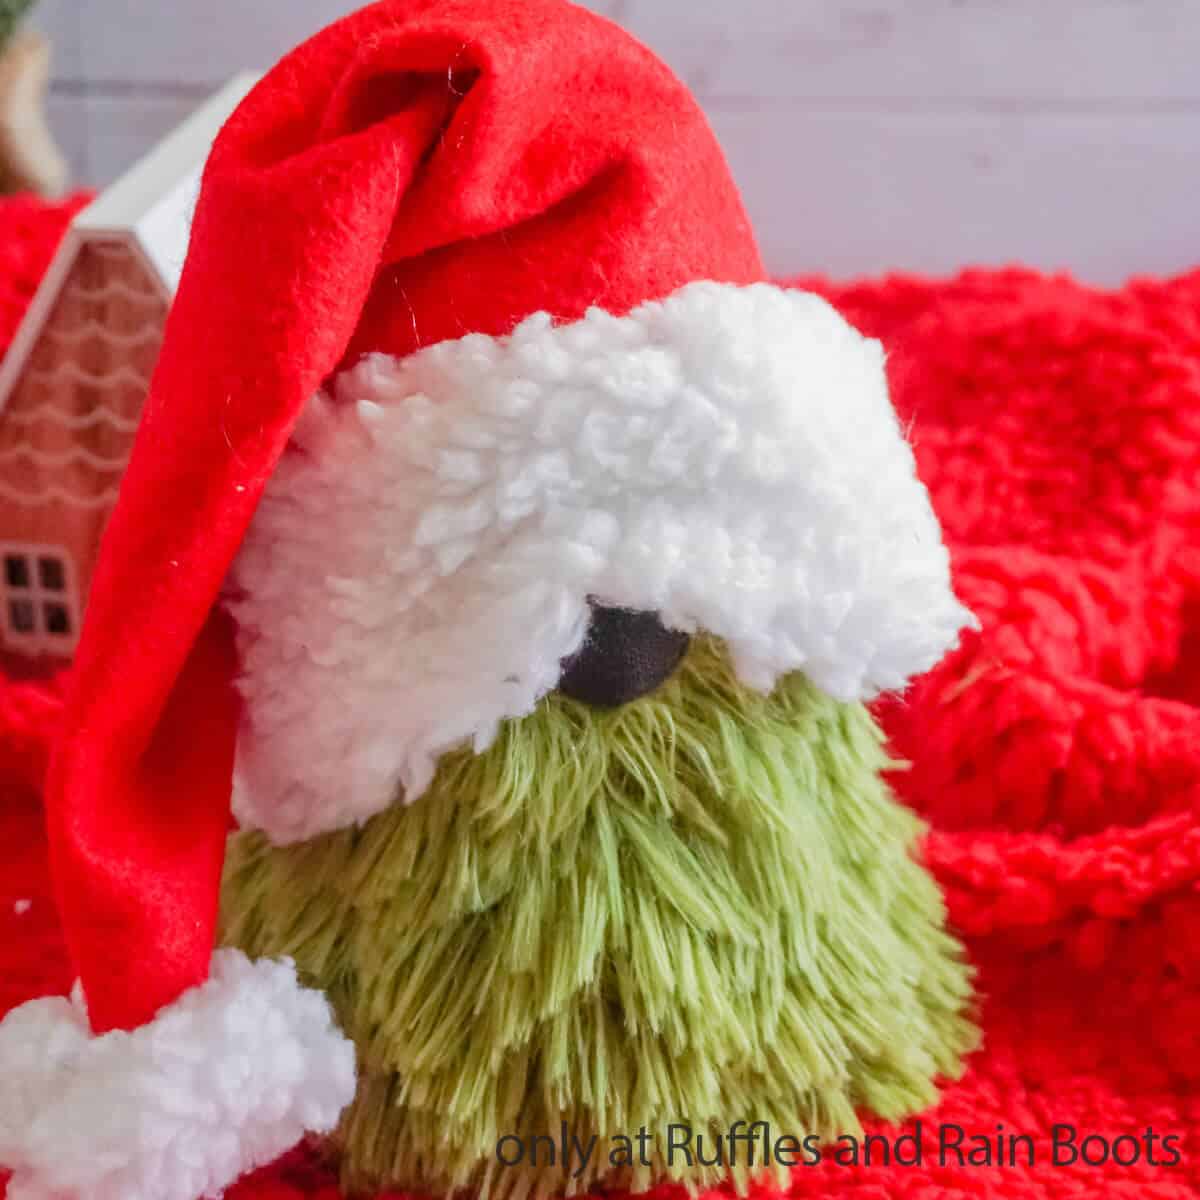
Cut a strip of sherpa fabric about 1 1/2 inches wide and long enough to go around the entire brim of the hat. Hot glue this in place around the brim.
Cut a 2-inch square of sherpa fabric, then hot glue the edges together, making a pom pom. Hot glue this pom pom to the tip of the hat.
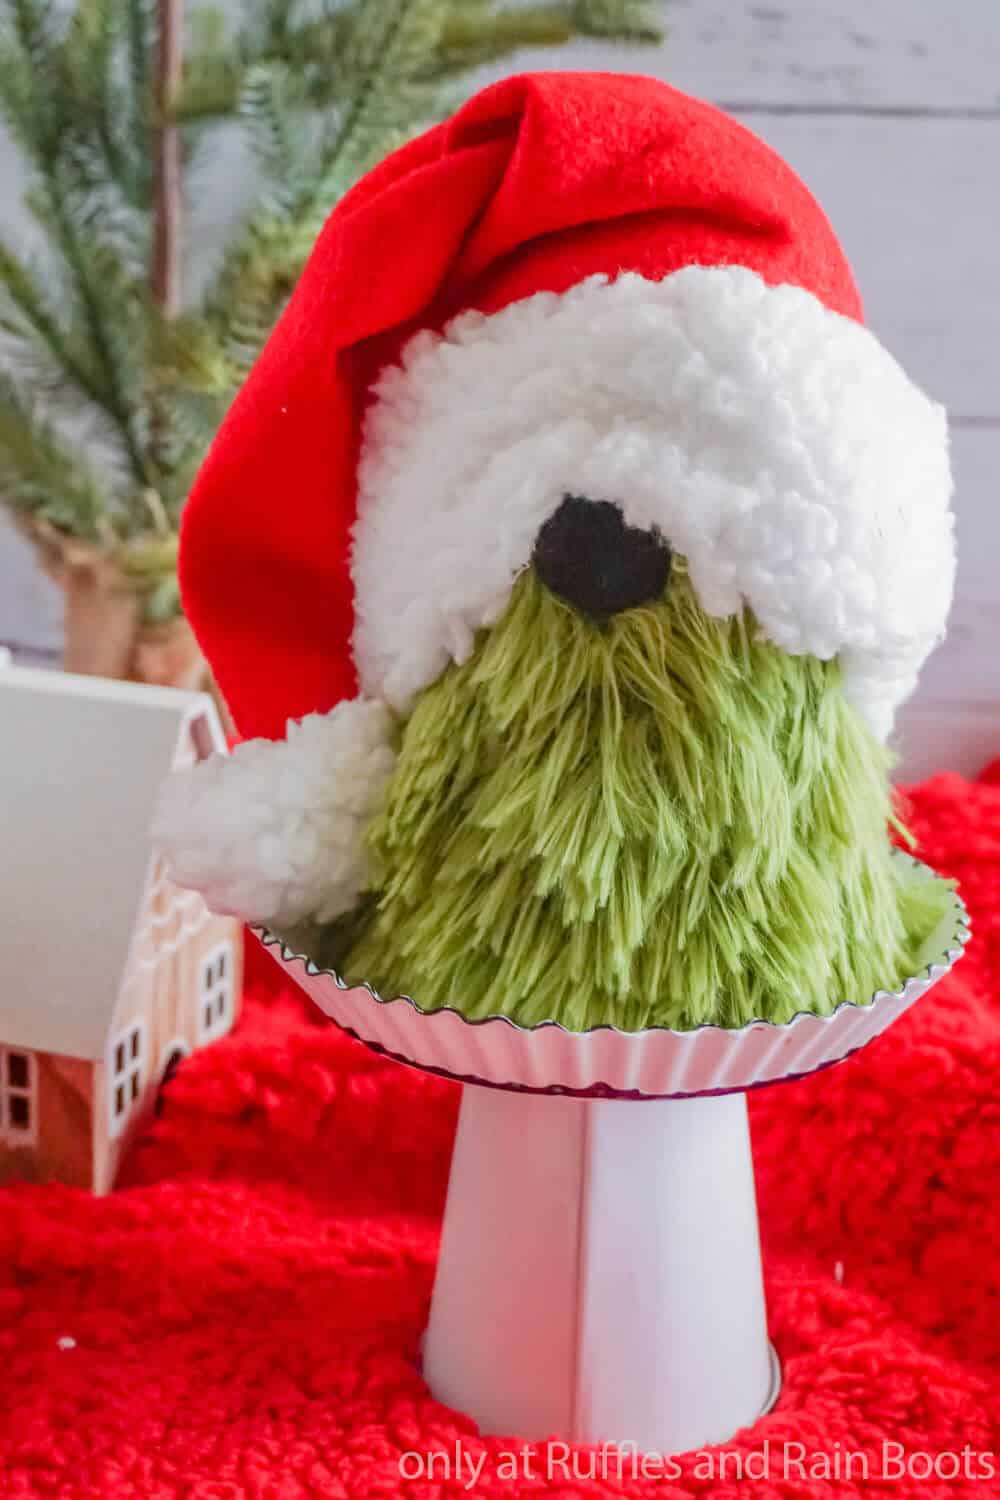
Place the hat low over the nose of the gnome, add polyfill inside the hat, as desired, to give your gnome a bit more of a head, and hot glue the hat in place over the nose. Then pull the hat down in the back and hot glue it in place, opening up the face. Then it’s time to enjoy your Grinch gnome.

More Grinch Crafts You Might Like
- Max from the Grinch Gnome – I have a confession: I love Max just as much as I love the Grinch. They’re a packaged set and this easy gnome version of Max from the Grinch Movie is oh, so cute!
- DIY Grinch Wreath – This wreath is easy, fun, and super Grinch-y. It’s honestly as much fun to make as it is to display.
- Grinch Mason Jar – Do you want to make an easy Grinch gift but don’t know how to package it? A mason jar is always the answer.
Please Save or Share This Fun Craft
Your shares are how this site grows and I am sincerely grateful. Please save this to a holiday crafts pin board or share this to a crafty Facebook group.

Grinch Dollar Store Gnome

You can make this easy Grinch Dollar Store gnome in just about 10 minutes. Then you'll have the best DIY Christmas gnome to add to your Grinch farmhouse tiered tray!
Materials
- 1 Black Adult Sized Sock
- 1 Green Fluffy Pillow
- Scraps Red Felt, optional (use a red towel if you can find one at Dollar Tree)
- Scraps White Sherpa Fabric, optional
- Rubber Band
- Twine
- 1 cup Poly Beads or Pebbles
Tools
- Scissors
- Hot Glue Gun & Glue
Instructions
- Fill the sock with your poly beads to help weigh your gnome. Finish filling up to the ankle with cotton stuffing from the pillow, then tie a knot in the sock and secure with hot glue. If your sock is sheer like mine was, fold it over to hide the polyfill and to strengthen the sock shape.
- Pinch up a small amount of the polyfill through the sock, making a ball, about 2/3 of the way up from the bottom of the sock to form a nose. With your rubber band, pinch off this nose shape to hold it in place permanently. You can also tie it with twine and then remove the rubber band if you are concerned about the rubber band dry rotting eventually. Note that because my sock was sheer and I folded it over, I actually stuffed a bit of polyfill up into the two layers of sock that were folded over and made my nose that way.
- Cut the fuzzy pillow covering into a large rectangle wide enough to cover the entire sock gnome body from top to bottom and all the way around. The material is NOT faux fur, so there are no tricks to cutting it, just use scissors and go to town.
- Place the green fuzzy rectangle over the gnome as you desire it to sit, then cut a 1-inch slit in it where the nose will be. Pull the nose through the slit, then flip the fuzzy rectangle up and hot glue all around the nose to make sure the material won't move.
- Continue hot glueing the fuzzy rectangle all the way around the gnome body, trimming any excess.
- Cut out a large triangle, about 17-inches long, of red felt that is wide enough to wrap around the gnome's head, plus 1-2 inches.
- Fold the triangle in half, forming a nice cone that fits over the gnome's head, then hot glue the triangle into this cone shape and trim any excess felt.
- Cut a strip of sherpa fabric about 1 1/2-inches wide and long enough to go around the entire brim of the hat. Hot glue this in place around the brim.
- Cut a 2-inch square of sherpa fabric, then hot glue the edges together, making a pom pom. Hot glue this pom pom to the tip of the hat.
- Place the hat low over the nose of the gnome, add polyfill inside the hat, as desired, to give your gnome a bit more of a head, and hot glue the hat in place over the nose. Then pull the hat down in the back and hot glue it in place, opening up the face. Then it's time to enjoy your Grinch gnome.

Notes
For more fun gnome patterns, visit Ruffles and Rain Boots!

Me and my 7 year old grand daughter made this for her mom. It turned really cute. She was so excited she wanted to give it to her before Christmas.
Oh, I’m so glad your grand daughter helped make this for her mom, Debra. How fun is that!? Thank you so much for sharing – you’ve made my day.