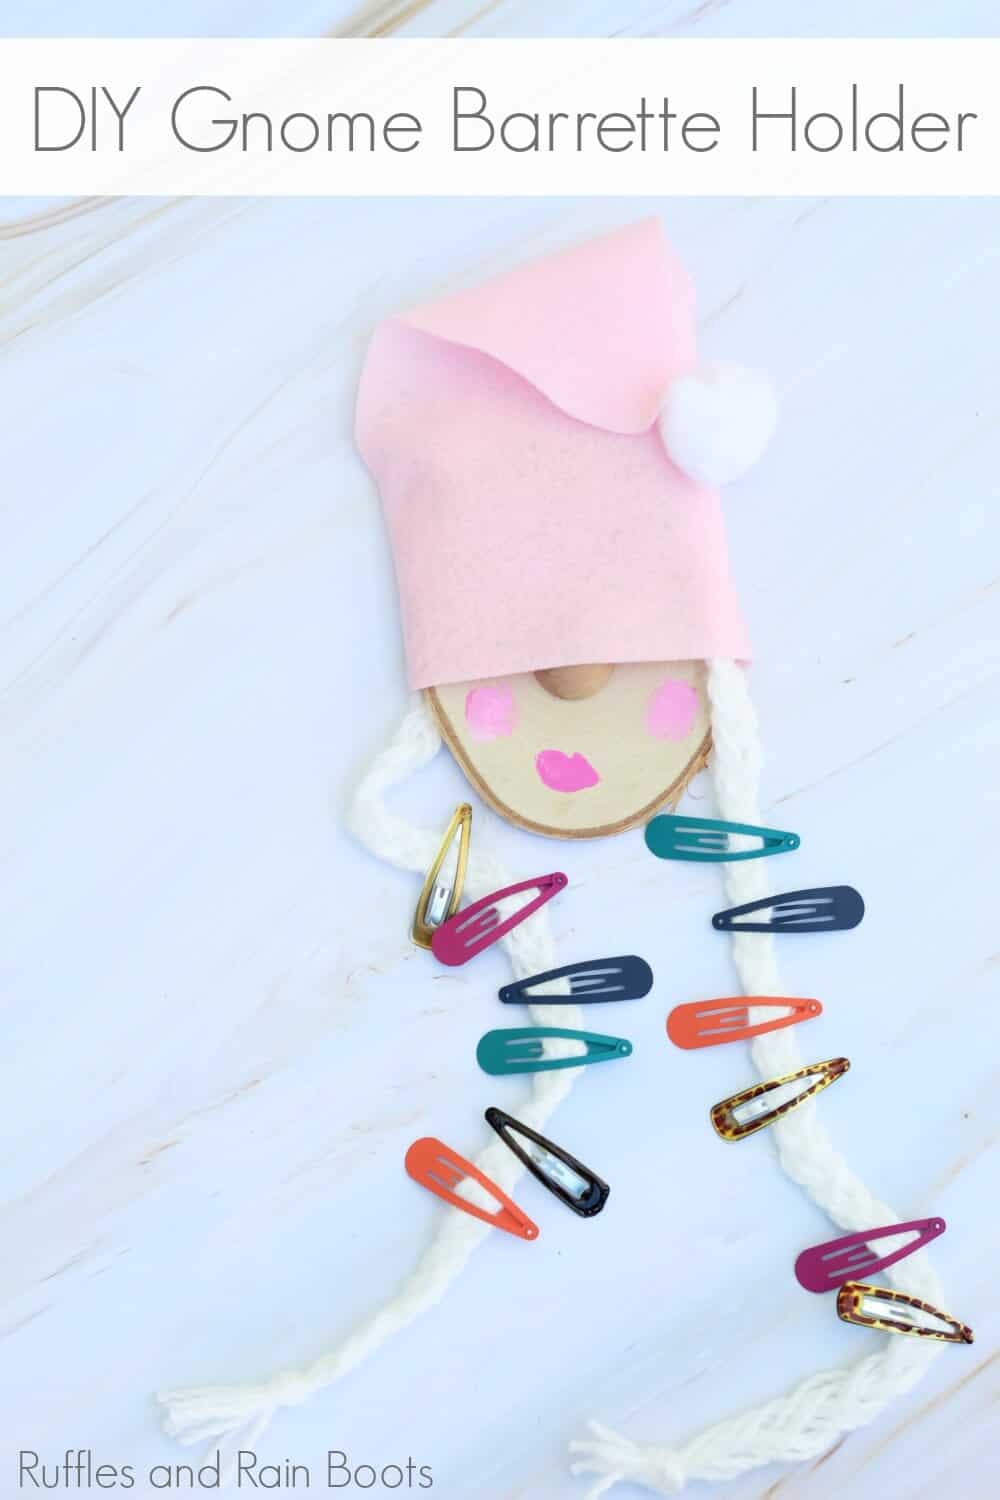
Let the Kids Made This Gnome Barrette Holder
If you’re looking for a whimsical afternoon craft, this gnome barrette holder is fun for all and can be adjusted depending on age. You only need a couple of supplies and you’ll have a fun afternoon making something together.
We used a wood slice for my daughter’s barrette holder but if you don’t one one, a few ideas are: a cardboard cut out covered in felt or a painted jar lid. This is a fun and quick craft, so let’s get started.
What You'll Find On This Page
Gnome Barrette Holder
Here at Ruffles and Rain Boots, we have a lot of hair in our house. Long hair and a lot of hair accessories carelessly thrown into bathroom drawers, on top of dressers, and even shoved into the cup holders in my car.
I am not sure what happens to the barrettes, ponytail ties, and bobby pins in my house, but they seem to disappear at an alarming rate. I found giving my daughter a special place to put them seems to help her be able to remember to put them back.
Get Secret Gnomes, Tips, & Freebies Delivered!
What is the best pattern to use when you don’t want to sew? Do you know the secrets to a properly-proportioned gnome? Do you know where to get the best-priced fur?
Get all of this (and exclusive content just for you) delivered right to your inbox with the gnome-making series, free of charge. Sign up to get the once-weekly newsletter (and a jaw-dropping special offer)!

Last weekend, I prepped this easy hair clip holder craft for her. I simply gave her the idea and she ran with it and if you think your little ones might like it, here is how I set it up.
RELATED READING: Paper Roll Gnome DIY for Kids
No Time to Make This Now?
If you need to gather up all the barrettes and pins in your house or gather supplies, I get it. Save this to a kid crafts pin board so it will be easy to find when you’re ready to set it up.

Tips for Making This DIY Barrette Holder
- I struggled with teaching my daughter how to braid so I found this how to braid video very helpful. It goes slowly for little ones and uses bright colors.
- Because this is a craft for kids, let them make their mistakes, wonky braids, and uneven face. I honestly struggle with this and need a reminder.
- If you would like to help very little hands make the pigtails, be sure to make them long enough to hold all your barrettes. We found that 15 inches was enough because we lost a little bit tucking it up under the hat, but if you have a small collection or very small barrettes, 10 inches should suffice.
- My daughter loved to decorate the face with “blush” and “lipstick,” but if you don’t want to pull out paint, let them draw with markers. This is their hair clip storage after all.
- Let the glue dry completely on the hair clip holder before hanging on any barrettes; I recommend letting the glue set overnight.
- Hand the organizer somewhere low using a removable command strip or by affixing a portrait hanger onto the back.
RELATED READING: Popsicle Stick Gnome Puppets Craft for Kids
How to Make an Easy Barrette Holder DIY
This gnome craft is simple for the kids to make, however, will require supervision. Below is the written and printable tutorial so you can print it out or leave it open on a tablet.
Note: I handled the hot glue gun because my daughter was too young.
Gnome Barrette Holder

Let the kids make this adorable gnome barrette holder. It's the perfect after school or rainy day craft.
Materials
- White yarn
- Raw wood slice, jar lid, or cardboard
- Craft paint- tan, pink, black
- unfinished split wood ball
- Craft Felt
- Pink paint
- pompom
Tools
- Hot glue gun and glue sticks
- Scissors
Instructions
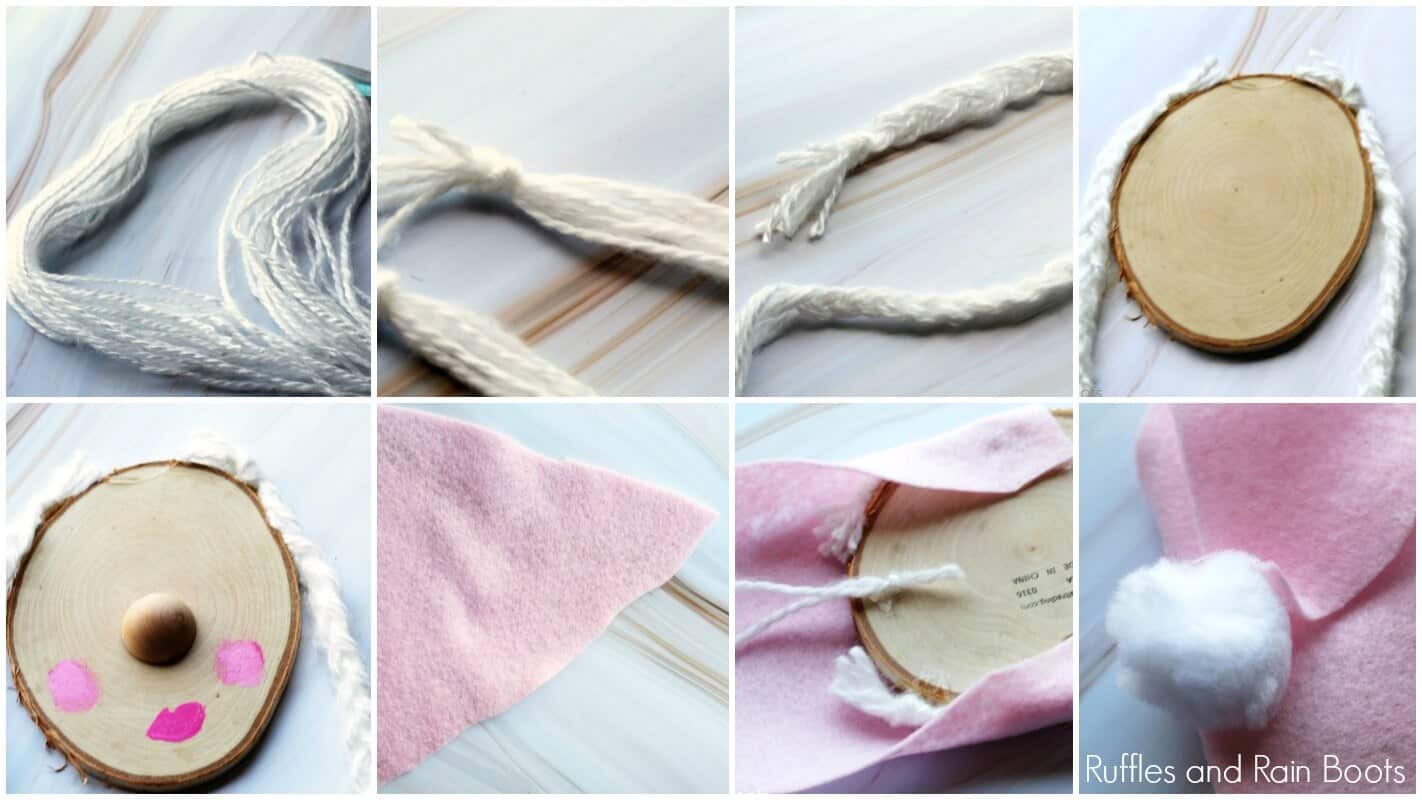
- Leave your wood unfinished or paint the wood slice and ½ round ball any color. Allow it to dry completely if painting. If using a piece of cardboard, cover in felt. If using a jar lid, paint and let dry.
- Use hot glue to secure the split wood ball a little higher than halfway up the slice for her nose peeking out from under the hat.
- Cut 18 strands of white yarn into 10”- 15” lengths. Tie 9 pieces together, separate into 3 sections, and braid the length. Tie the end into a knot, trim to make it even, and repeat. If you are using chunky yarn, use half the strands.
- Glue the braids to either side of the wood slice and use a small paint brush to add a blush and a mouth. Note: I used the hot glue gun to ensure they would stay, so this part is not for little hands.
- Measure the width of your craft slice (ours was 4” wide). Cut a large triangle from felt, making sure that the widest part at the bottom covers at least half of your wood slice. Glue into place over the braids. Fold over and glue a large pom pom to the tip for some whimsy.

Notes
For more fun crafts for kids, visit Ruffles and Rain Boots.
More Kid’s Crafts You Might Like
- Gnome Puppet Craft and Activity – Use the free printable to make your own gnome puppets for a whimsical story time.
- Free Paper Roll Printables – From Lilo and Stitch to Princess Leia and Vader, we have a lot of paper roll crafts here.
- Pokémon Printable Bookmark Craft – If your little ones are fans of the lovable creations, this is a quick and easy craft.
- Paper Plate Gnome Craft for Kids – Crafting and learning life skills are simple!
- Doll Face Barrette Holder – Anika shares how to make a doll face clip organizer.
Please Save or Share This
Your shares are how this site grows and I am sincerely grateful. Please share this to a crafty Facebook group or save to your favorite kid crafts pin board.