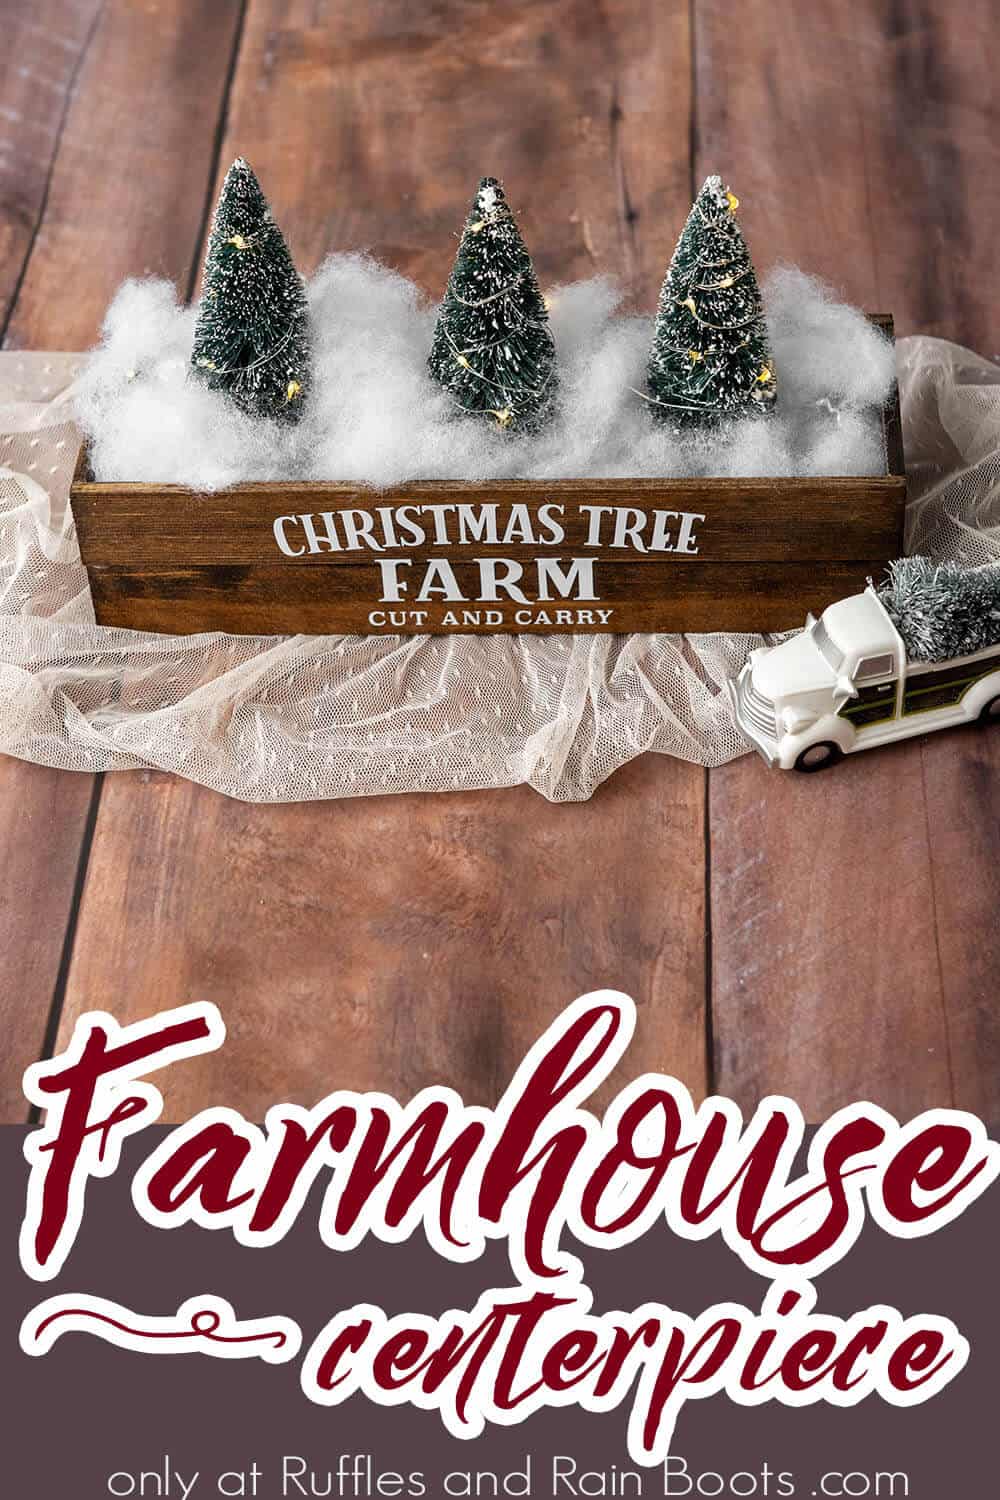
Elegant Christmas Farmhouse Centerpiece
I couldn’t wait to share this Christmas farmhouse centerpiece and free tree farm SVG set. Who knew a few bottle brush trees and some glue can create something so elegant?!
This looks like a pre-made box you would have to spend quite a bit of money on, but it’s so easy to make – you just need some paint sticks! Read below for the easy holiday decor idea.
Farmhouse Centerpiece
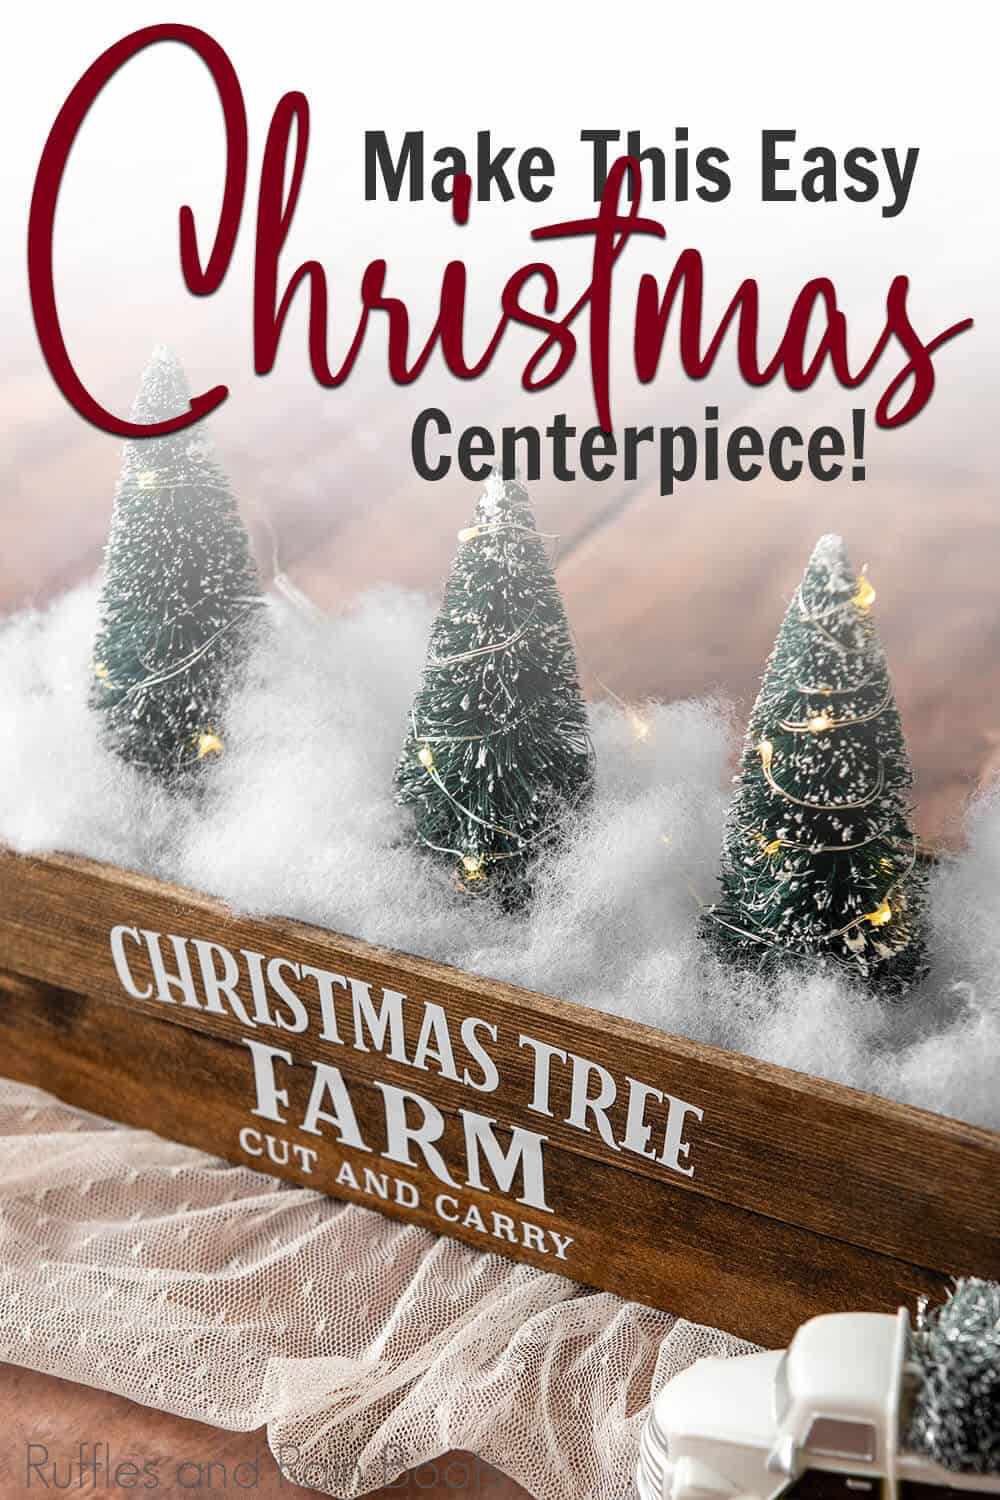
Here at Ruffles and Rain Boots, I am already getting into the holiday mood and of course, the Cricut machine collection is playing a part in my decorating. Today, this easy centerpiece idea for the holidays was made and I thought I would share the tutorial and free Christmas tree farm cut file set with you so you can make one, too.
No matter which cutting machine you have (Cricut Maker, Explore Air, Joy, the Silhouette family, or Brother), you will be able to create this fun holiday decoration. The staining portion of this project is optional and can matched to your table or decor.
RELATED READING: DIY Christmas Farmhouse Crafts and Gift Ideas
Can’t Make This Now? Save or Share for Later
If you need to gather supplies or are getting ideas for holiday tables, save this to a holiday crafts pin board or share it on Facebook. It will make it easier to find when you’re ready to begin.
As an Amazon Associate, I can earn from qualifying purchases. There could be affiliate links within this article.
RELATED READING: DIY Wooden Nesting Gnomes Made with a Cricut Machine
Tips to Make this Farmhouse Christmas Centerpiece
- Download the free Christmas tree cut file set here. If you don’t have a cutting machine, you can always cut it out with an X-acto knife or even scissors. Print it out in reverse (mirrored) and trace it onto the back of the vinyl.
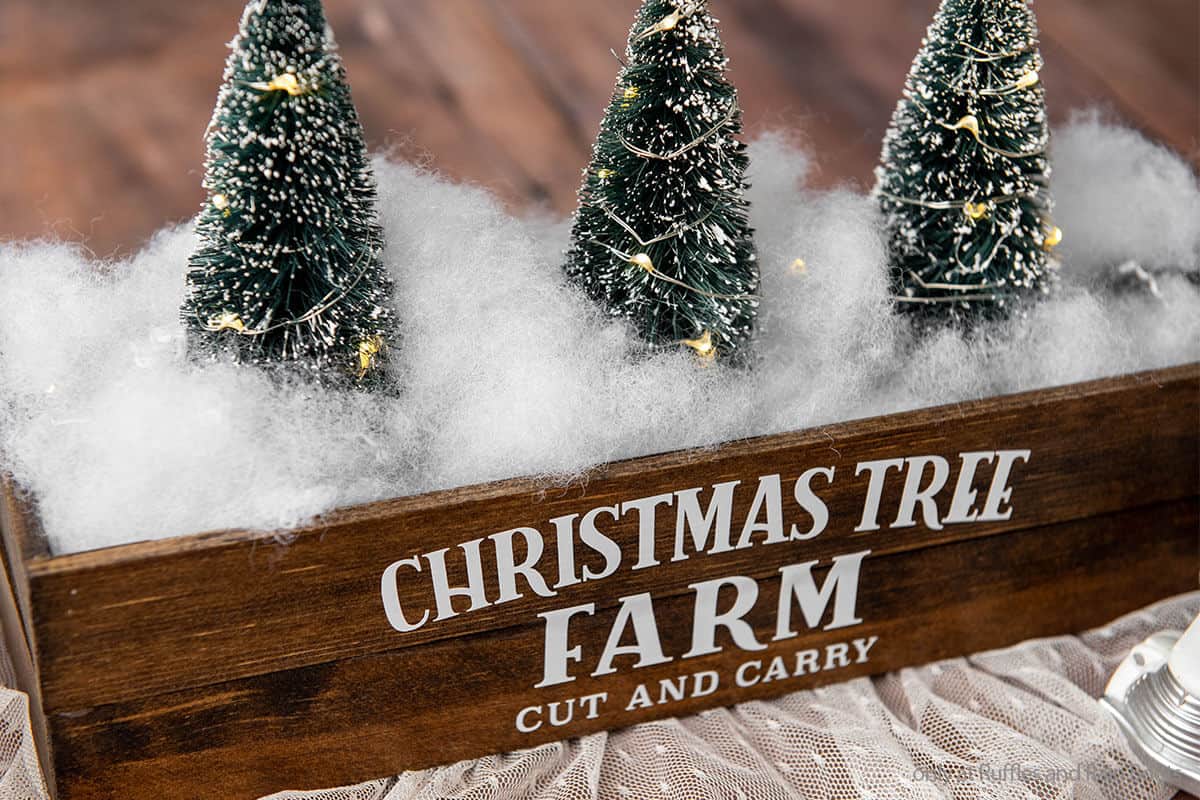
- To add brightness to this display, I wrapped miniature battery operated fairy lights around the bottle brush trees. If you want to do this, wrap them near the surface of the trees. Pressing the little lights deeper into the foliage will make the trees twinkle, but it does dampen the light.
- I found everything I needed to make this fun Christmas farmhouse centerpiece at the craft-store. That said, I use these paint sticks and buy them in bulk because they are less.
- If the paint sticks or wood pieces are rough, use a medium grit sandpaper on the area you’re adding vinyl. If you want to skip this step, use a tennis ball to better adhere the vinyl into the rough wood.
- When working with stain, protect the work surface very well.

Christmas Farmhouse Centerpiece Tutorial
Below is the written and printable tutorial for this fun holiday decoration. Use the comments section below for any questions and I can help.
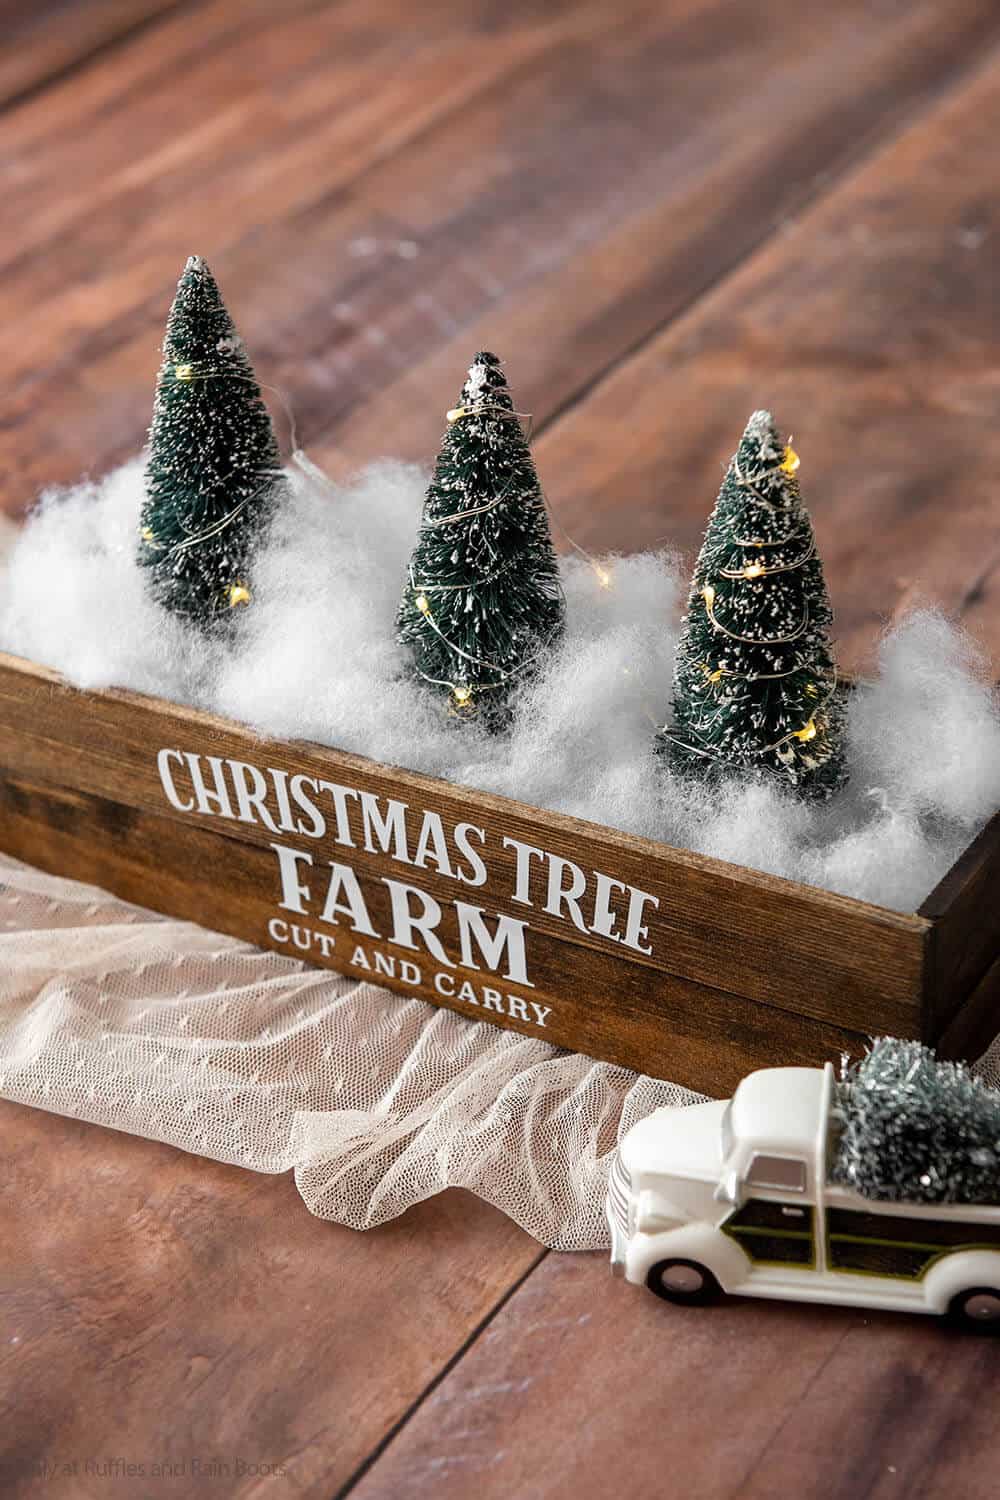
This low centerpiece idea for a Christmas table can be used anywhere in the home. When serving, the entire piece can be moved as a single unit (which is SO nice).
Christmas Farmhouse Centerpiece
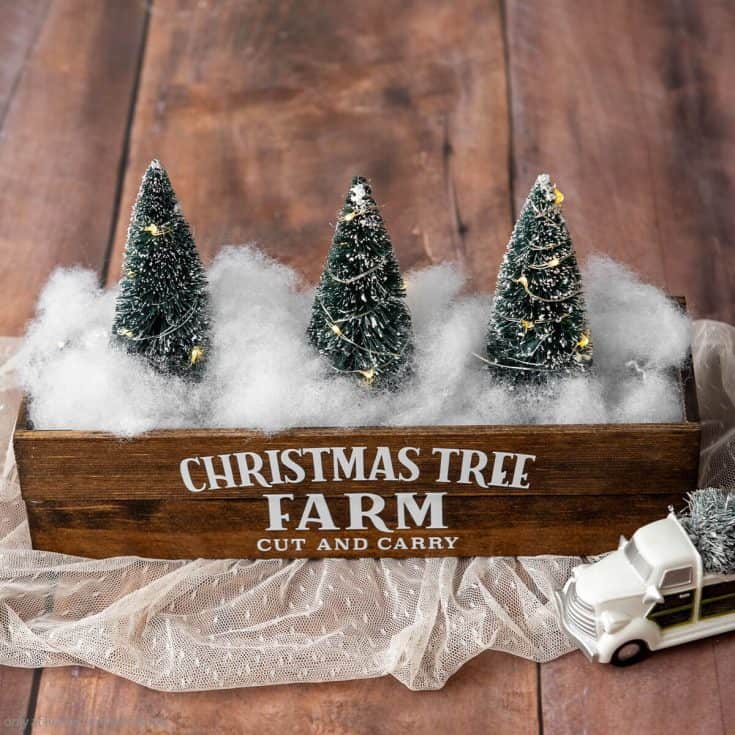
This looks like a high-end holiday centerpiece but you can make it with paint sticks and a free Christmas tree farm SVG.
Materials
- Permanent Vinyl and Transfer Tape (NOT Strong Grip)
- Paint Sticks (or Wood Rulers)
- Faux Snow and/or Poly Fill
- Fairy Lights (Battery Operated), Optional
- Wood Stain, Optional
Tools
- Weeding and Scraper Tools
- ModPodge (or other sealant)
- Glue Gun and Industrial Grade Glue Sticks (alternative E6000 / wood glue)
- Bottle brush trees (at least 3)
- Cutting Machine (Cricut, Silhouette, etc.)
- Light or Standard Grip Mat
- Paint Brush or Foam Brush (for Stain)
Instructions
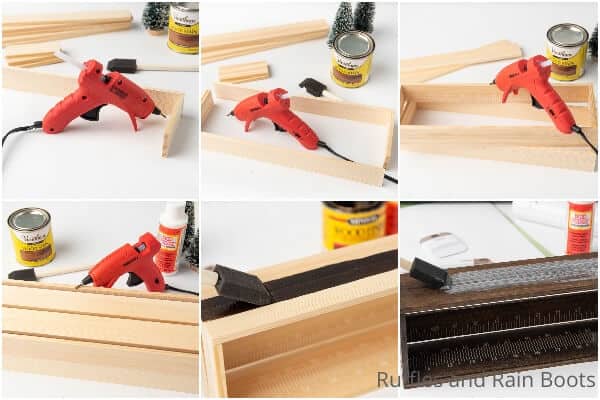
- Cut the paint sticks or rulers to the following sizes: 4 pieces at 12 x 4-inches; 4 pieces at 3.5 x 4-inches, and 2 pieces 11.5 x 2-inches.
- Create an "L" shape with one of the 12 x 4 pieces of wood and one of the 3.5 x 4 pieces of wood (attach the 3.5 to the inside edge of the 12). Secure in place.
- Repeat with a second set of 12x4 pieces of wood and 3.5 x 4 pieces.
- Combine the two "L" shapes to create a large rectangle and hot glue that in place. Repeat with the two remaining 12 x 4 pieces and 3.5 x 4 pieces.
- Place the second rectangle on top of the first and hot glue in place.
- Cover the bottom of the box with the remaining two pieces of wood, hot gluing them in place.
- Stain the wood then allow it to dry completely. Note: stain should set 24-48 hours, but will vary based on the tin's instructions.
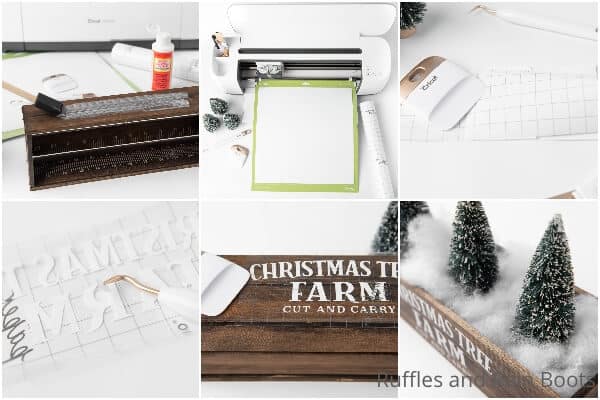
- Add a coat of ModPodge or sealant over the wood if stained.

- Download the Christmas tree farm cut file set and load the correct file type (I recommend SVG) into the design software. Cut the vinyl by following the step and prompts.
- Weed the discard vinyl from the transfer paper. Place the vinyl design onto the face of the box and position before using the scraper tool to secure it. Gently remove the transfer paper.
- Place the trees into the box, add lights if using, add fill or faux snow, and display the farmhouse centerpiece.
Notes
For more fun farmhouse tutorials, visit Ruffles and Rain Boots!
More Farmhouse Christmas Crafts You Might Like
- Magic of Christmas Wooden Sign – This giant gift tag wooden door sign is made in a Christmas farmhouse style and your Cricut or Silhouette does most of the work.
- Vintage Christmas Farmhouse Milk Jug Craft – This is an easy way to breathe new life into an otherwise boring milk jug (very fast and simple with a free printable).
- Dollar Tree Christmas Wreath – You have to see this to believe it’s really made from dollar stores supplies… It’s SO full and breathtaking.
Please Save or Share This
Your shares are how this site grows and I am sincerely grateful. Know a friend who’d like this? Please share it with a crafty group on Facebook or save it to your favorite farmhouse Christmas crafts pin board.