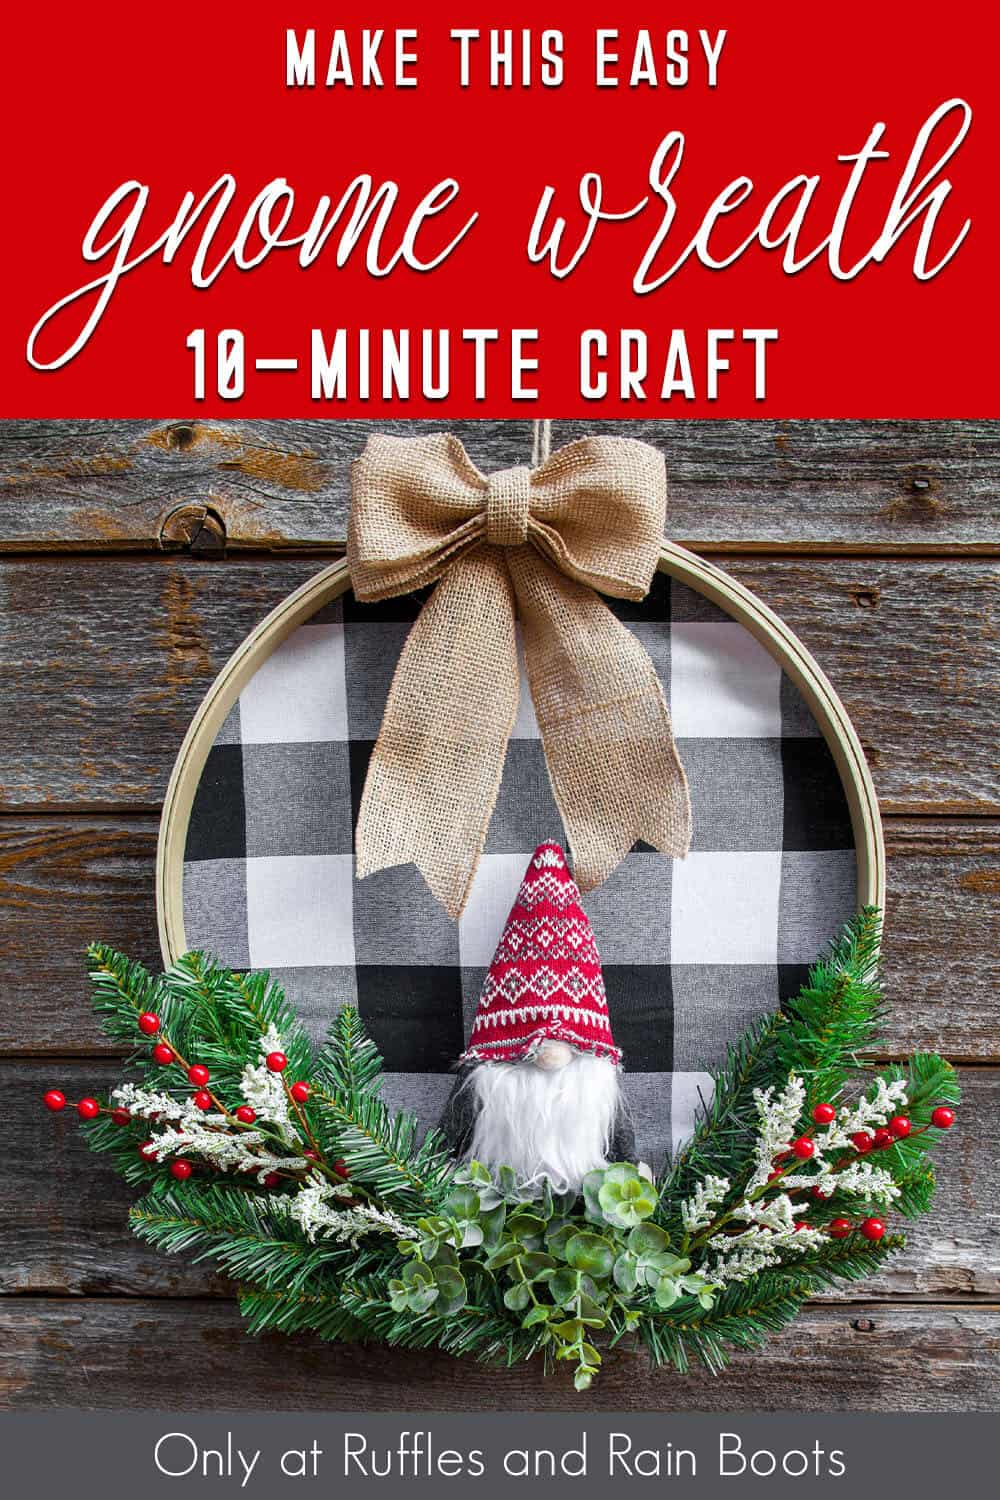
Make This Embroidery Hoop Gnome Wreath in 10 Minutes!
I found these supplies in my craft room with a gnome from Dollar Tree and in 10 minutes, this embroidery hoop gnome wreath came together beautifully!
What You'll Find On This Page
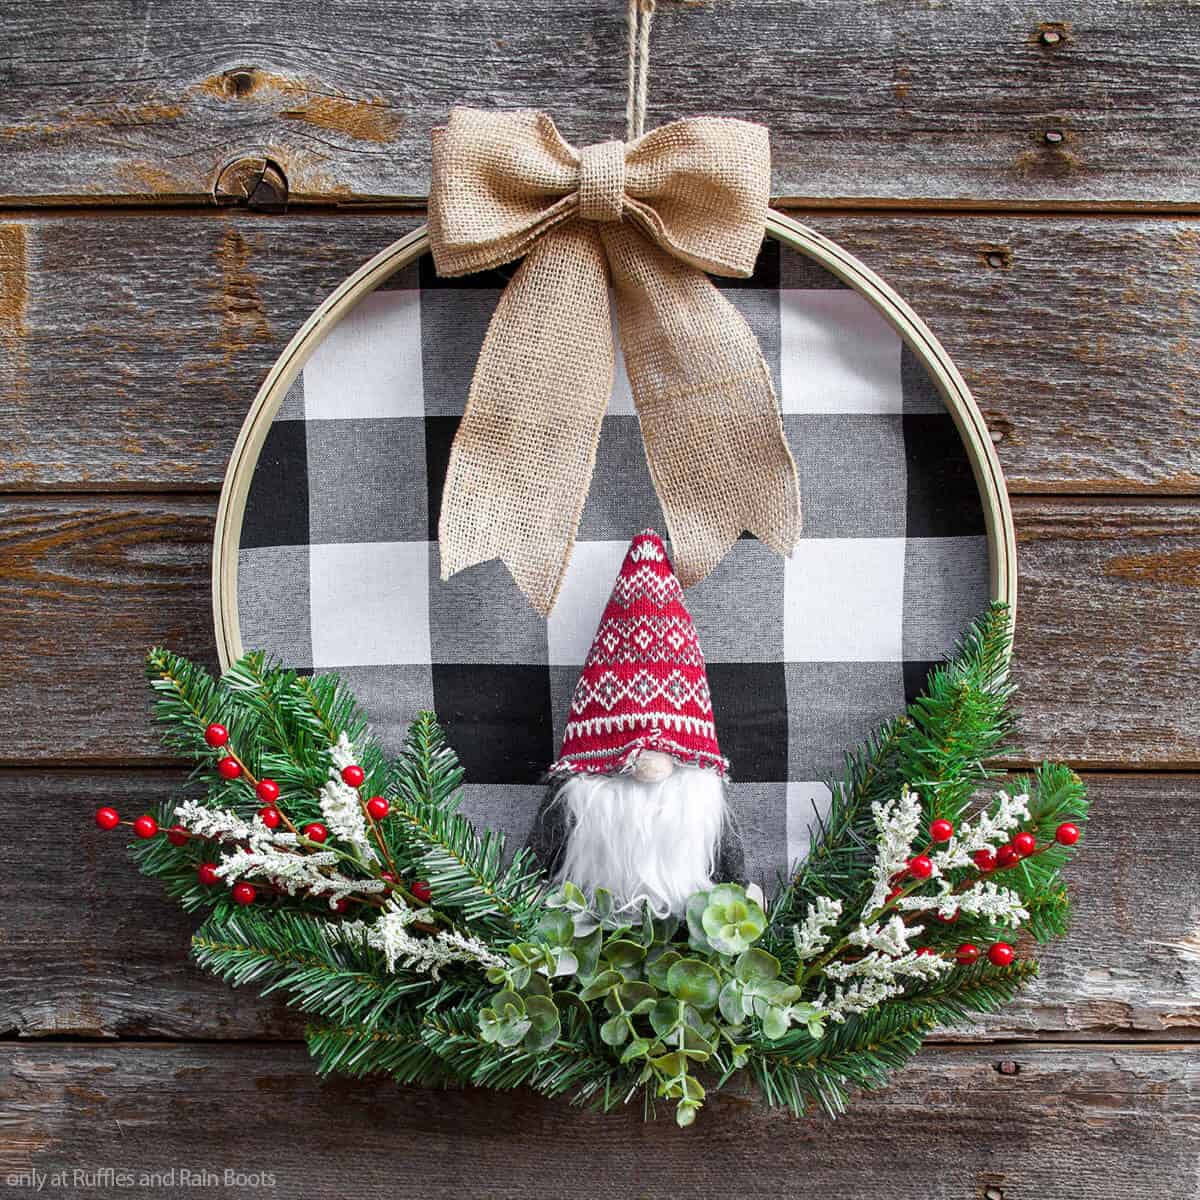
Embroidery Hoop Gnome Wreath
Here at Ruffles and Rain Boots, we LOVE finding a craft to make with “leftover” craft supplies. Now, I know that you could go to any craft store and get these supplies, of course. But when I find the items I need in the craft room (my guest bedroom, don’t judge), I felt like I’d won the lottery. Laid out next to the little Dollar Tree gnome, I knew I had a fun embroidery hoop gnome wreath on the make.
RELATED READING: DOLLAR STORE GNOME WREATH
Quick and easy to make, I’m really excited to gift this to a friend who was recently bemoaning her winter wreath being too beat-up to use this year. She’s going to love this cute little gnome and that fun burlap ribbon bow. If you’re ready to make a buffalo check wreath with a gnome for yourself, let’s get started.
Get Secret Gnomes, Tips, & Freebies Delivered!
What is the best pattern to use when you don’t want to sew? Do you know the secrets to a properly-proportioned gnome? Do you know where to get the best-priced fur?
Get all of this (and exclusive content just for you) delivered right to your inbox with the gnome-making series, free of charge. Sign up to get the once-weekly newsletter (and a jaw-dropping special offer)!

DIY Christmas Gnome Tutorials
If you’re looking for the best DIY Christmas gnome tutorials, you have come to the right place. Check out all of my favorite tomte tutorials for the holidays!
No Time to Make This Now? Pin it for Later
You’re busy, I get it. Pin this to your favorite DIY wreaths board on Pinterest and it’ll be here for when you’re ready.
As an Amazon Associate, I can earn from qualifying purchases.
Tips to Make a Buffalo Check Wreath
- Let’s talk about where to find that gnome. I found my gnome ornament at the Dollar Tree. But, let’s be brutally honest, sometimes they don’t have the same things out at every Dollar Tree. That’s ok, though. Because, with a few more minutes and some scraps of felt, you can make a cute mini sock gnome ornament like this one that you can use the same way!
- If you like a rougher look, you can leave the edges of the buffalo check fabric longer and kind of just neatly trim it. It will still look very nice, but a raw edge on the fabric will definitely make for a more rustic wreath.
- How do you hang wreaths on your door? Well, if you’re fortunate enough to have a metal door, you can get one of these fun magnet wreath hangers. But, if your door is wooden, like mine, you can usually get by with an over-the-door-hanger like this. Sure, I could use a little nail, but I like the over-the-door kind because it doesn’t leave a hole and is pretty sturdy.
How Do I Make this Embroidery Hoop Gnome Wreath?
I’m so glad you asked. Below is our written tutorial.
Embroidery Hoop Gnome Wreath

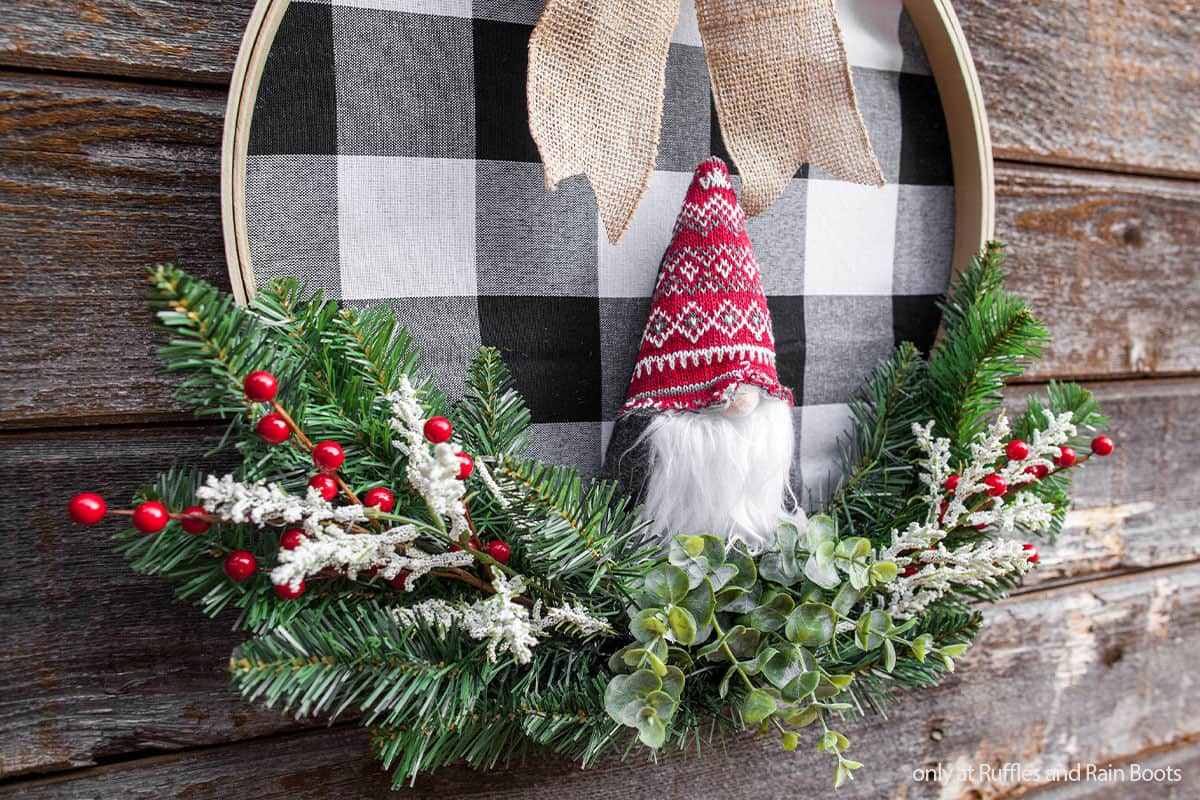
Making this fun embroidery hoop gnome wreath was a fantastic way to use up crafts I had stashed away, but also a fun way to bring a little whimsy to my friend's front door!
Materials
- 14" Embroidery Quilt Hoop
- 16” x 16” Square of Buffalo Check Fabric
- 2 Pine Branch Picks
- 2 Red Berry Picks
- 1 Astilbe Pick
- 1 Frosted Eucalyptus Pick
- 2.5-inch Wired Edge Burlap Ribbon
- Gnome Ornament
Tools
- Hot Glue Gun & Glue
- Wire Cutters
- Floral Wire
- Scissors
Instructions
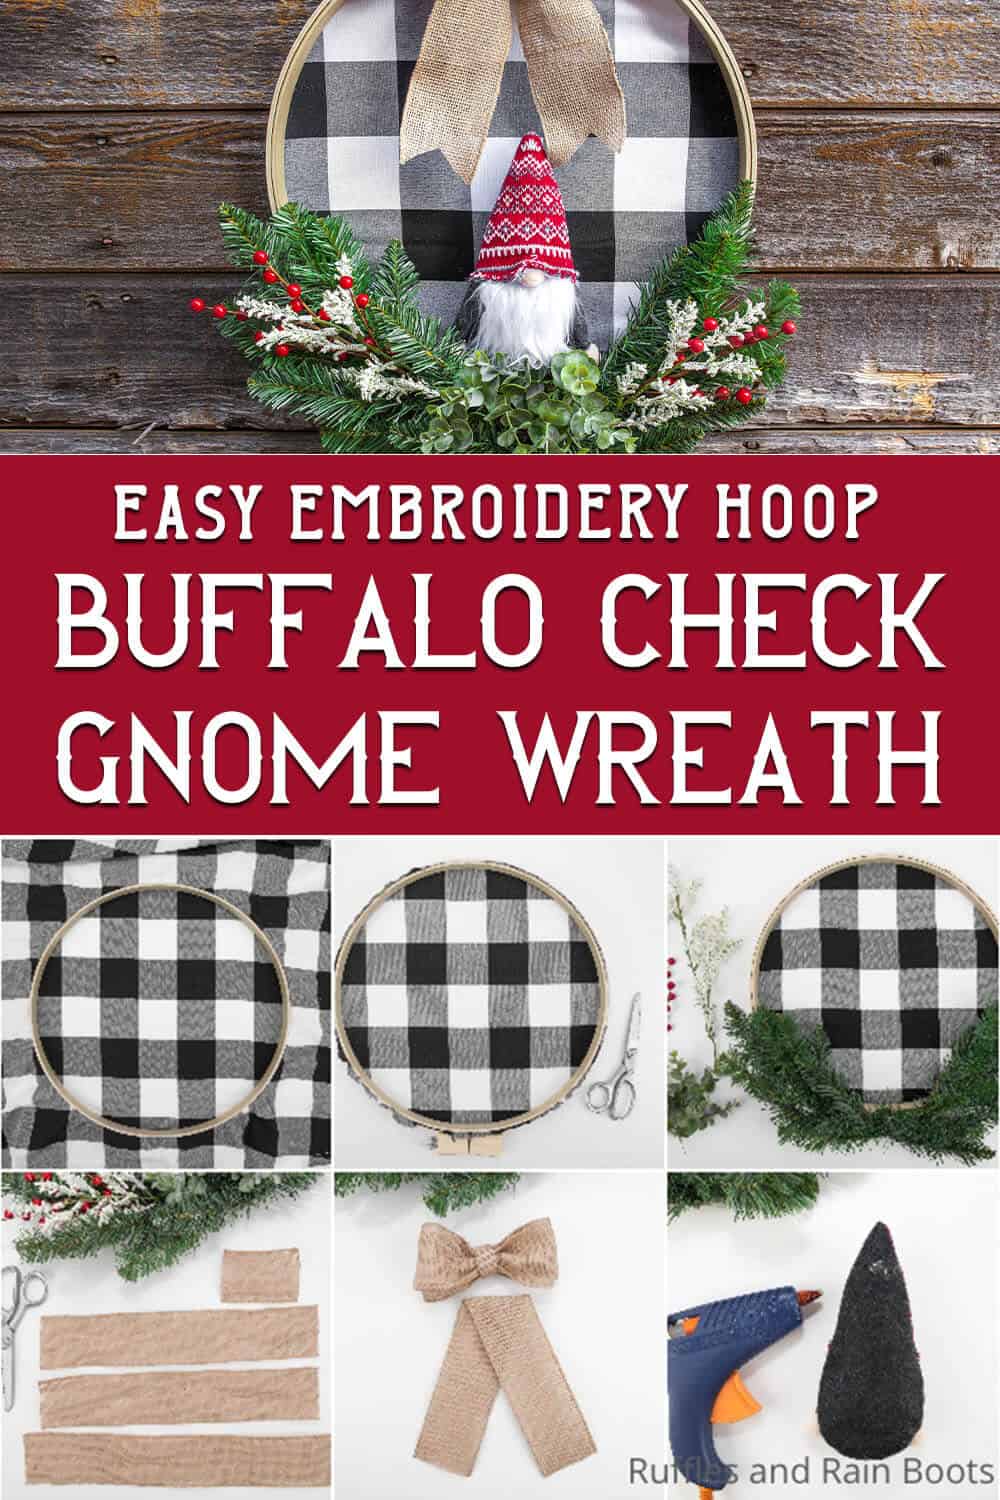
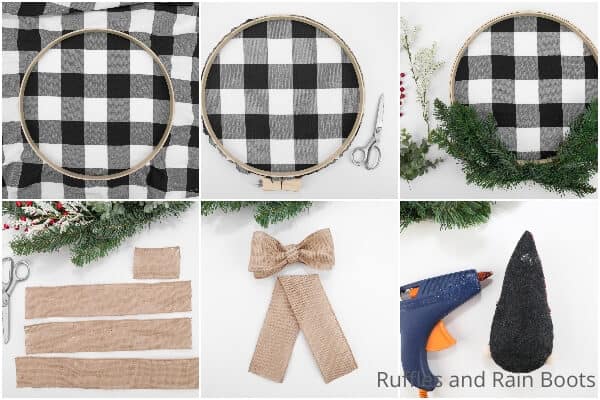
- Center the smaller (inner) hoop under the middle of the fabric square, making sure you like the way the buffalo check pattern looks. Place the outer hoop over the top of the fabric, pressing it down over the smaller hoop, making sure the screw piece is at the bottom. Tighten the screw while gently tugging the fabric taught. Trim the excess fabric.
- Remove the larger hoop from the smaller one, keeping the fabric in place on the smaller one. Hot glue the edge of the fabric to the outside of the smaller hoop. Make sure you keep the fabric taught while you glue each section. Allow the glue to cool fully then slide the larger hoop over the smaller and tighten the screw again..
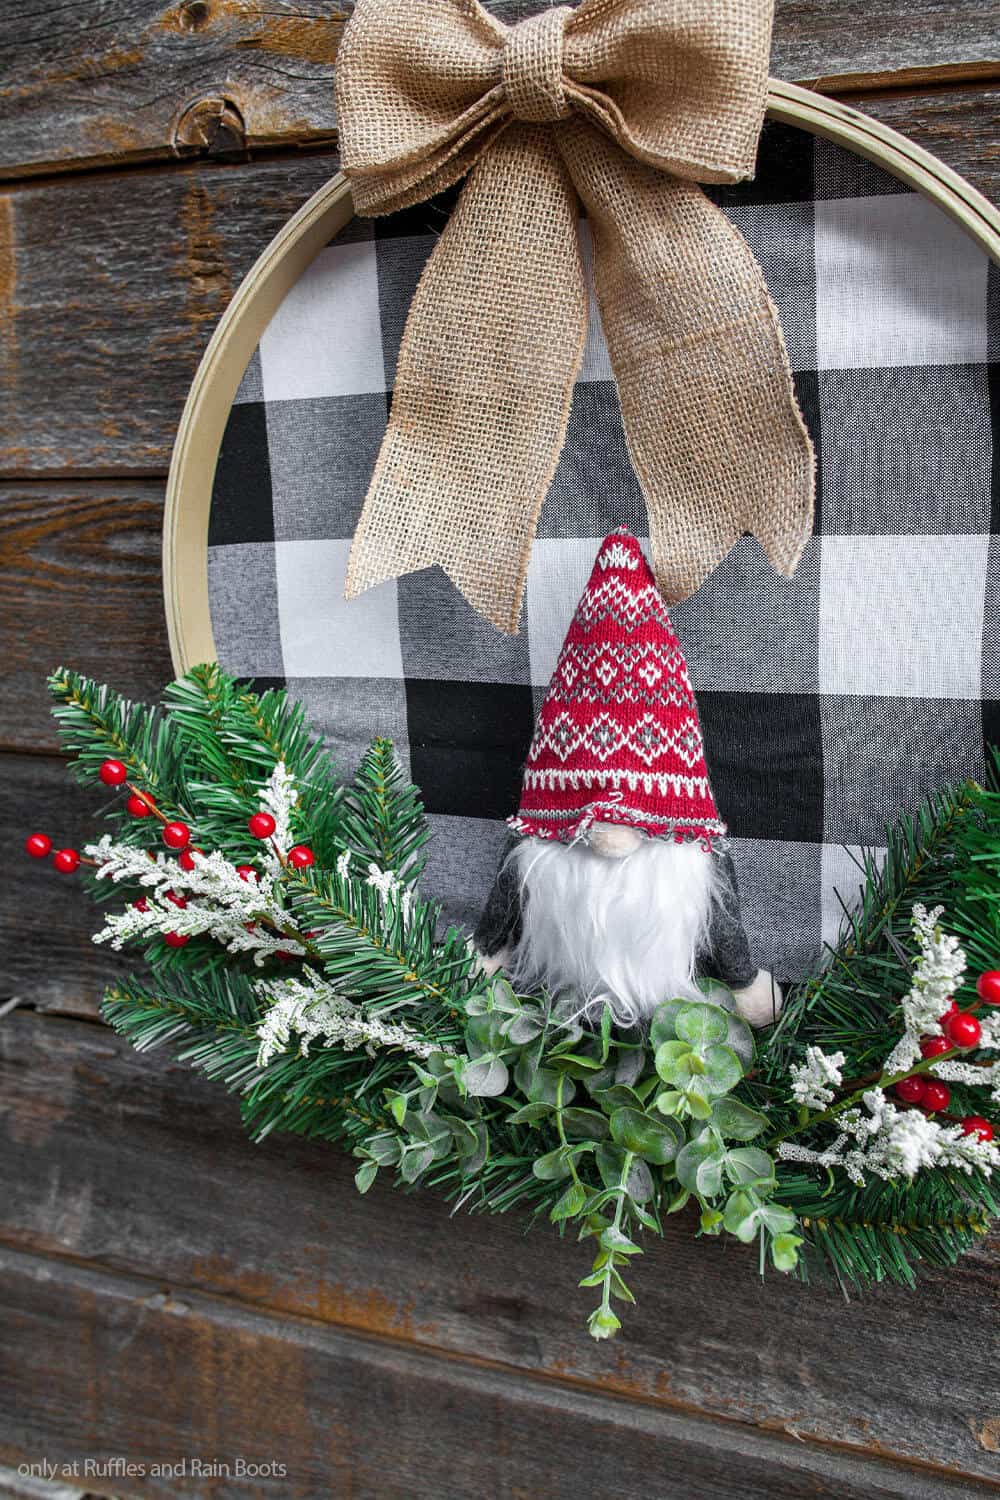
- Shape the pine bough branches to match the curves on each side of the hoop with the bottoms overlapping over the screw. Trim any excess stems and hot glue the pine bough branches in place. Hot glue the berry sprigs in the center of the pine bough branches, followed by the Astilbe sprigs. Fill in the center or any holes with Eucalyptus sprigs.
- Make the burlap bow by cutting: two 13” pieces, one 15” piece and one 4” piece. Sizes are approximate.
- Loop the two 13” pieces of ribbon and hot glue them together. Lay the two loops flat on top of each other with the glued areas in the middle. Pinch the center of the stacked loops together, making ripples in the fabric and wrap this pinch in the center with floral wire.
- Fold the 4” piece of ribbon in half lengthwise and tack in place with hot glue. Then fold this piece in half lengthwise again and tack it in place. Wrap this around the center of the bow over the floral wire and hot glue in place.
- Fold the 15” piece of ribbon in the center and spread the two tails apart. Pinch the tops slightly and glue to the back side of the bow. Cut a “V” into the bottom of each of the tails then glue the bow to the top center of the hoop.
- If there is an ornament hanger on the top of your gnome, remove it then hot glue the gnome to the bottom center of the hoop and enjoy!

Notes
For more fun DIY gnome tutorials, visit Ruffles and Rain Boots!
More DIY Gnome Wreath Crafts You Might Like
- Valentine Gnome Wreath – If you’re looking for an awesomely unique gnome wreath with a giant heart and a gnome…well, this is awesomely fun wreath for you!
- Elegant Gnome Ornament Wreath – Three cute gnome ornaments dangling from a yarn-wrapped wreath combine to make a fun and elegant wreath that’s ridiculously easy.
- Gorgeous Winter Gnome Wreath – Fluffy white roving, a couple of bottle brush trees and a mischievous gnome make for a fun winter wreath!
Please Save This to Pinterest
Your shares are how this site grows and I am sincerely grateful. Know a friend who’d like this? Please share it on Facebook or save it to your favorite Christmas crafts board on Pinterest.