
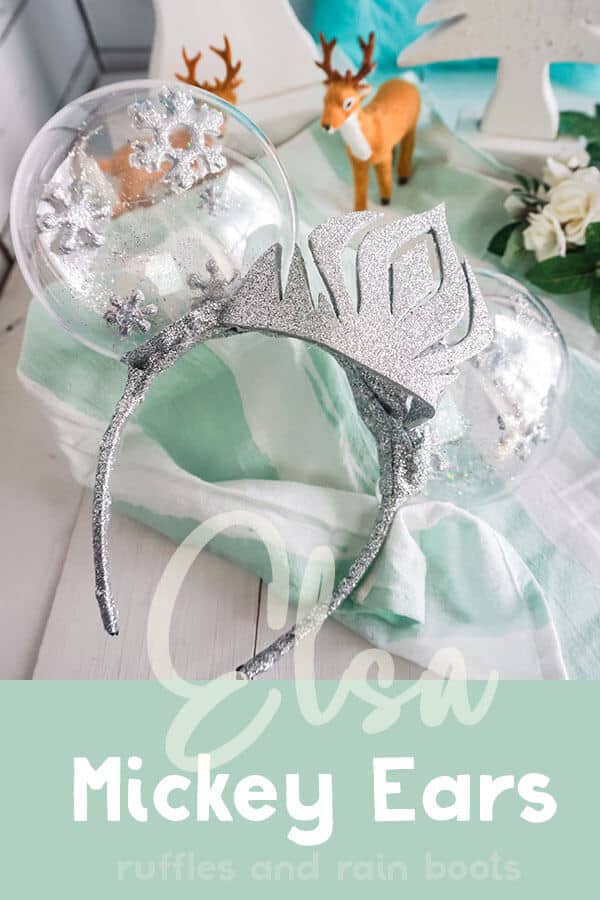
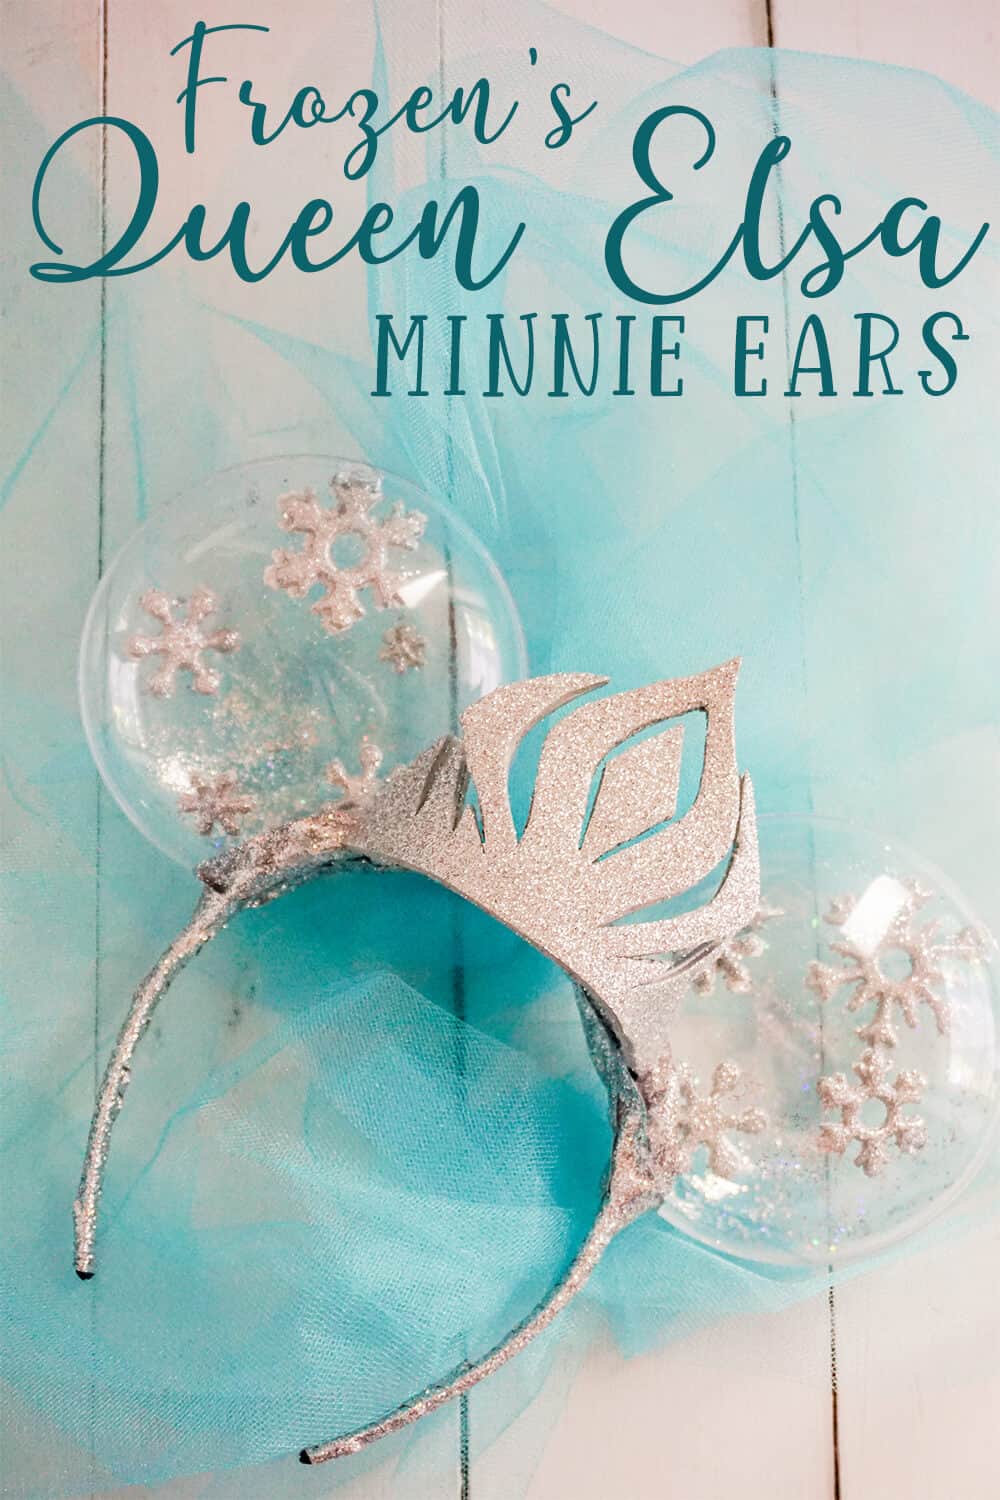
Make These Easy Queen Elsa FROZEN Minnie Ears a Magical DIY
These Queen Elsa FROZEN Minnie Ears are an absolutely stunning DIY Minnie ears project you can do in 20-minutes. So simple, but the final is so pretty and fun, people will stop you at Disney asking where you got those ears!
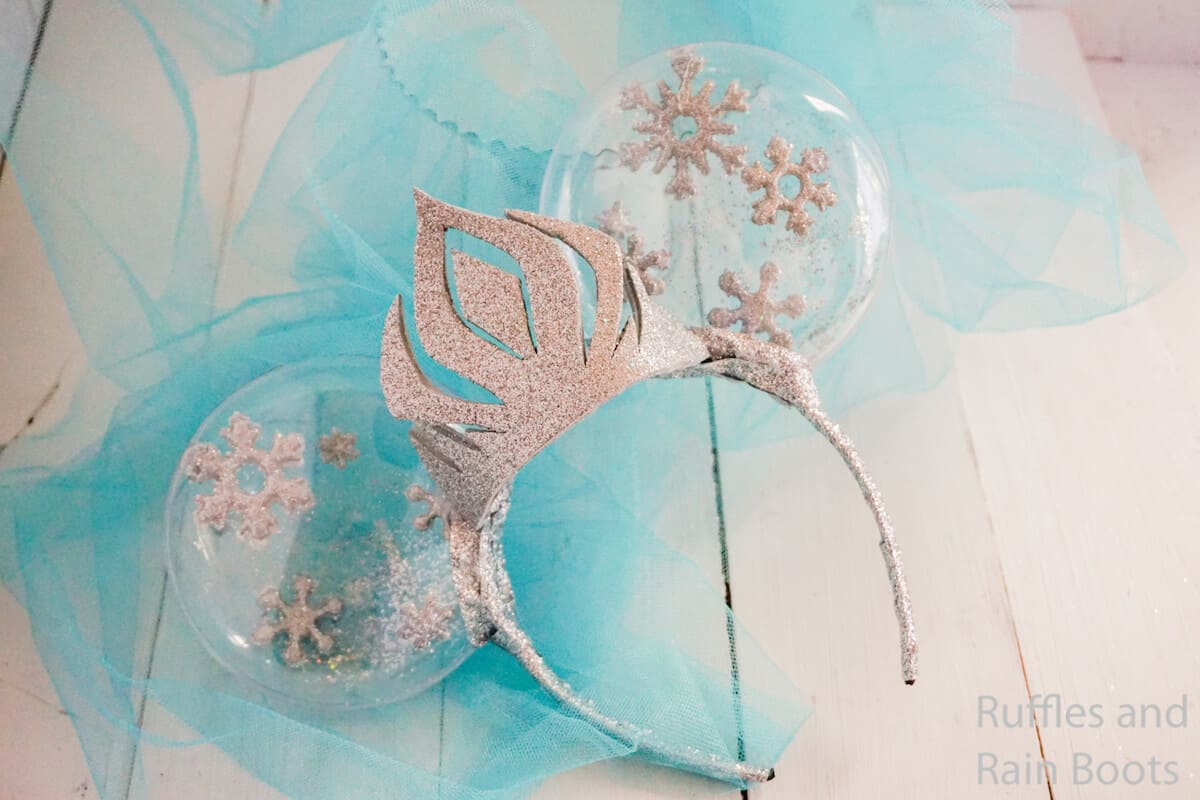
Queen Elsa FROZEN Minnie Ears
Here at Ruffles and Rain Boots, we feel the need to let it go sometimes. Just be free to use our powers of creativity to come up with some fun DIY Minnie ears that will really wow the people at Disney. Our latest, coolest (pun intended), set of no-sew Mickey ears? Queen Elsa FROZEN Minnie ears.
RELATED READING: ULTIMATE LIST OF DIY NO-SEW MICKEY AND MINNIE EARS FOR DISNEY
There’s so much to unpack about these FROZEN Mickey ears, I feel like I could talk all day about them. The snowflakes, the glitter, the crown. It’s all amazing. But, instead of talking, let’s get started.
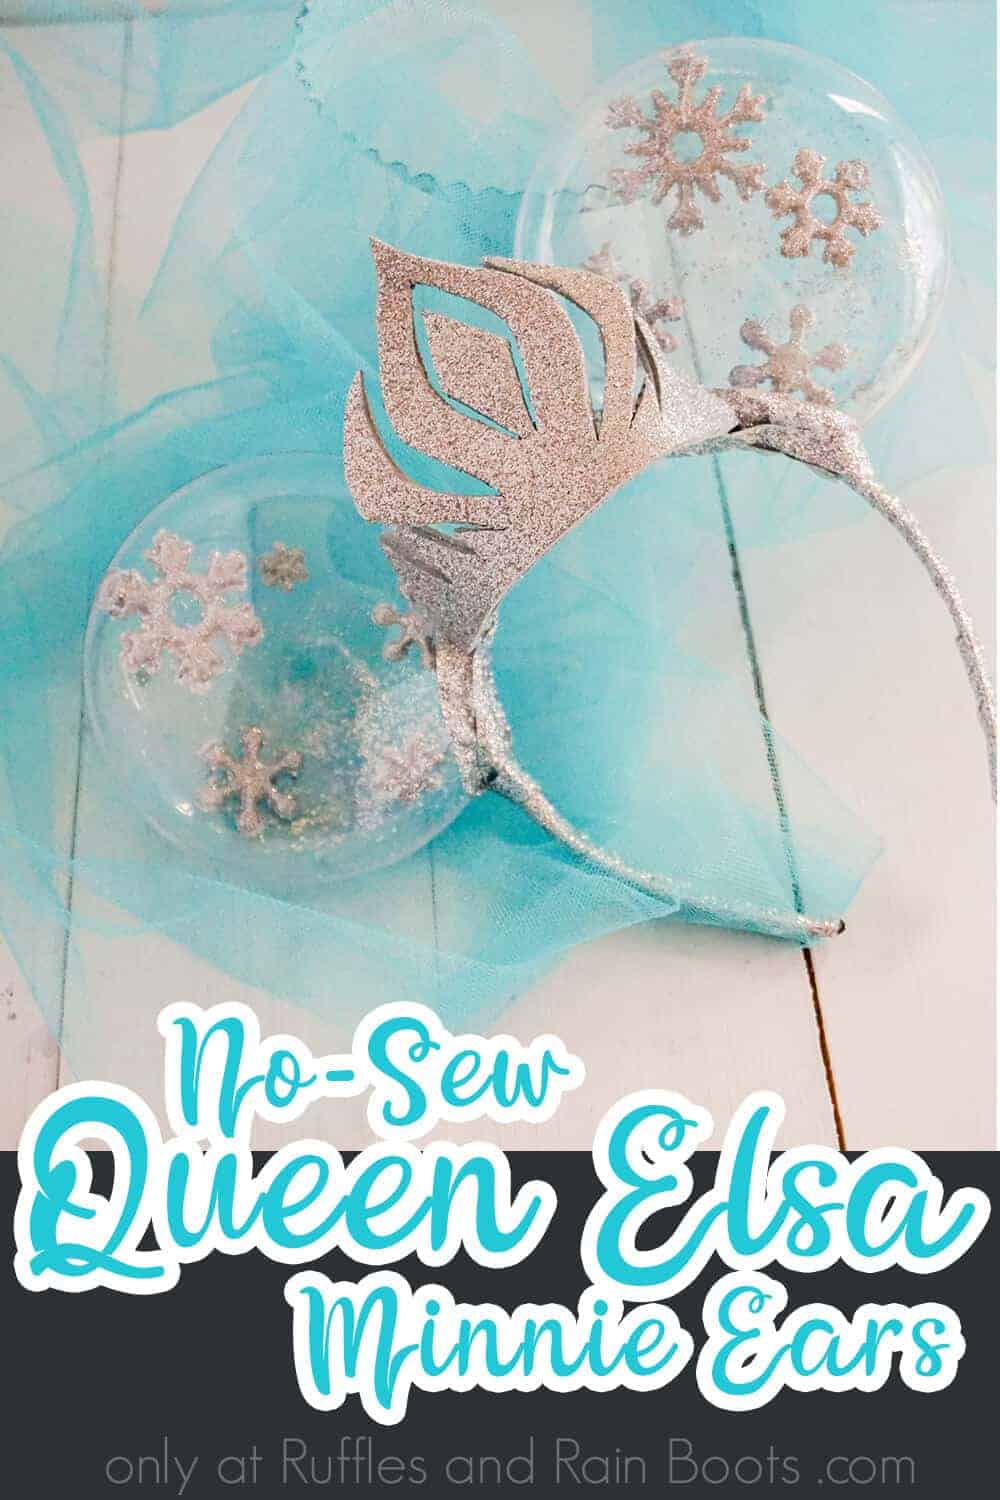
No Time to Make This Now? Pin it for Later
You’re busy, I get it. Pin this to your favorite DIY Minnie ears board on Pinterest and it’ll be here for when you’re ready.
Tips to Make Frozen Mickey Ears
- Don’t be afraid to go wild and add a pop of blue if you want. It’s Elsa’s signature color and she would not mind if these FROZEN Mickey ears had a little blue. But, to be honest, I loved the sheer monotone-glitter look. So, if you add that pop of blue–look at it reeeeeally close before you do. Because straight-silvery was pretty awesome.
- Click here to download the free printable crown template. You can try to free-hand the crown, but why bother when I’ve already got it drawn for you?!
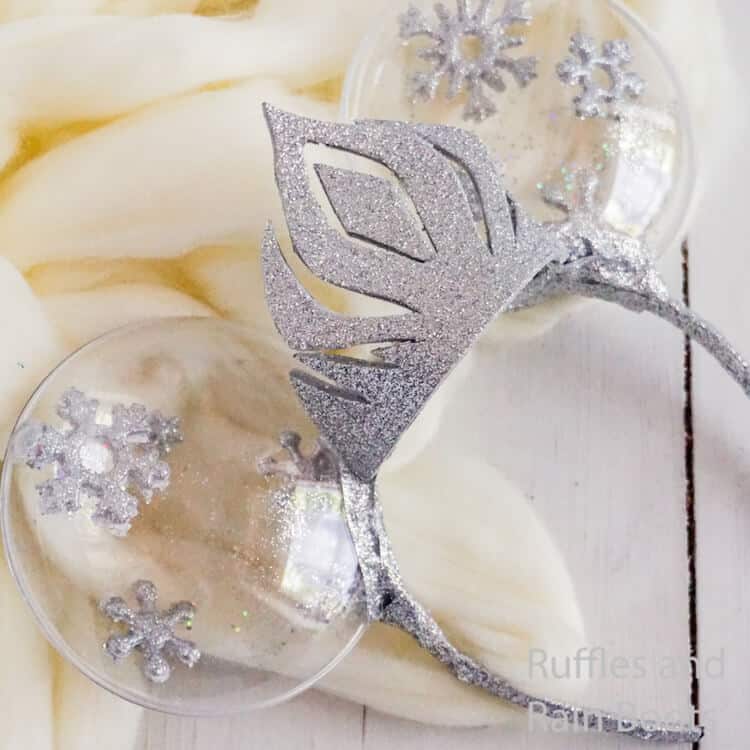
- Don’t go overboard on the literal glitter in the bubbles. No, seriously, I know what I usually say: “there’s no such thing as too much glitter” but these Queen Elsa FROZEN Minnie ears are a delicate balance of snowflake and glitter. Too much glitter and the glitter will start to hide the snowflakes, because the glitter sticks to the sides of the bubble. And while that’s cool for a few pieces to be stuck there, you don’t want there to be so much glitter you can’t clearly see the snowflakes.
As an Amazon Associate, I could earn from qualifying purchases.
How Do I Make thESE FROZEN Minnie Ears?
I’m so glad you asked. Below is our written tutorial. If you’re making a DIY Mickey ears playlist on YouTube, here is our Queen Elsa FROZEN Minnie Ears video tutorial.
FROZEN Minnie Ears

These Queen Elsa FROZEN Minnie Ears are an absolutely stunning DIY Minnie ears project you can do in 20-minutes. So simple, but the final is so pretty and fun, people will stop you at Disney asking where you got those ears!
Materials
- 2 Fillable Plastic Clear Oval Ornaments
- 1 Black Headband
- Silver Glitter Craft Felt
- Silver Ribbon
- 5-10 Silver Glitter Snowflakes
- 2 Sheets Silver Glitter Foam
- Small Amount of Silver Glitter
- Free Printable Crown Pattern
Tools
- Hot Glue Gun & Glue
- Scissors
- Scroll Saw
- Exacto Knife
Instructions
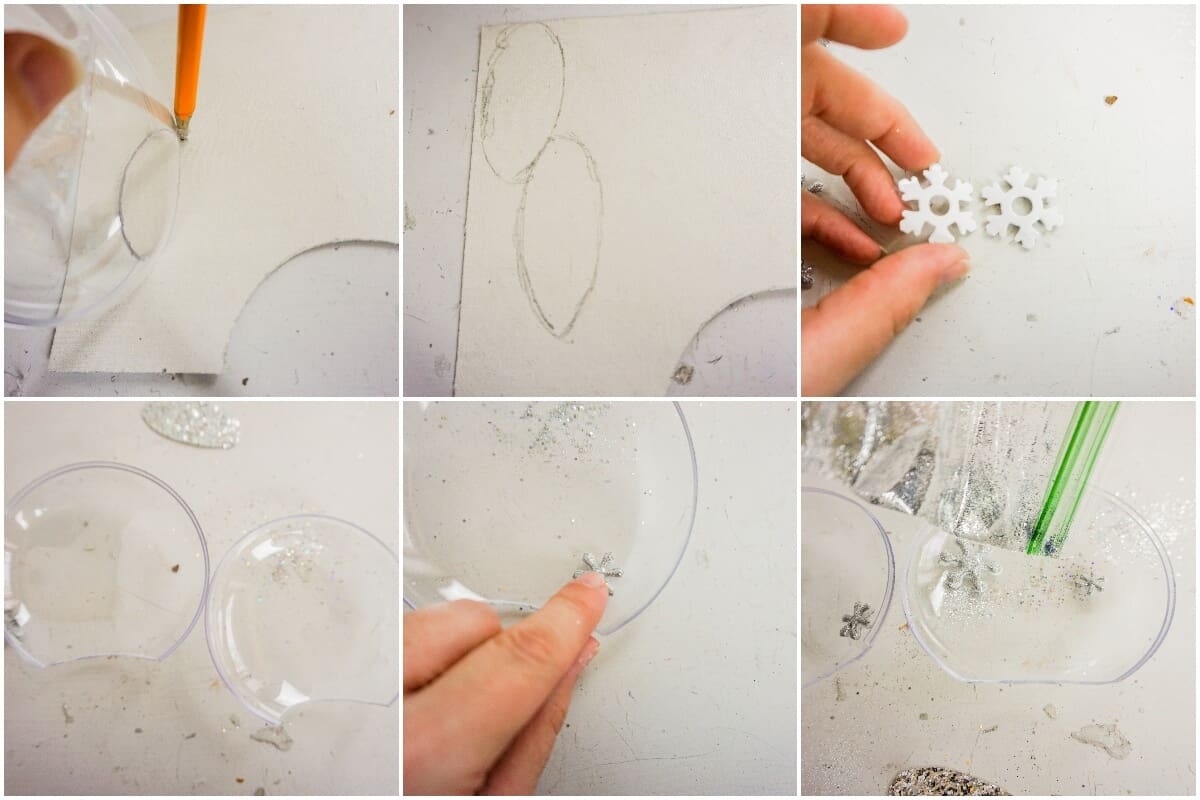
- Lay headband over oval ornaments and sketch where you want the ears to sit on the headband.
- Cut out the area of ornaments that is unnecessary with the scroll saw (or your chosen cutting implement). Take care to cut off the round protuberance you’d traditionally thread with a ribbon for an ornament.
- Trace the now-open shape of the bottom of the ear onto the silver glitter canvas.
- Repeat with the other ear and cut out both shapes.
- Hot glue 3-5 snowflakes inside each ear. Use as little hot glue as possible.
- Add a portion of glitter (about ¼ teaspoon) to each ear.
- Close each ear with the other half of the clear plastic ornament.
- Make sure the opening is aligned for each portion of the plastic ornament.
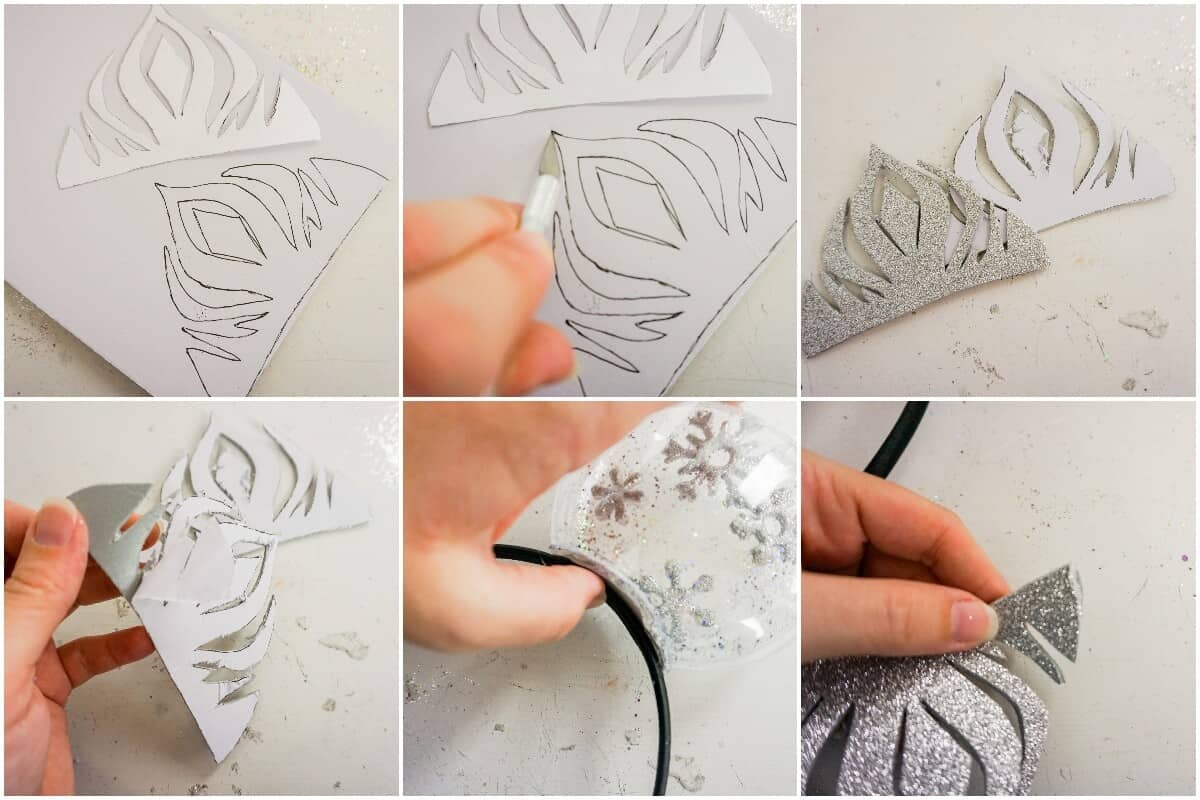
- Hot glue the silver glitter canvas cut-out to each corresponding opening of each ear. Trim any excess canvas.
- Add a dab of hot glue to the top or sides of the two ornament halves to make sure it will no longer open.

- Affix each ear to the headband, with about 3-inches between them, or as desired.
- Wrap the silver ribbon around the headband, adding hot glue as necessary to hold it in place. Be sure to place the ribbon in such a way as to hide the bottom of the ears.
- Trace the free printable crown template on the back of the glitter foam sheets twice. Be sure to flip one so that you’re tracing the mirror image.
- Using an Exacto knife, cut out the two crowns. Peel paper backing off the two silver glitter crowns. Press the two sticky sides of the crowns together to form one crown. Trim any excess foam from the crowns.
- Hot glue the crown onto the headband, bending it outward so that it will sit like a crown on the head when the Mickey ears are worn.
Notes
For more fun Disney Princess DIY Minnie ears tutorials, visit RufflesandRainBoots.com
Creativity, Delivered
Would you like inspiration delivered right to you each week? Sign up for the once-weekly Ruffles and Rain Boots newsletter and you’ll get that and more! Get access to the exclusive libraries full of free SVGs, hand lettering practice, and so much more.
More DIY Minnie Ears You Might Like
- Ultimate List of DIY No-Sew Mickey and Minnie Ears for Disney – If you’re looking for a DIY tutorial for basically any Disney character, this is the place! So many options, so little time.
- Ariel Mickey Ears – Hers’s another stunning DIY Disney Princess Mickey ears tutorial that just can’t be missed!
- The Best Snow White Mickey Ears – Reach back to the original Disney Princess and make (or buy) a stunning set of Snow White Mickey ears for your Disney Princess!
Please Save This to Pinterest
Your shares are how this site grows and I am sincerely grateful. Know a friend who’d like this? Please share it on Facebook or save it to your favorite DIY Mickey ears board on Pinterest.

I was in the process of making very similar style ears before seeing your tutorial. I’m actually very excited that I am on the right track with my process, but I am pretty nervous about attaching the ears so they don’t fall off after a day at the park. Did you just use hot glue and affix the ears to the headband, and the ribbon to cover it? I’m curious how they hold up with just hot glue and a ribbon?
So the headband really matters – wider is better, especially when an adult is wearing these. I use a bit of E6000 in addition to hot glue because I’ve had ears fall apart in the past when only hot glue was used. One time, the airplane was so hot the glue melted before I even got to Disney!
The link for the crown isnt leading to a printable template. It leads to hand sanitizer.
Thank you so much – we did an update of links and that one was an error. It has been relinked to the right template. Thanks again!