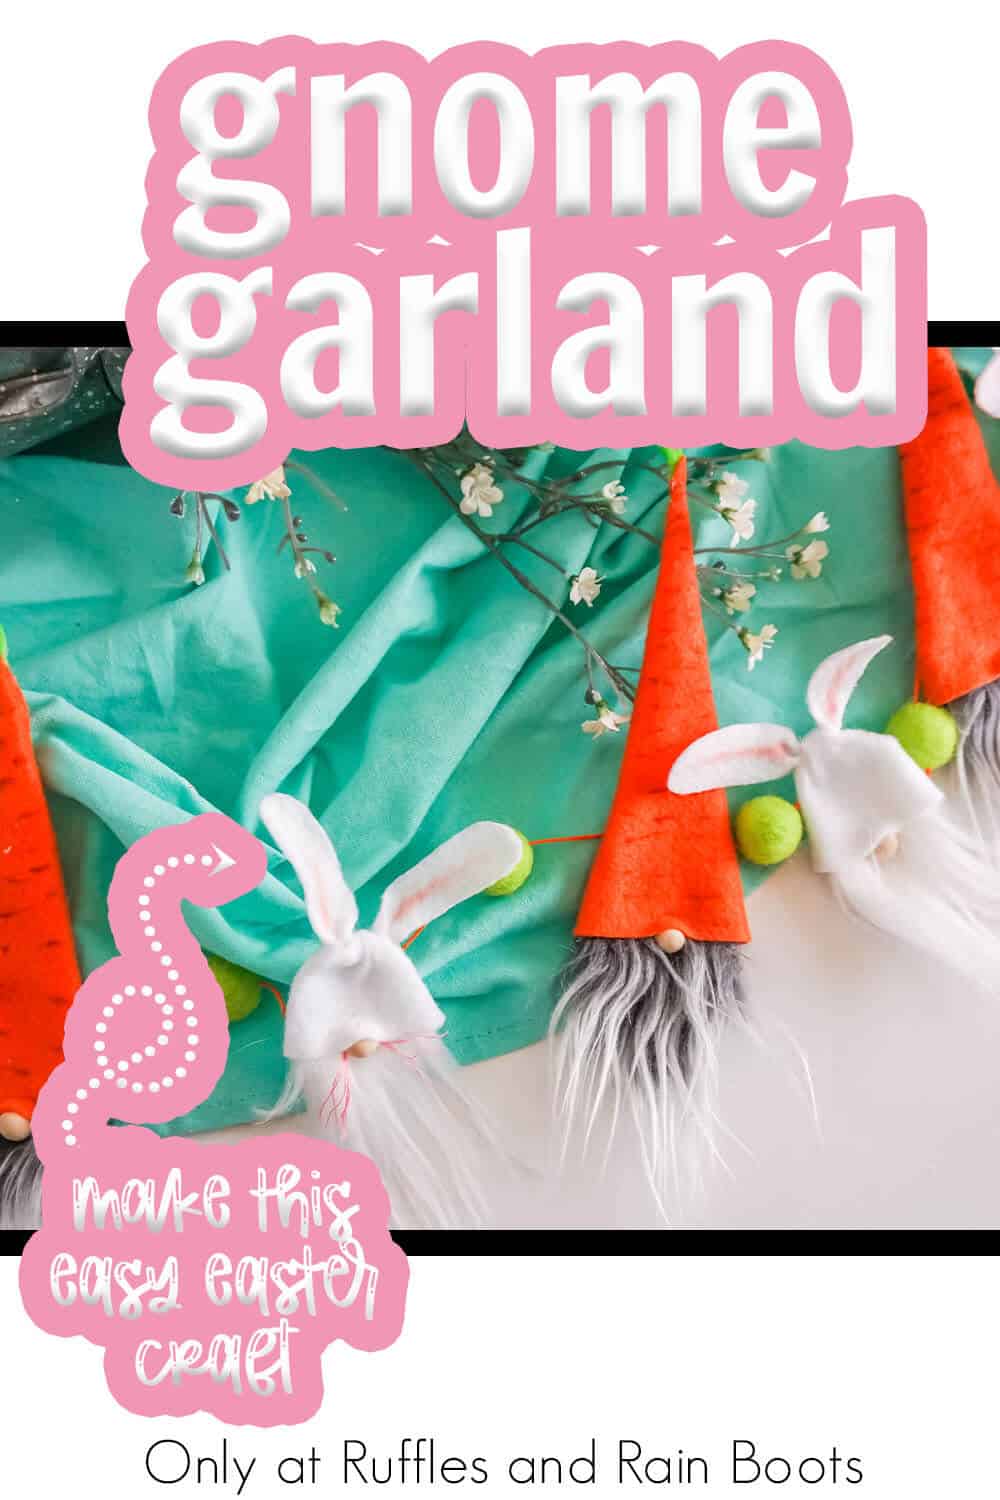
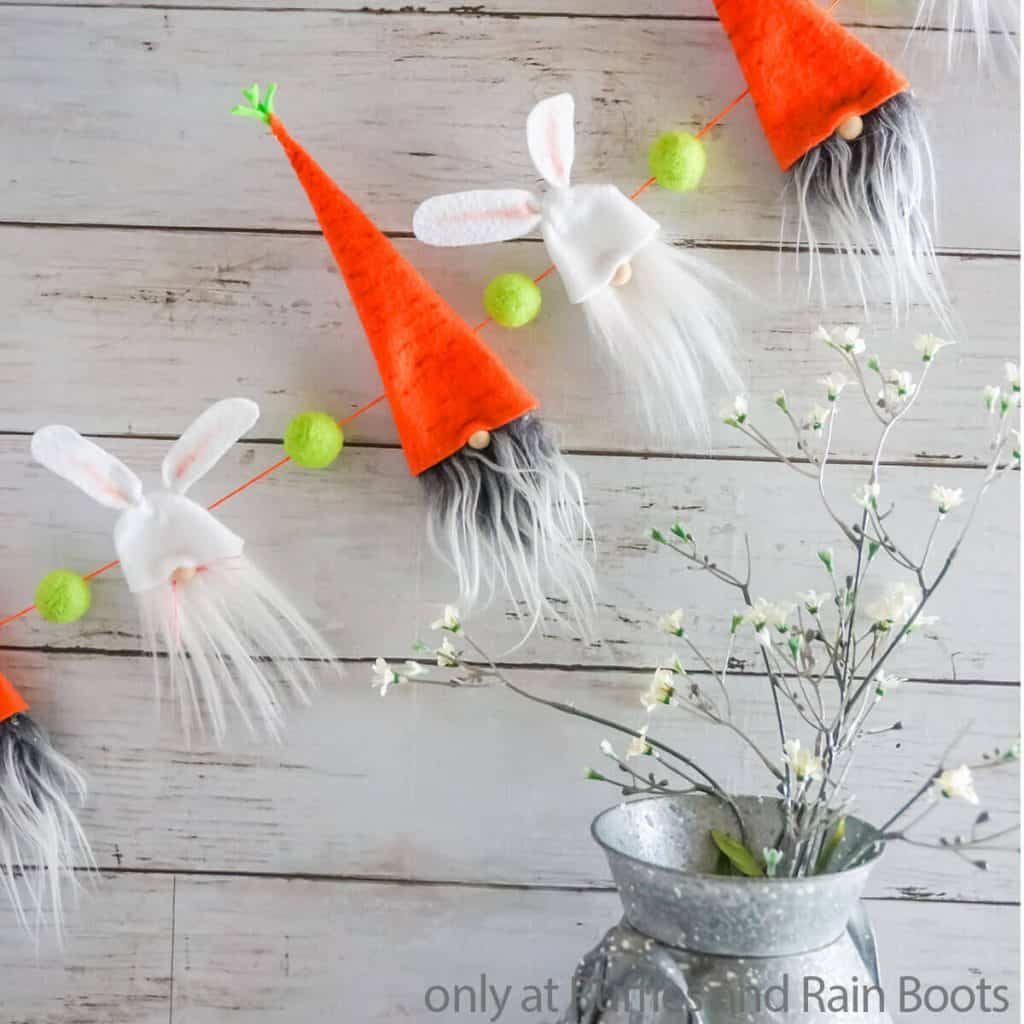
DIY Easy Easter Gnome Garland
Easter decor to me is all sweetness and fun, so of course I felt the need to make an Easter gnome garland to feature the most adorable gnomes ever. It’s a fun and quick way to use up all of the fur scraps you’re saving.
I would love to see your creations of this fun spring gnome craft hanging on your mantels or tiered trays.
What You'll Find On This Page
Easter Gnome Garland
Here at Ruffles and Rain Boots, I have the best time making farmhouse decorations featuring gnomes. When I was designing a larger display, I thought of this fun garland and I just can’t get enough of it!
RELATED READING: BUNNY GNOME SEWING PATTERN
Get Secret Gnomes, Tips, & Freebies Delivered!
What is the best pattern to use when you don’t want to sew? Do you know the secrets to a properly-proportioned gnome? Do you know where to get the best-priced fur?
Get all of this (and exclusive content just for you) delivered right to your inbox with the gnome-making series, free of charge. Sign up to get the once-weekly newsletter (and a jaw-dropping special offer)!

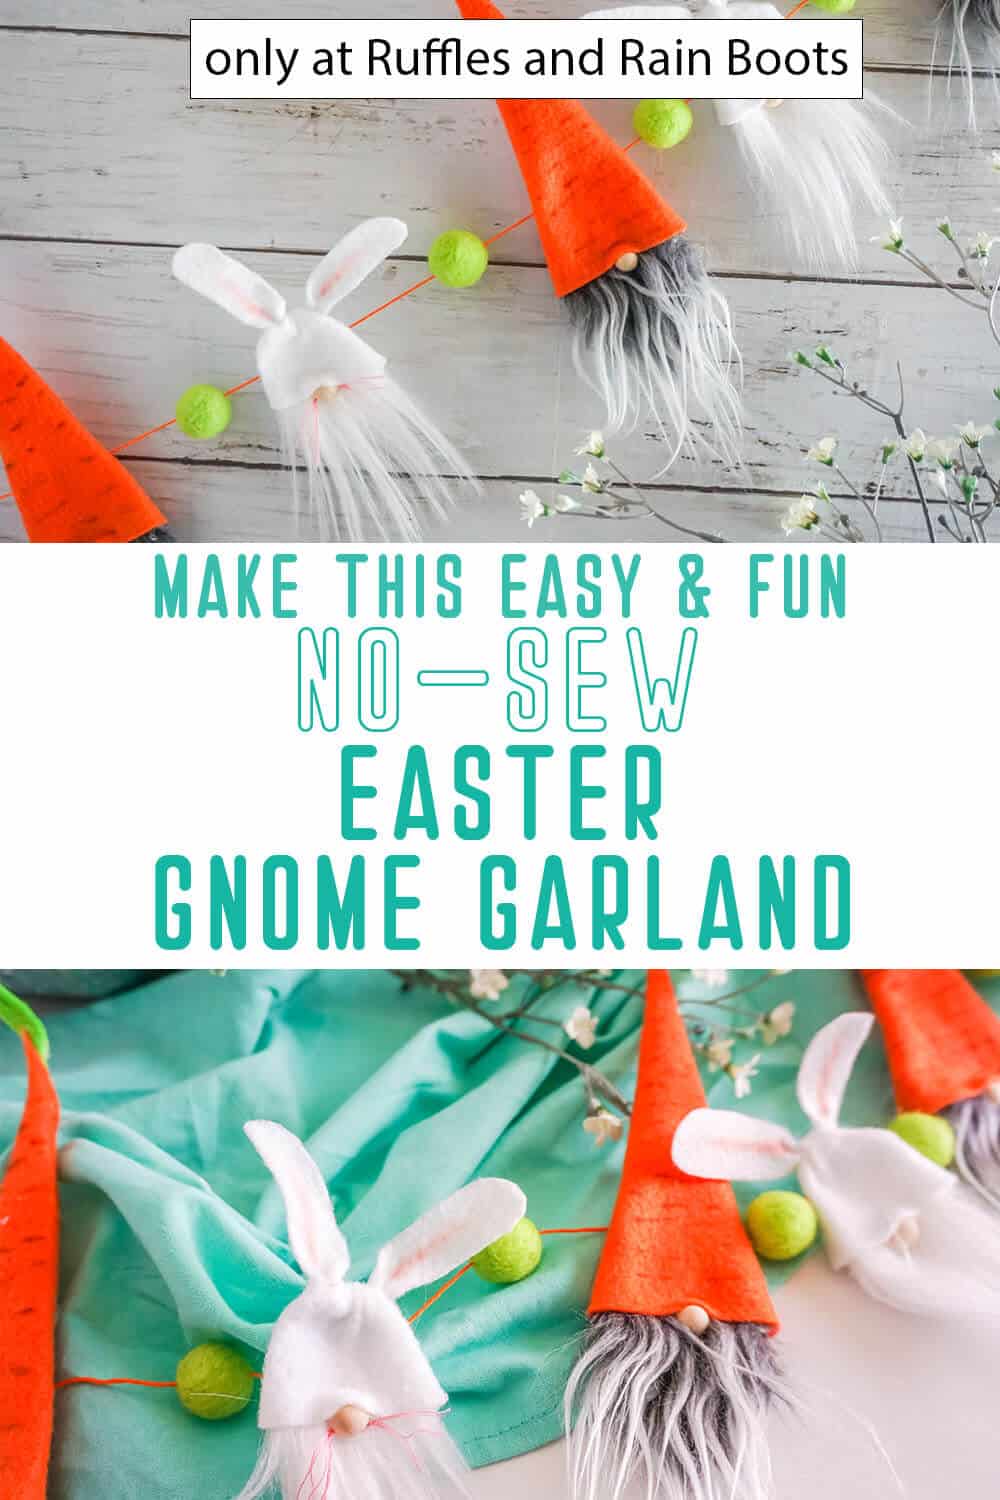
This Easter craft idea is a combination of carrot hats, bunnies, and gnome noses that require all the boops (a YouTube joke). I wanted to do more (always more) but I decided that two variations in one garland was ok for the time being because I wanted this to be a fast craft anyone could tackle. If you’re ready to make a gnome garland, let’s get started.
No Time to Make This Now? Save or Share for Later
If you need to gather up all the fur scraps on the floor of your craft room, I get it. Save this to an Easter pin board or share it to a crafty group on Facebook. You’ll be able to find it when you’re ready.
As an Amazon Associate, I can earn from qualifying purchases. There could be affiliate links within this article.
Tips to Make This Spring Gnome Garland
- First, click here to get the pattern for the gnomes or click here to get the pattern for the gnomes with the cut files. Yes, you can use your cutting machine to cut the hats, but it’s not necessary. Just do whatever works for you!
- Although I chose to use felted balls like these for the fillers between the gnomes. They’re simple and fun. But you can use almost anything. For example, I used cinnamon sticks for my little reindeer gnome garland, then I decided to use pink and purple felt balls for a valentine gnome garland. There’s no “wrong” – just whatever works for you!
- If you’re not feeling experienced enough to cut faux fur or you’re just not sure how to cut it to make it look decent, don’t worry. Flip the fur face-down on the table and, using a razor blade or craft knife, cut ONLY the fabric backing into the triangle shape the size and shape of the one noted on the pattern for the beards. Pull the cut fur piece away from the remaining fur and you’ll have a fantastic beard. Check out this video on how to cut fur to see it in action.
Get the Garland Pattern
Click below to add this fun pattern to your cart. So many gnomes can be made with this!
More DIY Easter Gnomes You Might Like
- Easter Gnomes to Make – These popular gnomes for Easter will get you creating with inspiration, techniques, and gnome patterns.
- Easter Gnome Bottle Topper – Whether it’s wine or sparkling juice, adorn a bottle with this cutie (start to finish is just 10 minutes).
- Rainbow Bunny Gnome – I love adding color to my gnomes and because this gnome was SO colorful, there’s no other way to describe it.
- Bunny Gnome Pattern with a Carrot Hat – Such a cute bunny, this little guy has a carrot on his head and is everything I love about Easter.
- No-Sew Bunny Gnome Pattern – Quick and fun, this simple no-sew gnome pattern is perfect for making a bunny that has bunny legs and arms that are soooo squishy sweet!
Make an Easter Gnome Garland
Below is the written and printable tutorial. Watch the video tutorial for the Easter gnome garland here if you are a visual learner and be sure to save it to a YouTube playlist.
Easter Gnome Garland

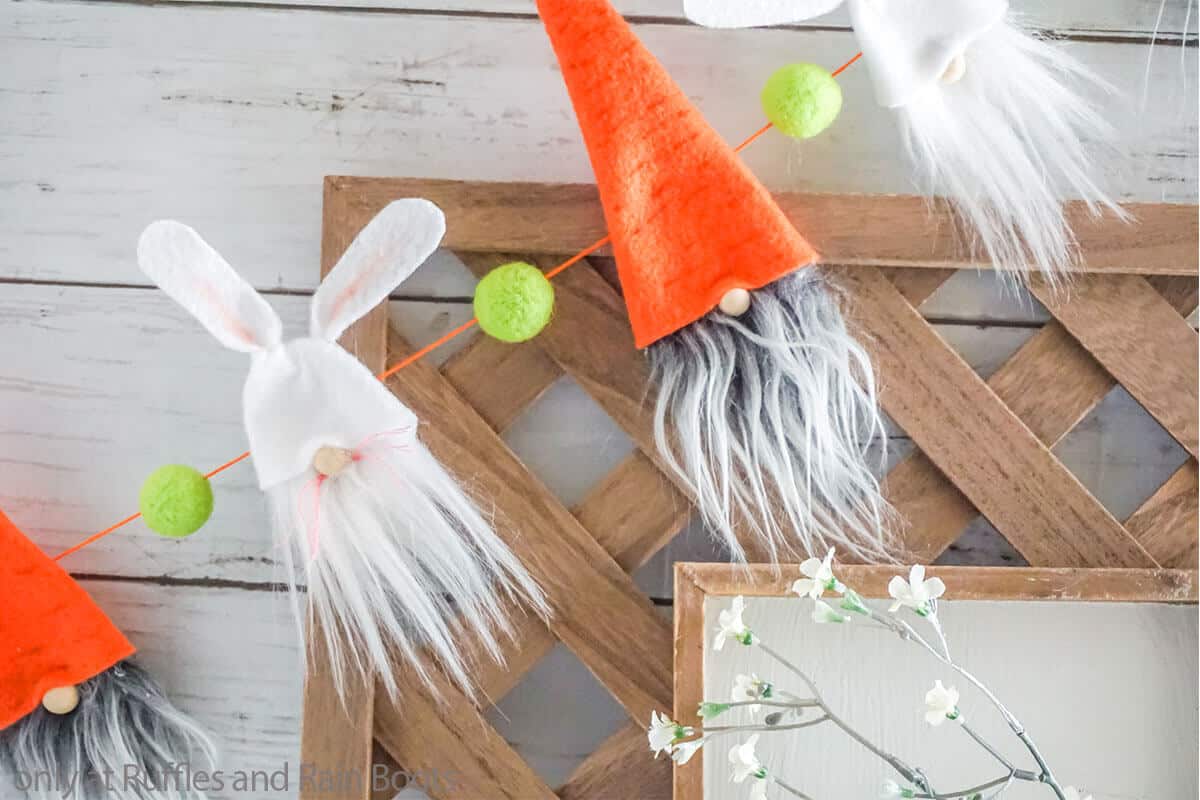
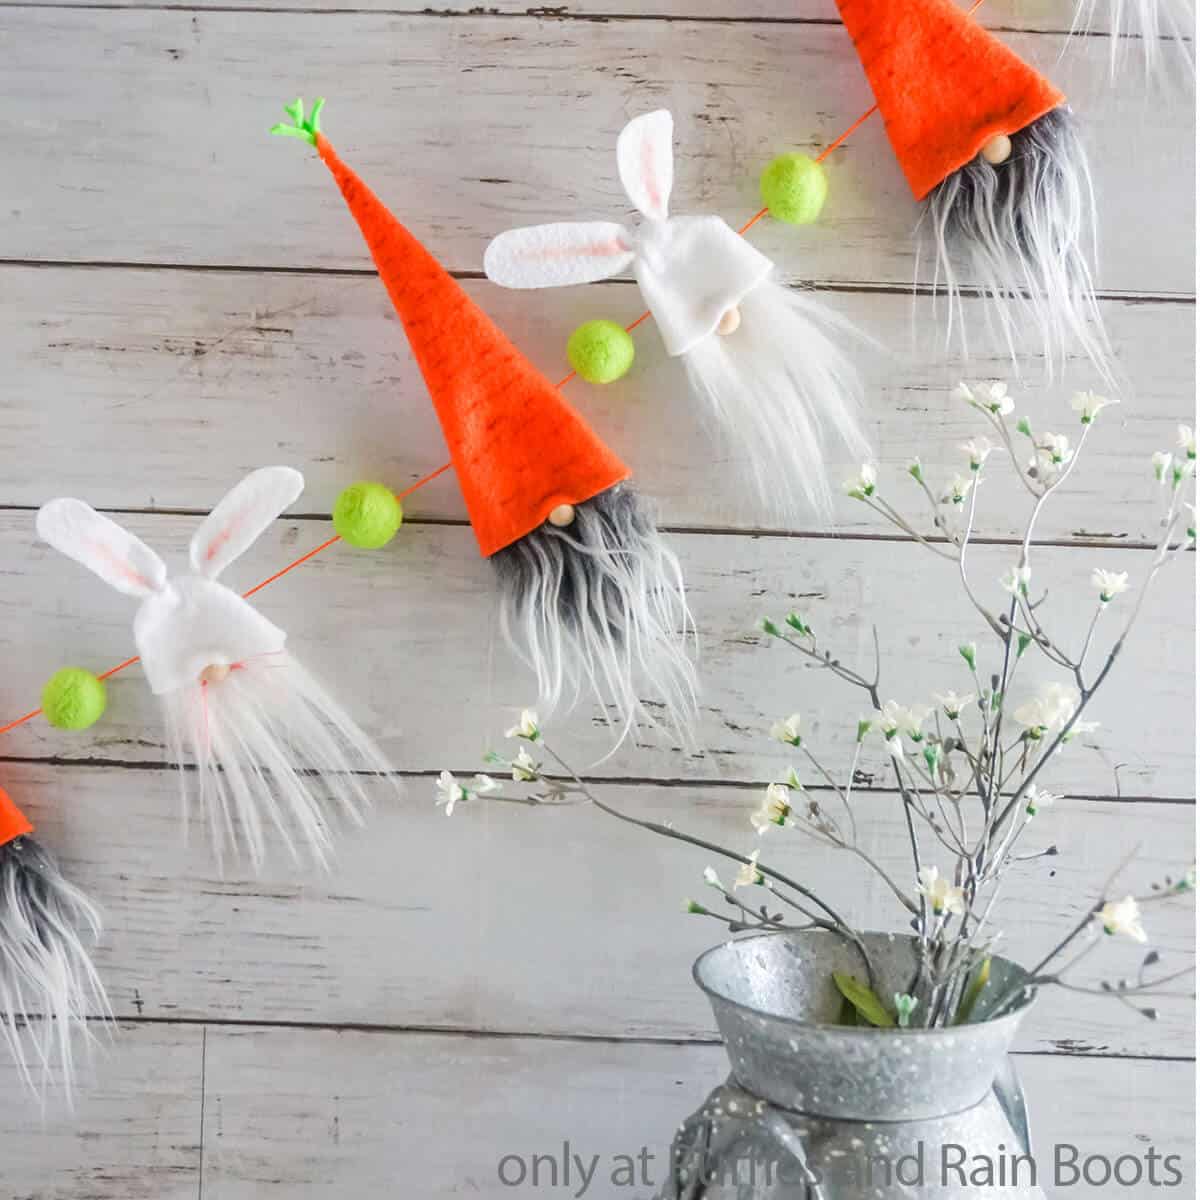
So cute, this bunny and carrot Easter gnome garland is such a cute way to bring whimsical gnomes into your farmhouse decor this Easter!
Materials
- Scraps of Mongolian Fur in White and Grey
- Premium Felt in White, Green, and Orange
- Blush
- Embroidery Thread in Pink and Orange
- Green Felted Balls
- 8 - 1/4-inch Wood Rounds
- Easter Garland Gnome Pattern
- Easter Garland Gnome Pattern with Cut Files, optional
Tools
- Hot Glue Gun & Glue
- Sharp Scissors or Cricut Cutting Machine
- Razor Blade or Craft Knife
- Thin Paintbrush
- Embroidery Thread & Needle
- Thin Black Marker
Instructions
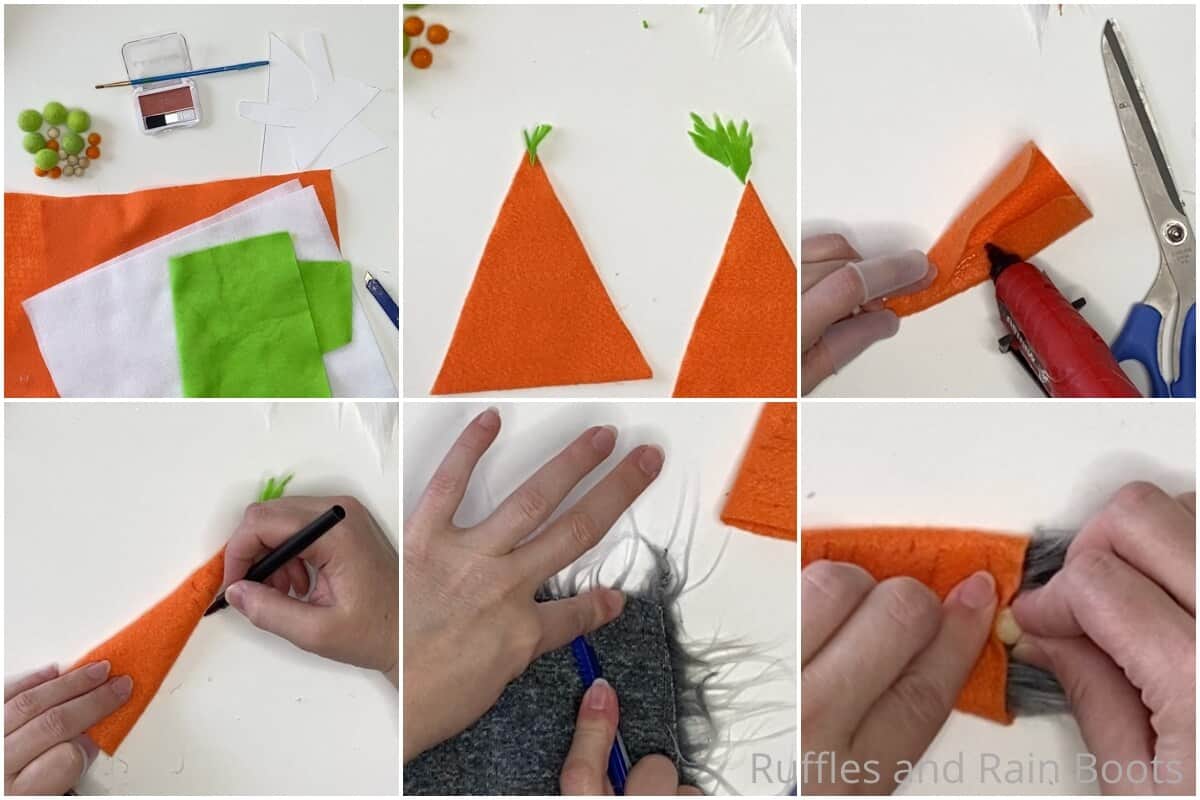
- Cut the following: 4 - Triangle hats from orange felt, 4 - Bunny Ear hats from white felt, 4 - Carrot Tops from green felt.
- Fold the green carrot tops in half and hot glue them as folded. Glue each of the green carrot tops to the tip of the orange felt hat shapes.
- Fold the orange felt hat shapes in half, wrapping them around the green carrot tops and hot gluing the hat into a cone shape. Then, with the thin black marker, sketch horizontal lines across the front of the carrot hats.
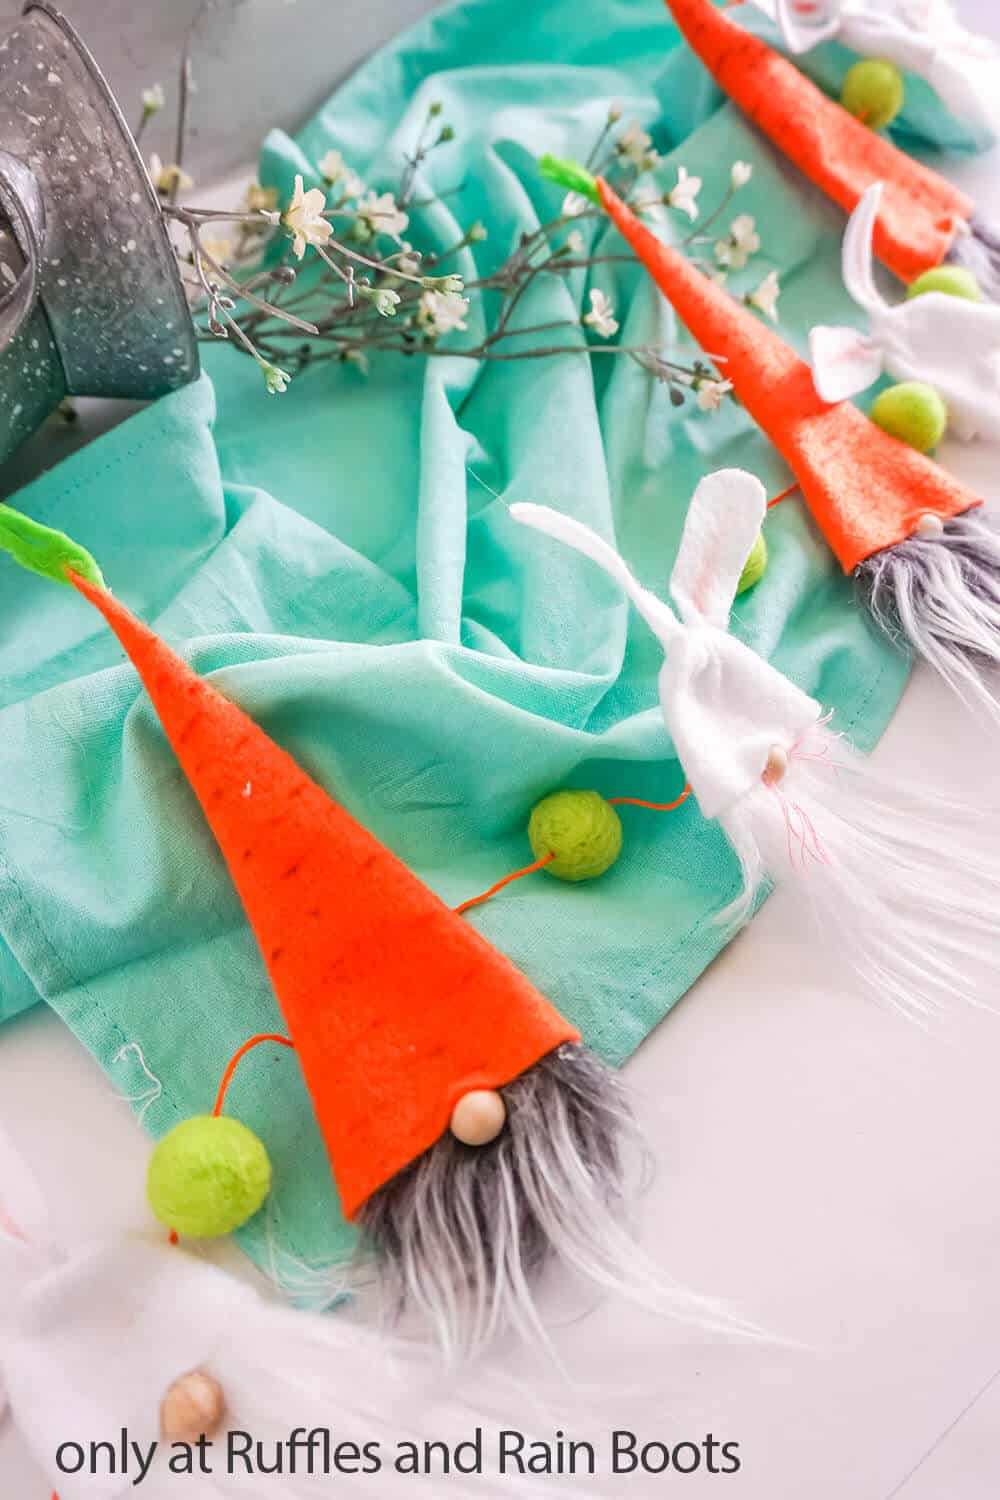
- Cut four beard shapes from the grey Mongolian fur and tuck one inside each carrot hat. Hot glue it in place on the back, inside of the hat. Split the faux fur just under the edge of the hat and hot glue a gnome nose in place to the fabric backing of the faux fur. Wrinkle the hat over the nose and hot glue it in place. The carrot gnomes are complete, so set those aside.

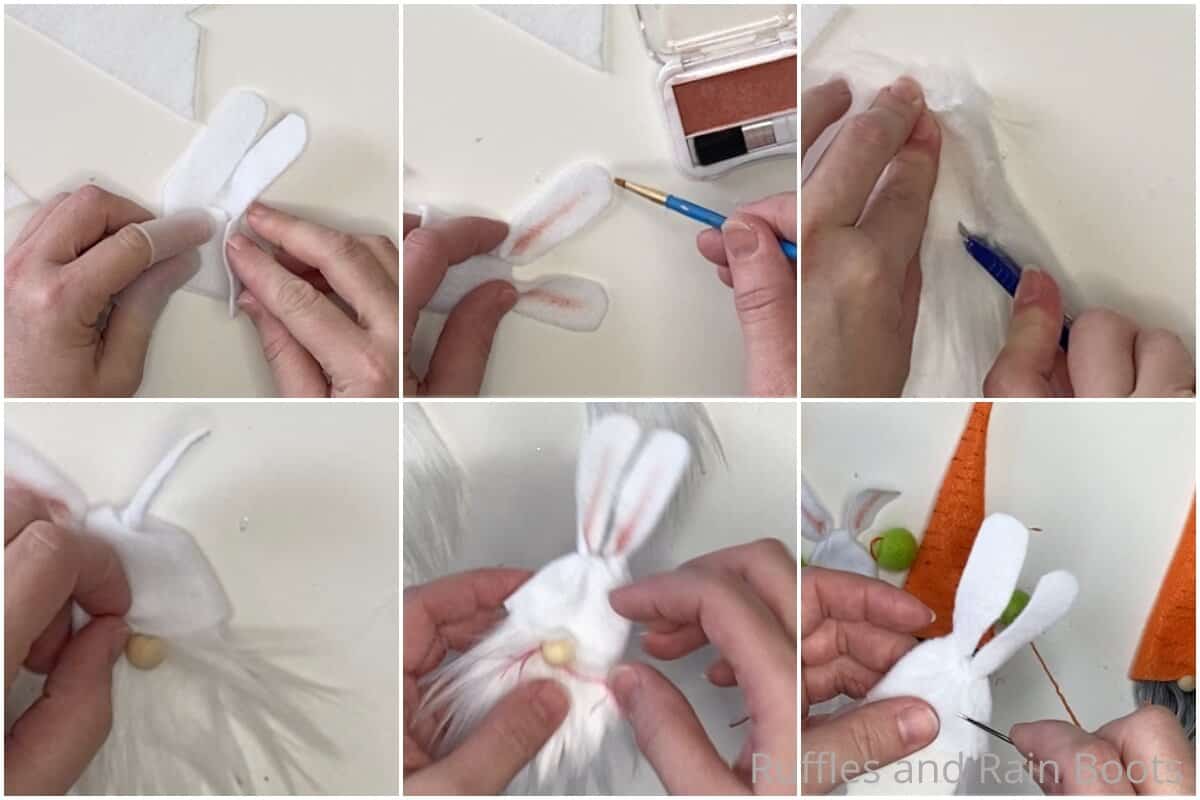
- Fold the white felt bunny ear hats in half, gluing the bottom portion together. Tie the ears one of the other once, making them snug, then trim the bottom of the hat straight.
- Using the thin paintbrush, add a bit of blush into the center of each ear, then hot glue the ear in place at the knot.
- Cut four beard shapes from the white Mongolian fur and tuck one inside each bunny hat. Hot glue it in place on the back, inside of the hat. Split the faux fur just under the edge of the hat and hot glue a gnome nose in place to the fabric backing of the faux fur. Wrinkle the hat over the nose and hot glue it in place. If desired, add whiskers to the bunny gnomes with embroidery thread. The bunny gnomes are complete, so set those aside.
- Cut a long (3 to 4-foot) length of embroidery thread and thread it onto an embroidery needle. Thread a gnome onto the thread, followed by a felted ball, repeat until all of the gnomes are on the thread. Then it's time to tie a knot into each end of your garland and hang it!
Notes
For more fun DIY Easter gnome crafts, visit Ruffles and Rain Boots!
Recommended Products
As an Amazon Associate and member of other affiliate programs, I earn from qualifying purchases.


Please Share or Save This
Your shares are how this site grows and I am sincerely grateful. Know a friend who’d like this? Please save this to an Easter ideas pin board or share it on Facebook.