
Christmas Gnome Ornaments DIY
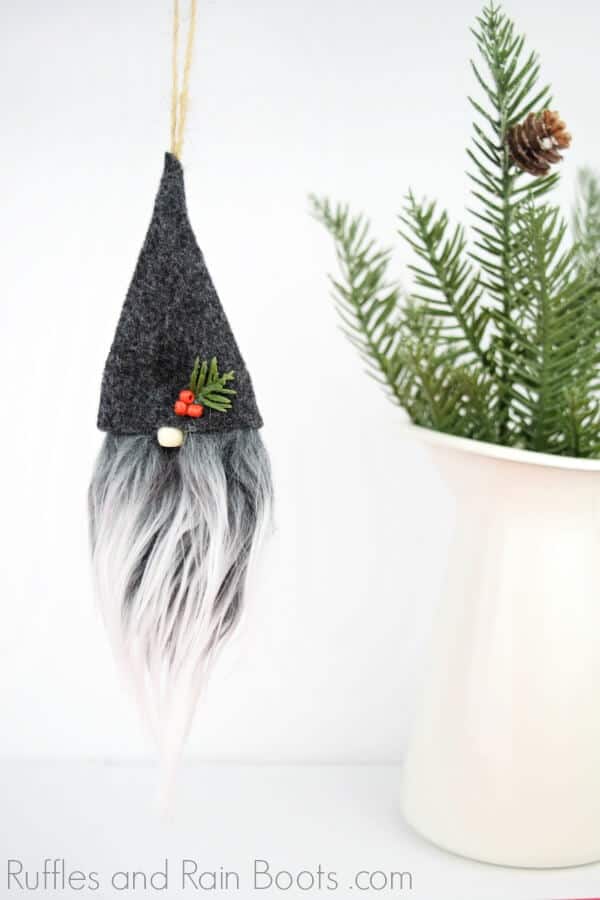
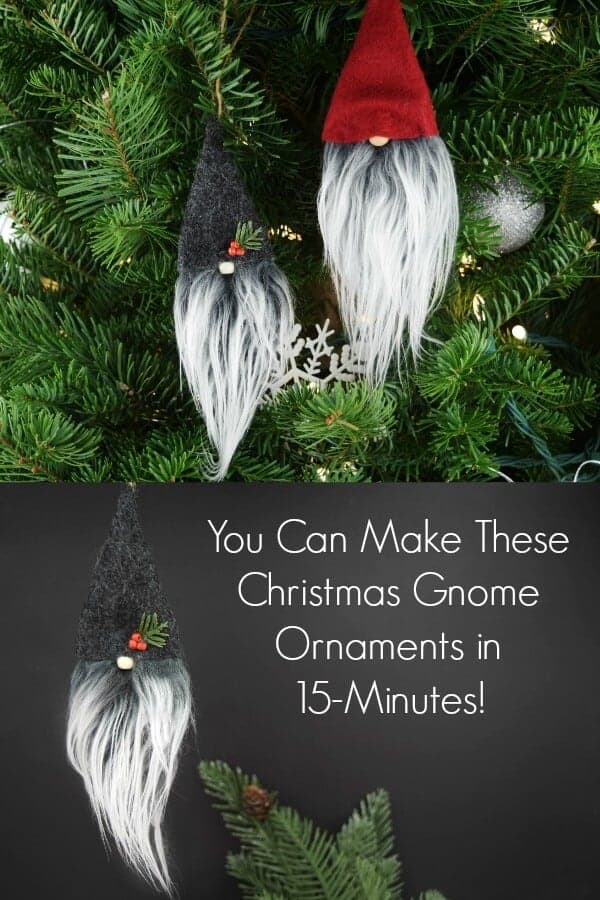
These adorable Christmas gnome ornaments are a 15-minute holiday craft. Simple craft supplies and imagination are all you need to get started!
You can make a set of these and sell them at a craft fair or holiday fundraiser to hop onto the popularity of gnomes. Or, make yourself a few and use as ornaments for the tree or as package toppers and tags.

What You'll Find On This Page
DIY Christmas Gnome Ornaments
Here at Ruffles and Rain Boots, I am known for sharing adorable DIY gnomes. If this is your first time here, I’ve shared many easy Christmas gnome crafts and would love for you to explore them a little. I’ve also perfected a more simple gnome ornament pattern (if you would like to work from one).
These adorable Christmas gnome ornaments are perfect for a cold night. They make for a fun family craft night idea and are perfect to put together kits or sets of ornaments to sell.
Get Secret Gnomes, Tips, & Freebies Delivered!
What is the best pattern to use when you don’t want to sew? Do you know the secrets to a properly-proportioned gnome? Do you know where to get the best-priced fur?
Get all of this (and exclusive content just for you) delivered right to your inbox with the gnome-making series, free of charge. Sign up to get the once-weekly newsletter (and a jaw-dropping special offer)!

DIY Christmas Gnome Tutorials
I have made literally hundreds of holiday gnome tutorials and even Christmas gnome crafts for kids. These little cuties stole my heart long before they became “Internet popular” and I’ve shared original patterns and designs for years.
If you love these little guys, browse around – I’m sure you’ll fins some inspiration for gifts and decor!
As an Amazon associate, I could earn from qualifying purchases. There could be affiliate links within this article.
Supplies Needed to Make Wood Slice Gnome Ornaments
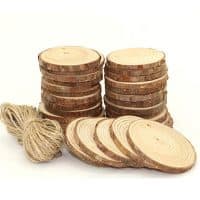
Wood slice ornaments are the base for these cute little gnomes and they’re available everywhere! We got a package of three sizes and have been having a lot of fun making holiday crafts.
For these, the only item you’ll need to hunt down is the faux fur. You can use any type of craft fur which is available at most arts and crafts stores and I’ve even found some at the Dollar Tree. If you’d like the type we used, go to a fabric store and have a quarter of a yard cut. You can make so many gnomes!
- wood slices (no need to drill holes)
- Mongolian fur fabric (or another craft fur)
- craft felt
- a nose (you can use plastic or wooden beads, clay pieces, or even buttons)
- hot glue
- twine or ribbon (about 10 inches)
- scissors and a razor blade
If you’re new to making gnomes, check out our gnome supplies list on Amazon. Psst: there are even a few gnomes for inspiration (or to pick up if you’re just too busy during the holidays to craft).
RELATED READING: NEW: Gnome Ornaments to Make for Christmas
How to Make Quick Christmas Gnome Ornaments
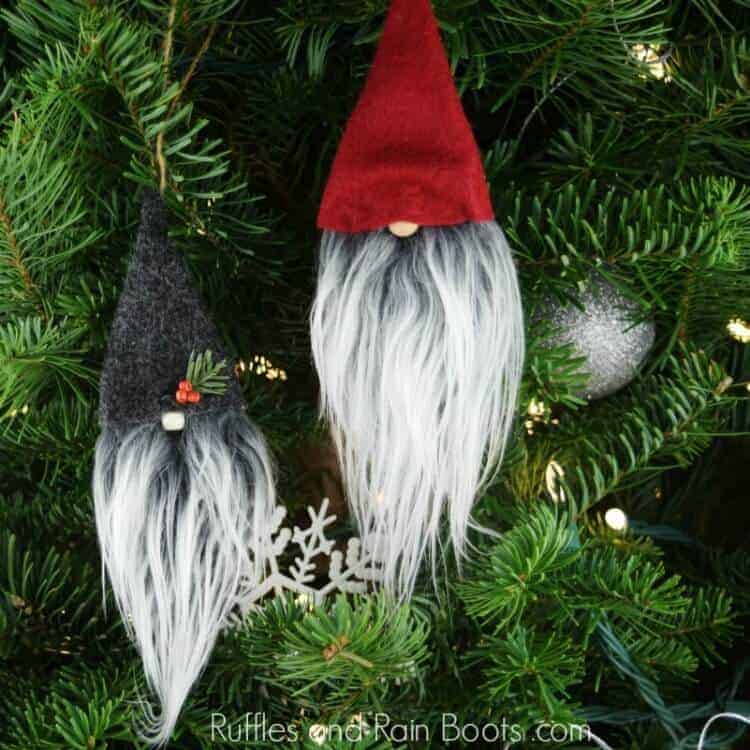
This is such a fun, quick Christmas craft idea. And the best part is that you can customize your gnomes to fit any decor, tree theme, or personality. My daughter had the great idea of including a couple as package decorations, so we’re using our smallest wood slice rounds for that.
Below is a written tutorial but it’s best explained (and demonstrated) with video. I get many questions about the hats, so I wanted to show you how easy this gnome hat “pattern” is with the Christmas gnome ornaments video tutorial.
How to Make a Christmas Gnome Ornament
Keep this page open and follow along with the step by step tutorial. Or, if you would like, scroll down and print the tutorial without images.
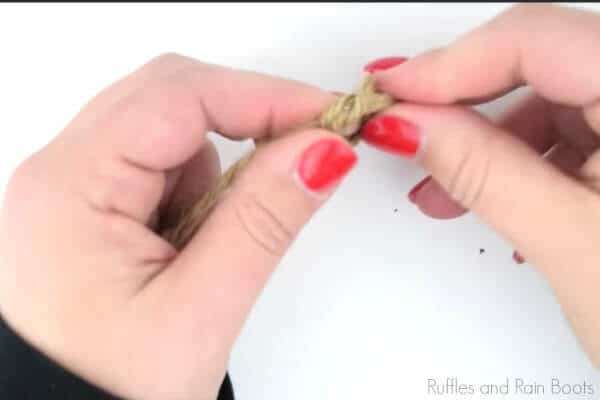
First, gather the ends of your twine or ribbon and tie them in a knot. Set aside.
Using a razor or other straight blade, cut the faux fur around the wood slice so that there is just a small bit of overlap. To get a natural-looking beard, do not cut through the fur – only the backing. Cut a small mustache piece – a rectangle – and separate it into two sections.
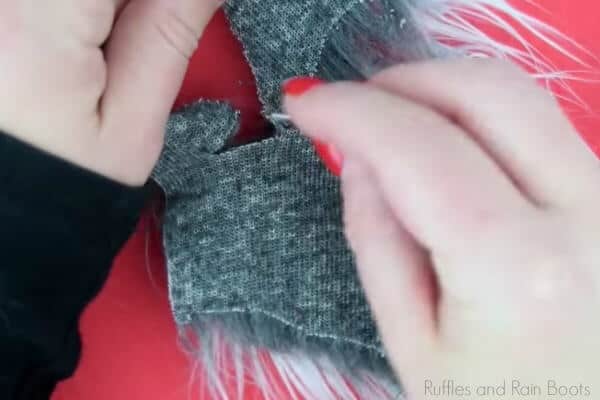
Hot glue the beard to the wood slice, add the mustache on top, and glue the nose on top of that.

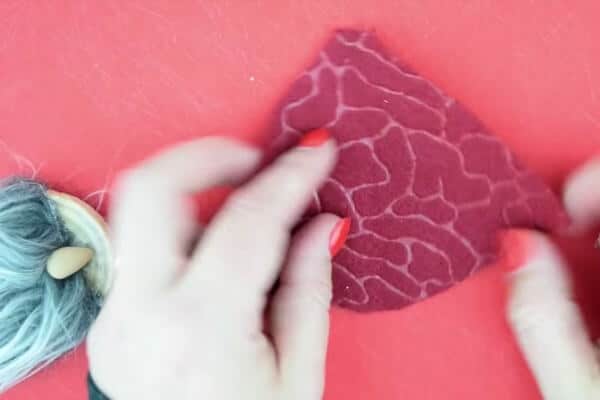
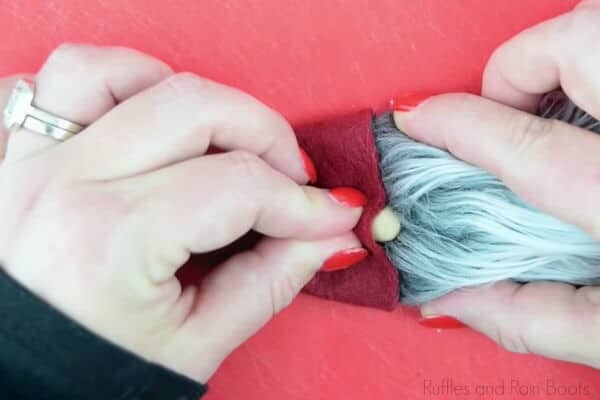
To make the hat, wrap a piece of felt around the wood slice, allowing a small bit of overlap as shown in the video. Fold in half and cut off the excess. Trim to a rounded triangle and open the felt piece.
Glue the bottom of the hat together to secure the cone.
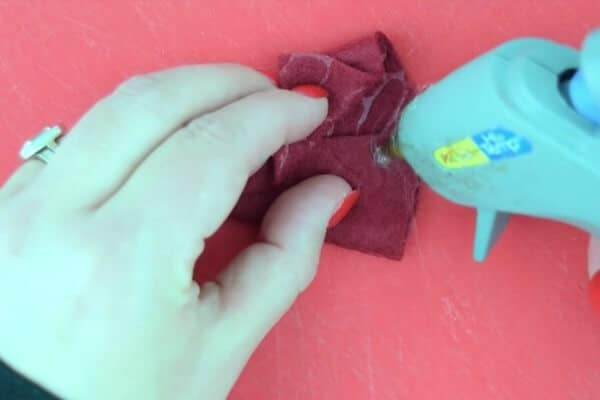
Hot glue the twine holder at the top of the cone and then secure the entire cone with glue.
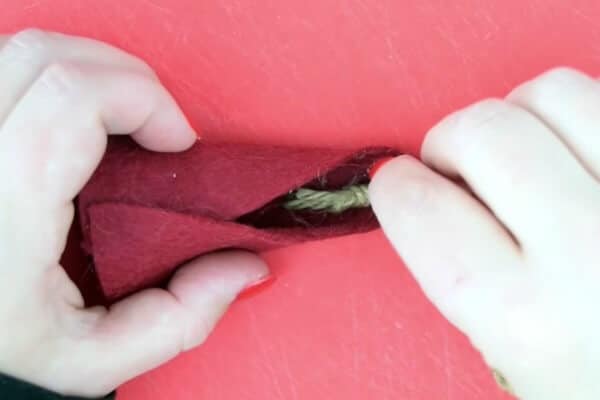
Slide the hat over the wood slice, positioning it to scrunch on the nose. Hot glue it to the nose and then secure the rest of the hat to the wood.
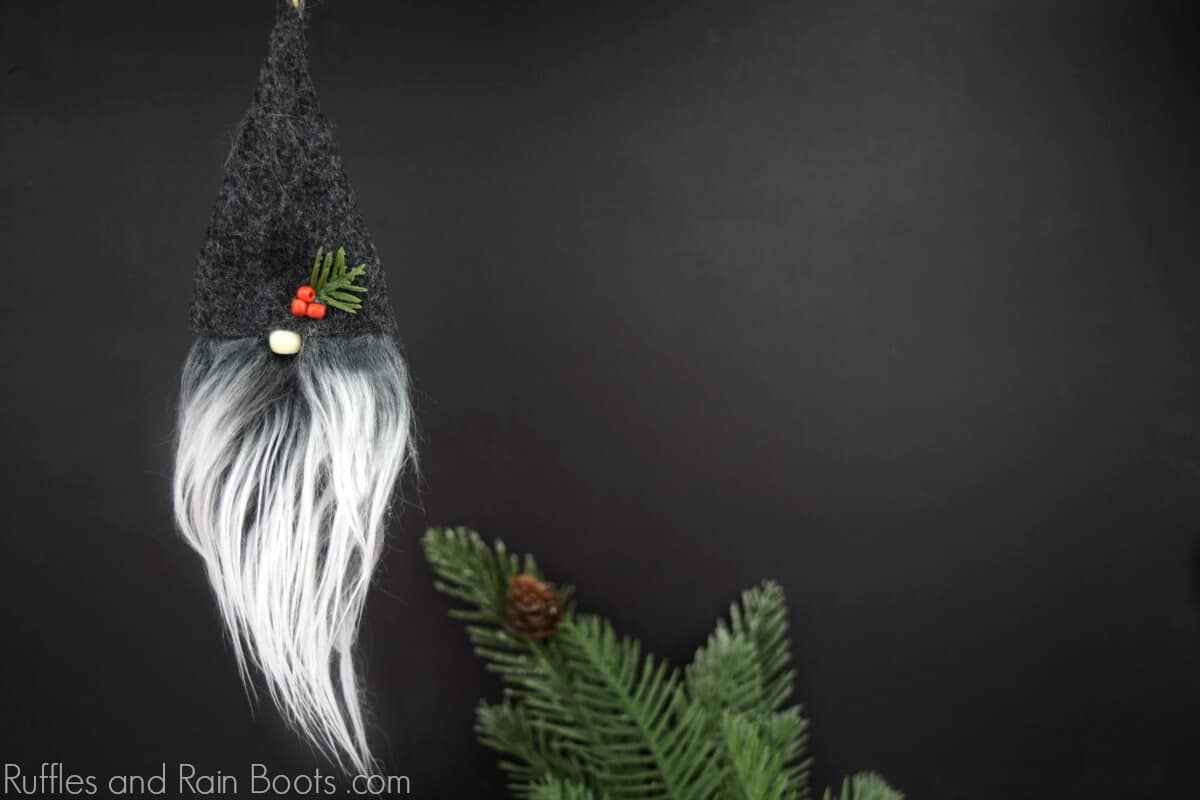
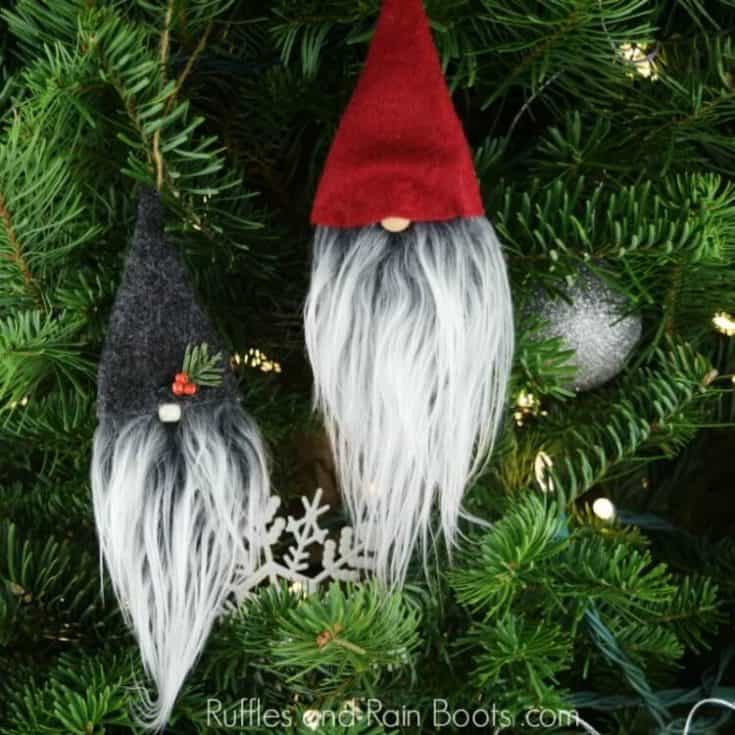
Add any decorations you would like and your Christmas gnome ornaments are done!
More Scandinavian Gnome Crafts
As I mentioned, I love these little guys. Whether you call them tomte, nisser, Nordic gnomes, or Christmas elves, we’ve got a craft for you. I love putting together inexpensive gift ideas which repurpose items you have on hand. Check out a few of our favorite gnome crafts:
- Gnome Treat Jars – Repurpose jars into fun holiday gifts to hold candy, cookies, or gifts.
- 30-Minute Gnome (Rice Body) – This is a popular gnome tutorial for a reason (it’s SO stinking cute and can be used as a shelf-sitter or as an ornament).
- Swedish Gnome Ornaments from Wine Corks – Mini gnomes anyone? These are too cute!
Please Save or Share This Easy Christmas Gnome Ornament Tutorial
Your shares are how this site grows and I am sincerely grateful. Please save this to a DIY ornaments pin board or share it with a crafty group on Facebook.
If you’re looking for the best DIY Christmas gnome tutorials, you have come to the right place. Check out all of my favorite tomte tutorials for the holidays!
Christmas Gnome Ornaments - A Quick, Adorable Craft
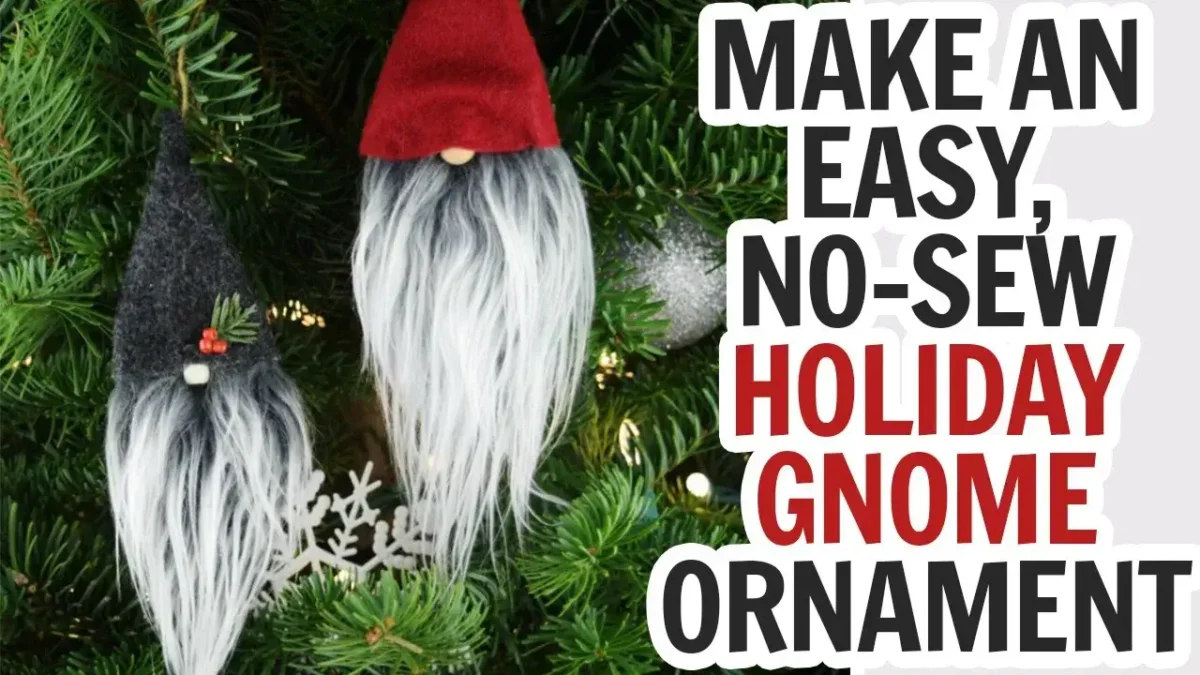
Learn how to make the most popular DIY Christmas gnome ornaments in just under 15 minutes. You do not have to sew anything and they can be made as large or as small as you want. The free gnome pattern uses felt to create an easy gnome hat pattern and the base is something that everyone can access - no tricky supplies or materials here! This DIY comes with a full gnome ornament video tutorial to walk you through each step.
Materials
- wood slices (no need to drill holes)
- Mongolian fur fabric (or another craft fur)
- craft felt
- a nose (you can use plastic or wooden beads, clay pieces, or even buttons)
- twine or ribbon (about 10 inches)
Tools
- scissors
- razor blade
- hot glue gun and glue sticks
Instructions
- Gather the ends of your twine or ribbon and tie them in a knot. Set aside.
- Using a razor or other straight blade, cut the faux fur around the wood slice so that there is just a small bit of overlap. To get a natural-looking beard, do not cut through the fur – only the backing. Cut a small mustache piece – a rectangle – and separate it into two sections.
- Hot glue the beard to the wood slice, add the mustache on top, and glue the nose on top of that.
- To make the hat, wrap a piece of felt around the wood slice, allowing a small bit of overlap as shown in the video. Fold in half and cut off the excess. Trim to a rounded triangle and open the felt piece.
- Glue the bottom of the hat together to secure the cone.
- Hot glue the twine holder at the top of the cone and then secure the entire cone with glue.
- Slide the hat over the wood slice, positioning it to scrunch on the nose. Hot glue it to the nose and then secure the rest of the hat to the wood.
- Add any decorations you would like and your Christmas gnome ornaments are done!
Notes
For a ridiculous amount of Christmas gnome crafts, visit Ruffles and Rain Boots .com
Recommended Products
As an Amazon Associate and member of other affiliate programs, I earn from qualifying purchases.


Can you use other fabrics for the hat other the felt?
Of course, however, if you use thin ones like cotton it’s going to show creases and wrinkles after time.
@Sarah Nenni-Daher, Thank You!
@Gretchen, Buy Finger gloves at 1.00 store and cut the tips off
I have been looking for quick, easy adorable gnome crafts and now I have a great idea. Thanks for posting this!
I messed around with noses and finally found the perfect solution. Half a pistachio shell works great thanks for the lovely instructions!
How tall do you make the hat in relation to the bottom? I am having trouble getting the edges to meet.
Judy, The height of the hat can vary. For me, the critical part was to get the right width of the triangle at the base (the widest part at the bottom).
When you fold over the fabric and cut it, try a wider-than-needed cut at first. You could even try cutting it to a flat top instead of a point because when you roll it, it will come together.
What size is the wood circle?
You can use any size you’d like, but my favorite is linked. The sets give me quite a bit of variation to use for both ornaments and package tags.
Thanks so much for sharing your craft ideas…LOVE the gnome ornaments! Could you plz share the dimensions of the triangle of felt for the hat? I’d really appreciate it… and thanks again!
Sandi, The width is dependent upon the wood round, so it varies slightly. To make sure each one fits, I wrap the felt around with a slight overlap to cover the glued portion.
Each year I make ornaments for my customer, I’m a cafe manager in a large bookstore and have a lot of regulars. And after I found your wonderful little gnome I bought all the supplies and will start today. I need around 100. So it will take some time. My customer are all looking forward to it. I started doing this a few years back and made around 40 ornaments the first year. I will put them in little clear bags with a ribbon and a hand drawn card.
Wow, Toni! That is so generous and I hope everyone loves them as much as we do. The “hardest” part is definitely cutting the fur, but as long as your rounds are all the same sizes, it should go quickly.
Please take a picture when you’re done – my gnome-loving heart will likely explode!
Your gnomes are adorable. I wonder if I could use an Exacto knife to cut the fur? I look forward to creating some of these cuties.
Of course! I usually just have a razor handy for removing all my hot glue overflow… :)
what do you do to the back of the ornament as it isn’t very appealing…Any suggestions on how to cover all of it!! Thank you for any ideas…wonder how everyone else is doing theirs…
Such a cute ornament! I make a Christmas ornament each year for our grandchildren. It’s a tradition my Mom started years ago. I will be making this ornament for 2019. Thank you for sharing.
What an amazing tradition, Betsy! You’re welcome and I hope you have a lot of fun making them.
any ideas on how to cover the space beads so that the hole doesn’t show. Thank you! I really think these are cute and would like to make some.
Iris, Thanks so much – we think they’re cute, too. We made about 15 of them! :) To cover the holes, I put one of the open ends under the hat (it’s covered) and the one at the bottom gets lost in the beard.
Thank You for the hint..going to try to make some for Christmas 2019..as I make an ornament for all the nieces and nephews..
These are so cute and want to make some, but all I have are spacer beads and wondering how I would cover the hole so that it don’t show..any suggestions! Thank You.
Not sure why my original reply isn’t showing, but we just turned the beads so the hole was under the hat and hidden inside the beard. On the package tags we made, no one could tell it was a spacer bead. :)
These are absolutely Precious. Thanks for sharing!!!!
I love these! Could you please give me a link or description of the nose you used in the video so that I know what to order? Thank you!!
Katrina, I’m sorry I can’t give you a link. We made those from polymer clay. We have used pony beads in a neutral color as well as small, round wood beads. Hope that helps!
What size wooden slices do you use? These are so cute!!
We used a few different sizes (they all came in a pack together). The smallest was about 1.5 inches wide and the largest just over 3.5 inches wide. Hope that helps, Maryanne. They are so much fun to make!
You are the First person to cut the fake fur correctly, thank you.
Every time I watch a YouTube video they just take their scissors and cut from the front, all I can think is no no don’t do it.
I do love your video, I’m going to show my niece how to make them this weekend.
Right? And it’s much less messy when we do it correctly! Thanks for dropping by.
I agree. It is so painful to watch them cut up a piece of fur. Glad I don’t have to clean up the mess when they do that.
So CUTE, Sarah. Every year I make ornaments for all of my clients, next year I will be making these. LOVE! TFS!!!
Oh, I’m so excited to hear that, Donna. Thanks so much and Happy Holidays!
Sarah,
Adorable gnomes. I sure would like a print out with the instructions. I belong to an ornament club and may forget the instructions before next year. Do you have some you could email me? Thank you for this adorable Idea. Jeriann Marks
You are now able to print the directions, Jeriann. I hope you have so much fun making them – we sure did.
Really cute gnomes
Love this.