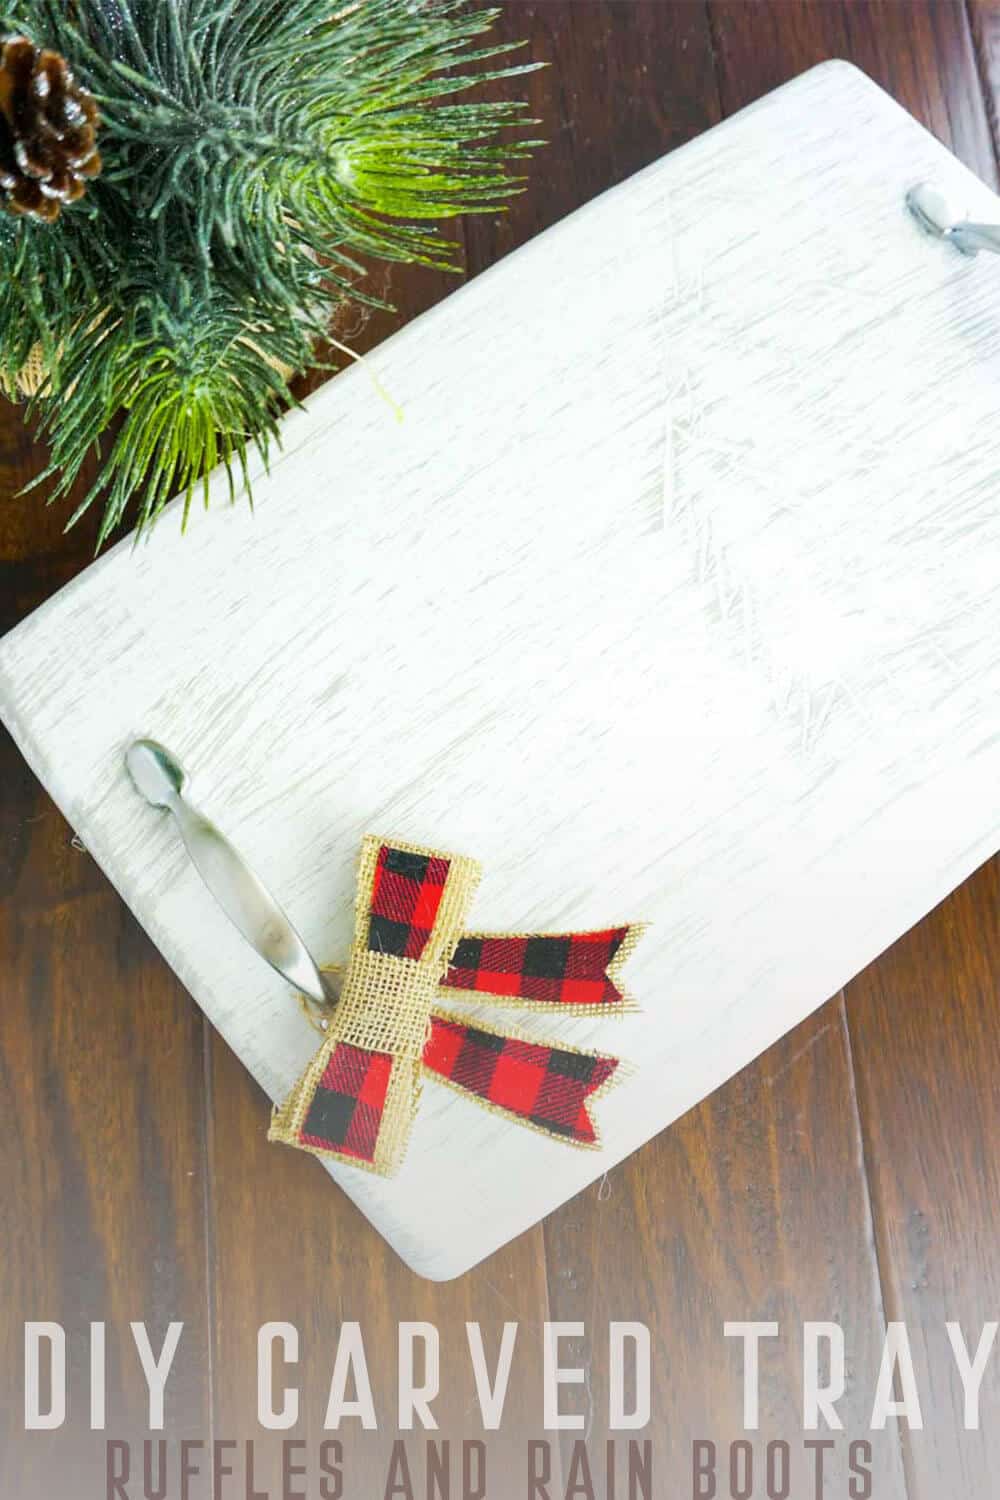
You Can Make This Upcycled Carved Christmas Serving Tray in Minutes!
This easy Christmas serving tray served it’s life as a cutting board, but now it has a new one as a fun upcycled tray for Christmas! How fun–and thrifty.

Carved Christmas Tree Serving Tray
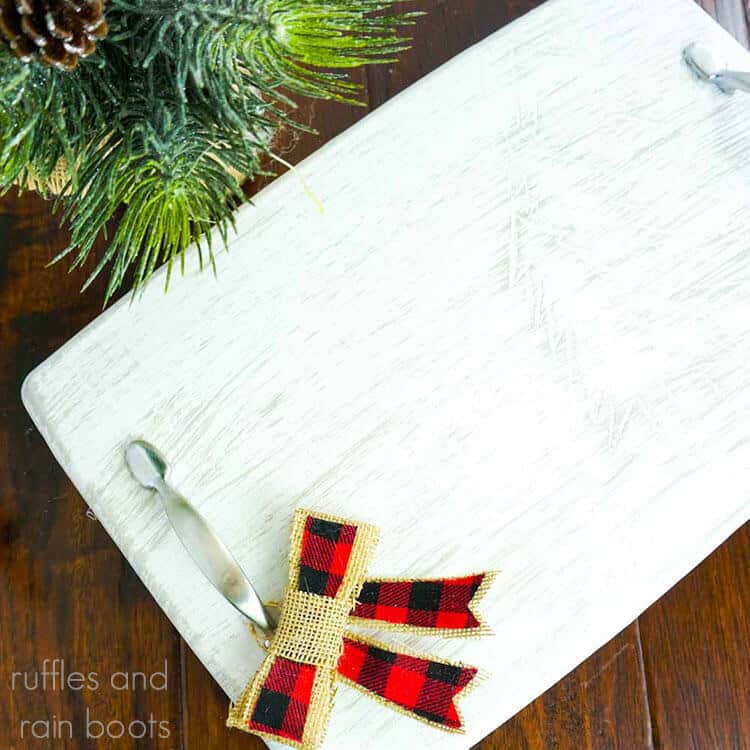
Here at Ruffles and Rain Boots, we are so excited about Christmas this year. I’ve already made plans for the big family gathering and I’m getting my decorations all planned out. One of the newest things I’ve made that I really love is this easy carved Christmas serving tray.
RELATED READING: ALL THE BEST FARMHOUSE GNOME CRAFTS EVER!
It’ll be perfect for carrying plates to the table, placing drinks on to get out to my guests. This upcycled tray seriously has it’s work cut out for it. And to think, it was a $2 cutting board in a previous life! How cool! If you’re ready to make an upcycled cutting board serving tray, let’s get started.
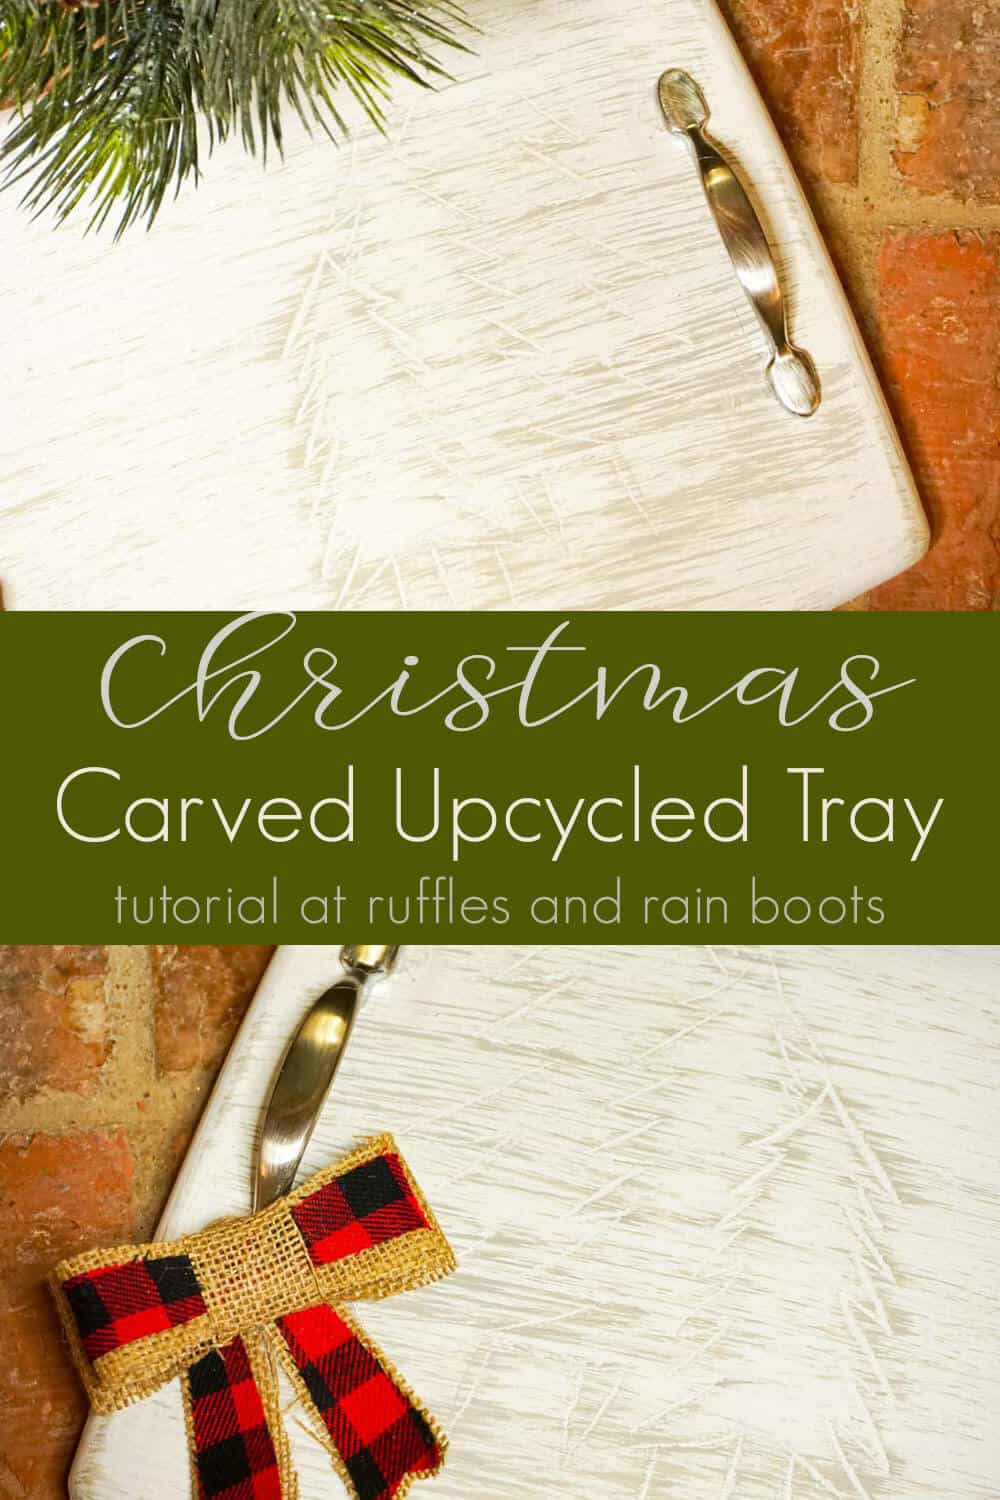
No Time to Make This Now? Pin it for Later
You’re busy, I get it. Pin this to your favorite farmhouse crafts board on Pinterest and it’ll be here for when you’re ready.
Tips to Make an Upcycled Tray
- Go slow. Nothing messes up a carving (or a thumb) like someone who’s gotten in a hurry. So, keep it slow. And if the wood seems like its REALLY hard to carve, you should probably try sharpening your blade. Just a tip from somebody that might have had a little dull carving knife.
- Click here to get the free printable pattern for this Christmas serving tray. You could probably make this carved Christmas tree serving tray without a pattern, but why bother when there’s one here?!
- When you’re putting the wood stain on the painted serving tray, make sure you brush off almost all of the stain first. If you don’t, you’ll get too much stain on the tray and it won’t look good.
How Do I Make this Carved Christmas Serving Tray?
I’m so glad you asked. Below is our written tutorial.
Carved Christmas Serving Tray

This easy Christmas serving tray served it's life as a cutting board, but now it has a new one as a fun upcycled tray for Christmas! How fun--and thrifty.
Materials
- Free Printable Pattern
- 1 Cutting Board (I found one at a thrift store)
- Set of Drawer Pulls (Handles) (I found these at the the thrift store)
- White Chalkboard Paint
- Grey Wood Stain
- Wipe-on Polyurethane to Seal Serving Tray
Tools
- Hot Glue Gun
- Hot Glue Sticks
- Carving Knife or Utility Knife or Chisel
- Paintbrush
- Sand Paper
- Tape
- Pencil
Instructions
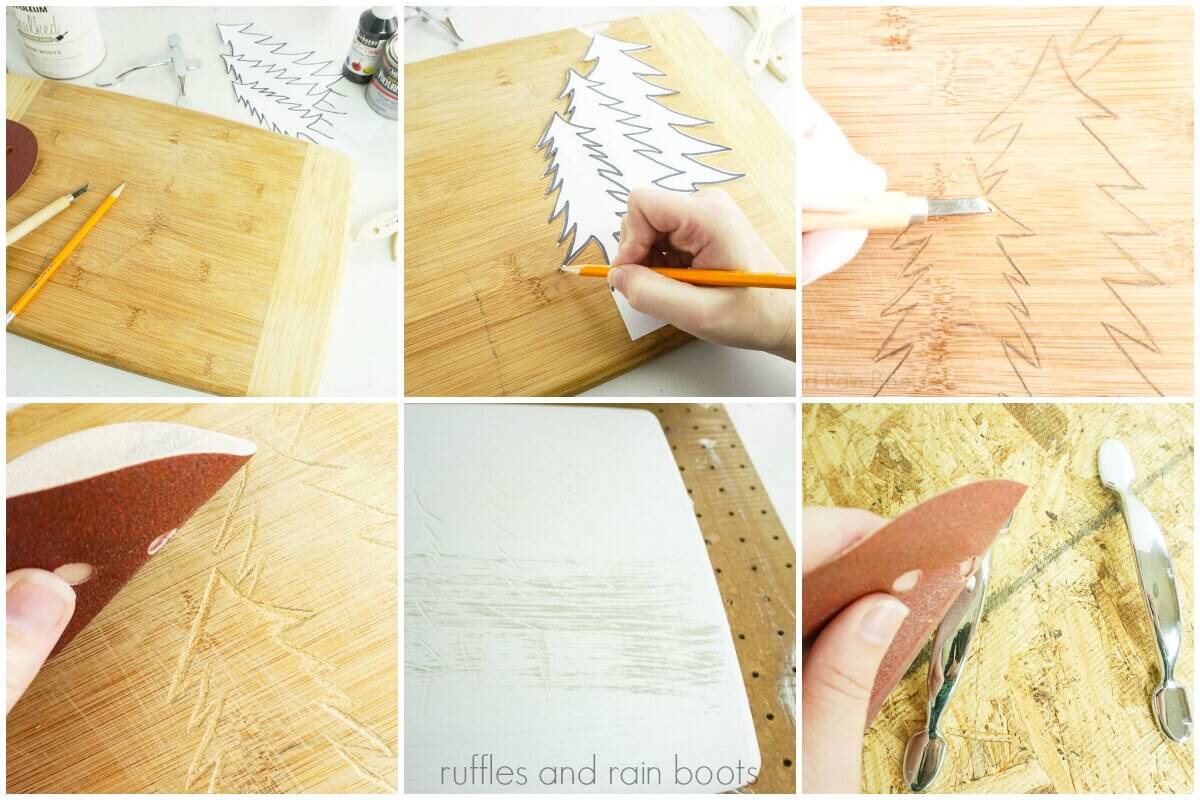
- Lightly sand cutting board to remove any stains or cut marks.
- Cut out Christmas tree pattern around the outside perimeter. Tape the Christmas tree pattern to the cutting board where you want the carved Christmas trees to be.
- Trace the outline of the Christmas Tree Pattern. Cut the interior lines of the pattern.
- Tape the middle Christmas tree pattern into place where it was previously on the cutting board. Trace the outline of this center Christmas tree.
- With your utility knife, chisel, or carving knife, deeply cut the fibers of the wood around the outline of the Christmas trees you traced. This cut needs to be as deep as you want the Christmas trees to be on your serving tray.
- With the cutting utensil, cut from the inside of the Christmas trees toward the cut-outline you just made in a sharp angle, leaving a jagged/ragged cut out in the shape of the Christmas trees.
- Lightly sand the cutting board along the edges of the Christmas trees to clean the lines a little.
- Paint the backside of the serving tray with the white chalkboard paint. Allow this to dry fully.
- Paint the front side of the serving tray with the white chalkboard paint. Allow this to dry fully.
- Dry-brush the grey stain onto the front side of the serving tray and sides. Allow this to dry fully.
- Sand the drawer pulls to give them a used look (I just don’t like them hyper-shiny, you could leave as-is).
- Hot glue the drawer pulls onto the serving tray on either side, centered and about 2-inches from the edge. Add screws if you plan to hold the tray by these handles.
- Seal with the wipe-on polyurethane.

Notes
For more fun Christmas farmhouse crafts, visit RufflesandRainBoots.com
Creativity, Delivered
Would you like inspiration delivered right to you each week? Sign up for the once-weekly Ruffles and Rain Boots newsletter and you’ll get that and more! Get access to the exclusive libraries full of free SVGs, hand lettering practice, and so much more.
More Christmas Farmhouse Crafts You Might Like
- Wooden Gnome Ornaments – These ornaments are going to be staples for my Christmas tree decorations from here on out!
- Easy Farmhouse Gnome – I can’t get over how cute this little farmhouse gnome is–even though I first made him almost a year ago!
- Free Printable Farmhouse Christmas Truck Gift Tags – Ridiculously cute and fun, these are the best gift tags for your farmhouse Christmas decor!
Please Save This to Pinterest
Your shares are how this site grows and I am sincerely grateful. Know a friend who’d like this? Please share it on Facebook or save it to your favorite Christmas farmhouse crafts board on Pinterest.