
Buffalo Check Fall Wreath with a Free SVG File
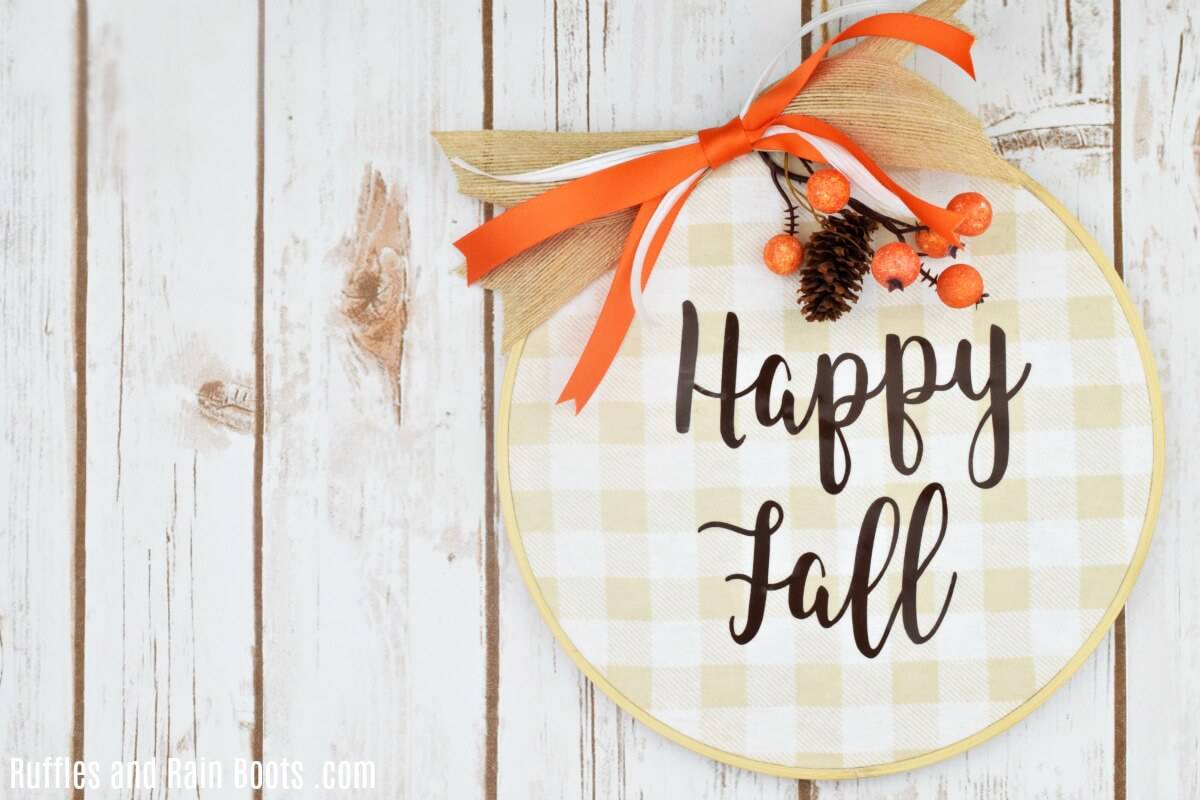
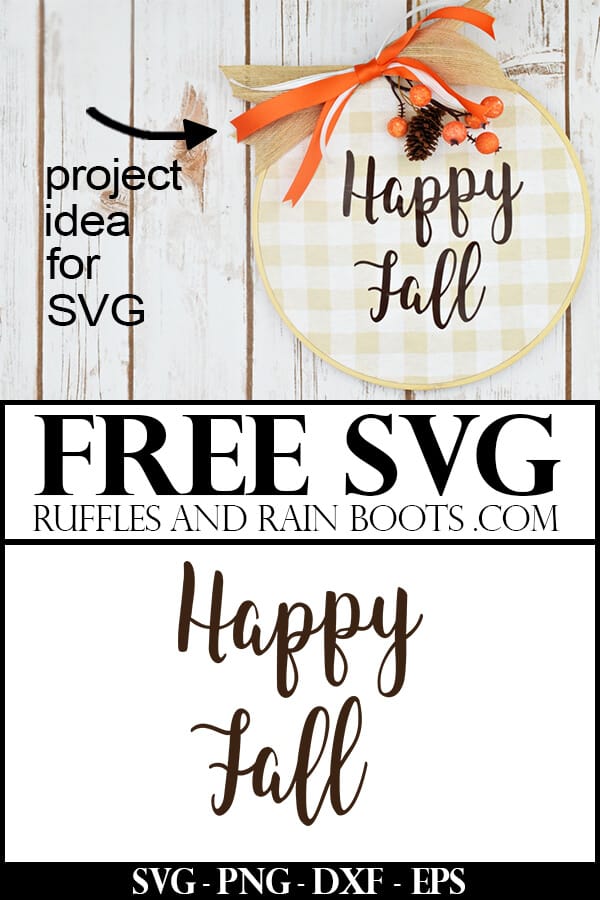
This Buffalo check Fall wreath using an embroidery hoop is a stunning way to welcome in the season. The softer, warmer colors of the khaki farmhouse fabric really help to let the other colors pop.
I used a Cricut and vinyl for this project, however, if you have a stencil and fabric paint, that would work, as well. Another idea is to print the included Happy Fall SVG and printable template and trace it onto the fabric before filling in the outline with paint.
What You'll Find On This Page
Buffalo Plaid Fall Wreath
It is no secret: I love the look of a small Buffalo check plaid. Goodness, I would probably have an accent wall in a Buffalo plaid if I wasn’t terrified of wallpaper (an irrational fear, I know).
This fall season, I’m incorporating khaki Buffalo check fabric into my decor. From gnome ornaments to wreaths, I’m using this eye-catching fabric in small projects to tie a few rooms together.
Before we get to the other fun Buffalo check DIYs, let’s start on this adorable Buffalo check Fall wreath using an embroidery hoop.
Save or Share This for Later
If you can’t make this now or need to gather up some supplies, save this to a DIY wreath pin board or share it on Facebook. It will be so much easier to find when you’re ready to start making this.
As an Amazon Associate, I could earn from qualifying links. There could be affiliate links in this article.
RELATED READING: Welcome Fall with This Pumpkin Spice Sugar Scrub
Tips for Making This Fun Fall Wreath DIY
- I used a smaller embroidery hoop at 9-inches because this was going to hang on a cabinet door. If you are using this for a front door or back porch, use at least at 12-inch hoop.
- The khaki Buffalo check fabric I’m using is a flannel and it is a little fuzzy. I love the warmth it gives the piece. If you have a cotton fabric, give it a quick iron and use that.
- If you are new to making a farmhouse style ribbon bow, just know that you’re creating X’s with each layer of ribbon. Lay down the largest / widest ribbon first and then stack the others in descending size order.
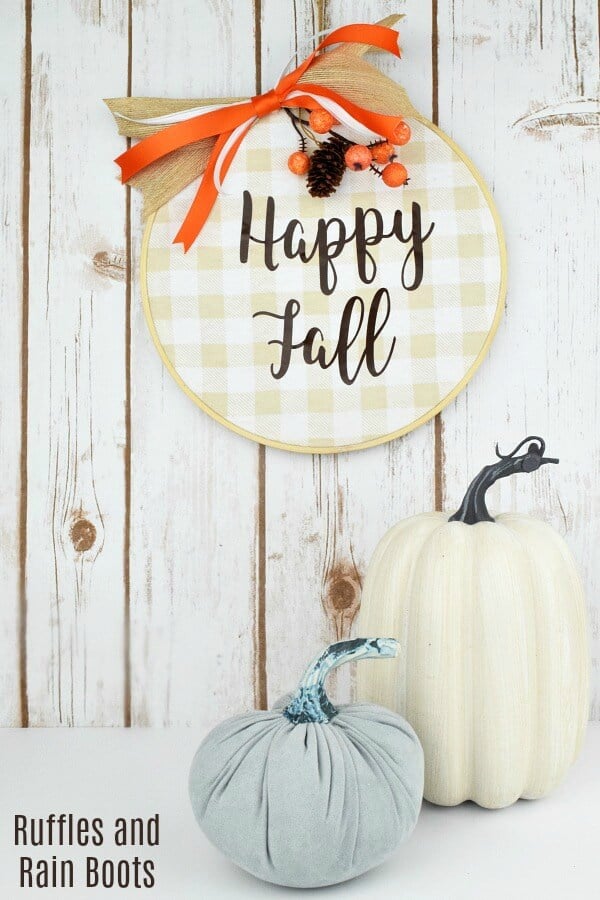
- For decorative accents, use small pumpkins, fall berries, raffia, or pinecones. It gives it a fun little colorful element.
- You will need the Happy Fall SVG cut file set here to use the lettering I made. The file types included are SVG, PNG, EPS, and DXF. If printing, use the PNG. If you are working in the basic Silhouette software, use the DXF.

How to Make a Buffalo Check Fall Wreath
If you prefer a video tutorial to show how I tuck the edges of the Buffalo plaid fabric or create the simple bow, for example, watch the one here on this page. It’s a really fun wreath to make and doesn’t take much time at all.
Buffalo Check Fall Wreath with a Free SVG File
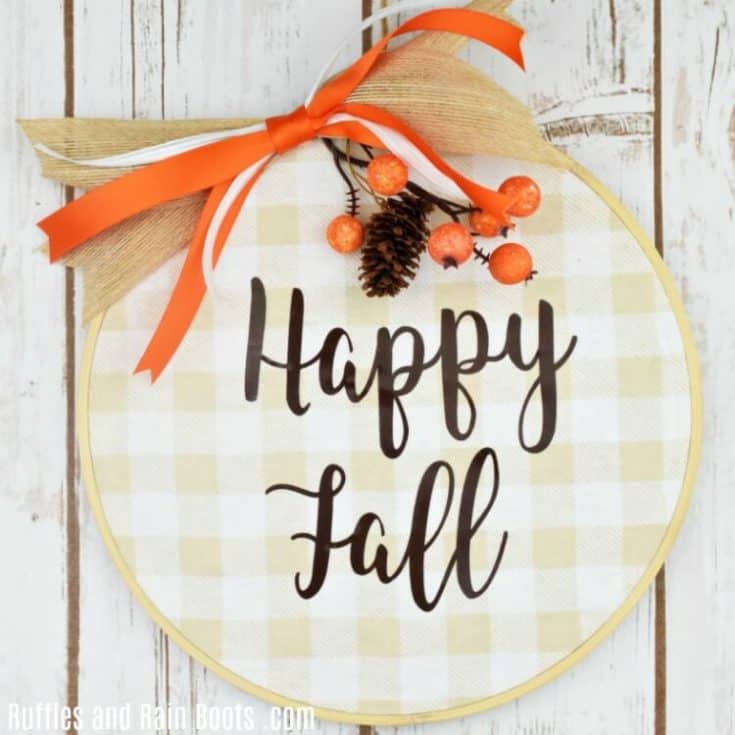
This Buffalo check Fall wreath using an embroidery hoop is a stunning way to welcome in the season.
Materials
- 9-inch embroidery hoop
- 1/2 yard khaki Buffalo check plaid flannel fabric
- ribbons (khaki, 2 inch, orange satin, 1 inch, white raffia)
- jute string
- free Happy Fall SVG file and printable template
- vinyl (I used a dark brown)
- embellishments (orange berries and a miniature pinecone pick)
Tools
- scissors
- hot glue gun and sticks
- tape measure
- heat press
- Cricut or other cutting machine
Instructions
- Download the Happy Fall cut file and upload into the cutting machine software. Cut the desired size onto brown vinyl (mine was 5-inches for my 9-inch wreath).
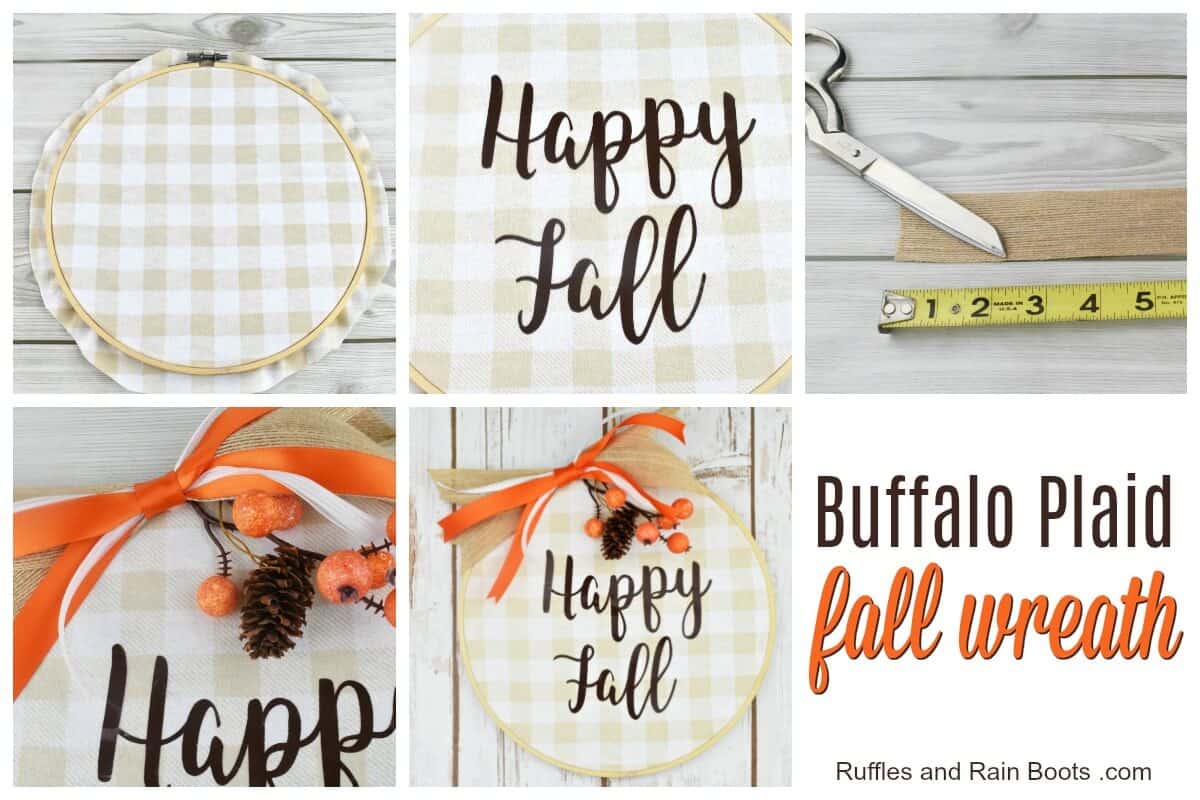
- Disconnect the two pieces of the embroidery hoop and lay the small hoop on a flat surface. Place the fabric right-side up on top of that and place the large hoop piece on. Tighten after positioning the fabric - you want straight lines and you can tug it here and there.

- Remove the hoops (you can now see where to position your design). Transfer the vinyl to your fabric, making sure it adheres well. Put it back in the frame once the vinyl is secure.
- Make an easy farmhouse bow. Cut the following ribbon sizes and layer them in descending size order. Tie them with the jute string and set aside. Cuts: 2 x 9-inch (or size of your hoop) khaki ribbon; 2 x 9-inch orange ribbon; 2 x 10-inch white raffia; 1 x 9-inch jute string.
- Use a small piece of orange ribbon and cover the center of the bow. Attach bow to the wreath with hot glue, snip the ends into an angle, add embellishments, and hang.
Notes
For more fall craft ideas, visit Ruffles and Rain Boots.
Please Save or Share This Fun Wreath
Your shares are how this site grows and I am sincerely grateful. Know a friend who would like this? Please email it, save it to a fall crafts pin board, or share it with a crafty group on Facebook.


I tried to make a sign on fabric using a vinyl “welcome” I purchased from Etsy and it puckered just awful. Even tightening the embroidery hoop didn’t straighten it to my satisfaction. What did I do wrong.
Kathy, I’m not sure what type of vinyl (heat or permanent stick) you had because I’m not sure what the Etsy seller’s instructions were. The seller *should have* given you application instructions and if they didn’t, I’d reach out to them for another piece.
But for permanent vinyl (it’s sticky), I usually put a book under the fabric and lay the design on it. I use a flat item to smooth it out (I use a Cricut tool but you can use a credit card or firm flipping spatula from your utensils drawer. For heat transfer vinyl, it requires knowing the heat setting of the vinyl the seller used and can often be applied with a household iron.
I’m sorry this happened, Kathy, and I hope the Etsy seller makes it right!