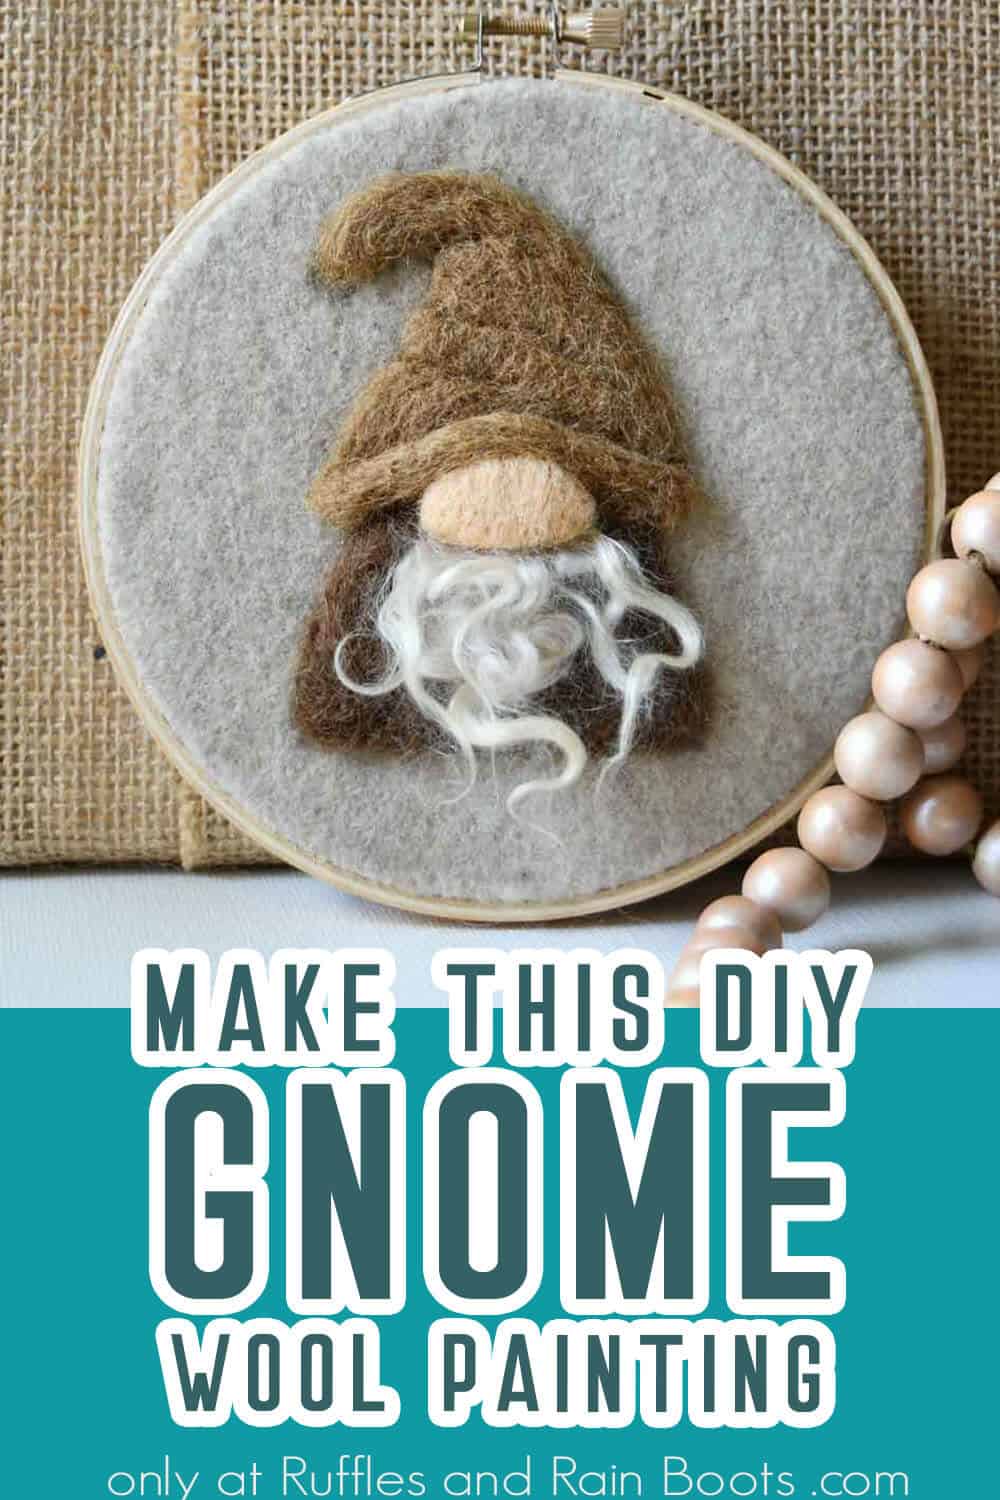
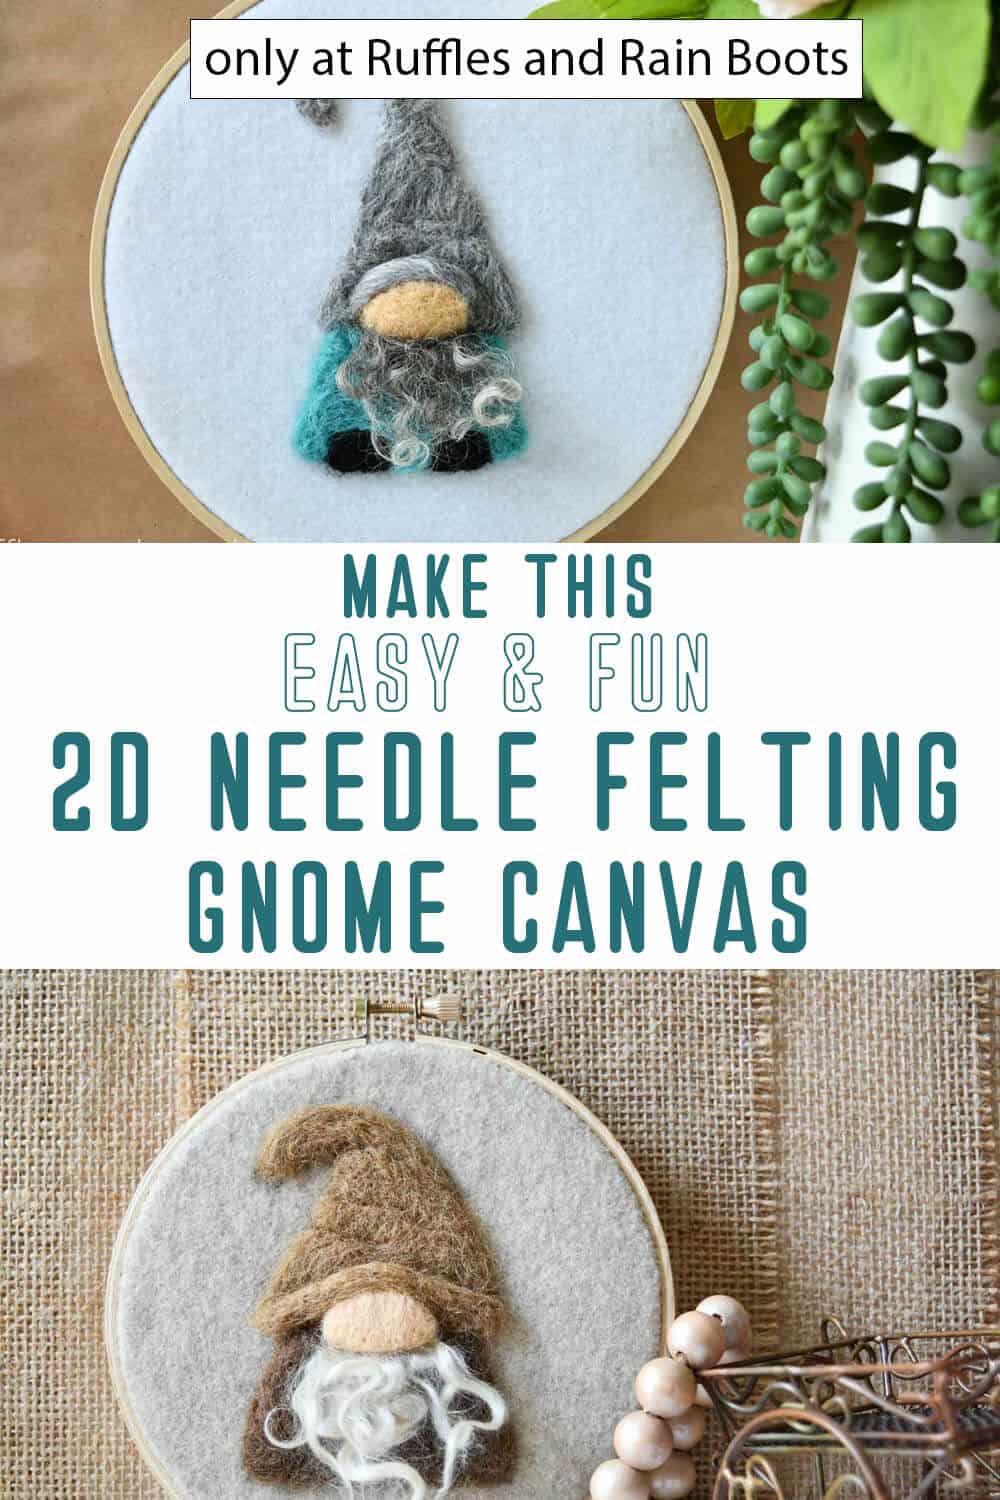
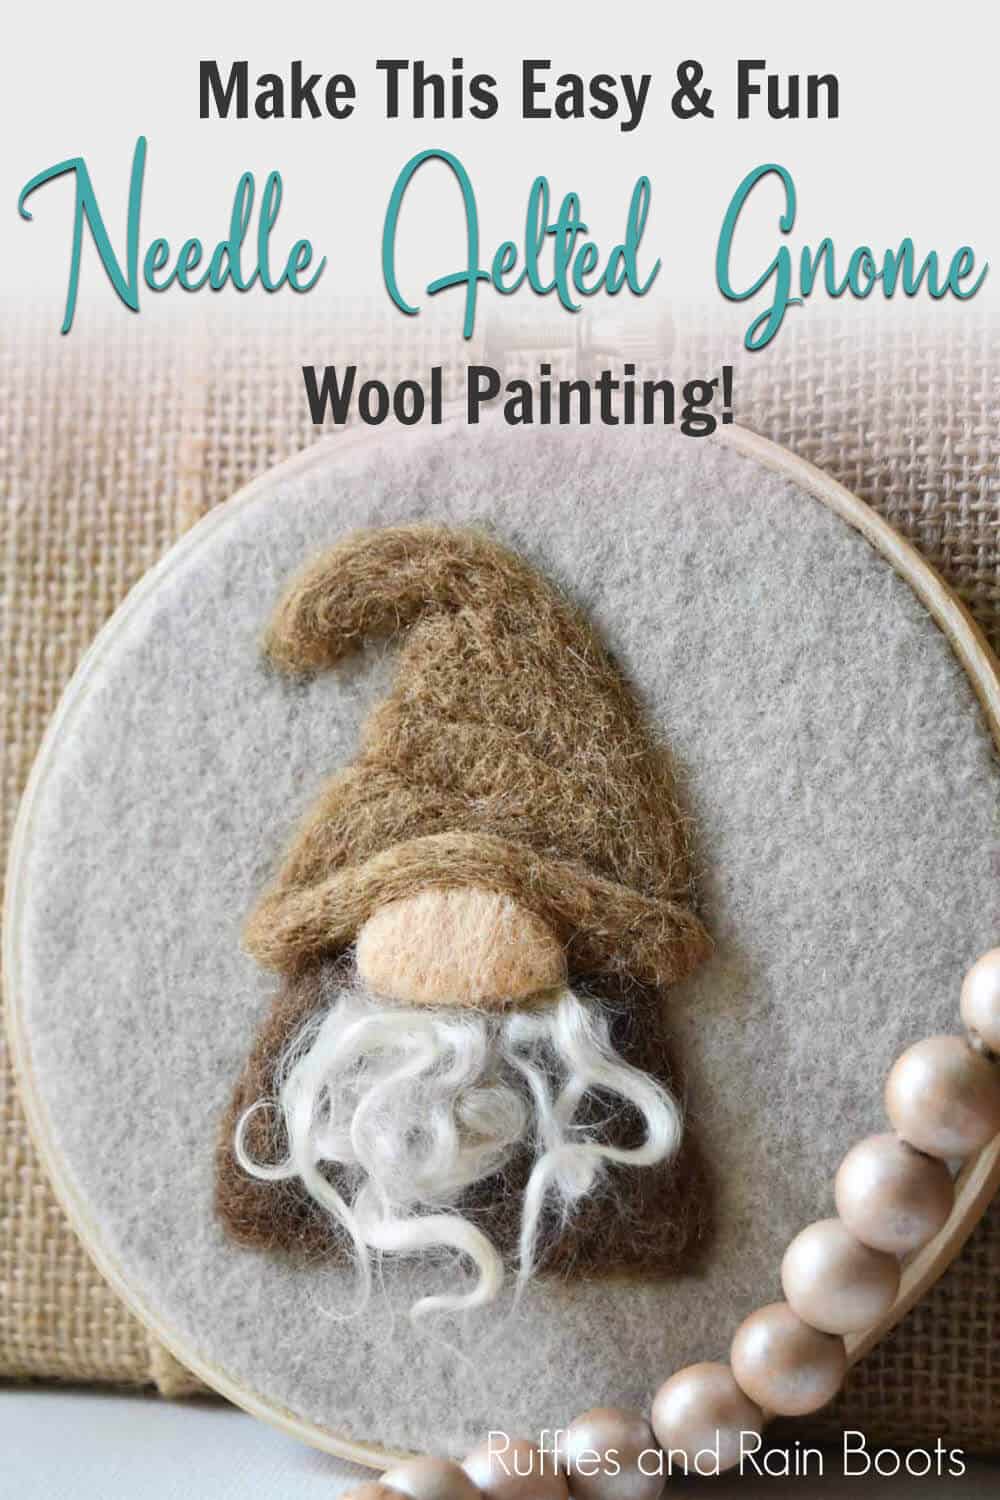
How to Make a 2D Needle Felting Gnome Wool Painting!
This easy 2D needle felting gnome wool painting for easy wool painted canvases has quickly become one of my favorite new crafts!
What You'll Find On This Page
2D Needle Felting Gnome Wool Painting
Here at Ruffles and Rain Boots, I have discovered a super fun new way to make gnome crafts. This 2D needle felting wool painting method is just the bees-knees, it’s so easy, fun and really gets the creative juices flowing.
RELATED READING: WOODSMAN SHELF SITTER GNOME PATTERN
You can make holiday gnomes, full landscapes or just a simple farmhouse gnome to add to your collection of gnome DIYs. And all in just a few minutes with this really great wool painting method. If you’re ready to make your own gnome wool painting, let’s get started.
Get Secret Gnomes, Tips, & Freebies Delivered!
What is the best pattern to use when you don’t want to sew? Do you know the secrets to a properly-proportioned gnome? Do you know where to get the best-priced fur?
Get all of this (and exclusive content just for you) delivered right to your inbox with the gnome-making series, free of charge. Sign up to get the once-weekly newsletter (and a jaw-dropping special offer)!

No Time to Make This Now? Pin it for Later
You’re busy, I get it. Pin this to your favorite needle felting crafts board on Pinterest and it’ll be here when you’re ready.
As an Amazon Associate, I can earn from qualifying purchases.
Tips for Painting with Wool
- When you start your painting (whether making a needle felted gnome or any wool painting), roll the loose end of the wool to tuck the loose edges under the first section you plan to needle felt. Additionally, when you’ve exhausted one length of wool and you’re starting a new length, I recommend you roll the loose end under again, to keep your wool painting smooth and clean, reducing any flyaways.
- A great way to add a professional look is to define your edges by felting a little more around all of the edges, to make them sharp and crisp. It works kind of like outlining a drawing with a sharp line, making your needle felting painting look cleaner. And there’s nothing to it – just poke it some more with the needle along the edge to really tuck that wool roving in.
- When you switch from one area to another, transitioning for example between the body and hat of your gnome, you may want to define your transitions. Again, this is just done by poking a little more at the edge of each transition, really locking those fibers in. This will help each color stay within its own “boundary” and make each section pop.
- If you want less-defined transitions, where the colors blend together, avoid heavily felting the first color before beginning the second color, then felt them together to blend them. I did not do this in my video, but I did play with the technique and it’s as simple as it sounds.
- Before ending a section of your gnome, as you are poking all the loose ends away, make sure to go over everything again in each section to make everything even and smooth. I recommend tackling this smoothing activity with the larger needle handle that holds a larger number of needles at once. As a good rule of thumb, the larger needle set should be used for smoothing the entire piece (or large sections) because that will give you a more consistent texture than the single needle will.
- To add thicker elements like the nose, you can form the shape away from your canvas and then attach the element (the nose) to your painting When it’s complete. You do this by either felting on the attached tail of wool roving or add a layer or two of wool on top of the new element to use to needle felt it to the painting.
- If you can, it’s best NOT to cut the wool roving with scissors ever. Just keep felting the wool or gently part and remove a piece of the wool roving, if there’s just too much on the piece you’re working.

Where to Find Templates for 2D Needle Felting Wool Painting?
You can certainly sketch your own gnome for a fun wool painting template. But, if you’d find it easier to work with a shape that is already made, you can grab any of these (or the other) gnome drawings that are available in the Ruffles and Rain Boots shop!
- Cute and Simple Gnome Head and Beard
- Chubby Little Gnome with Shoes
- Sweet Gnome with a Curled Hat
- Graduation Gnome
- Medical Heroes Gnomes
- Modern Christmas Gnome
What Supplies Do You Need to Make a 2D Needle Felted Gnome Wool Painting?
There’s really not a lot of supplies needed, but here’s the items I felt like I needed before I could start:
- Multi-Color Wool Kit (just so you have bright colorful options)
- Needle Felting Pad (other tutorials I watched said you could use a folded up towel, but I felt more comfortable with the pad)
- Grey Wool Roving (for hats and shoes, beards – this is really handy)
- Needle Kit (because who has these needles for any other purpose?!)
How Do I Make this 2D Needle Felting Gnome Wool Painting?
I’m so glad you asked. Below is our written tutorial. If you’re making a gnome crafts playlist on YouTube, here is our 2D needle felting gnome wool painting video tutorial.
2D Needle Felting Gnome Wool Painting
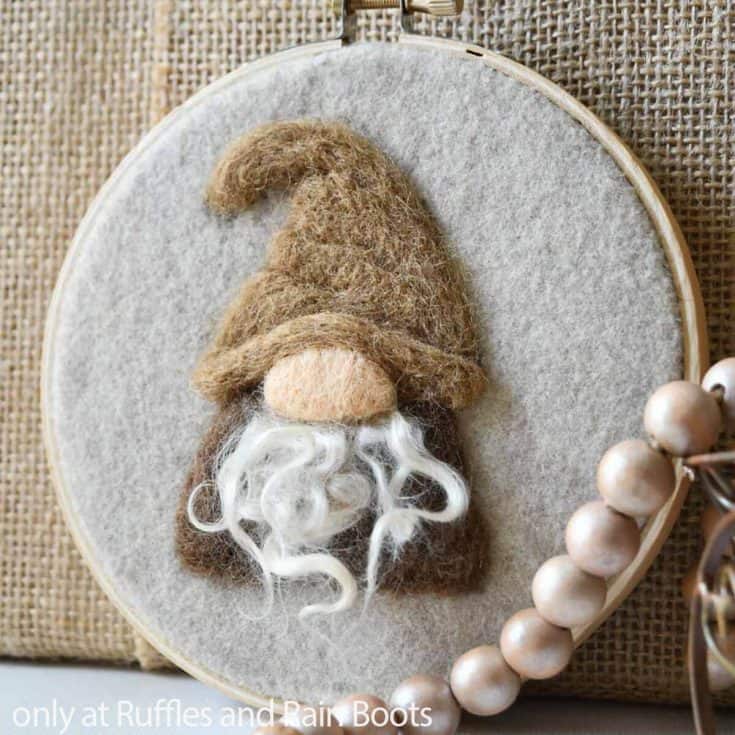
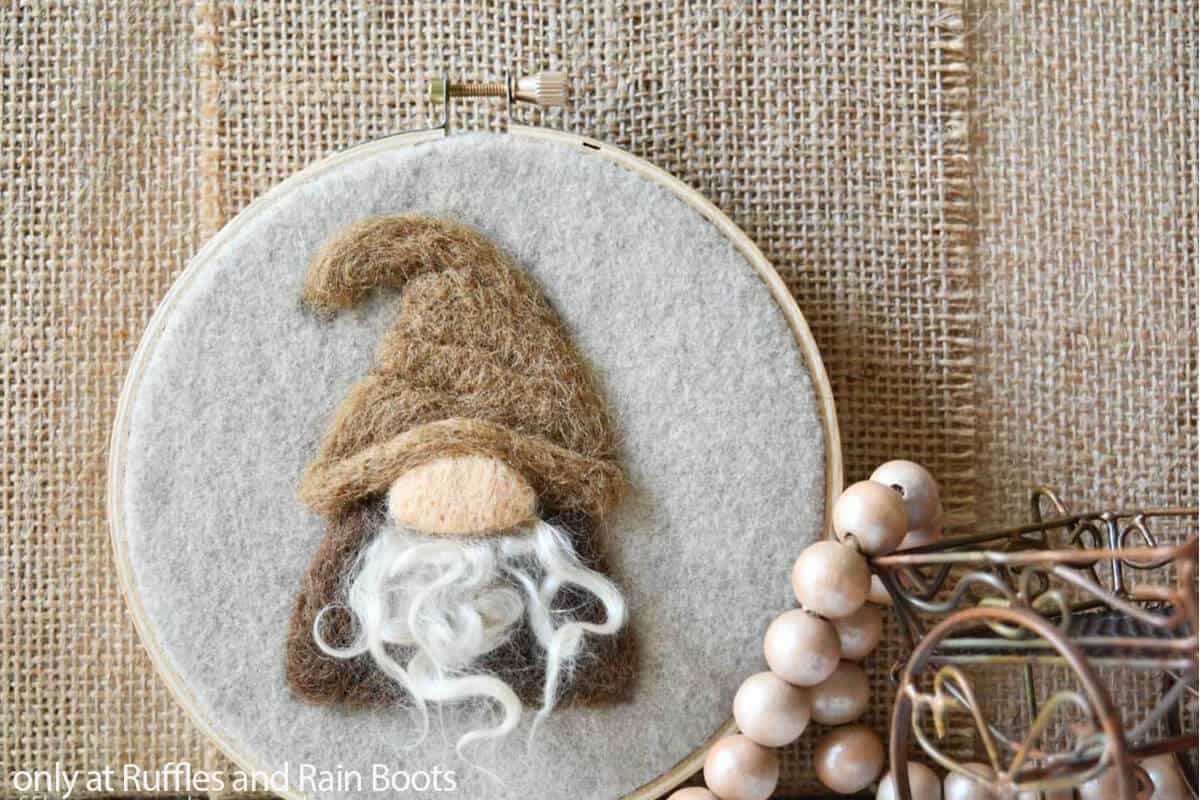
So cute and super easy, I am just in love. This DIY 2D needle felting gnome wool painting is just the coolest gnome craft. You can make a gnome with any look or style and it just takes a few mintues to make a gorgeous piece for your decor or a gift for gnome-lovers. I had no idea needle felting was so simple.
Materials
- Multi-Color Wool Options (I used a kit)
- Grey Wool Roving
- Black (and other neutrals) Wool Roving
- Embroidery Hoop (any size is fine but 8 to 12-inch will allow you lots of room to work for your first wool painting)
- 1/4 yard Premium Felt Sheet (white)
- Embroidery Thread
Tools
- Needle Felting Pad
- Needle Set
- Darning Needle
- Scissors
- Sewing Pins, optional
- Tape Measure
- Gnome Template, optional
- Pencil, optional
Instructions
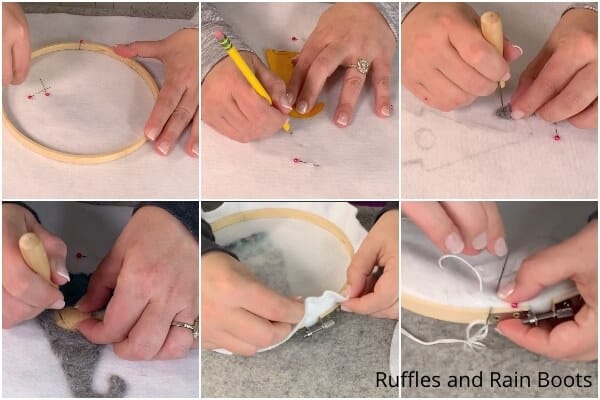
- Place the embroidery hoop on top of your felt sheet on top of your needle felting pad. Position the hoop about 2-3 inches from the edges of your felt sheet and place about 4 sewing pins around the inside edge of the embroidery hoop. Gently remove the embroidery hoop from the felt sheet, leaving the pins in place. This will define the place and maximum size of gnome or other piece to be needle felted into the felt sheet.
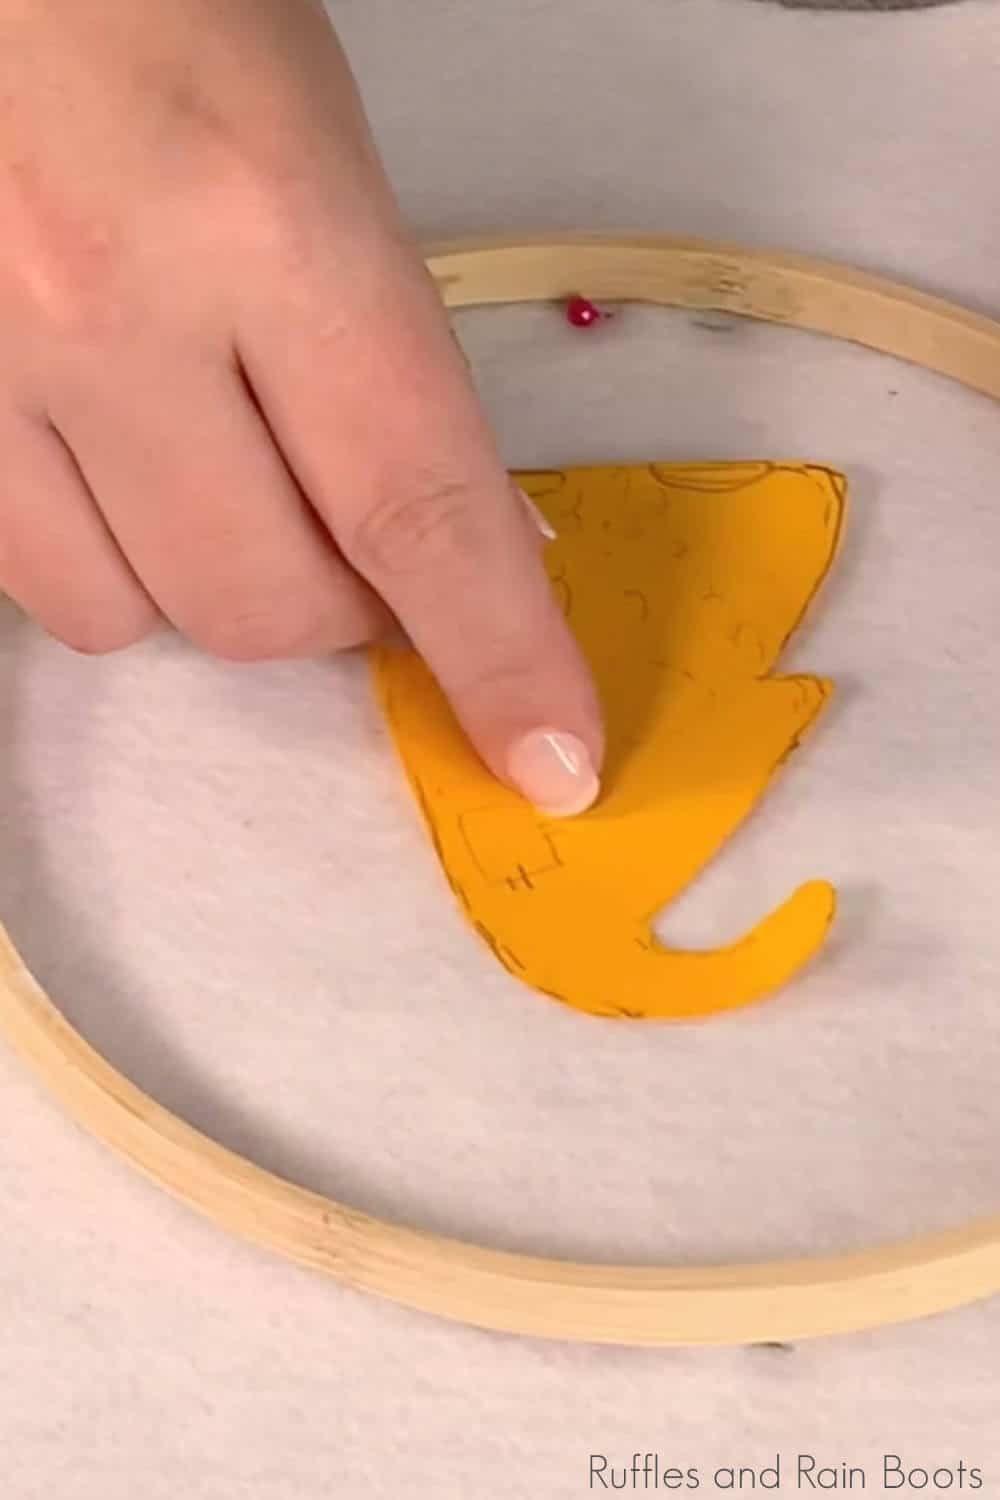
- If you have a gnome template, you can place the template onto the felt sheet and, using a pencil, trace your gnome onto the felt. You can additionally free-hand draw a gnome onto the felt sheet or skip this step entirely if you don't want to use a defined shape.

- Select your colors and gently separate a 6-8 inch section of your hat color from the main portion of wool roving. Fold the starting end over by about 1/4 inch in length, rolling the loose ends into the longer portion to hide them under the painting.
- Place the rolled bit of wool roving at the tip of your pencil-drawn hat and, using the single needle, begin poking the needle through the wool roving into the felt sheet, following your pencil-drawn lines to fill in the hat shape. Take care not to poke your fingers - it hurts. Continue applying the wool roving to the hat shape, taking care to fill in all of the hat, leaving a 3 to 4-inch long tail for use later.
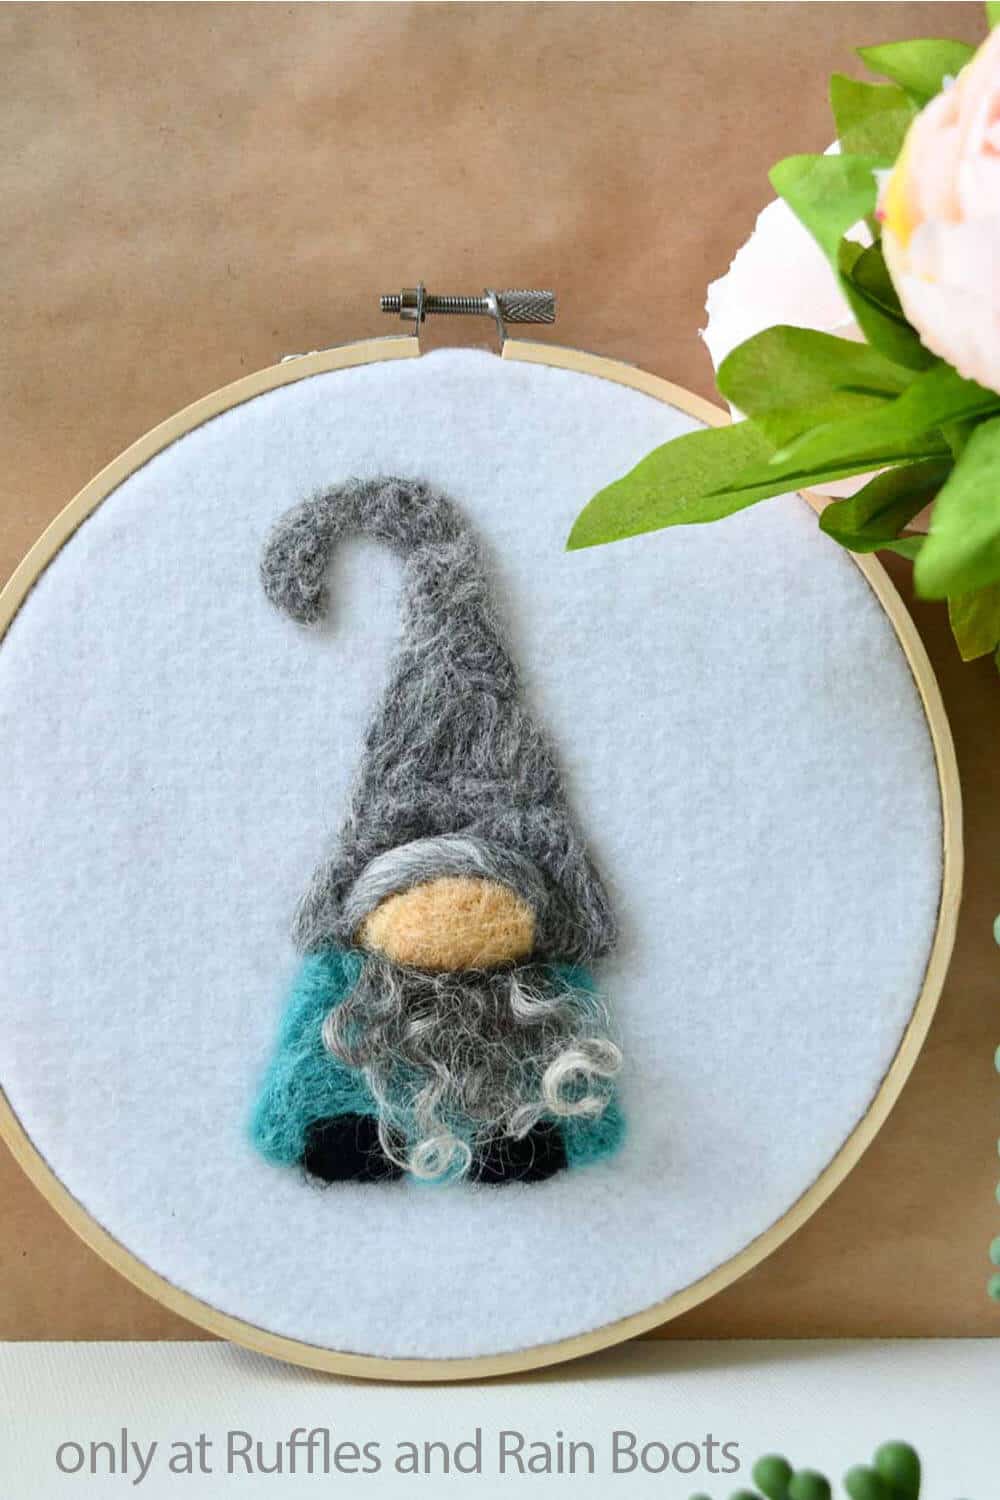
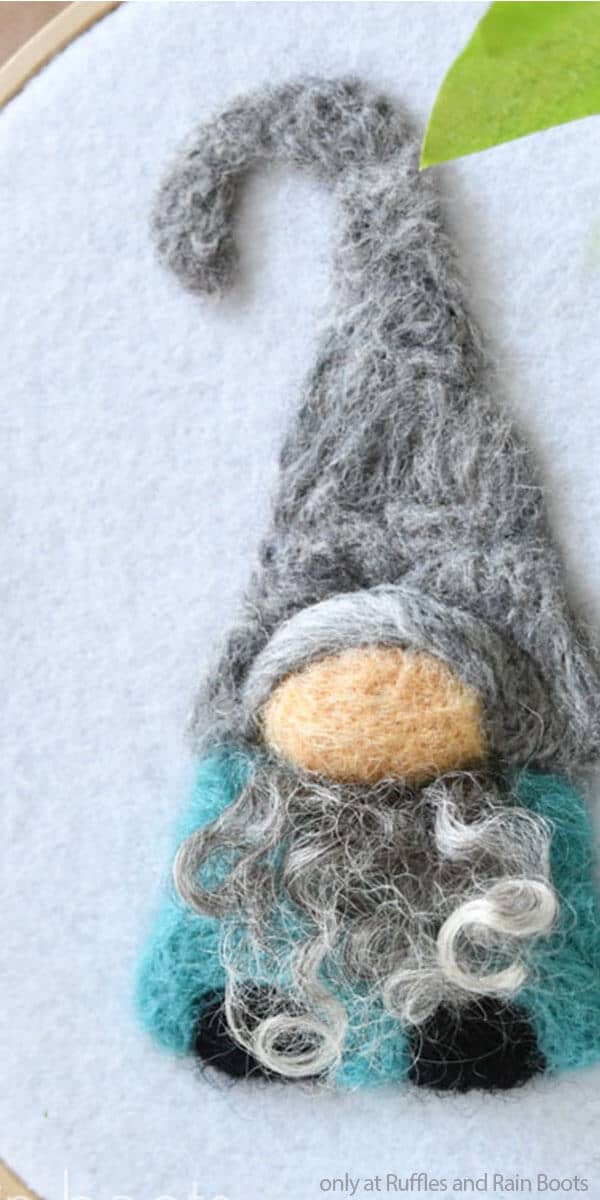
- Transition to the body color, repeating the needle felting action of poking the wool roving into the felt sheet. Then repeat with balls of black or grey wool roving to make shoes, if desired.
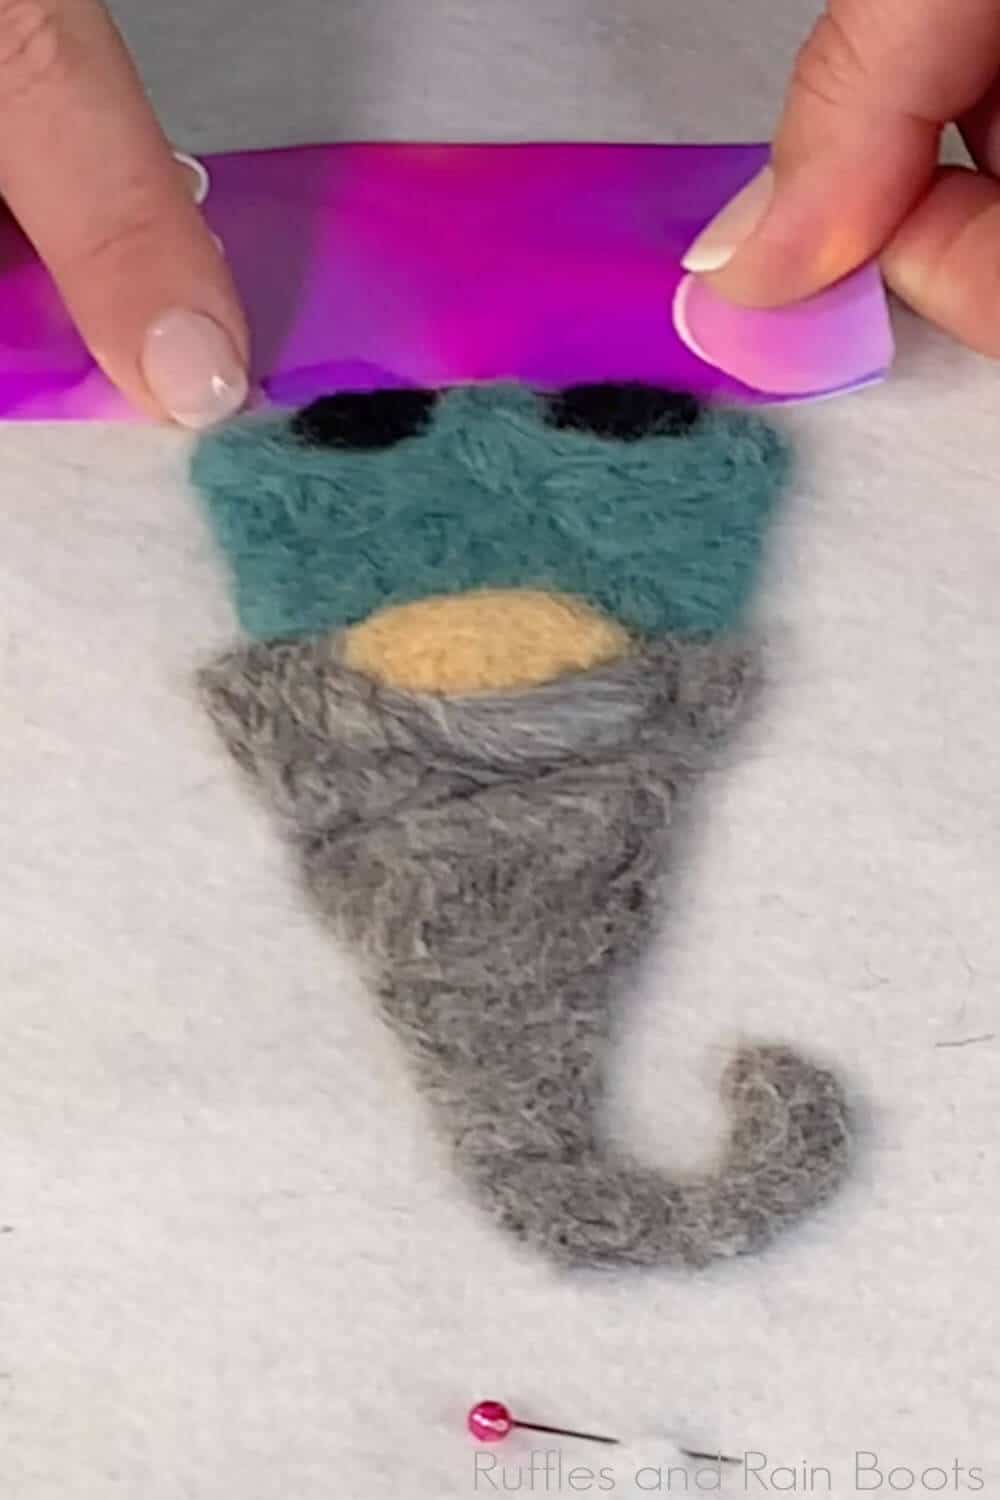
- To make the nose, I made a ball of wool roving and needle felted it independent of the painting, then attached the nose to the gnome by needle felting on some additional wool roving around the edges of the nose.
- Complete your gnome by smoothing out all of the large sections with the large multi-needle tool, then bring the tail of the hat across the top of the nose and needle felt it in place on top of the nose and hat brim to make a little wrinkle over the nose. If you have any loose ends, work those in now.
- Once your needle felted wool painting is done, remove the pins and fit the embroidery hoop onto the felt sheet, with the smaller hoop piece on the back of the felt sheet and the larger hoop piece on the front of the felt sheet. Make sure the gnome is centered in the hoop and stretch the felt sheet snugly within the hoop before tightening it.
- Flip the embroidery hoop over and trim the loose felt sheet away, leaving a 1 to 2-inch wide overhang. Using the darning needle and embroidery thread, add a running stitch around the edge of the loose felt sheet overhang and pull it snug, knotting it to pull that loose fabric tight behind the embroidery hoop.
- Cut a circle of felt sheet to fit the back of the embroidery hoop and a rectangle of 4-inches by 2-inches. Sew the two ends of the rectangle into the center top of the circle of felt to create a hanger,
- Place the circle of felt onto the back of the embroidery hoop with the hanger lined up with the top of the gnome head so he'll hang straight. Then blanket stitch the circle of felt sheet to the excess "overhang" felt running around the exterior of the embroidery hoop. Knot it and your needle felted wool painting is complete and ready to hang!

Notes
For more fun gnome crafts, visit Ruffles and Rain Boots!
Recommended Products
As an Amazon Associate and member of other affiliate programs, I earn from qualifying purchases.


More Fun Gnome Crafts You Might Like
- Fall Shelf Sitter Gnome Pattern – Super simple and absolutely stunning, this fun pattern makes a great fall themed gnome in minutes!
- How to Make Gnome Stickers with Cricut – If you’ve ever been curious about making stickers, this is the easiest way to knock that out!
- Gnome Napkin Ring Tutorial – For the holidays, you can really make a splash with this gorgeous napkin ring set!
Please Save This to Pinterest
Your shares are how this site grows and I am sincerely grateful. Know a friend who’d like this? Please share it on Facebook or save it to your favorite gnome crafts board on Pinterest.